It’s drafty in my house. It’s an old house with old windows and most of them are on the north side which gets a lot of wind.
As we fix up our house we are putting in energy-efficient windows but that’s not an overnight project. in the meantime, l have sewn up some simple draft stoppers to place in the windows to help keep some of that cold north wind OUT of my house.
I made a few a couple of years ago and am surprised at how well they’ve stood up to the sun as they are in the windows all year long.
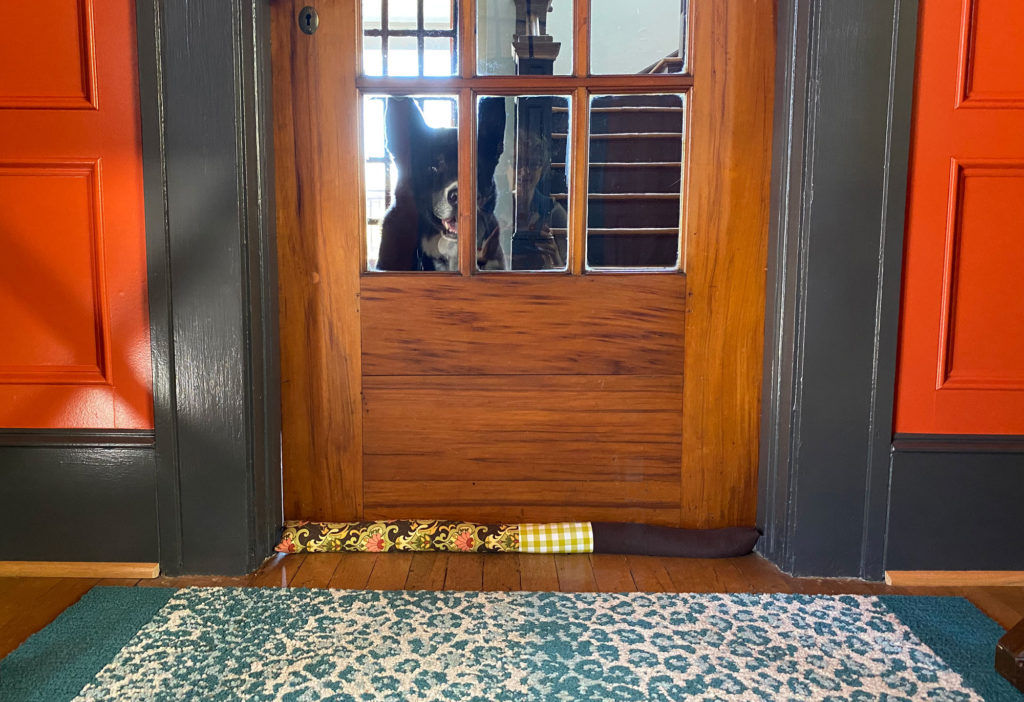
These are quick and easy to make and you will immediately feel the difference they make on a windy day. And of course, these can be placed at a door too to stop the cold coming in from under it.
You can watch the entire process in my new video OR read on for the step-by-step instructions.
How to Make a Draft Stopper
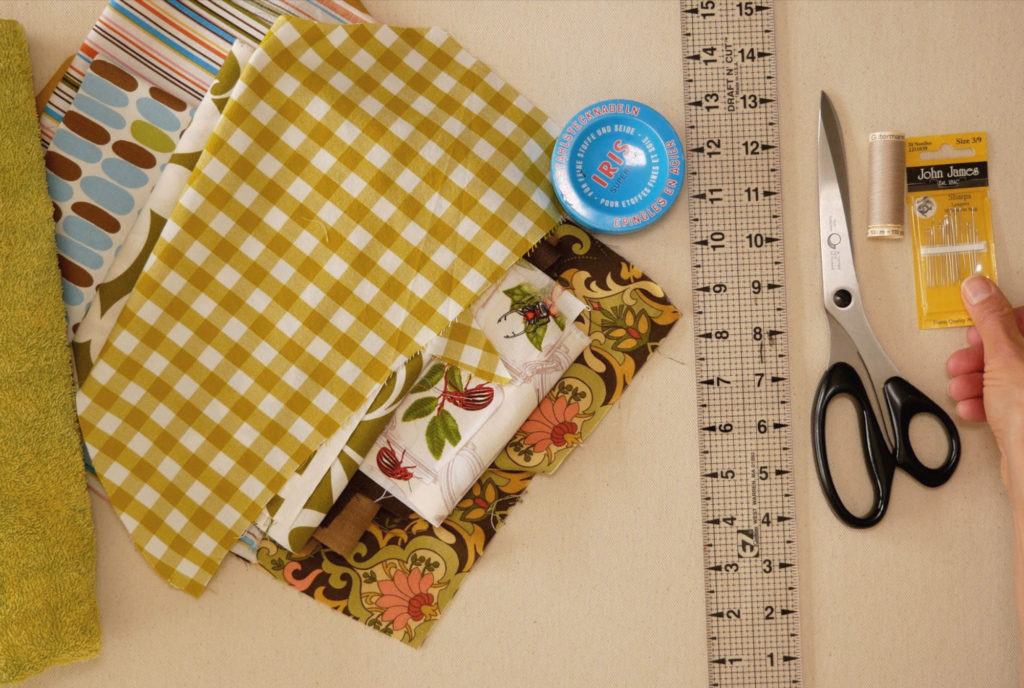
The Supplies You Need
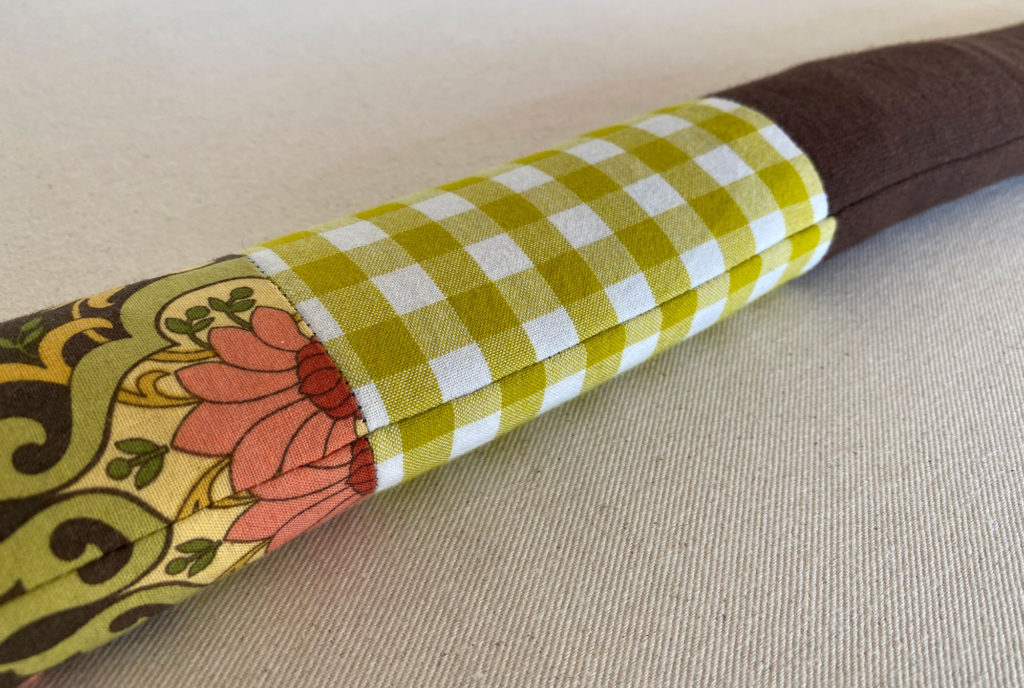
Fabric – at least 7” wide or tall – The fabric can be scraps, pieces together as mine is, or made from a single piece, an old pant leg or old towels, sheets, table cloths, etc. You could of course use upholstery fabric that matches your decor. If using scraps press them flat for easier and precise cutting.
Scissors or rotary cutter
A ruler
Chalk or fabric marker – or even a regular ballpoint pen
Needle and thread – You can sew the entire stopper by machine but closing up the end may be easier to stitch shut by hand depending on how full your stopper is. Of course, you could sew this entirely by hand as well If so, use a backstitch to be sure the rice doesn’t fall out between stitches.
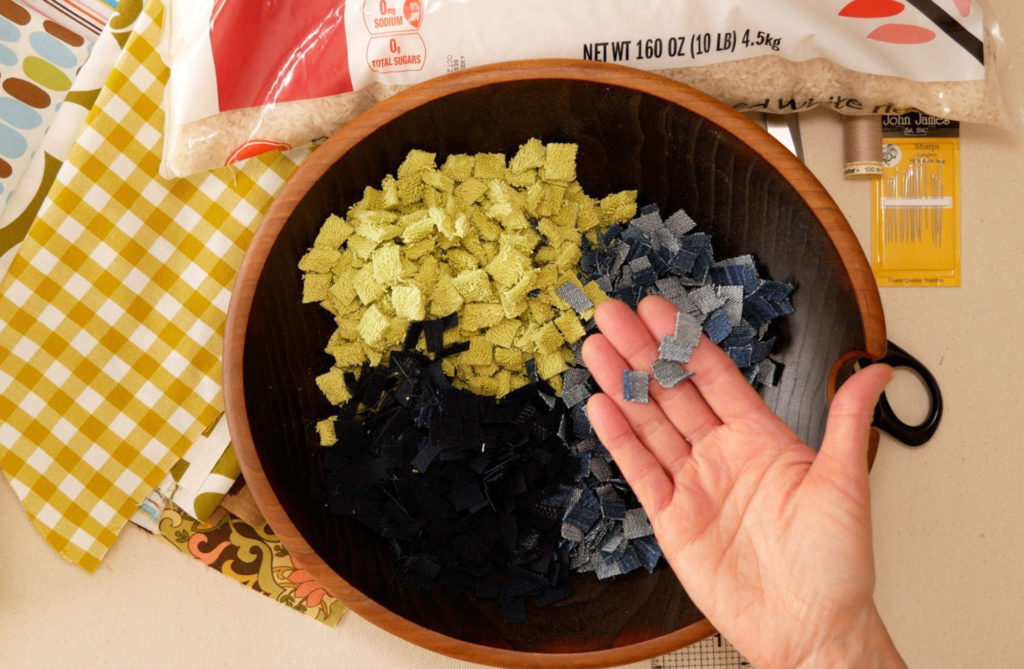
Stuffing – dried Rice, dried beans, or fabric scraps or a mix of any of these.
A note about the stuffing: After making a few my favorite is a 50/50 mix of rice and small fabric scraps. If you use just rice plan on about 5 pounds (2.268 kg) per stopper. The fabric scraps work best if cut into small pieces, about ½” by ½” (13mm X 13mm). Heavier or thicker fabrics like old sweatshirts, old washcloths, flannel, or denim are perfect for stuffing.
The Steps
Measure where the stopper will go and write it down. This is the length your finished draft blocker will be.
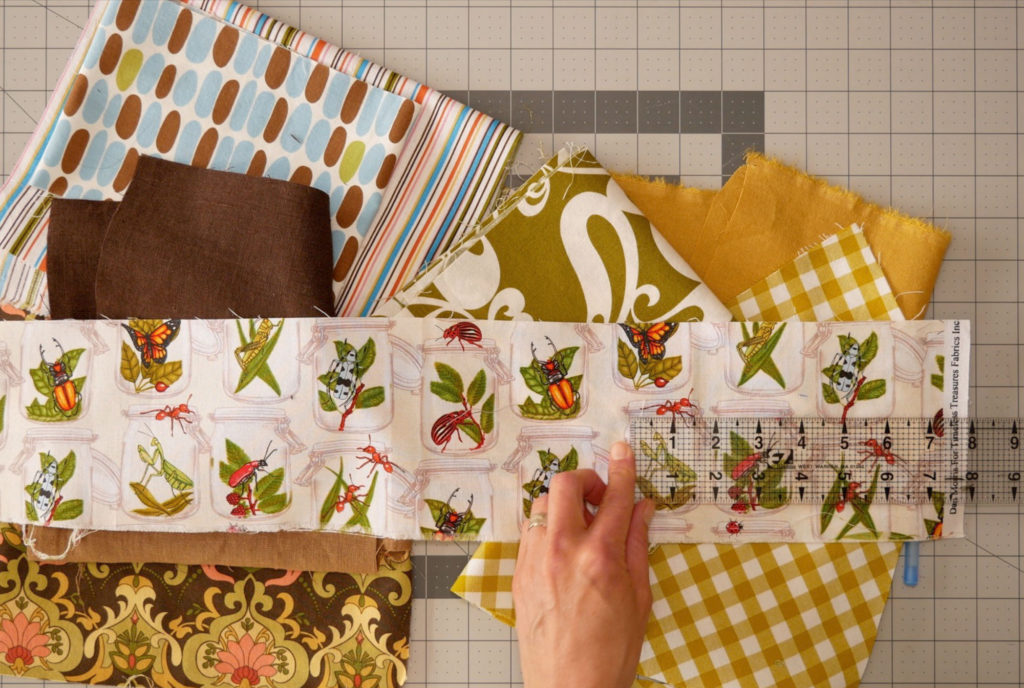
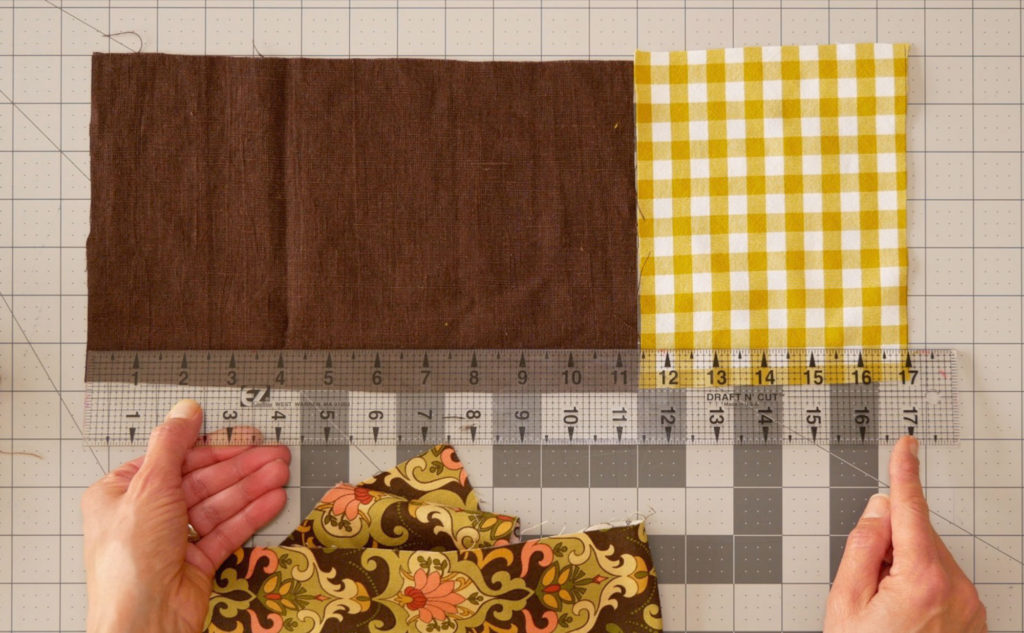
Measure and Cut the Fabric
If using more than one fabric play with the combinations until you have something you like.
The fabric must be 7” (18 cm) in at least one direction. Some fabrics have a directional print and you will probably want to have it going in its intended direction on the finished stopper. Directional fabric needs to be 7” (18 cm) in its intended direction (usually up and down). Keep that in mind if you don’t want the print to be sideways on the finished stopper.
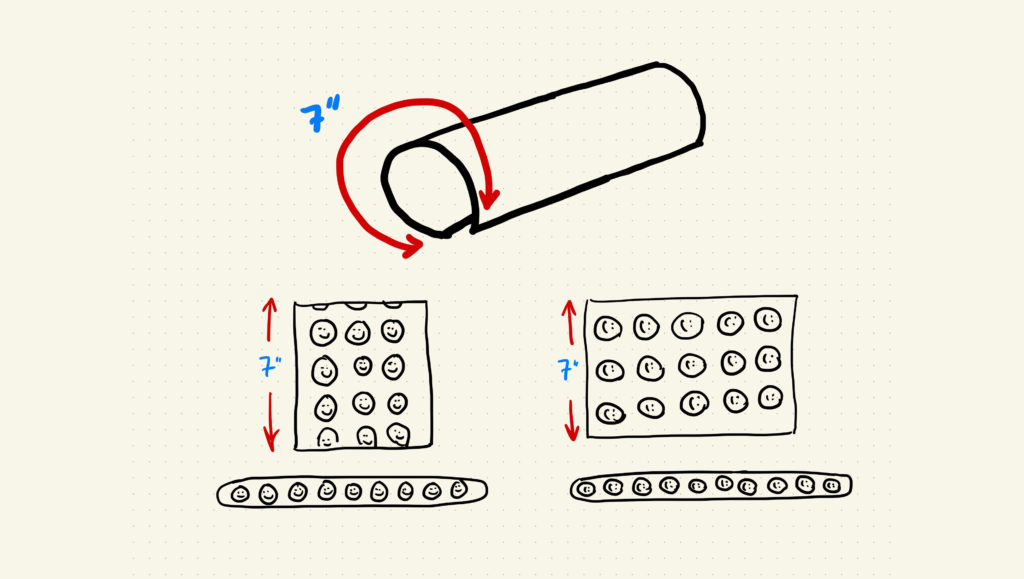
The final draft stopper piece needs to be 7” tall by the length you need. Whether that’s a single piece of cloth or a combination of pieces.
So, cut it 7” x your finished length plus 1” (25mm) (for the ½” SA on both of the short ends). If you are piecing different fabrics together you will need a ½” seam allowance where it is joining another fabric.
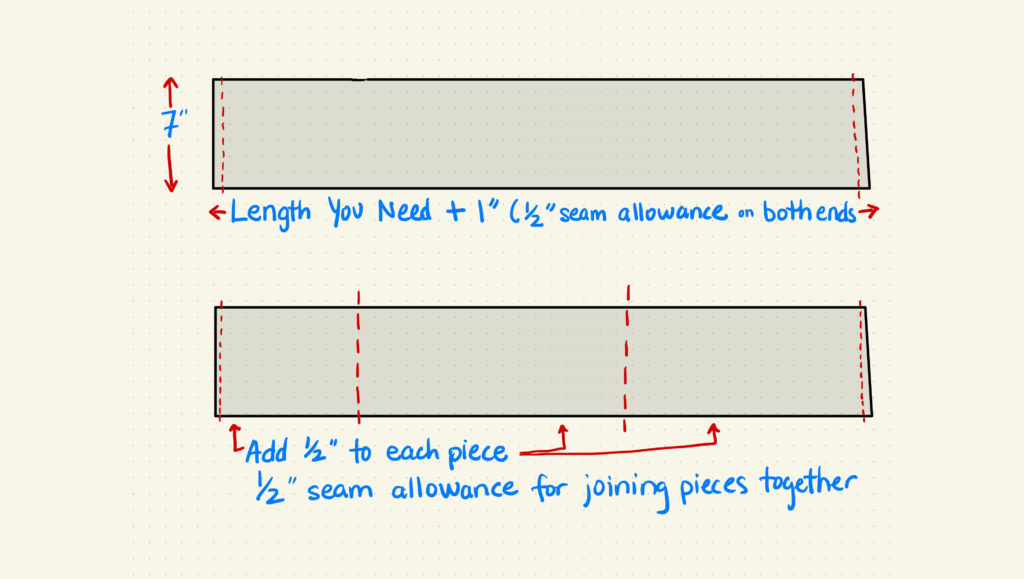
I start cutting as long of a piece as I can get that is still 7” tall. As I get close to my desired length and feel I only need one more piece of fabric to get the length I need, then I do my calculating to see how much I still need, plus 1” (25mm) seam allowance to both join it to the other piece and close it at the end.
Example. I need a 30” draft stopper.
My first piece is 7” x 20” cut. My next piece is 7” x 10” + 1” (½” S.A. at both ends) + 1” because my first piece also loses a ½” at both ends for seam allowance. SO my next piece is 7” x 12”.
On the wrong side of the fabric, measure and mark your cut lines. I just use a ballpoint pen because it is a cut line, any marks I can see will be on the seam allowance, inside the stopper. So I think it’s okay. Or if you’re using a rotary cutter and wide ruler just measure and cut. Remember the fabric must be 7” in one direction.
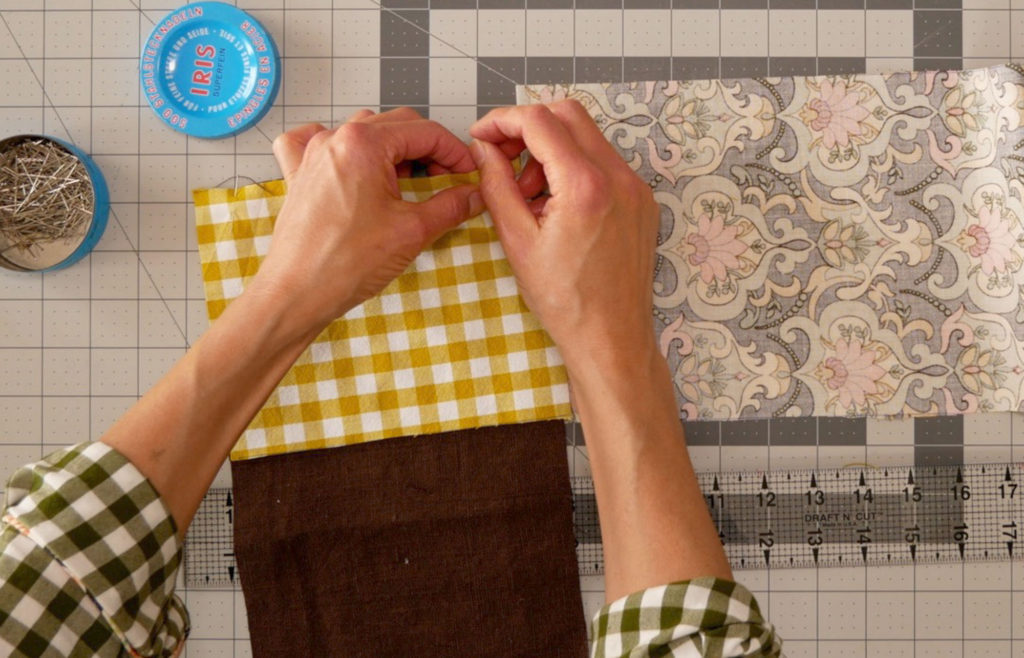
Start Sewing
Line up the ends of your pieces, right sides together, and sew them with a ½” seam allowance to make one long rectangle 7” tall x desired length + 1”.
If sewing by hand use a tiny running stitch. And if you don’t want to sew tiny stitches use a backstitch. A tight stitch will prevent the stuffing from coming out.
Press the seams open or to one side. Well, AT least finger press them 😉
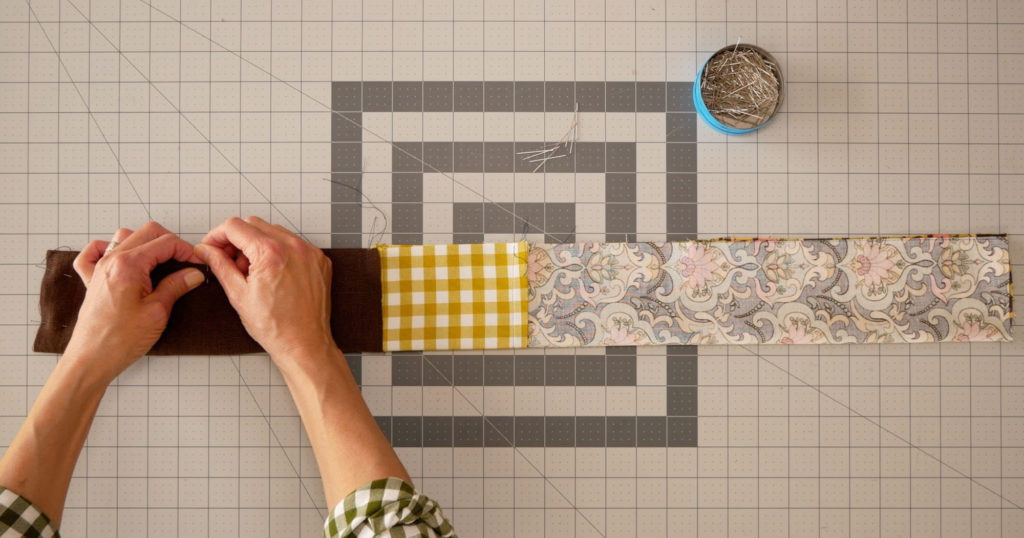
Fold the rectangle in half, right sides together, lining up the long edge

Sew down the long edge with a ½” seam allowance stopping ½” from the end. Pivot the fabric with the needle still down in it to sew the short end shut. Back tack at each end if machine sewing
Clipping the corners is not necessary here. The stuffing will push out the corners of the finished draft stopper and the seam allowance will just add to the filling inside the stopper. (I did clip mine out of habit, I think. It was so automatic)
Stuffing the Draft Stopper
Turn the rectangle, now tube, right side out. This takes a little patience but it’s so wide you don’t need any special tools to turn it.
If you are using just dried rice or dried beans you can pour them into your tube directly. Every once in a while you have to shake the stopper so the stuffing gets to the bottom.
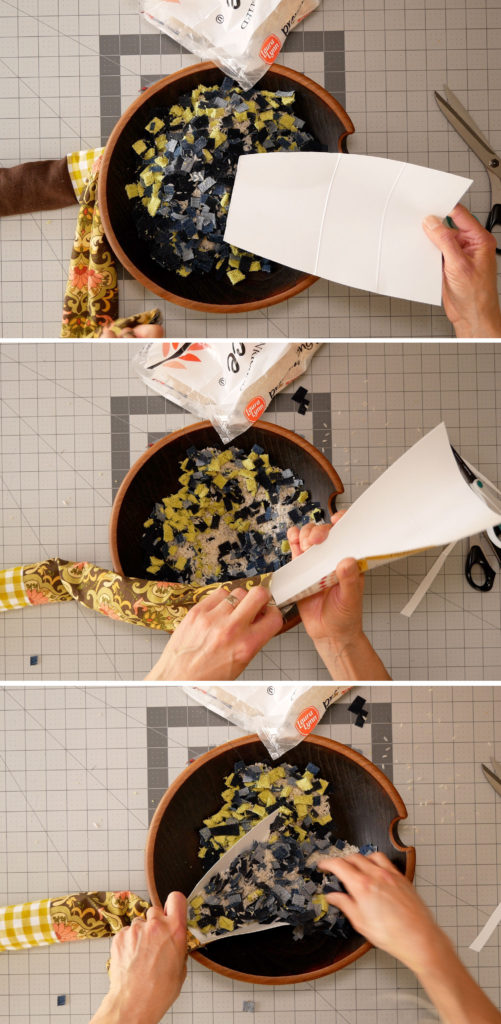
If you are using fabric scraps and a dried ingredient mix them together in a wide bowl. Remember the fabric scraps work best (both in the stuffing process and in how the filling is distributed in the stopper) if they are cut up into blueberry size pieces (not the tiny wild blueberries).
The mix of fabric and rice or beans is harder to stuff into the tube than straight rice or beans but I found it tremendously helpful to make a cardboard scoop from a cookie box I pulled out of the recycle bin. At first, the scoop was too wide at the narrow end but after I trimmed it down it really worked efficiently.
The scoop’s narrow end is in the tube’s opening and slightly curled by my hand as I hold it in place. Then I scoop up the stuffing from the bowl onto the wide end of the scoop. Lifting it up the curl of the sides and gravity feed the stuffing right into the tube. TIP: have the scoop sit on top of the tube’s seam allowance to keep it out of the way.
Closing It Up
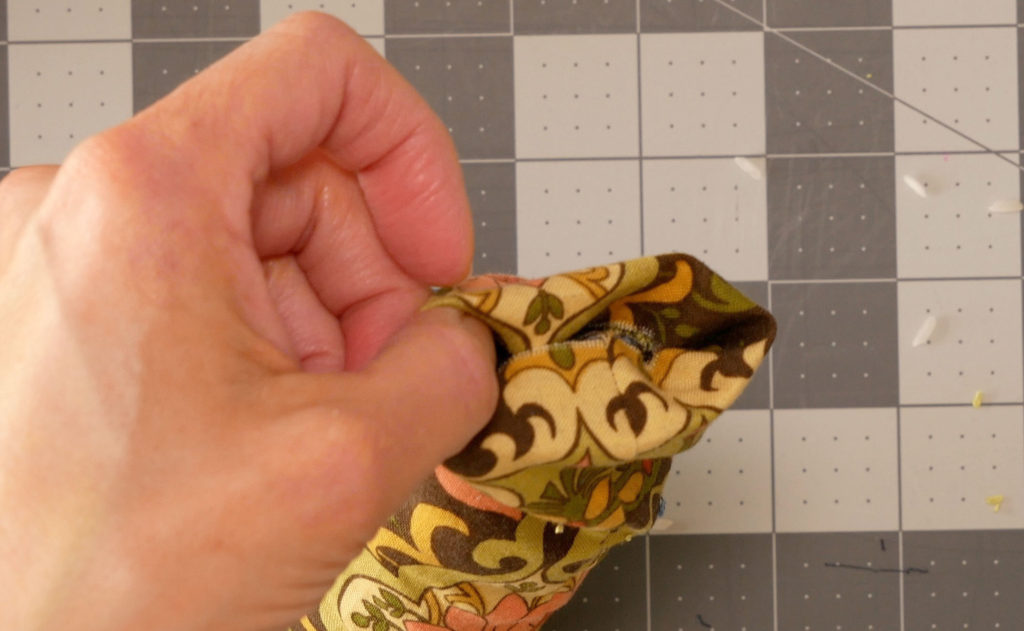
When the tube is as full as you like turn the raw edges of the opening into the tube about ½”.
Pin the opening shut and stitch close by hand or by machine. I used a simple whip or overcast stitch. (It’s a draft stopper, not a gown).
The weight of the stuffing in the tube can make it awkward to sew on the machine. Simply lay some books beside the machine to keep the draft stopper level with the sewing plate and it will be a lot easier.
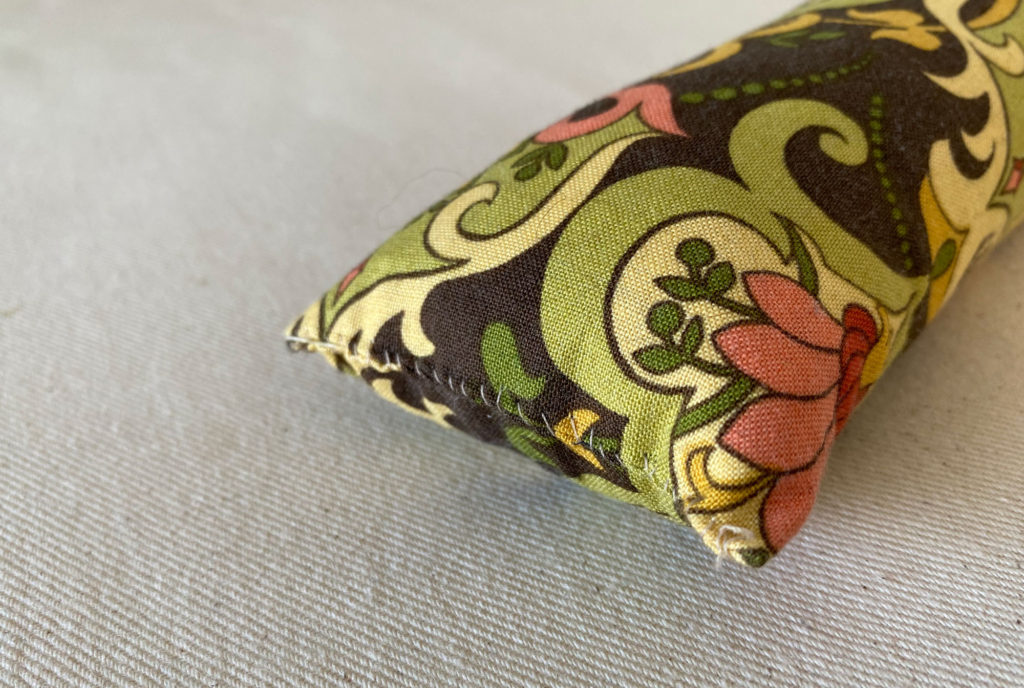
And With That, You Are Done.
These draft stoppers really do help keep the drafts out. And are a great use of your scraps.
If you have drafts coming into your house you will be happy to have invested the time, the fabric, and the rice into a few of these.
Perhaps now you’ll only need one blanket instead of two to enjoy sitting by the window.
I hope this was helpful. If you have any questions please put them in the comments below, and I’ll be sure to reply. If you know of any other clever ways to use fabric scraps let us know. Thanks for reading.