
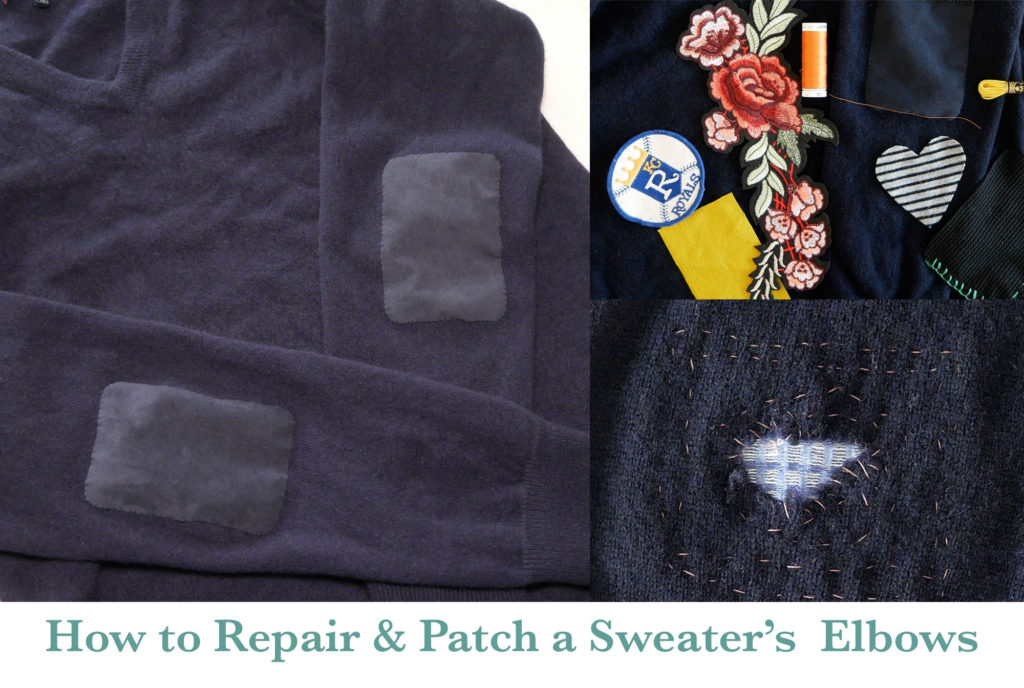
Elbows of sweaters tend to wear thin and sometimes wear out completely while the rest of the sweater is still good and still a favorite. How can you fix your sweater’s elbows to get a few more years of wear from it? Because, why not? For me, it is faster to mend a sweater than to find a new one I like and certainly cheaper. (I admit, finding a new sweater I like and can afford does feel good)
When the elbow area needs repair it’s usually more than just a hole- the fibers in the area are worn thin and will continue to wear down because elbows tend to rest on surfaces, no matter what Miss Manners said. So, unlike larvae that eat their fill and move on, leaving one or two holes, this part of your sweater is never going to stop wearing down.
I tried a few ways to go about fixing sweater elbows and they didn’t all work. For instance, machine darning in the middle of a narrow sleeve is almost impossible – possible if you’re stubborn and don’t mind it looking like a big mass of stitches. It would be a great option for an easier-to-access area of the sweater.
Felting wool roving onto the worn-down elbow area was another fail for me. This area was too large for felting wool onto and I didn’t have a pliable enough backing to felt onto. (I used a towel and broke the needle). This is a good way to repair small holes if you have a backing made for felting and I have plans to try it again soon.
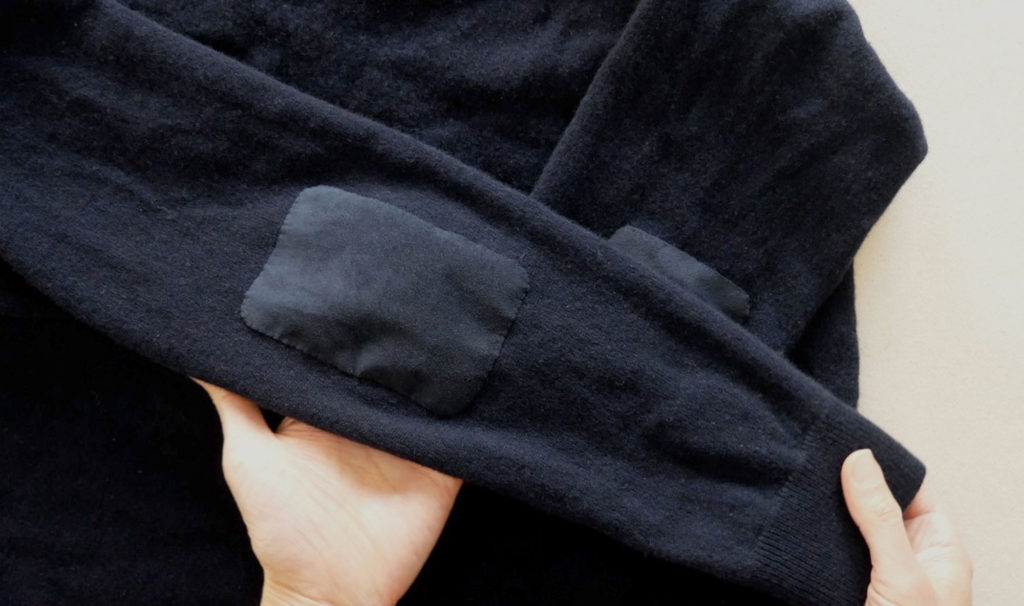
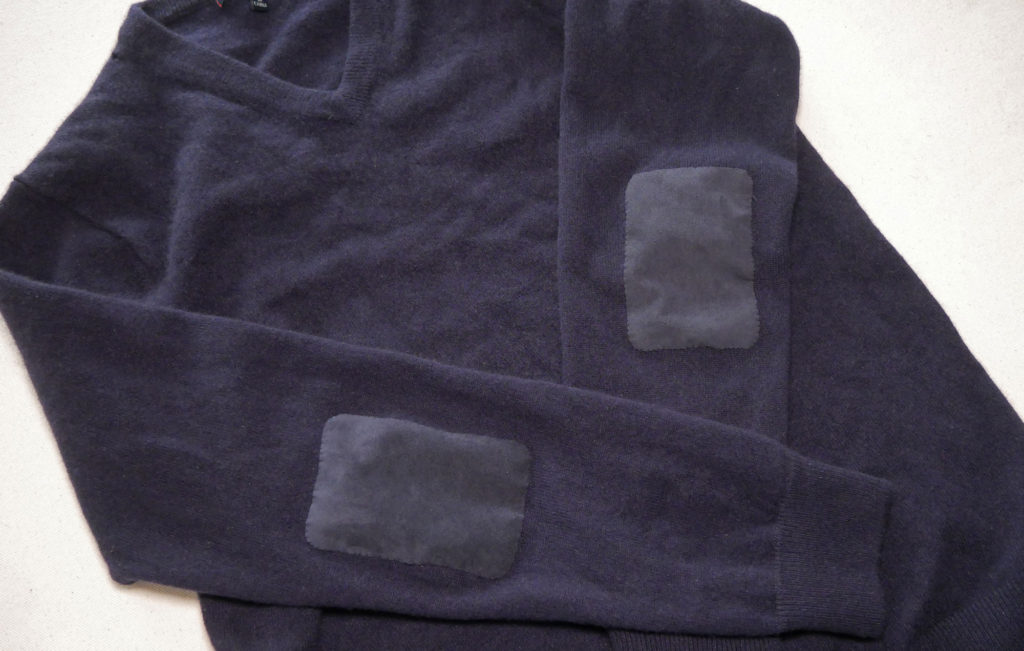
What did work was a two-layer patch; one under the hole to stop the hole from growing and use as a base for hand darning in order to bulk up the worn fibers and a second patch on the outside to prevent future wearing down and cover up the hand darning.
Of course, you don’t have to cover up your mending. There are a few ways you could really play up the mending or just patch it a little differently than my traditional patch mentioned in this post.
You can watch all the steps in this 12-minute video or read on.
How to Reinforce and Patch a Sweater (and place a patch on the second sleeve so it matches)
There are a few ways to patch a sweater or any garment but because I needed to strengthen the larger area and stop a hole from growing I went with a combination of patches and hand darning.
The Double Decker: One piece of fabric goes under the hole and is stitched and darned to the worn area then it is covered with a larger patch on the outside of the sweater.
The Supplies You Need
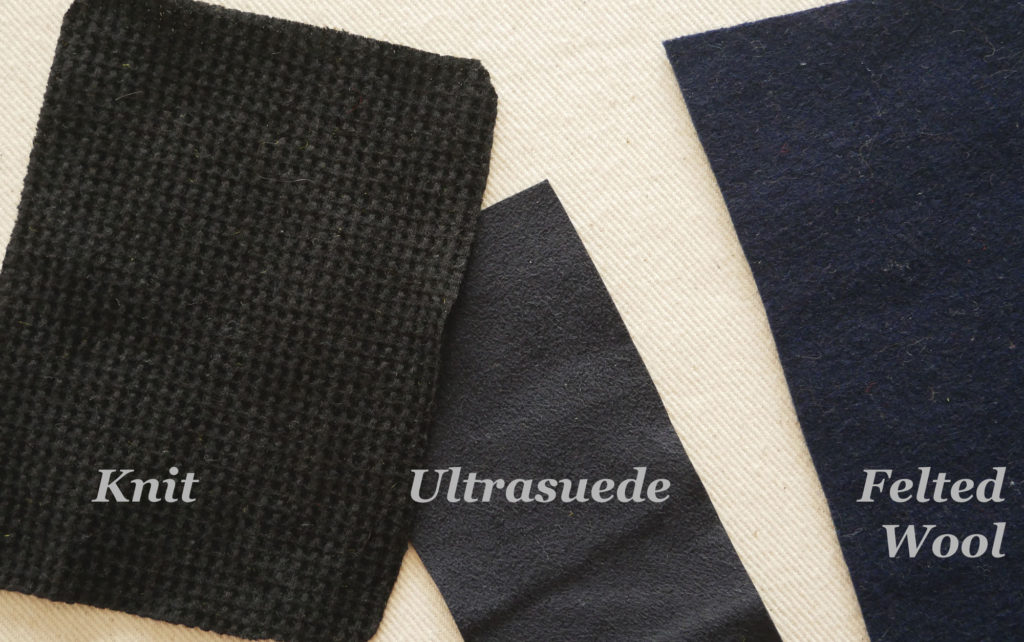
- Fabric for the outer patch: Knit fabric is often mentioned in mending sweaters because it matches in care and fabric type. If the sweater needs to stretch where the patch is going – to put it on or because it is a tight sweater, then definitely use a knit fabric to make the patch. Old T-shirts, older sweaters, the sock with no match, or the sock that the heel wore through are all knits. But you can use Flannel, felted wool fabric, or Ultrasuede if your sweater is loose or the area it’s going on doesn’t need to stretch like the elbows.
- Fabric for the under patch: Here I would stick to a knit fabric because it is soft against the wearer’s skin, it doesn’t unravel so no bulky edge finishing and it moves like a sweater. So again, old T-shirts, or other knit wear that is no longer wearable is a good choice.
- You’ll also need these sewing basics:
- Hand Needle and thimble
- An Iron
- Thread, Scissors, and Pins
NOTE: The fabric you use for it doesn’t have to match your sweater. You are either going to cover it with an outer patch OR you want to show off your mending and therefore a non-matching under patch is a-ok.
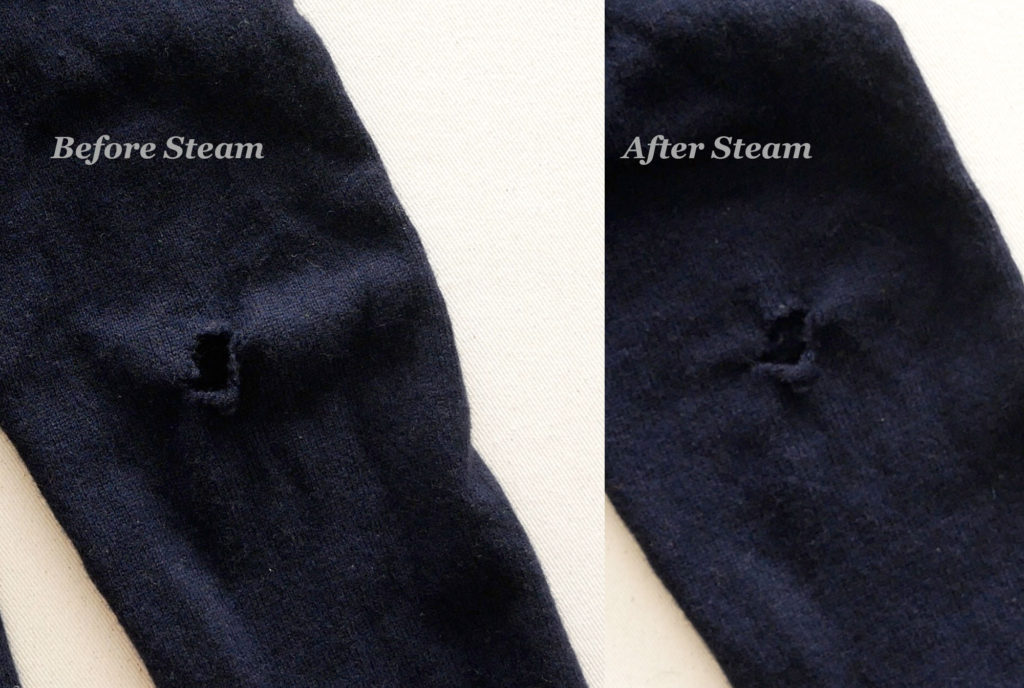
The elbow area on a knitted sleeve is going to be stretched out – just as any area on any garment will stretch out where your body bends (the seat, the knees, the elbows, the heel of your socks). To measure the area correctly, sew the patch where it’s needed and prep for darning you need to remove the bagginess.
If your sweater is washable, you could wash it. If your sweater is washable and definitely if it is NOT washable you can apply steam to coax the fibers back into their original shape. Hover an iron over the worn area and/or hole about two inches above the sweater and apply steam. If your sweater is animal fibers be sure not to place the iron onto the sweater.
Measure the area you’re mending to find the minimum size of the patch. Remember you want any patch to extend beyond the hole or worn area about ½ inch or 1cm on all sides.
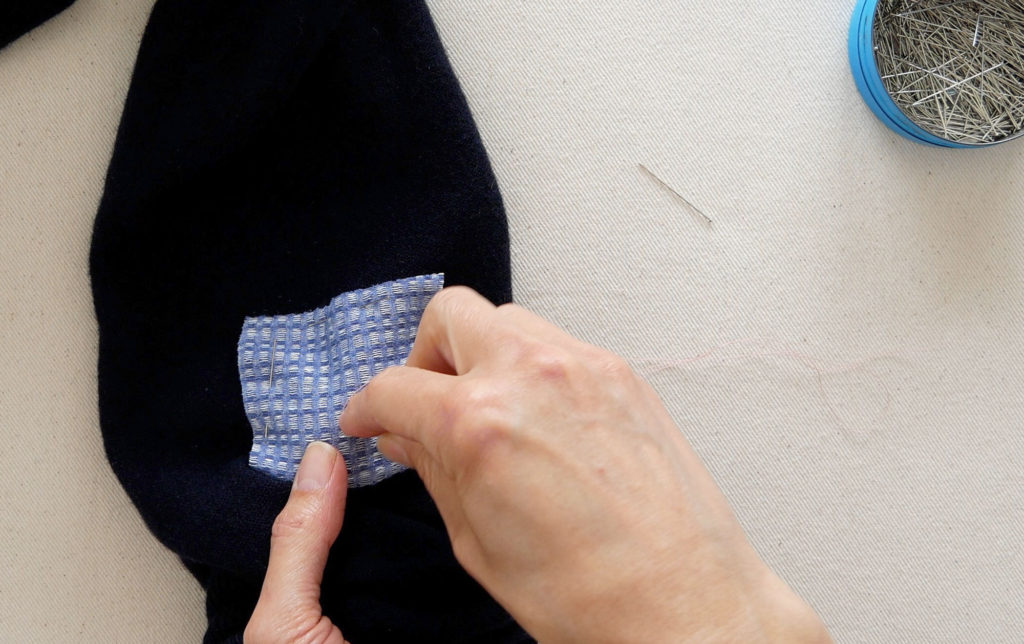
To reinforce the area use a small piece of knit fabric – like an old T-shirt, or sock. Knit because it won’t unravel and will be soft on the wearer. This piece of fabric only needs to be slightly bigger than the worn-out area.
On the inside of the sweater pin the reinforcing patch over the worn area. In the tight sleeve, you need to hand sew it in place. The sewing machine cannot reach this area without a struggle on your part and a mess of stitching on its part.
Starting un the inside of the sleeve, sew this fabric to the sweater around its perimeter to secure it down and then in rows across the fabric (darning). These rows of stitches give strength to the area – you are literally adding more fibers to the worn-out fibers of the sweater – reinforcements 😉
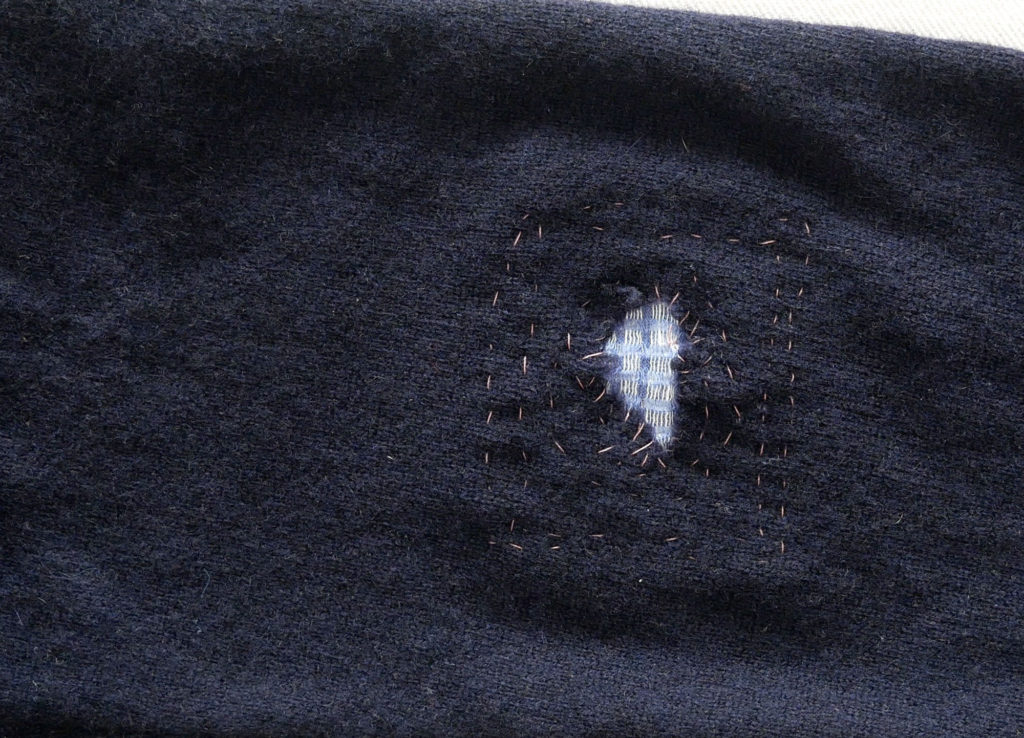
If there is a hole as well, flip the sweater right side out and sew the edges of the hole down to the fabric. and some stitches echoing the shape of the hole.
You could stop here and leave off the top patch to show your mending. I think when you want it to be visible mending you make it obvious. So use contrasting darning thread and a bright base layer fabric. That way everyone knows you meant it.
To make the outer patch first consider the look you’re going after.
- Do you want to keep it as close to how it was, then a traditional rectangle or oval shape, and a matching pair of them is what you want.
- Do you want to take advantage of this opportunity to add some flair? Then think about different shapes, sizes, and colors.
- Are you matching the thread to the sweater or the patch to sew it down?
- Do you want to use an invisible stitch to apply it or a bold blanket stitch?
- Are you going to add a second patch to the other elbow even if it isn’t worn out?
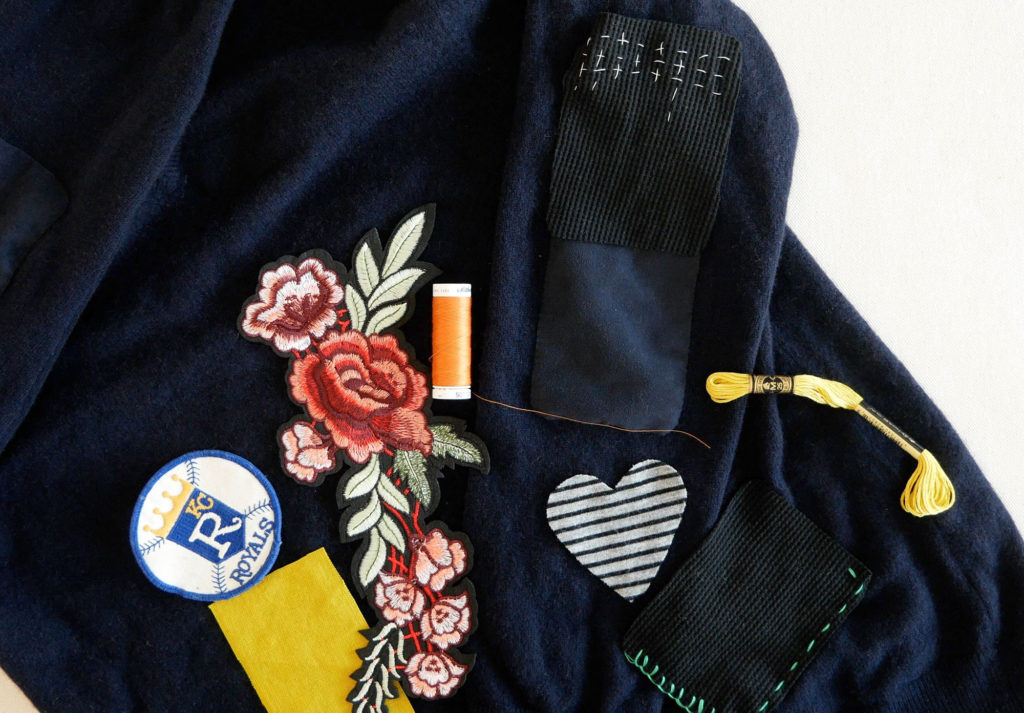
Some ideas
- apply a ready-made patch. (Etsy is a great resource for patches)
- make your own patch any shape, any color, or any size.
- stitch the patch down with embroidery floss.
- use a bold blanket stitch or large running stitches around the perimeter.
- sew rows of perpendicular lines onto of a matching patch in contrasting thread.
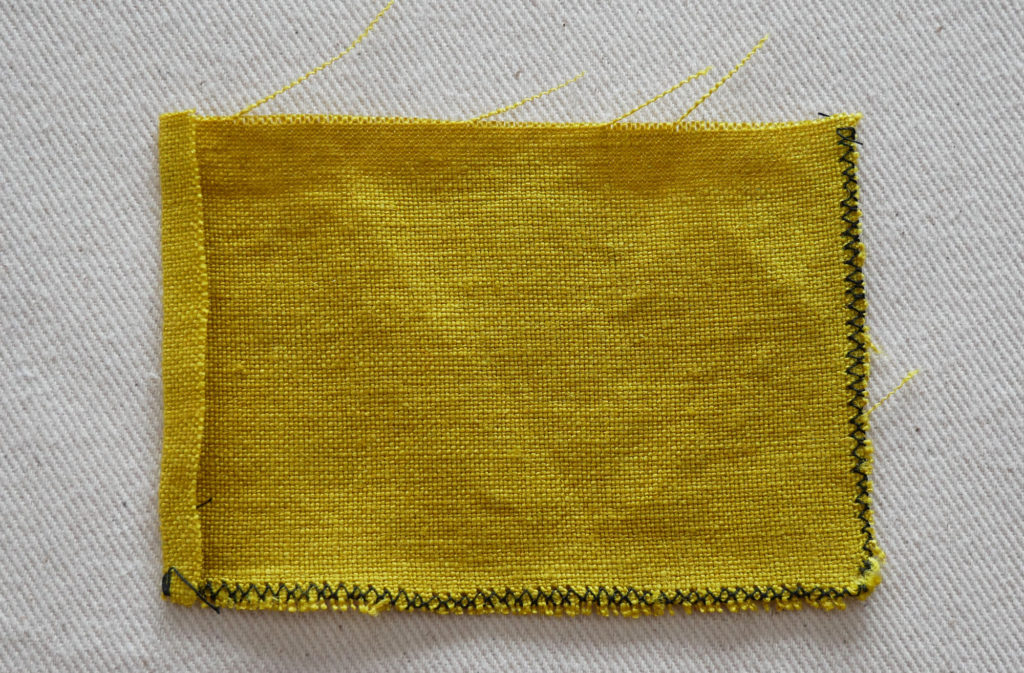
Fabric type was discussed above but if you are using a woven fabric to make your patch think about how you will treat the edges to keep the patch from unraveling. Two obvious ways are to 1. fold the edges under to the wrong side of the patch about ¼” 2. Run a zig-zag stitch or overcast around the edges and let them show.
The size of the patch needs to extend about ½” or 1cm beyond the worn-out area as it needs to be attached to strong fibers of the sweater (not worn-out). But of course, you can make the patch larger if you want.
If you want to apply two matching patches you are best off making a pattern for your patch with paper so you can duplicate it – or cut one patch and then use it as your pattern for the second patch.
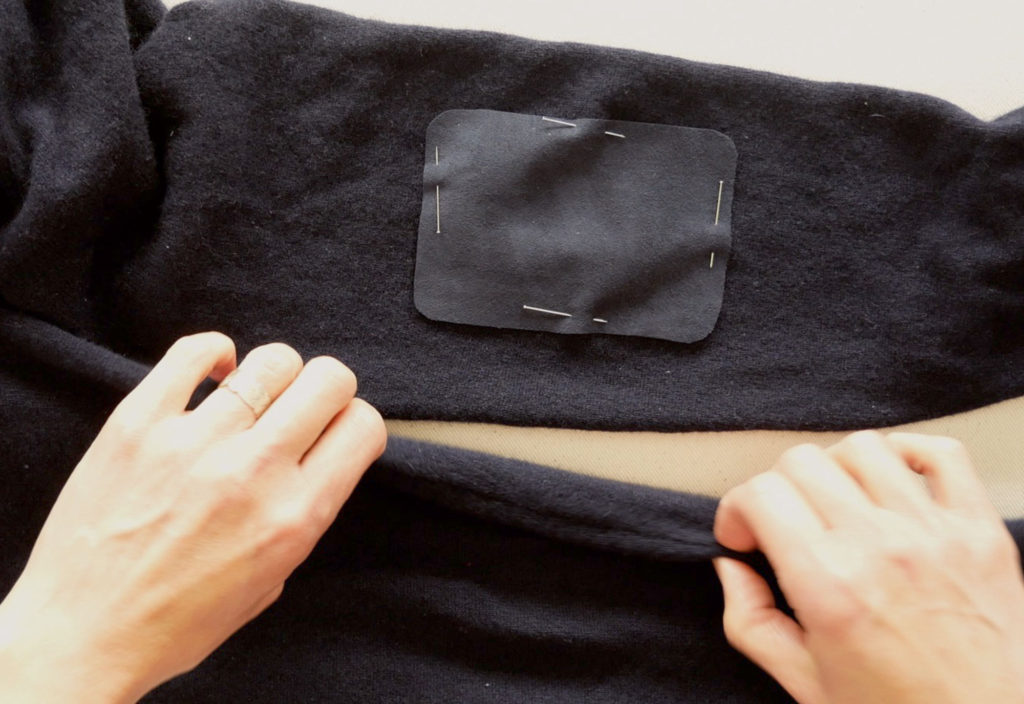
Pin down the patch over the area you want to cover. If you have reinforced the area already be sure to cover all those stitches. Pinning the patch through just one layer can be difficult at first in the sleeve. I pinned the patch in the center through both layers to hold it where I wanted it while I got my hand into the sleeve to pin it more securely through just one layer.
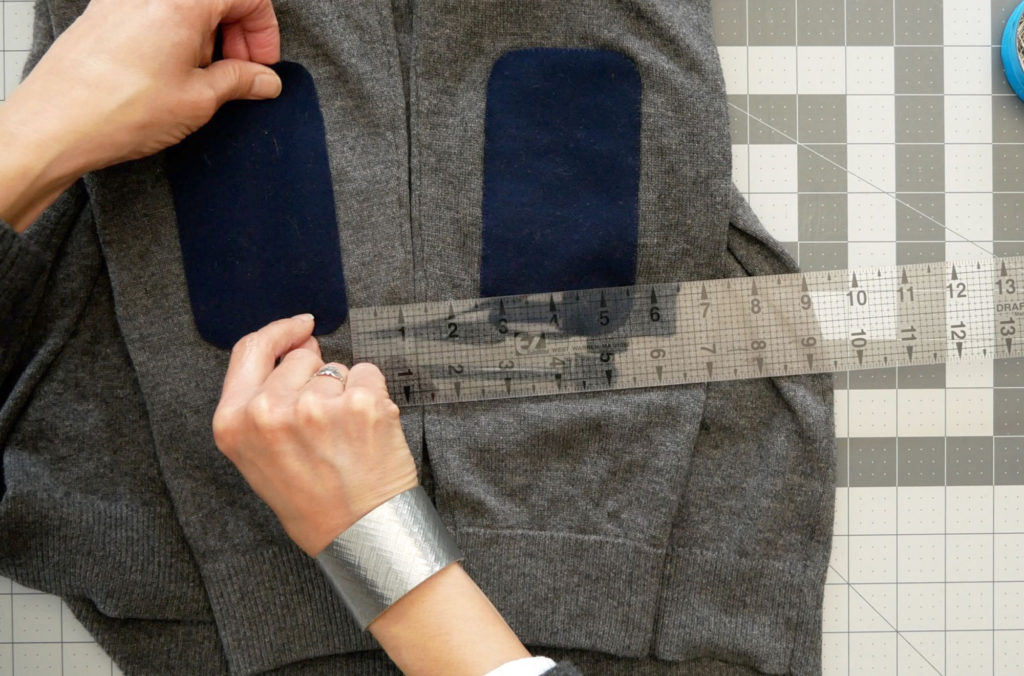
To match the placement of a second patch on the other sleeve. Lay the sleeves flat so both backs of the sleeves are facing up and the sleeve seams are straight along the side, not creeping under or over on the flat sleeve. Line up the cuffs of both sleeves.
Measure up from the cuff and over from the sleeve seam to match the placement of the two patches.
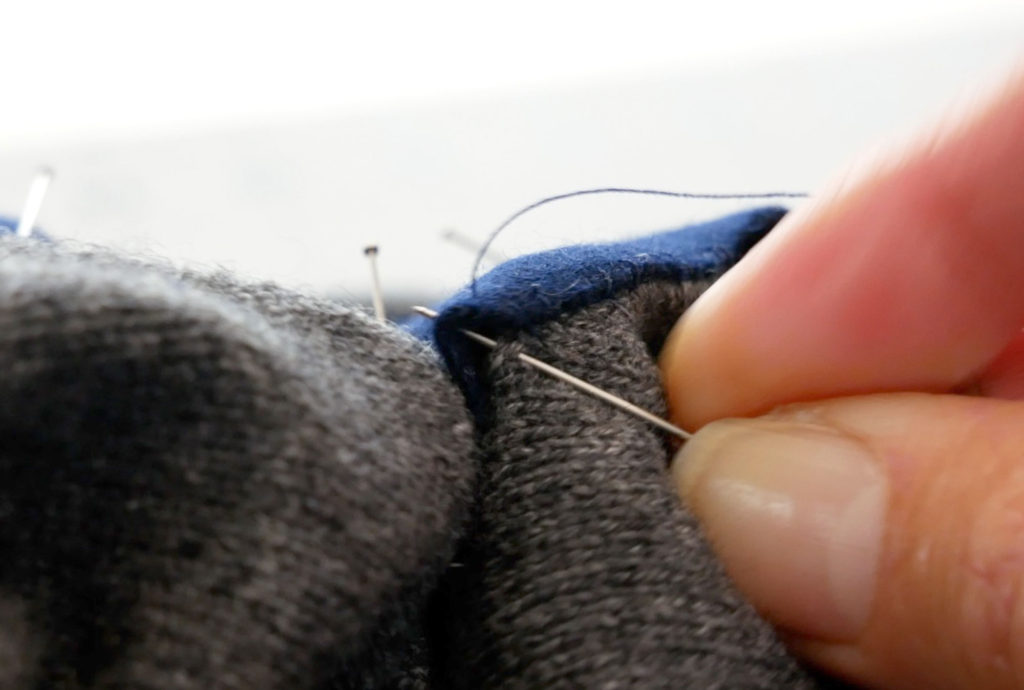
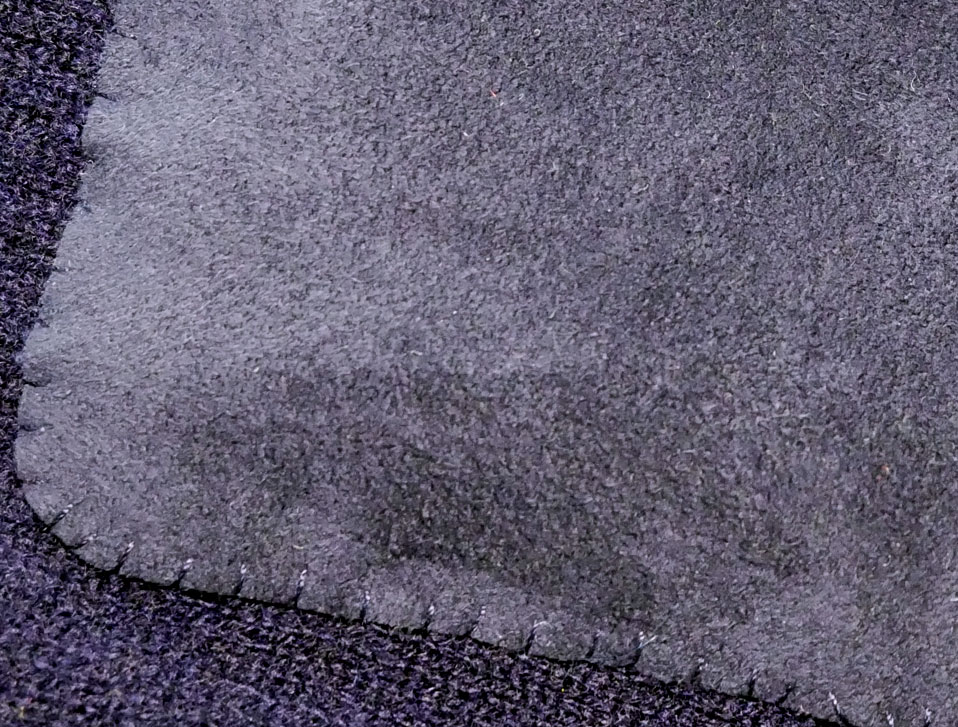
Sew the patch down by hand using a whip stitch if you want it to blend in and a blanket stitch if you want it to show. Match the thread to the patch to have the stitches less obvious no matter what color the sweater is. You could also any decorative stitch you know including embroidery stitches but maybe whip stitch the edges down if your stitches are in from the edge.
Now your sweater is ready to be worn for a few more years. You just saved yourself some Time, Money, and Energy by not having to replace this sweater. Bonus points for not demanding another sweater be produced and keeping this one out of the landfill. Eventually, it will probably go there but you’ve delayed it.
Remember this patching technique can be used on any part of your sweater and other knitted items.
Thank you for reading. I hope this was helpful. If you have any questions or tips to share about patching sleeves please put them in the comments below, and I’ll be sure to reply. Happy Sewing!
I have cable knit cardigans that I need to patch, so the weave is much looser than your example. Would you still recommend your method here?
Thanks!
yes, I would put a patch on under the hole. The patch covering the hole on the outside of the garment is optional. Although it does help reduce wear. I also have this post about other ways to darn & mend a sweater: http://www.thedailysew.com/2022/05/8-ways-to-darn-mend-a-sweater/
Found this buy accident when thinking about options for patterning paper, stayed to giggle over your middle school lessons and bookmarked loads of pages for my high school lessons. Thanks for a great site, especially for having both video and written/photographed instructions.
About felting – beg some foam offcuts from an upholsterer. They are perfect and won’t break your needles.
If using woven fabric with felting, you’ll want to choose fine or loosely woven fabric – felting into jeans, for instance, is hard and will probably break at least one needle.
Having said that, felting needles come in lots of sizes – don’t use fine needles for heavy work, whether patching or decorating.
Thanks for this info. Seems obvious, now that you say, that felting needles will come in different sizes. Duh 😉
For a large area like an elbow, you could also try wet-felting.
1. Layer your fibres incredibly thinnly (just fibre or two per layer till you’ve built up the thickness you want) in a cross cross pattern on some plastic over a sushi mat. Cover with plastic.
2. Wet with very soapy boiling water (washing up liquid will do)
3. Roll the whole thing up in the mat and roll back and forward lots.
4. Repeat 2/3 untill you have a felted fabric patch.
Tip – if you have spare wool from making the item, try unravelling the wool (carefully) with a dog brush to use as the outside layer of you felt. This will not work with machine washable wool.
Oh my gosh, Thank you. This is great to know about and how to do it. Thank you for sharing. I really like we can all help each other. Plus I like learning all the things and ways.
Thank you very much for this info, both print and video! I couldn’t quite get it in my head how to repair my husbands worn and holey sweater elbows. This is exactly what I need to get moving and fix the sweater.
Thanks – My husband’s sweaters were exactly why I had to figure this out. He isn’t a fan of the colorful “visible-mending” but he also didn’t want to take the time to hunt for a new sweater, with the same fit and the same weight as his hole-y sweater because the rest of it was “perfectly good” 😉 Happy to figure it out – but this year he has worn though above the patch so I don’t think it’s going to be around next winter.
Found your site and was a bit put off about having to do this job by hand, but meanwhile my sweater elbow holes were getting bigger and bigger. Finally put together all the pieces to do it and finished it without much trouble. But what made it work so much better than I was thinking it would was to find a very stiff piece of cardboard or plastic to slide into the sleeve that would not only help stabilize the sleeve while stitching, but also have something to help keep the needle from piercing through to the other side. It worked like a charm! Thanks so much for your post to help me get motivated to do this chore.
Oh super – thanks for letting me know. I’m glad the repair wasn’t too bad. I have a few repairs I’m procratinating on now. Perhaps I should bite the bullet and just get started – that’s always the hardest part for me- starting.