
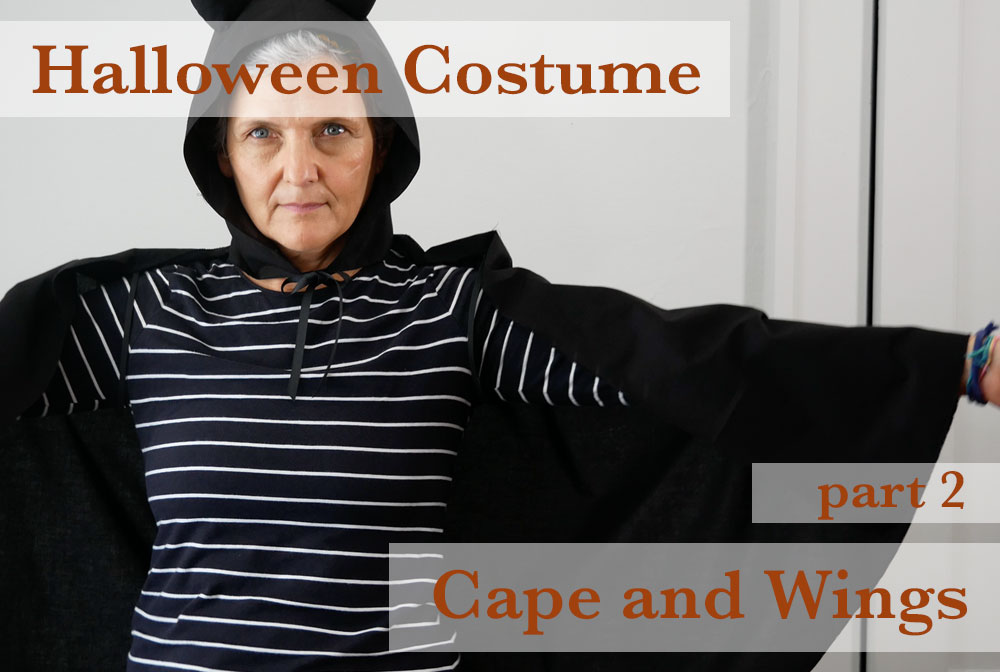
Costume time!
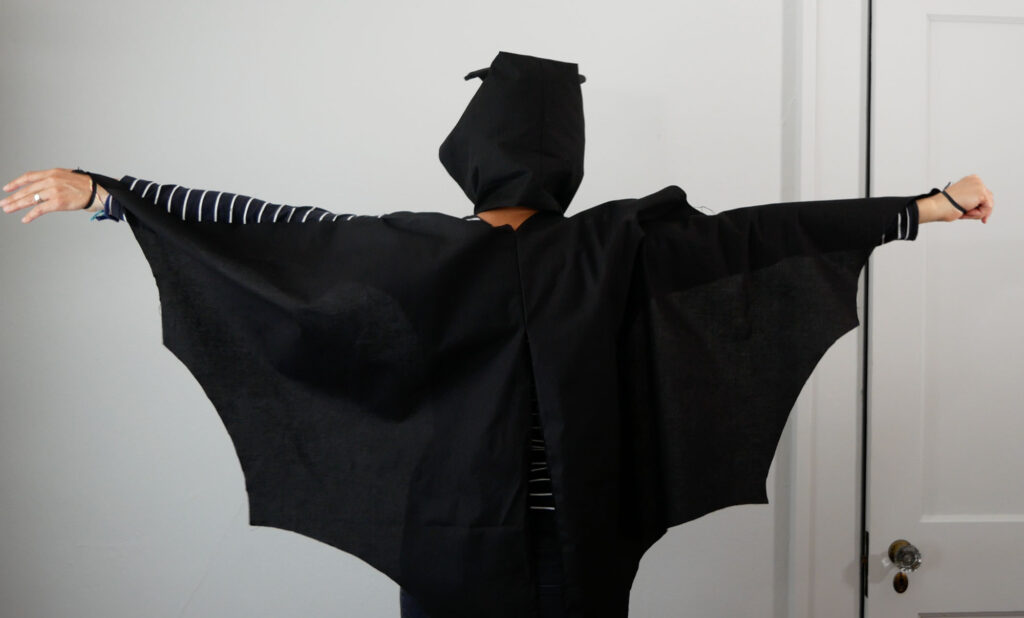
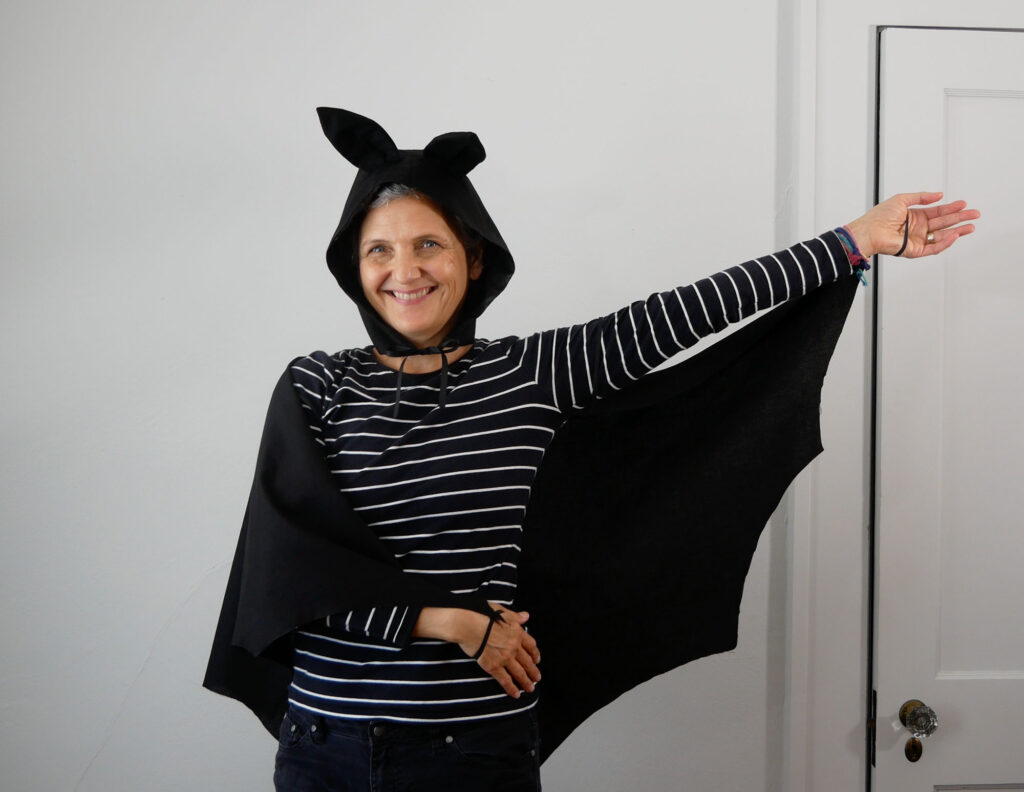
In the last post, I showed how to make a hood that you could attach ears or horns to and now it’s time to make the wings or a cape – because we all need a cape sometimes.
This is a simple process and one that can be adapted to all sorts of different wing shapes and cape lengths.
I have decided, out of comfort and safety, to design the wings and cape to be worn with elastic loops around the arms instead of a tie around the neck. However, you can easily add a ribbon at the neck as well for effect.
You can watch the process here, in this video, or read on.
This post has affiliate links to products that I bought and use and always recommend. You can buy them from anywhere but if you buy through the link I receive a tiny percent back from that mega-retailer, Amazon, to help support this blog. Just letting you know 😉
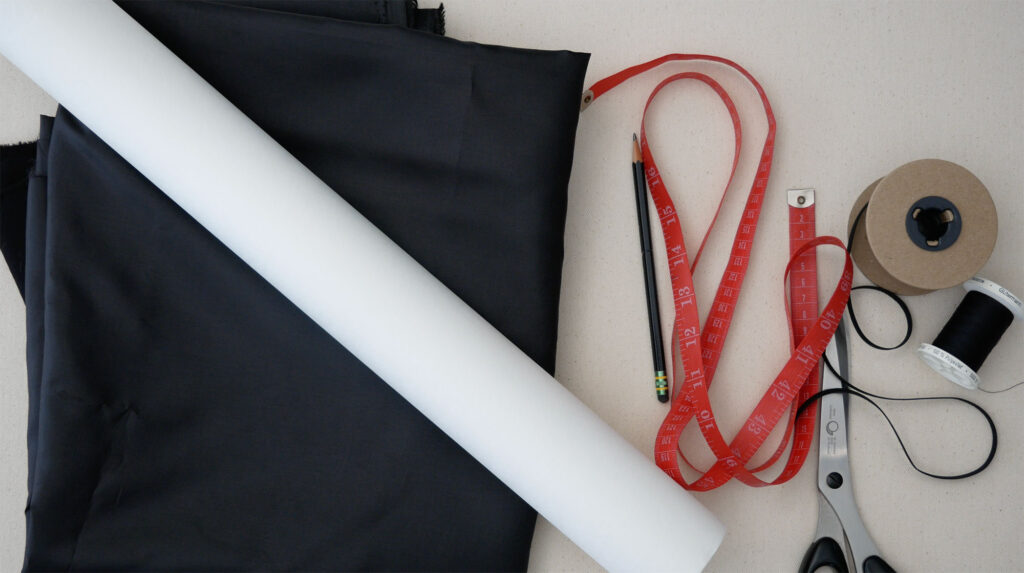
Supplies
- Fabric – You can use a mid-weight cotton or something lighter like lining fabric
- A large piece of paper
- A pencil or pen
- A Tape measurer
- About 1 yd. of elastic about ¼” wide (This comes in a variety of colors if you’re willing to buy a “set” of a few colors. Or use a Sharpie marker on white elastic to match your colorful wings)
- Thread
- Scissors (Kai are great scissors and the price is excellent for the quality)
- Fabric paint, or other fabric to add markings to the wings if desired

Draft the Pattern
To make the wings or a cape you’re going to need 2 measurements
Measure across the back shoulder to shoulder this is Measurement A
Then Measure from one shoulder to wrist Measurement B
½ Measurement A + Measurement B = the top of the wing and the length of the cape
The wing length, how long they are, is up to you.
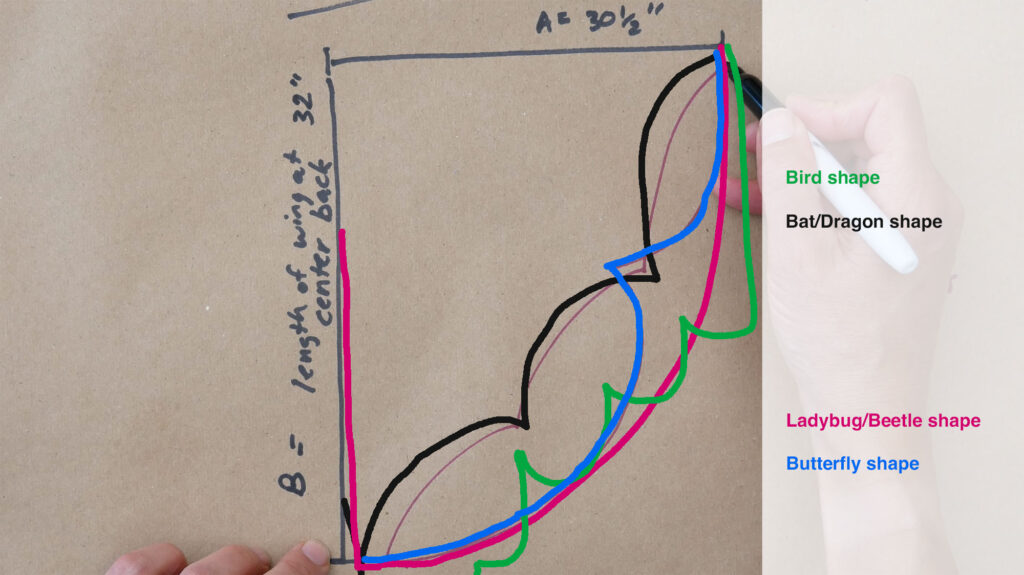
You can make all kinds of different wings by changing their shape: bat wings, beetle wings, butterfly wings, dragon wings, and bird wings. Additionally, you could also paint on thin bones like a bat’s wing would show or add fabric spots for a ladybug
In this tutorial, I am making a short cape. It comes to my wrist so I use the same measurement, mid-back to the wrist, and I will use the same measurement for the length of the cape to get a pleasing half-circle shape. If you wish to make your cape flor length just measure from the base of your neck at the back, to the floor. That is your measurement for the length and the width of your pattern.
Wing Pattern
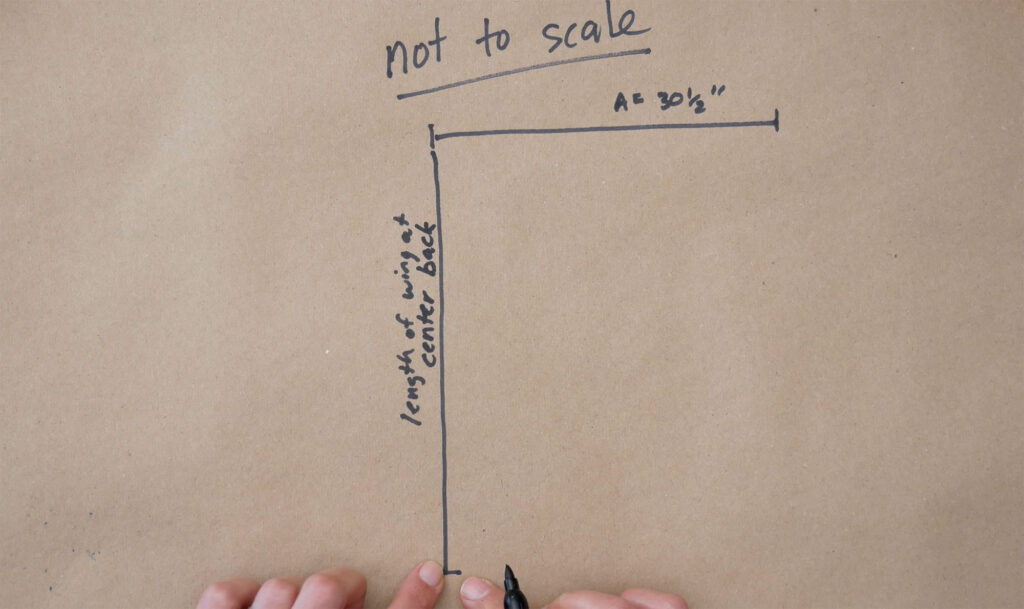
On a large piece of paper draw your pattern by first drawing a straight line across the top equal to the top of your wing ( ½ of measurement A + measurement B)
Down the left side, perpendicular to the top line, draw a second straight line equal to the desired length of your wings or cape. (For a half-circle cape this measurement is the same as the top line)
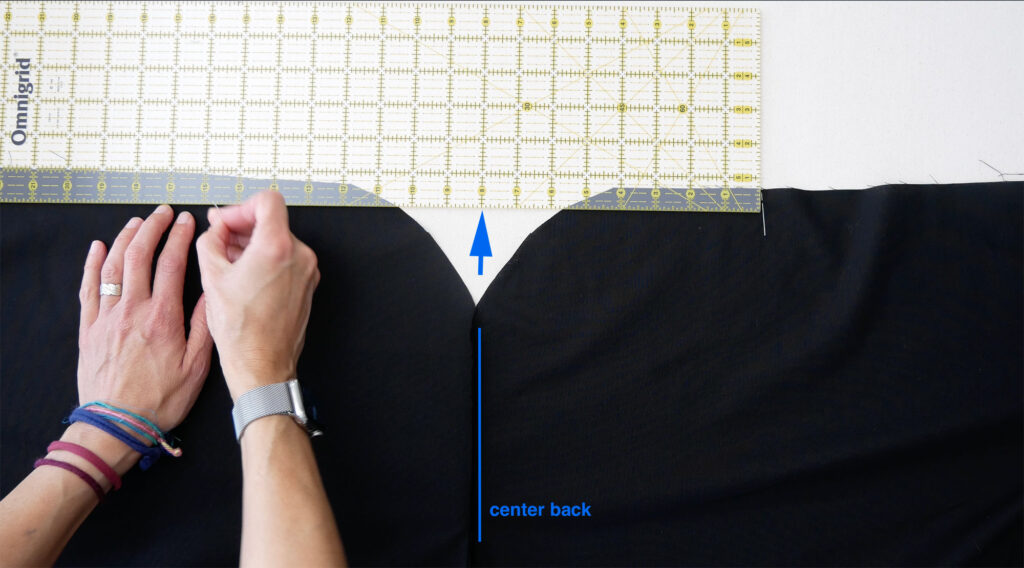
You now have an upside-down capital “L”. The vertical line is Center Back. It represents the center of your back. The top horizontal line is, pretend, your arm, sticking straight out to the side.
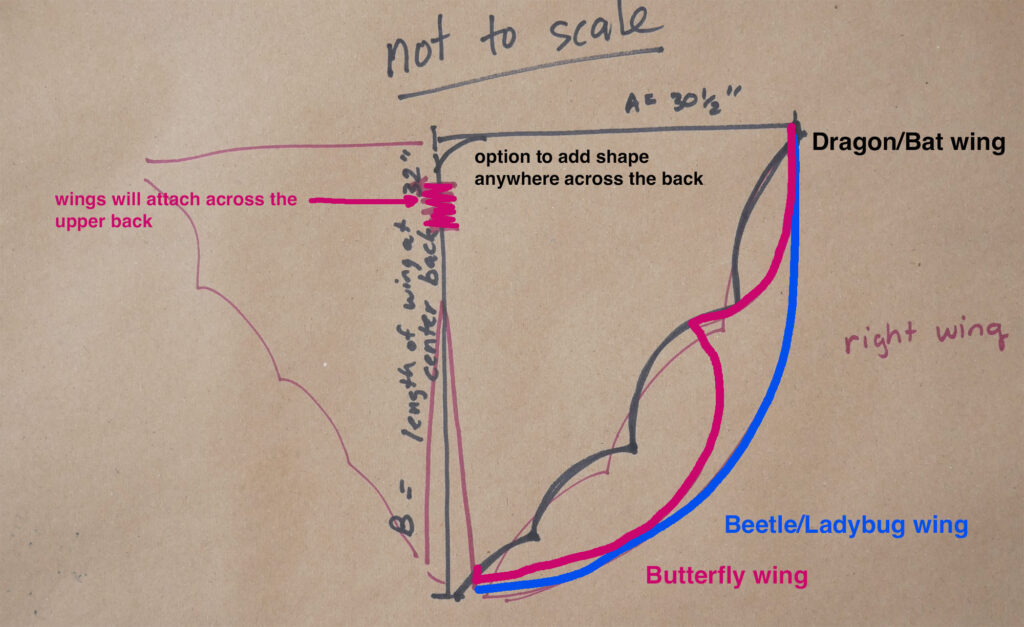
On the far right of that top line, what we are pretending is your wrist, draw your desired wing shape. It does not have to touch the bottom of the center back line. It may dip down and then come back up, like a Swallowtail Butterfly’s wing. It just has to end somewhere on that center back line.
The wings are attached to each other somewhere on or near the top of the center back. This will depend on your design. But they can separate at some point to make two distinct wings
You can have the wing pattern keep the upper left corner or you have your wing shape dip down a little at the center top.
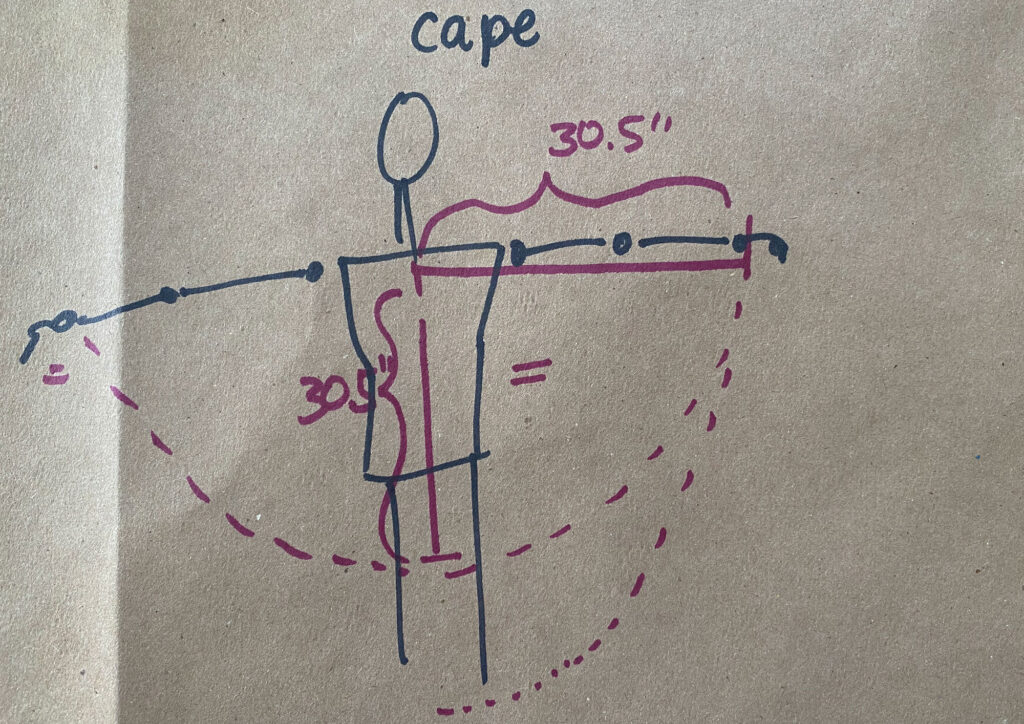
Cape Pattern
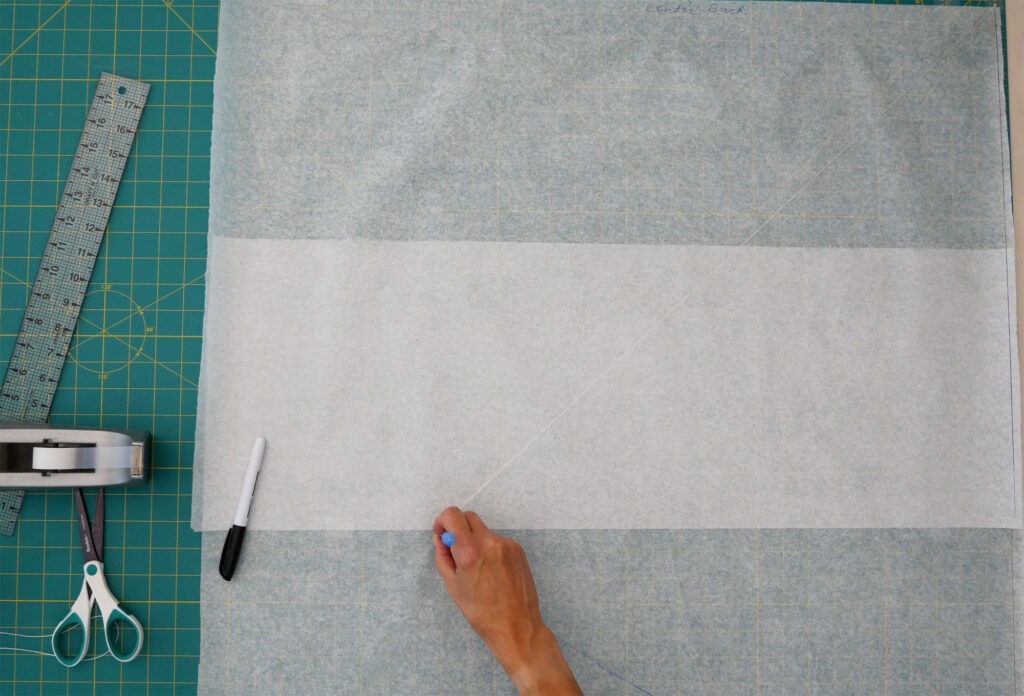
To make a cape pattern you’ll make a box. The sides of the box are as wide as the mid-back to wrist measurement ( ½ of measurement A + measurement B). To make a nice curved line hold cut a piece of yarn or string as long as your measurement plus an inch. Tack or tape one end of the string down in the left upper corner. Hold the other end of the string next to your pen or pencil as you hold that. Then gently pull so the string is taut, and draw a curved line with the pencil at the end of your string, from the upper right corner to the lower left corner. (keep the string taut).
Cut the Fabric
If your pattern is for a child, or you scored extra wide fabric (or are using a bed sheet) you might be able to fold the fabric in half lengthwise and still have your pattern fit on the fabric – the center back on the fold) This is especially great if you’re making a cape because it will eliminate the center back seam.
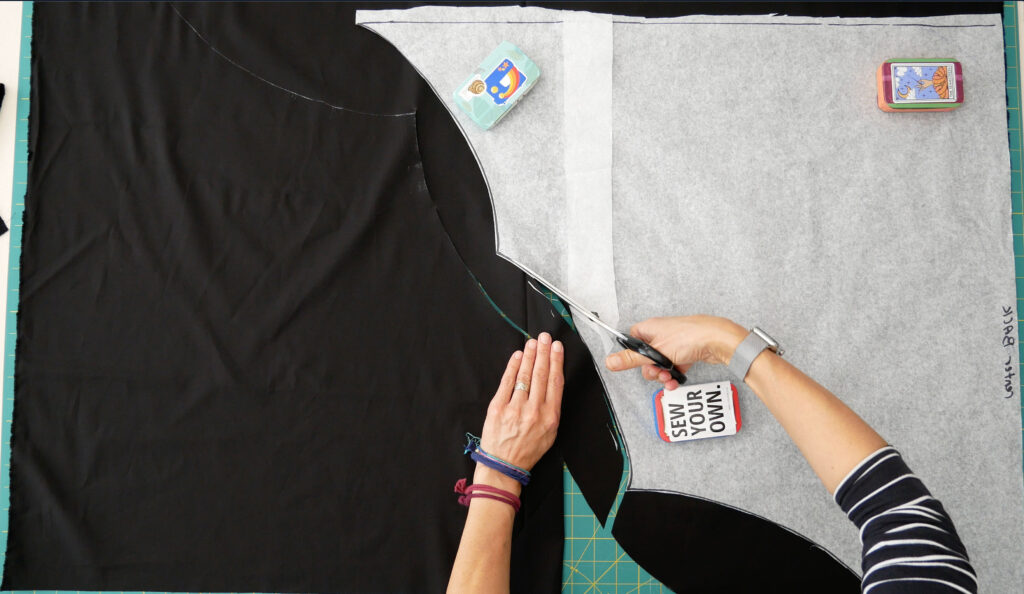
If your fabric is not wide enough you’ll need to lay the fabric open so it’s a single layer and cut out one wing or cape pattern at a time. You can flip over and turn the patterns upside down to nest the second wing next to the first. But only if your fabric is solid or, if printed, has no obvious direction in the print.
Note: You can add a seam allowance to the center back edge, or because it’s a cape and the fit isn’t going to change much you can cut it out as is and sew with a narrow ¼” seam allowance.
Sewing the Cape and Wings
Now that you have two wings or halves of a cape you have to sew them together.
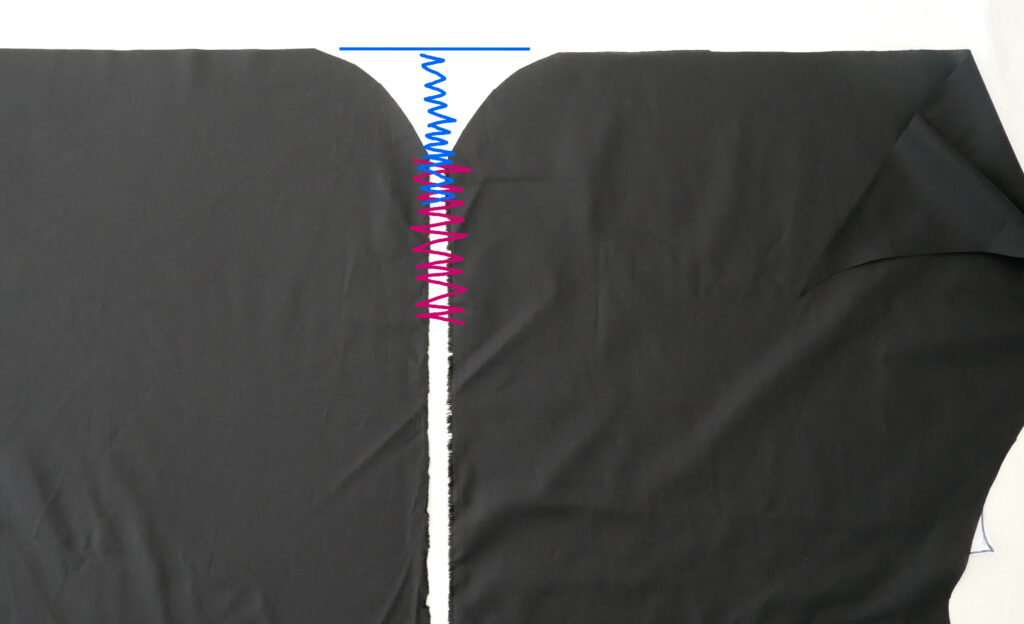
For the wings, this is just about 6” to 10” depending on your size and your design. If your wings go straight across at the top (blue line in the photo above) attach them together starting at the top. If they dip down a bit at the center (pink line in the photo above), start where the dip ends. Use ¼” seam allowance.
If you’re making a cape sew the pieces together the entire length starting at the top of center back to the hem. Use ¼” seam allowance.
Now is the time to add any decorations to the wings, like paint, fabric markers, or other fabric shapes to make spots or butterfly markings
If you made a cape you might want to hem it to keep it from fraying. Fold the fabric up on itself once, and then again, encasing the raw fabric edge. Pin, press, and sew the hem down. Then press again. Or You could run a zig-zag stitch around the entire edge with matching thread (not as clean but it does the trick).
It’s hard to hem the shaped edge of wings, depending on how shaped they are.
I applied Fray Check to the edges – or you can use another glue that dries clear. Just add a little along the edge a few inches at a time and rub it into the edge.
Because you might only want the wings for one night you could just let them fray. However, when the party is over please find another way to use the fabric instead of throwing the wings away.
Making and Attaching the Elastic Loops
Remember that ¼” wide elastic you have left over from making COVID masks? Take some and fit it around the arm at the armpit. You don’t want it tight or loose. You’ll do the same around the wrist but only if you are making wings (capes do not need wristbands)
Cut 2 pieces of elastic to equal the wrist measurement plus 1” (wings only)
Cut 2 pieces of elastic to equal the arm at the shoulder joint plus 1” (wings and cape)
With all your pieces of elastic overlap the ends ½” and sew them together to make a loop.
Find the center back of your wings or cape. From the center measure over ½ of measurement A (shoulder to shoulder across the back) Place a pin to mark this on both the right and left side of the center back.
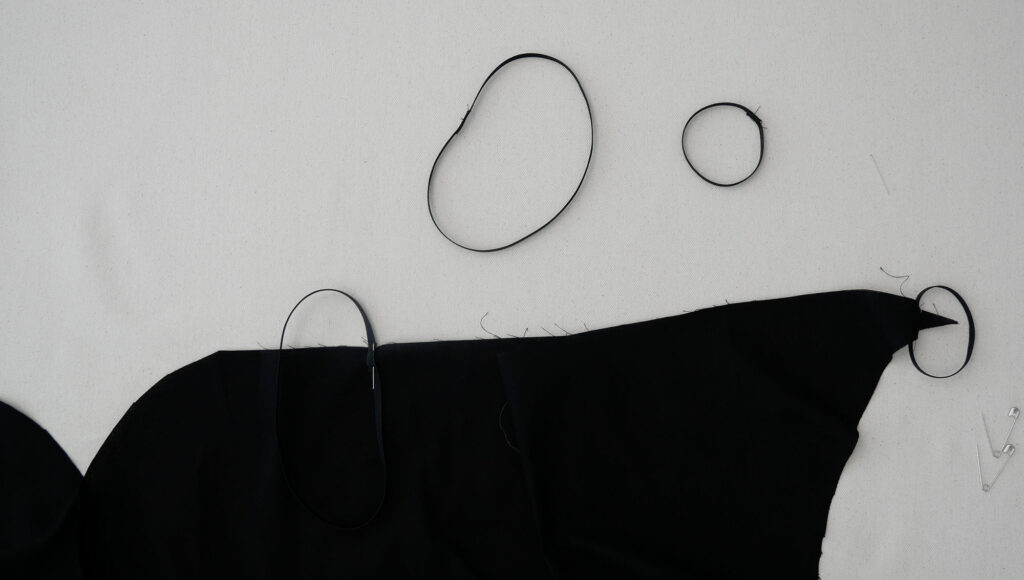
Pin the shoulder loops to the marks and if you have wrist loops pin them to the end of your wing. You could safety pin the loops on to check the position before you sew them down or you can just go with it.
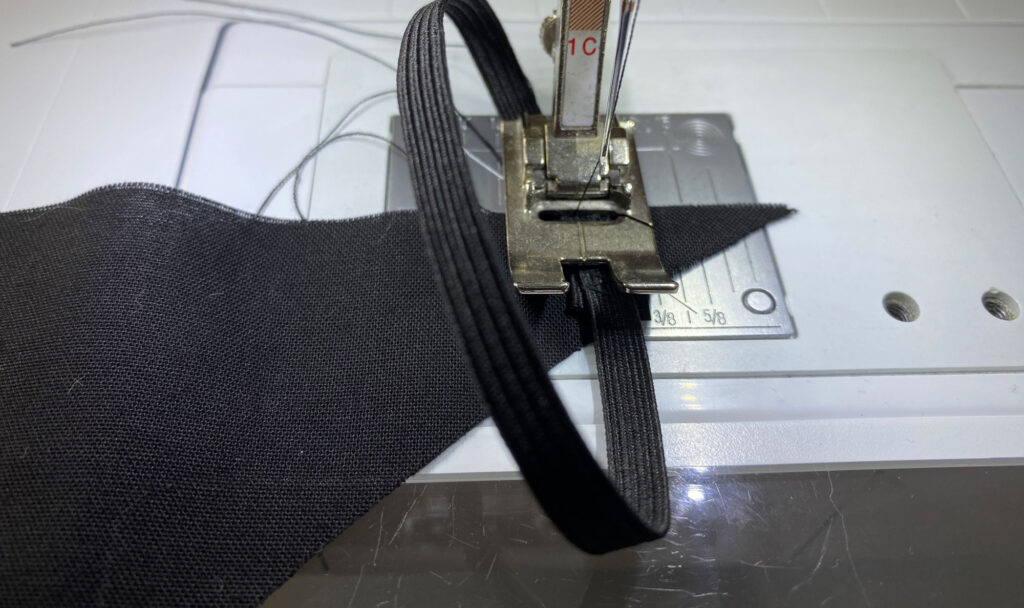
Sew the elastic loops to the wings or cape. Remember the cape only requires the shoulder loops.
You could add ribbon at the neck of the cape to tie a bow but it’s more comfortable, and less of a danger, to have the cape fall from the shoulders and not only the neck.

Once your loops are attached it’s done. That simple.
Happy Halloween or any other occasion requiring wings 😉
Thank you for making this! I am learning how to make costumes just like my grandma did. Now I’m doing it for my son, and I know she’d be so proud so thank you for showing me how!
yay! I’m glad this helped. I hope your son enjoys his costume