
It took me a long time to switch over to pattern weights from pins – not just because I really liked my scissors but also because I didn’t want to pay for pattern weights. They didn’t look like a good value and only came in ugly colors (at the time).
I tried using soup cans, books, and washers taped together before I thought about making little bean bags filled with BBs although dried beans (or rice) probably would have worked.
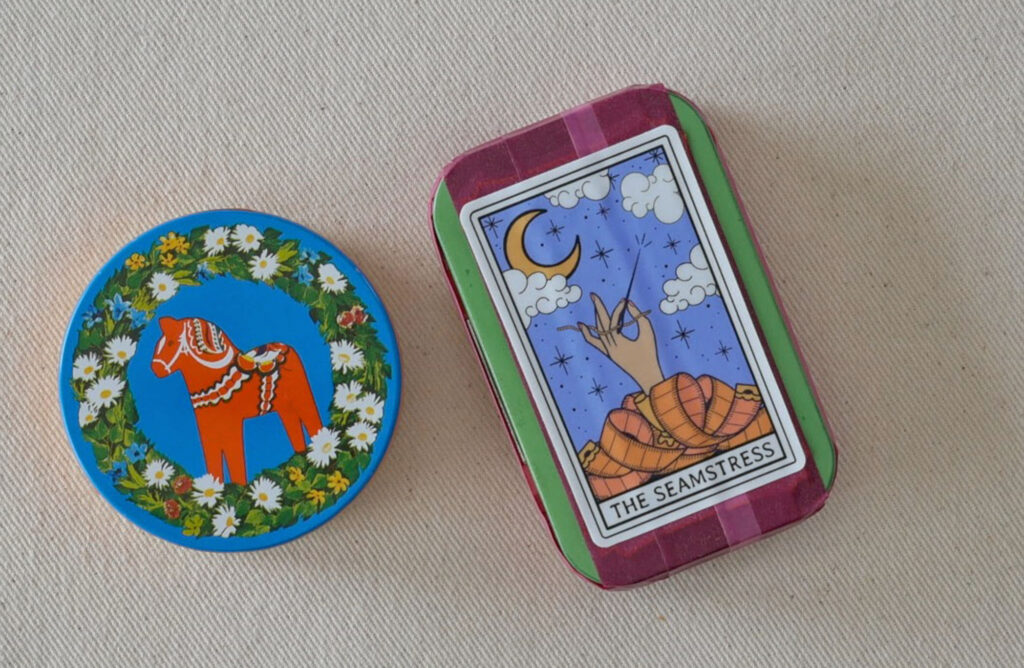
If you’ve ever turned a fabric tube (before Dritz came out with that tube-turning gadget) you probably know why I stopped making fabric pattern weights. Ugh. (but they are great for holding down small pattern pieces)
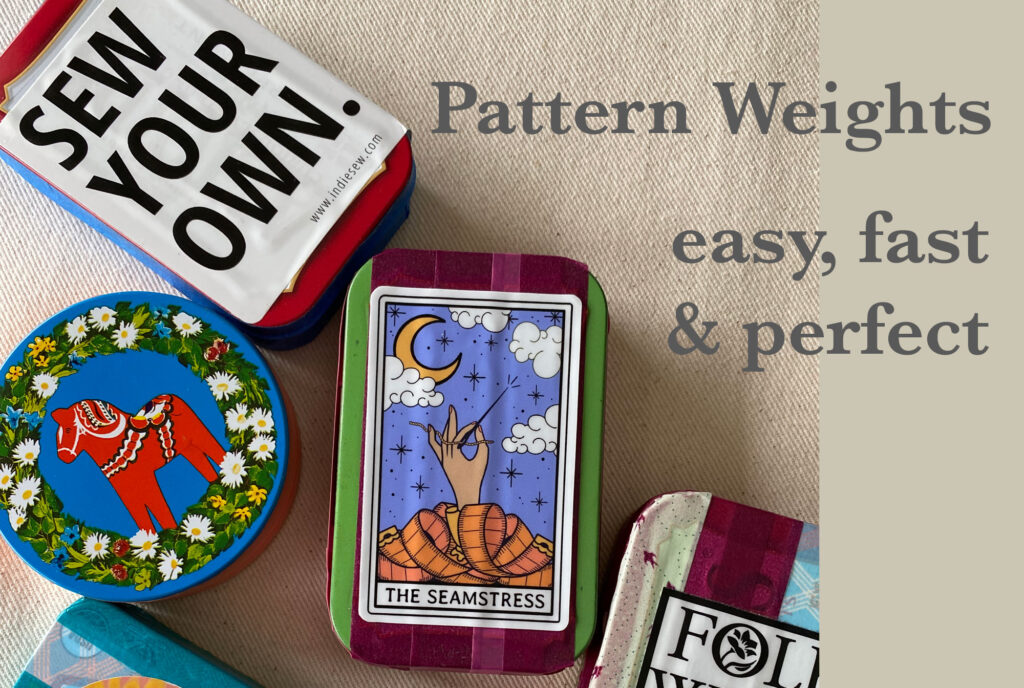
Putting BBs into small, already-made containers was Genius – and I don’t know how I came up with the idea but I’m still glad I did. And, bonus, I could make them whatever color I wanted.
You can watch this short video on how to make pattern weights or read on.
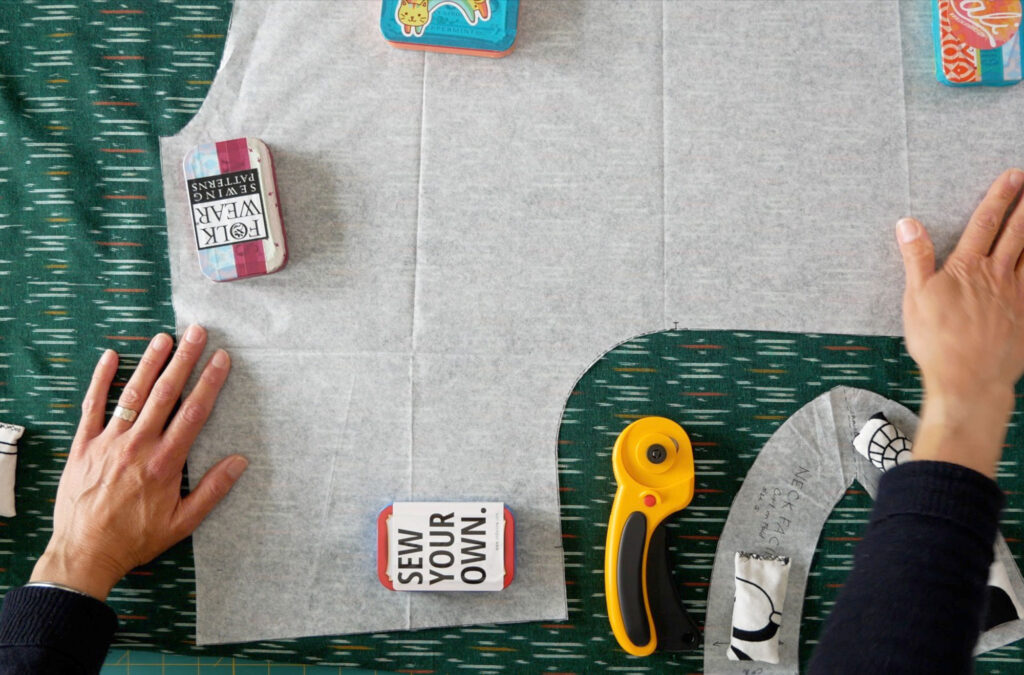
These weights can be made in under five minutes (each). I really like how the slick bottom of the tin slides over the pattern piece, smoothing out the paper.
TIP: Place your weights in the center of your pattern and slide them out to the edges to get the pattern to lay completely flat.
What You Need
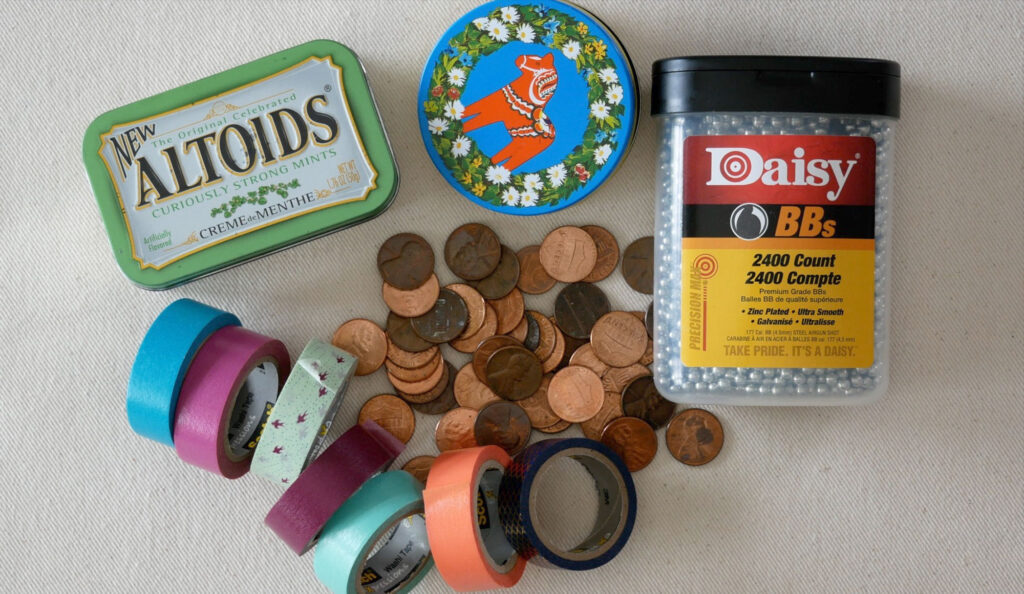
- Empty candy tins that have a smooth underside. They can be decorative or not. I imagine smooth, small, plastic containers would also work.
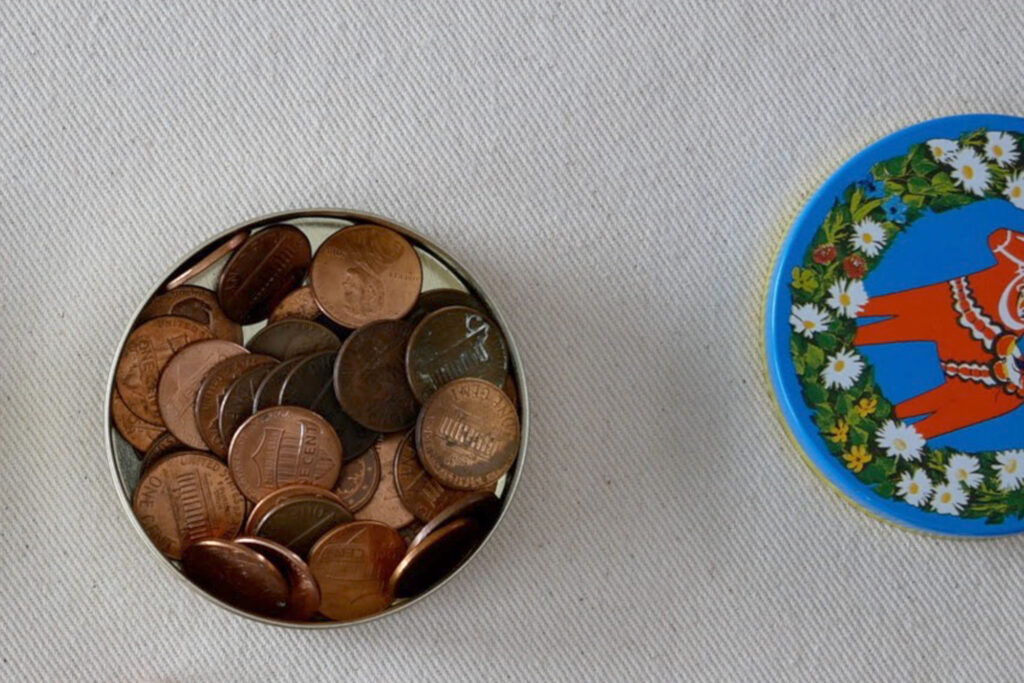
- Something heavy to seal inside the container. I use BBs or pennies but fishing weights, odd screws and nuts, old pie weights, pea gravel, those flat glass pieces you put in flower vases, and marbles would work too.
- Tape to seal the top to the bottom. I use washi tape but I’ve also used painter’s tape and masking tape. Packing tape could also work.
- Optional: stickers – just for fun.
Put it Together
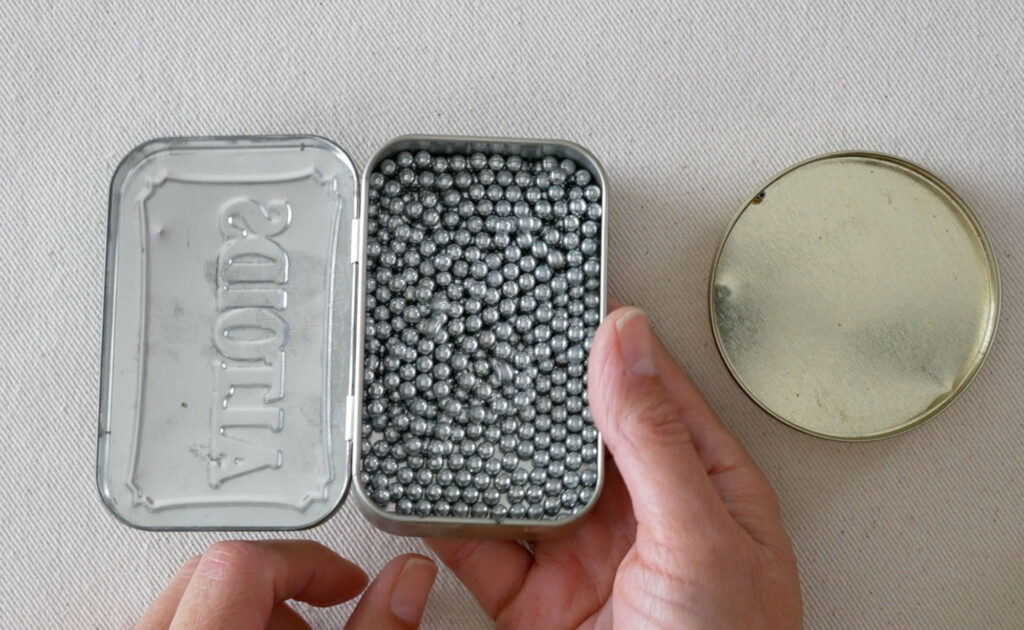
Simply place some of the weights into the container.
NOTE: You do not have to fill the container to get it heavy enough for a pattern weight.
Check the weight of your container to see if you want to add more or take some away.
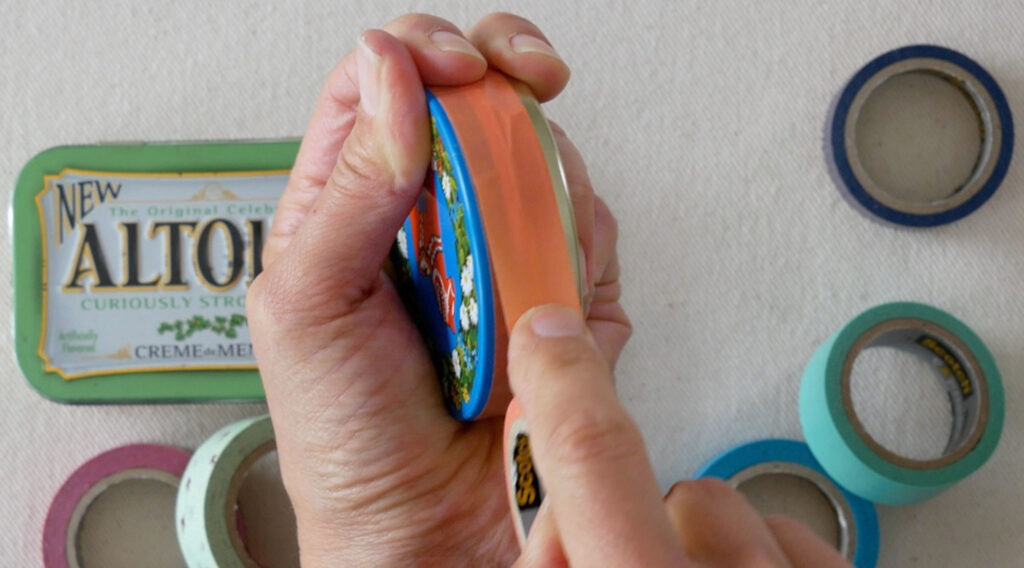
Seal the lid to the bottom by running the tape along the sides over the opening. I do this on tins that have hinged lids too.
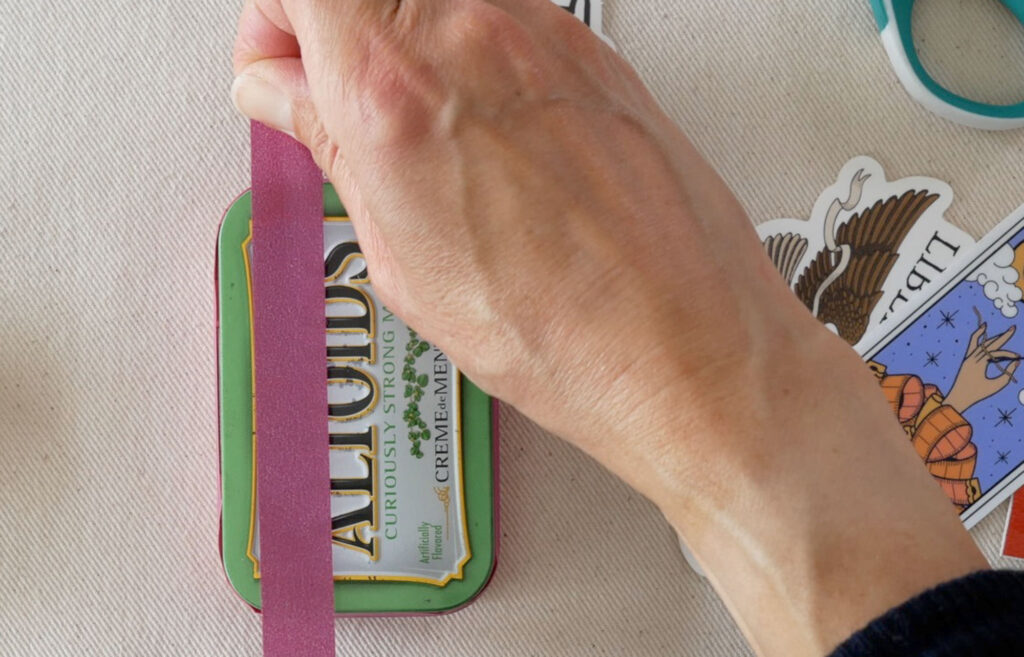
Now’s the fun stuff, decorating. I typically cover any writing with washi tape. It’s not opaque but it makes the top less “busy” and adds some color.
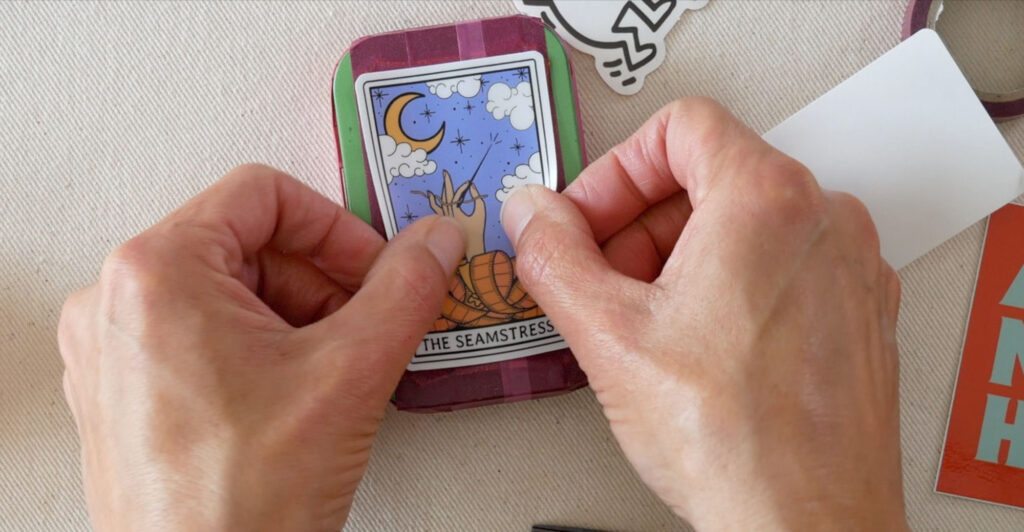
You can also add stickers 😉
That’s All There is to It
Done and done. It’s nice to have a couple more weights to use and super nice it didn’t take me all day to make them.
I hope you found this useful. Please let me know if you have any questions or if you used something else for pattern weights that worked well.
What a wonderful idea!! I’m gonna have to try this!
It’s pretty easy and very useful