
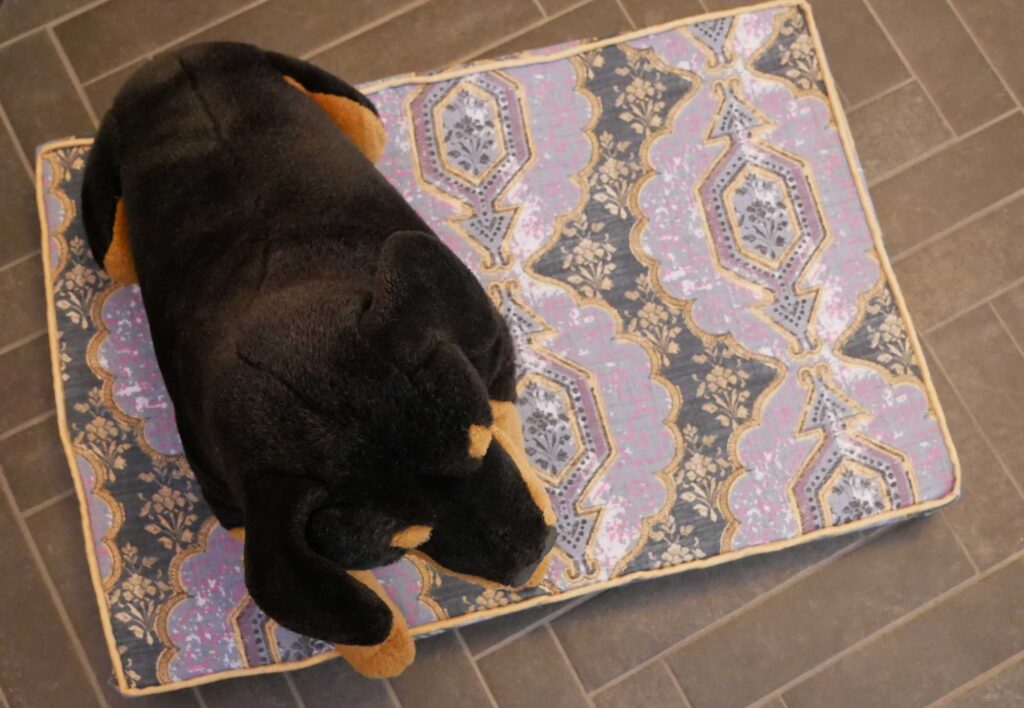
Let me just be upfront: making a dog bed, especially a large dog bed, is not a cost-saving project. Instead, it’s a project for getting exactly what you want, whether that’s a particular size, in a particular fabric, or something that coordinates with the room.
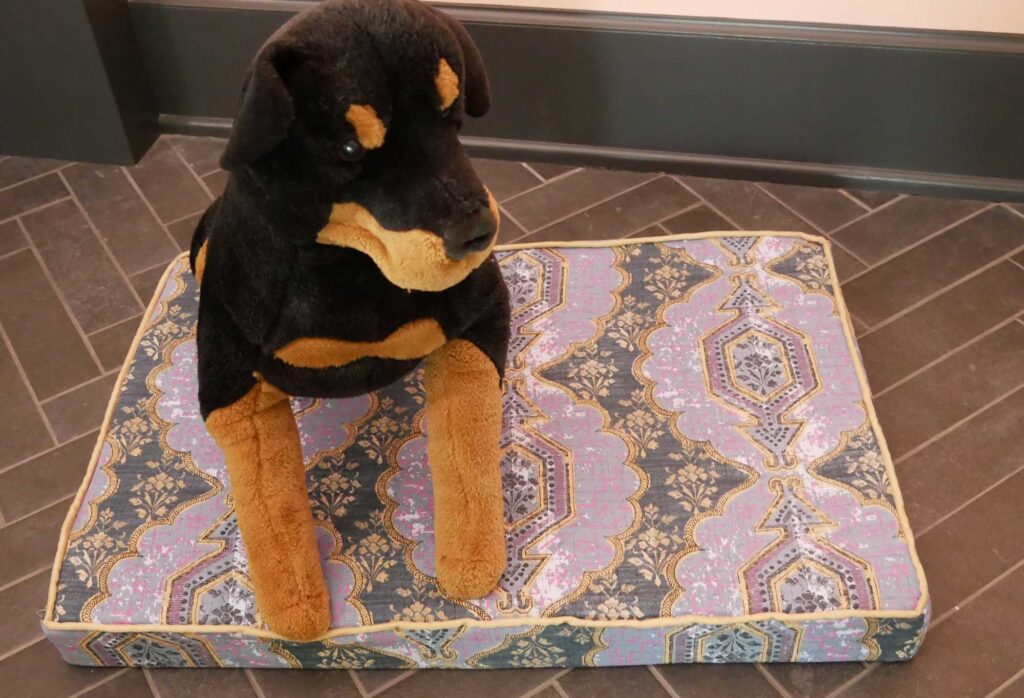
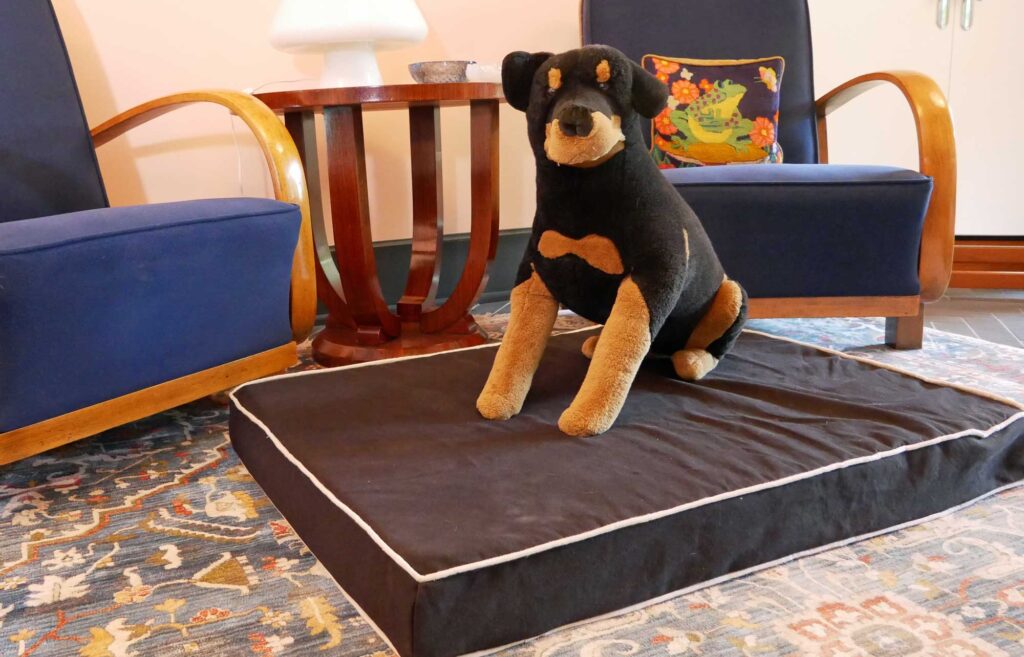
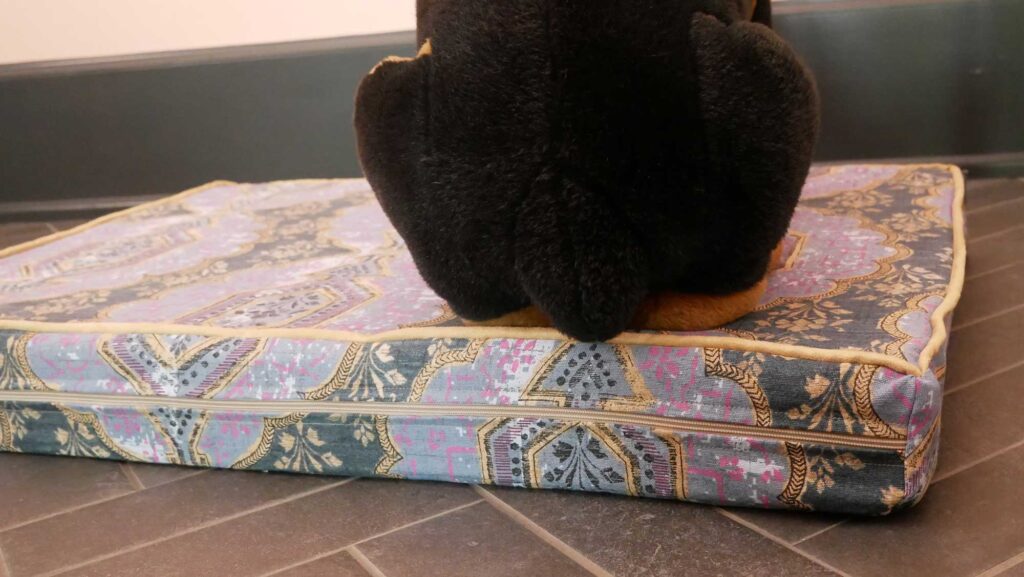
This dog bed cover is easily removed for washing thanks to a zipper down the back side. Piping has been added to the edge of the bed in a contrasting fabric but it could also have piping in the same fabric. The piping is a nice touch and doesn’t require too much time but, of course, it is completely optional.
You can watch the video here for how to make a dog bed or read on
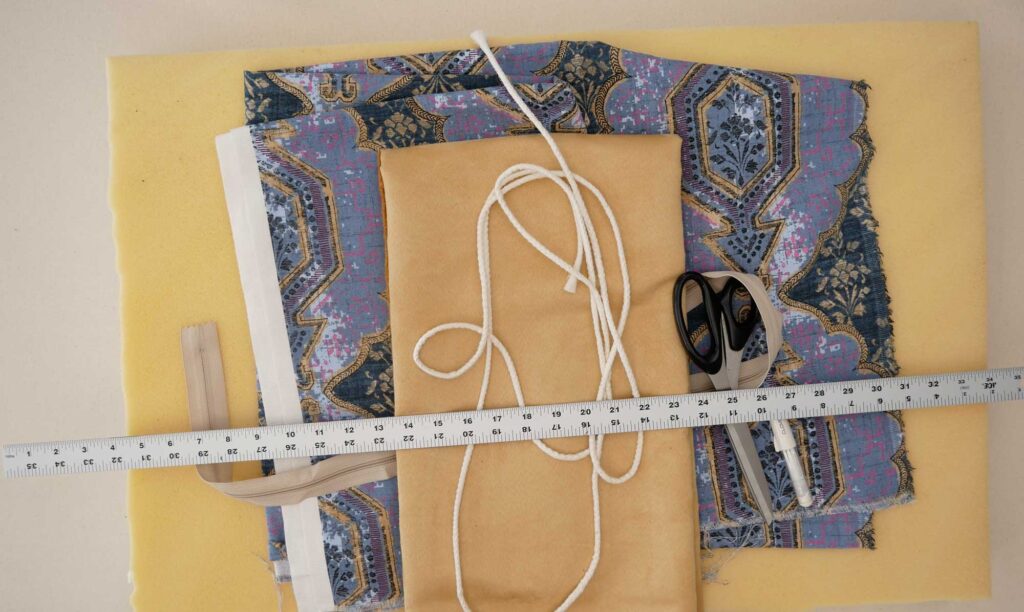
Supplies
- Foam the same size as your desired bed size. Three or four inches thick is what I see on most commercially made dog beds. To get a 4” thick bed you could stack 2 pieces of 2” thick foam on top of each other as I did for my dog Atlas’ bed. Foam is sold at some fabric stores. I used a memory foam mattress topper and cut it to the size I needed.
- Fabric. A cotton canvas or denim, something sturdy that can be washed. You could use a water-resistant fabric for the bottom especially if this is going to be an indoor/outdoor bed. Fleece could also be used for the entire bed or just for the top.
- Wash and dry the fabric before cutting to get any shrinkage over and done with. This way you can wash the cover when needed and it will still fit over the foam when clean.
- An all-purpose zipper as long as the long side of the bed or longer. Long all-purpose zippers are also called upholstery zippers. If all you can find is a jacket zipper (aka a separating zipper) that’s okay it just may cost more.
- Be sure the zipper does not have hard plastic or metal teeth unless it’s the exact size you need.
To make Piping
- Quarter-inch thick upholstery cord long enough to go around the entire edge of the bed (plus a couple of inches) once or twice depending on if you are adding piping to both the top and bottom edge or just the top edge.
- Fabric to cover the upholstery cord. This fabric is cut into horizontal strips, 1 and ½” tall by the width of your fabric. You need the strips to equal the length of the cord plus about 3” for every strip (to join the strips to each other) and an additional 4” or so to join the two ends together.
The above links are affiliate links to the products I purchased and used for this project. These are inserted for your convenience. You can buy supplies anywhere but if you buy through the above link I receive a tiny percent back which helps to support this blog. Just letting you know 😉
Here are some bed sizes and approximate yardage needed

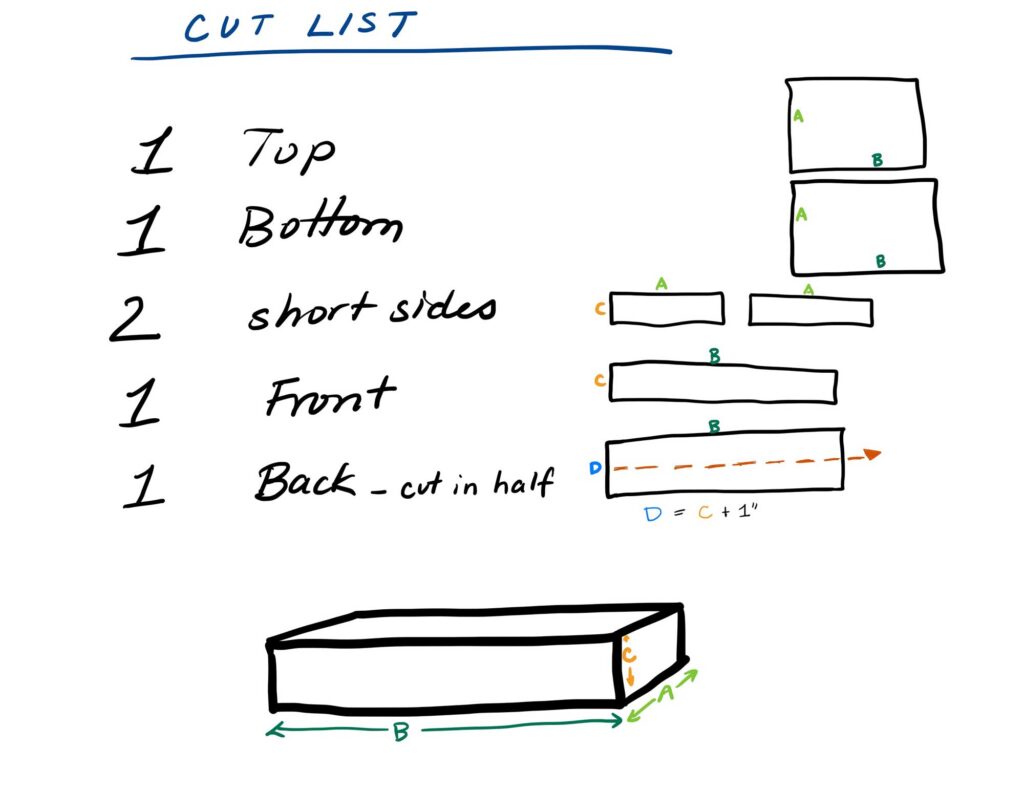
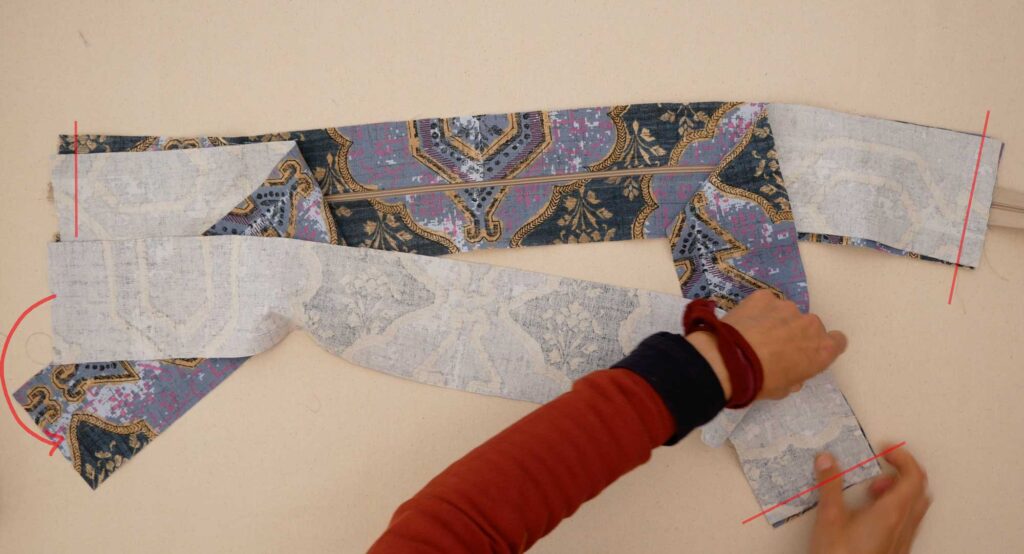
Cut the Pieces
The top and bottom pieces are cut to the size you want your dog bed plus 1” in each direction. This allows for a half-inch seam allowance.
So if you want a 20” x 30” dog bed you will cut it to 21” x 31”.
Each side of the foam needs a piece of fabric to cover it. The front and both side pieces will be as long as the side they cover by the height of your foam plus 1” to allow for a half-inch seam allowance.
The back piece is trickier because the zipper goes down the length of it.
The back is also as long as the side it covers but since it has an extra seam, where the zipper attaches, extra seam allowance is needed. Make this piece as long as the side plus 1” for seam allowance and as high as the side plus 2” for seam allowance. So if it’s 30” x 4” I would cut it 31” x 6”
After you cut this back side, you will fold it in half lengthwise, crease that fold, and cut on that crease. You now have two, narrow, back pieces.
No need to make a paper pattern just measure and mark the pieces on your fabric and cut
Make the Piping
Piping is a cord covered in a fabric and inserted (sewn) into a seam. It is not a tube of fabric covering a cord but has a flange, so to speak that is sewn into the seam
For ¼” thick cord the fabric is cut into 1 ½” tall strips the width of your fabric. It’s best to cut the strips across the width but if you can only fit your strips vertically on the fabric you could get away with that in this case. (It has to do with stretch but since this bed is a rectangle, and not curvy, you do not need much, if any stretch.)
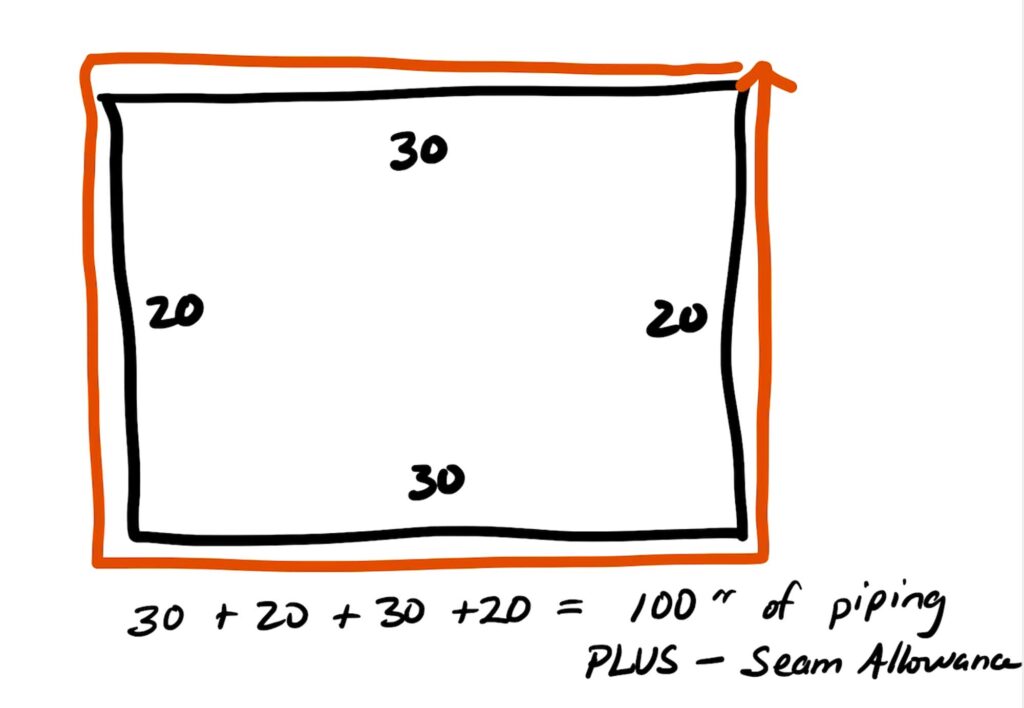
The piping will go around the top edge so it needs to be equal to all 4 sides of the bed.
Cut your cord to the desired length plus one or two inches.
Cut enough fabric to equal the length of the cord plus about 6”. (3” for every time you have to join a strip to another strip and another 3” to 4” to join the ends when sewing it in the seam)
My fabric is approximately 54“ wide. I need 100” of piping so I will cut two strips of 54” to make one long strip. It won’t be 108” long because I will lose some length where the two strips are connected.
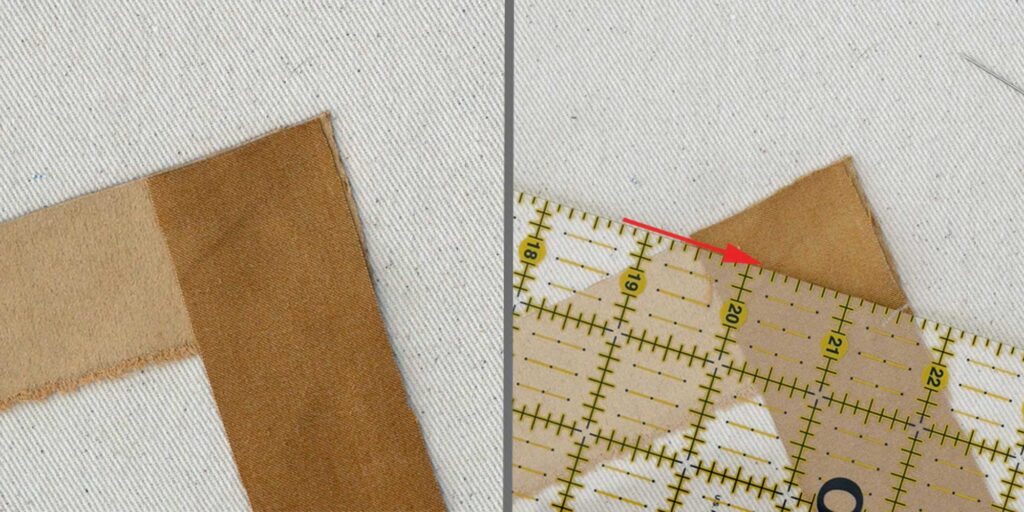
To join the strips, lay one short end of each strip at 90° angles to each other, right sides together. Sew across the two pieces at a 45° angle. Trim the seam allowance of these joins.
If you sewed the two ends straight across you end up with a lot of seam allowance (aka bulk) after folding it over the cord. The diagonal seaming separates the seam allowances from each other so there is less bulk when attaching it to the bed.
After sewing the strips together press or finger-press the seams open.
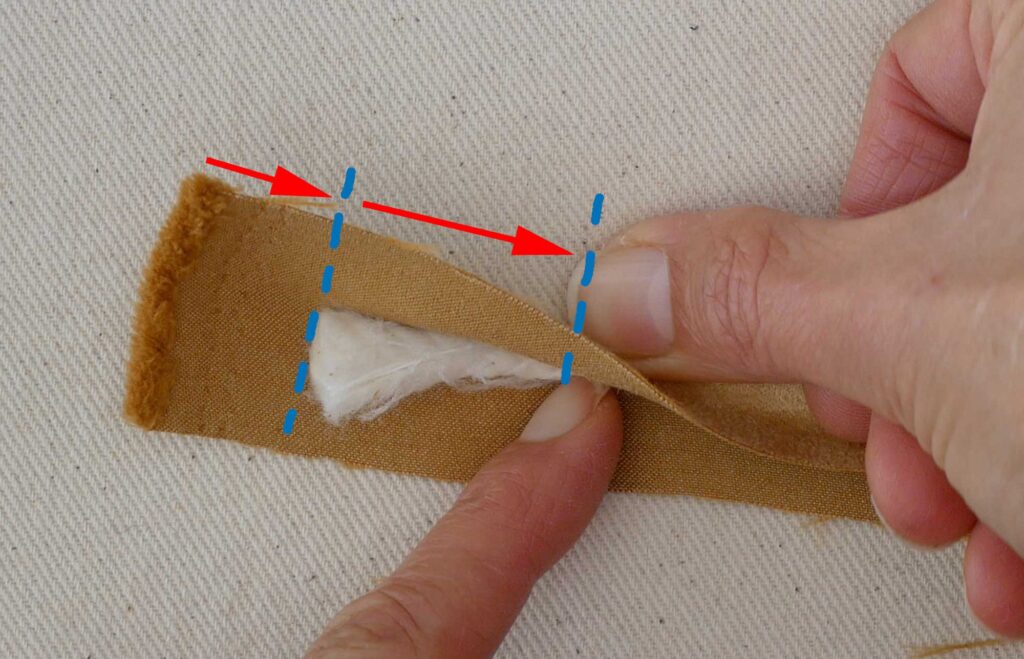
At one end of the fabric strip, place the upholstery cord down the center of the wrong side of the fabric strip. Start about an inch in from the end of the strip. Fold the strip over the cord. Using a zipper foot to get up close to the cord, start sewing the fabric strip about an inch down from the start of the cord. You’ll have one inch or so of fabric without any cord, and then the next inch has the cord but is left unsewn.
Sew right up against the cord. Sandwiching it in the fabric, nice and tight.
Stop sewing a couple of inches before the end of the cord. Don’t backtack. And don’t trim the fabric yet.
Piping is traditionally finished by overlapping one end over the other where the beginning meets the end. Leaving the extra length of the fabric strip lets you easily overlap and turn back the end that’s on top.
This project uses a “cheat” that you wouldn’t do on a chair but it’s okay for a dog bed.
Attach the Piping
The piping will be sewn onto the right side of the top piece. I’m going to start in the corner. You could start in the middle of any edge but if you do so leave the first few inches unattached so you can overlap the tail when it meets the start.
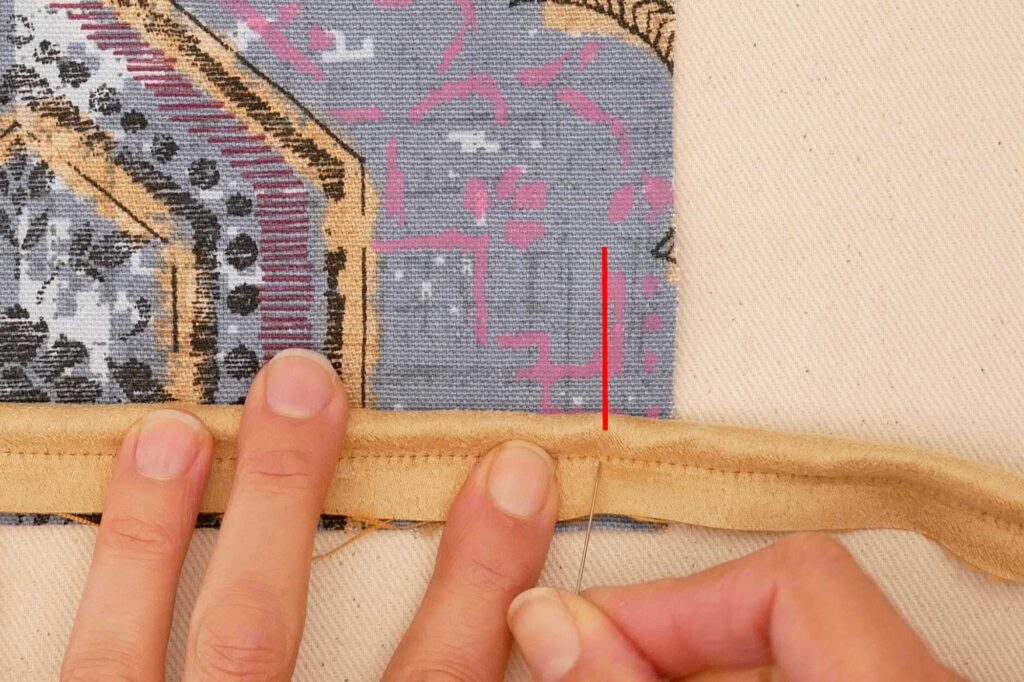
Line up the raw edge of the piping to the raw edge of the bed. The piping cord should be laying ½” in from the edge because that’s the seam allowance. Pin the piping down in a few places to start but after you start sewing you can guide the piping in place while you sew.
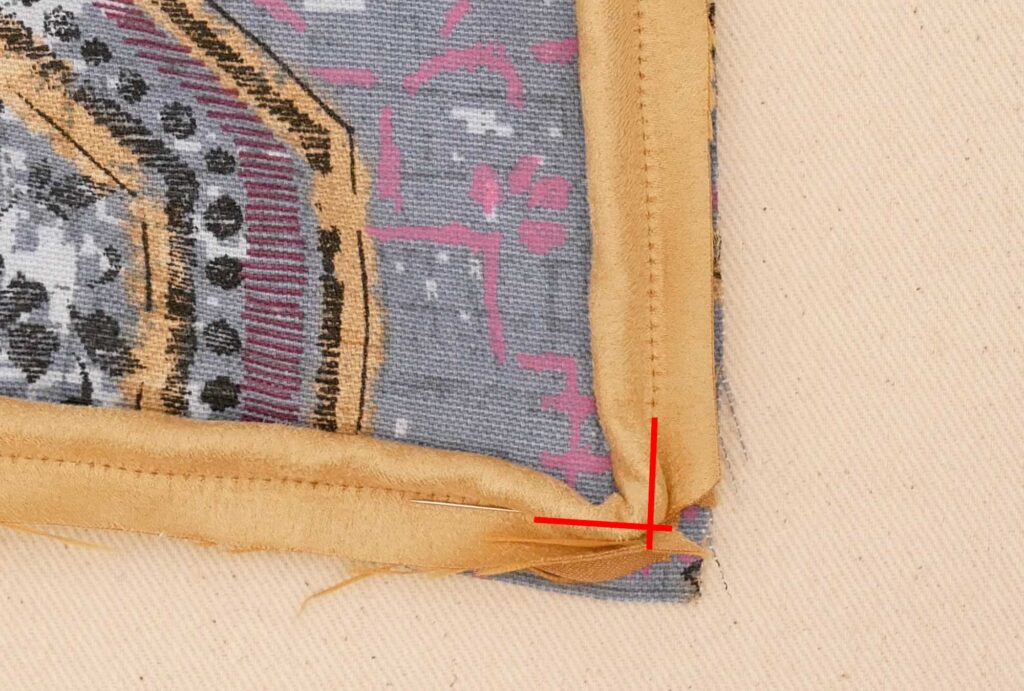
When you get to a corner stop sewing ½” before the end of the bed. This is the seam allowance. Stop before sewing into the seam allowance.

Leave the needle down in the fabric, raise the presser foot, and clip both layers of the piping’s seam allowance at a diagonal. Clip close to the stitching but not too close especially if your fabric frays easily.
Clipping the piping’s seam allowance allows the piping to turn the corner. Pivot the fabric under the needle, lower the presser foot, and sew to the next corner.
Do this at every corner until you meet the beginning. Leave a little bit of the piping unsewn at the start and the end.
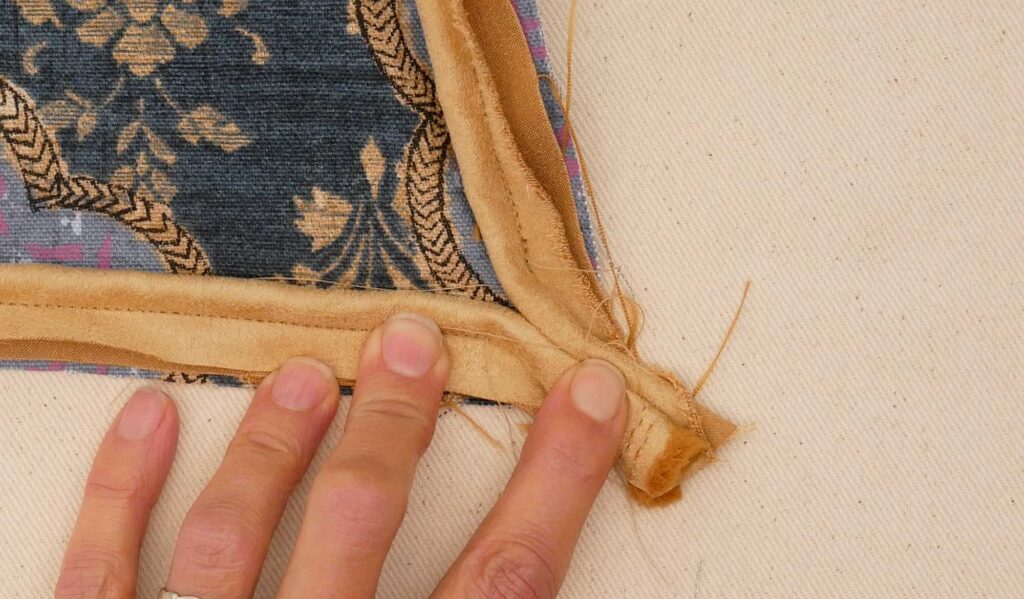
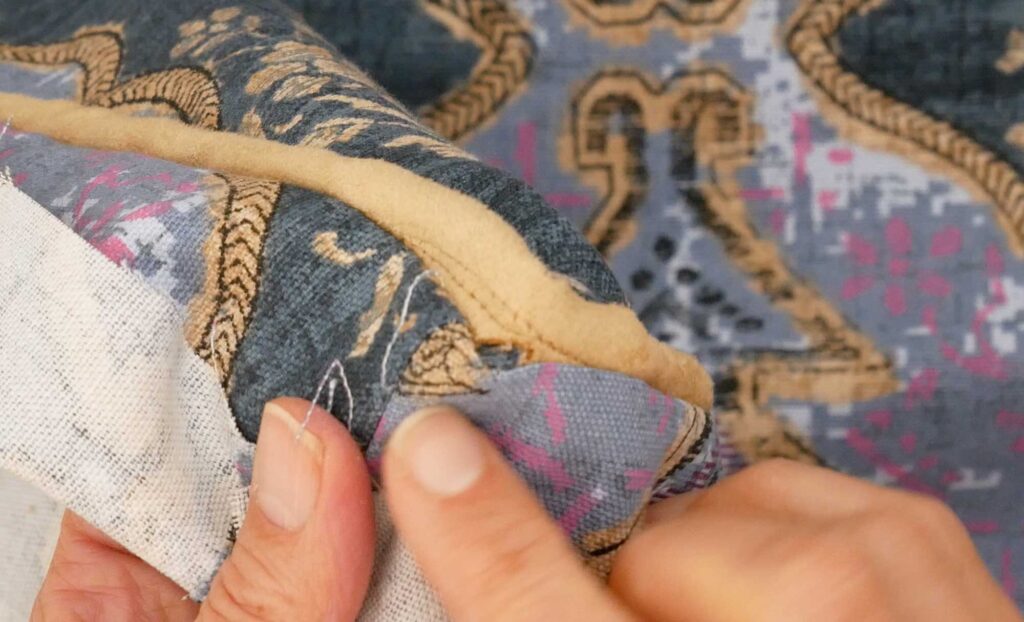
Arrange the ends of the piping so they meet and turn into the seam allowance. Trim away any bulk that is in your way. It helps to trim the cord, not the fabric covering it. Play with placement until you get the ends “kissing” just before retreating into the seam.
Sew the loose ends of the piping down. It can be bulky here so take your time sewing over the piping. Trim off any excess.
Do the same to the bottom piece if you are adding piping to the bottom edge.
Sew the Sides
First, we’ll construct the back with the two narrow pieces and the zipper.
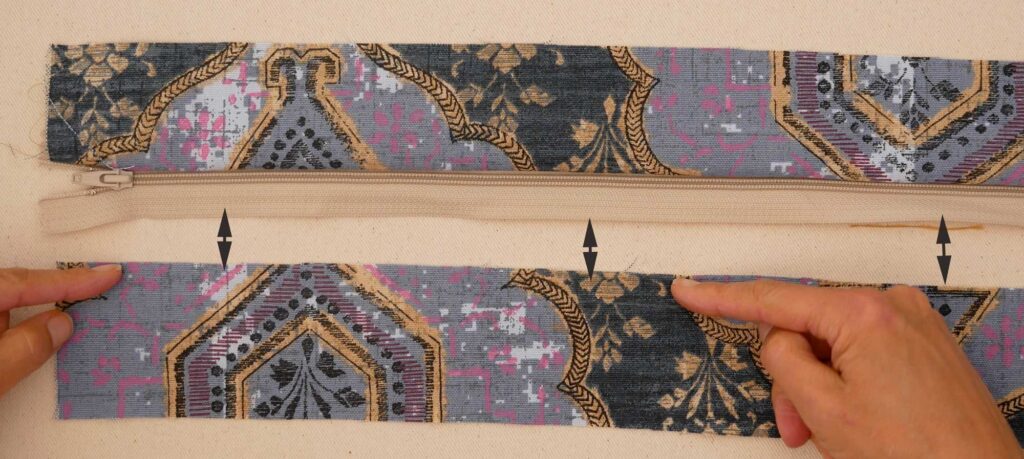
Have the two back pieces right side up on your work surface one laid above the other.
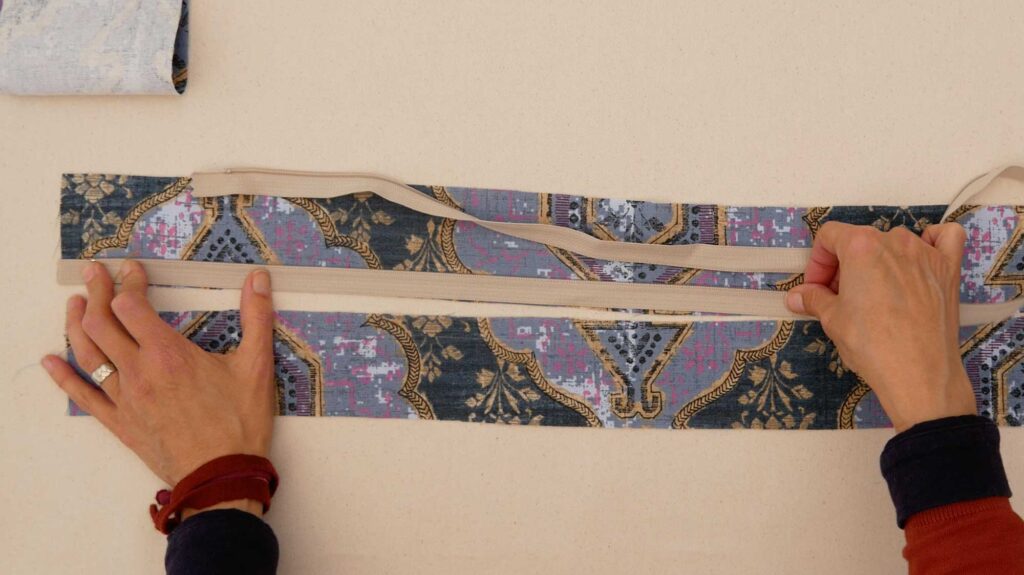
Lay the zipper face down on the top back piece so it is aligned with the bottom edge of the top piece and the rest of the zipper is on top of the fabric, not in the space between the back pieces.
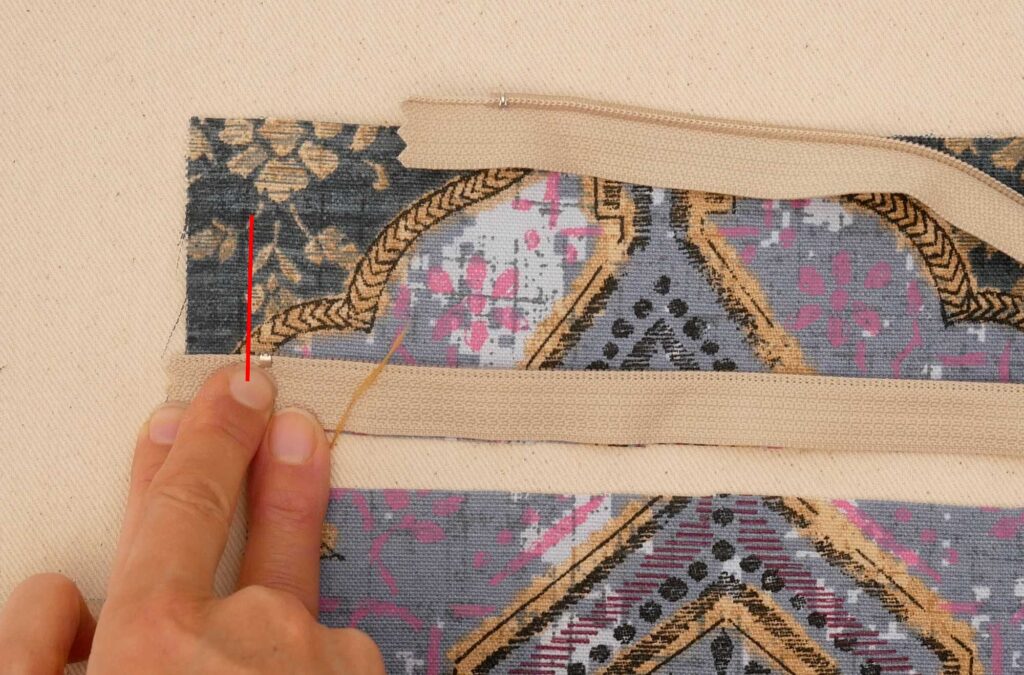
Line up the short end of the zipper so the zipper stop is not on the seam line. It can be right next to the seam line (which is ½” in from the edge) or a little ways past it. You cannot sew over a metal zipper stop when you attach the back to the side piece therefore it has to be away from the seam line.
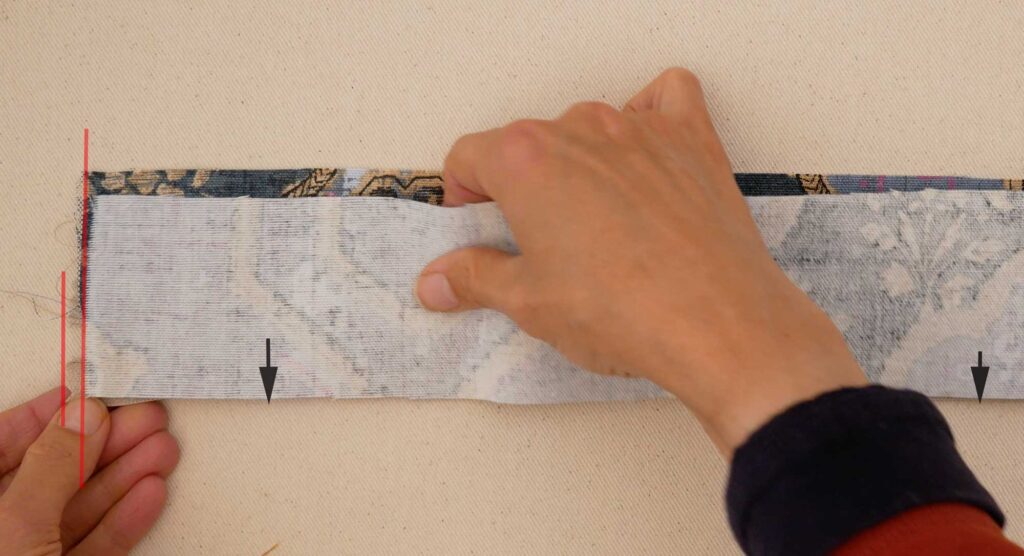
With a zipper foot, sew the zipper to the back top piece about ¼”- ⅜” away from the teeth or down the middle of the zipper tape.
As you sew you’ll need to move the zipper pull out of your way. Don’t try to sew next to it. When you get close, leave the needle down in the fabric, raise the presser foot, slide the zipper pull out of the way (up or down the zipper), lower the presser foot, and continue sewing.
When you get to the end of the fabric, take a couple of backstitches. If your zipper is too long like mine, leave it hanging off the edge. Don’t trim the zipper yet.
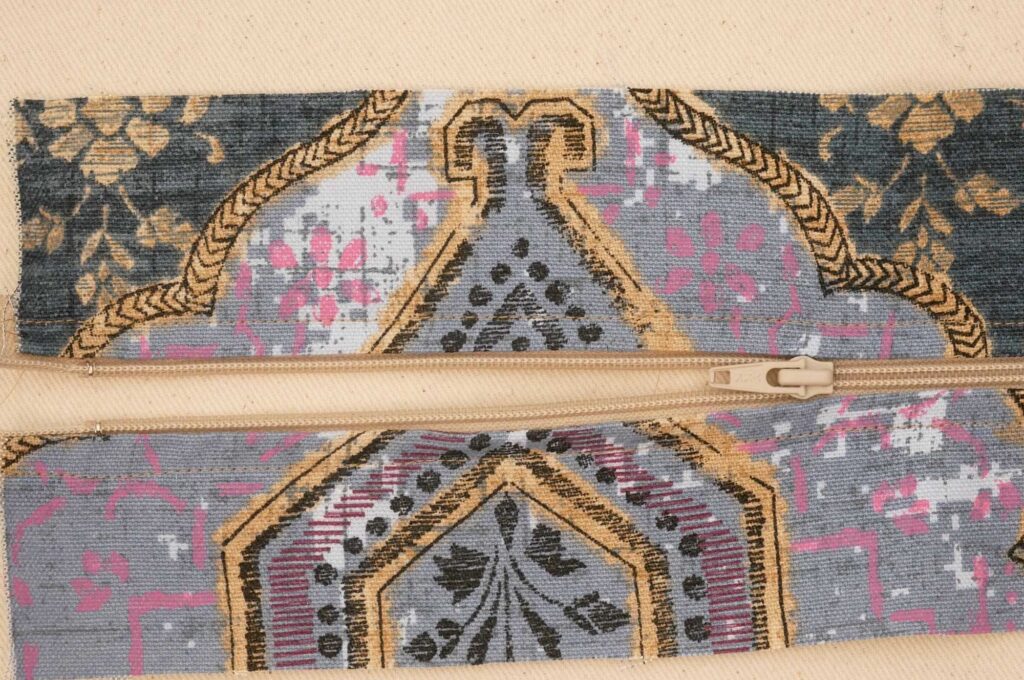
Now we need to attach the zipper to the bottom back piece.
Lay your top back piece (with the zipper attached) back down, above the bottom back piece. Flip the bottom back piece so it is laying face down on top of the zipper and the long edge of the fabric is aligned with the unsewn, long edge of the zipper.
Check that the short ends of the backs are lined up with each other and the short ends of the zipper tape are also lined up with each other.
Sew the zipper to the bottom back piece as you did to the upper back piece.
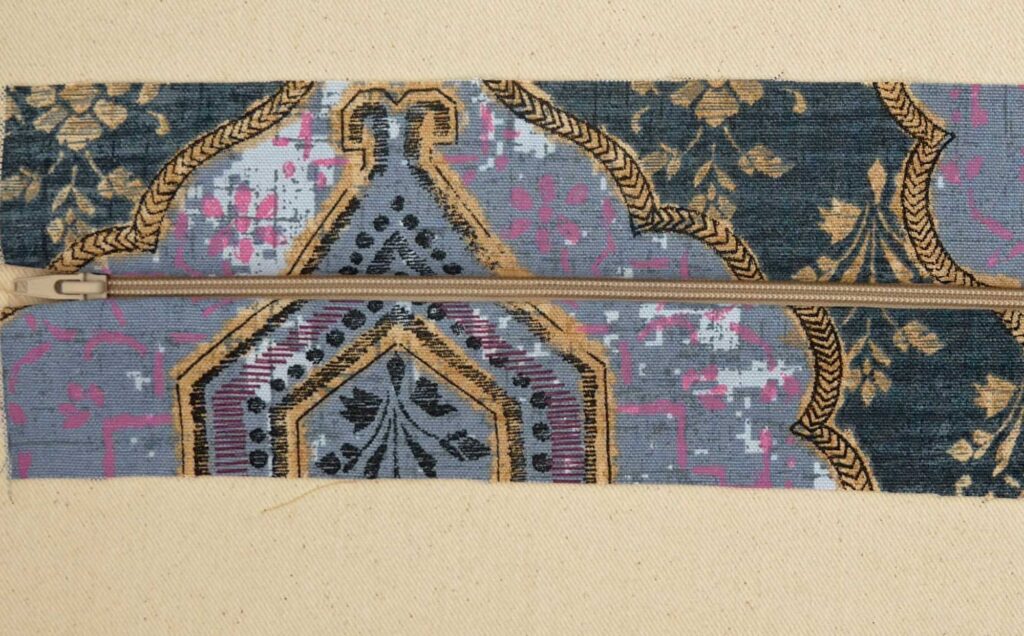
After sewing, press down the fabric near the zipper teeth with an iron to set a crisp fold.
Sew this fold down about ¼” away from the teeth. Again, move the zipper pull out of your way as you sew.
Don’t sew too close to the fold. The zipper pull needs room to slide up and down the teeth without the fabric getting in the way.
This gives the zipper opening a cleaner look and reinforces it with the extra stitches.
Take a side piece and line up the short end to the back piece, right sides together.
The second side piece will attach to the other short end of the back piece. Zip up the zipper all the way when pinning the side and back together. When sewing the side to the back, slide the zipper pull down and away from the seam line.
Attach the side pieces to the front piece at the short ends. You’re making one loop with all the side pieces. Be sure no pieces are twisted before you sew. Sew with a ½” seam allowance.
After the sides are all sewn together trim the zipper if it’s long. I’ve sewn across the teeth and zipper tape a few times to keep it secure.
Sewing it All Together
Open up the zipper halfway before attaching the top and bottom to the sides.
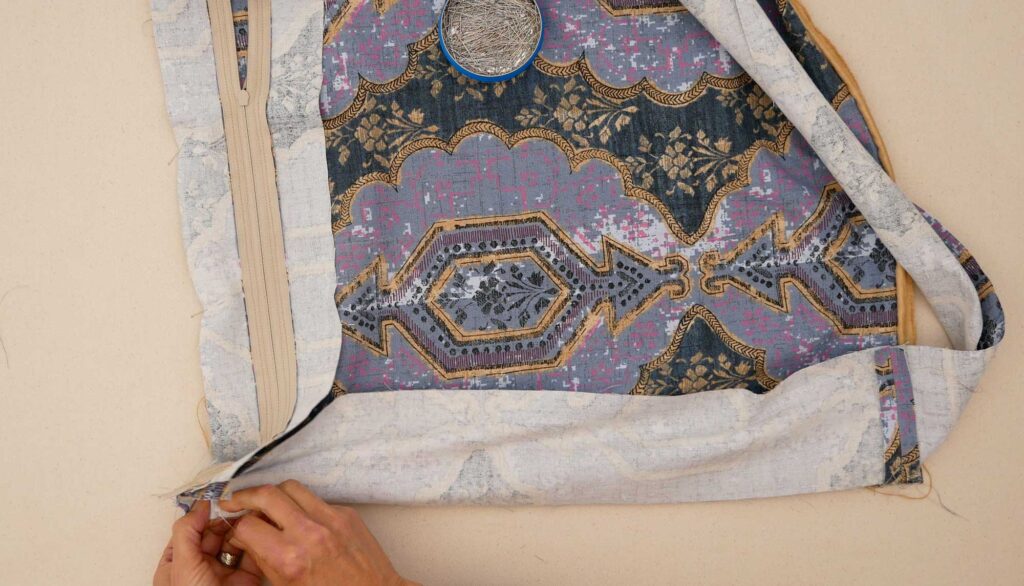
Place one seam on the side to one corner of the top. Line up the raw edges and place a few pins in as you go. Each corner of the top should line up to a side seam.
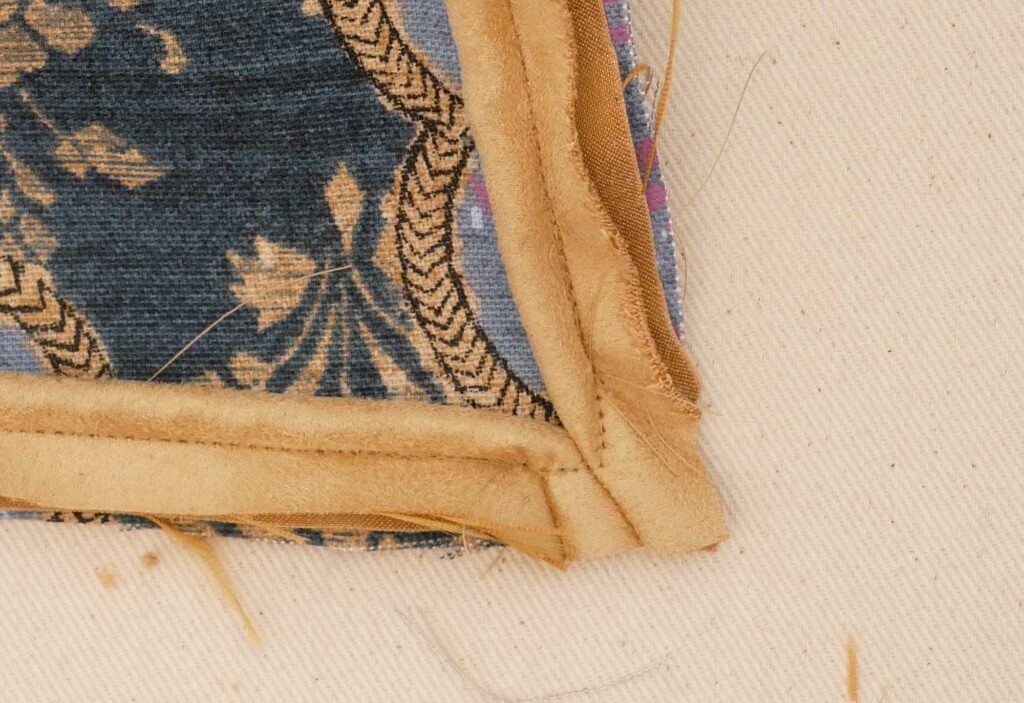
With a zipper foot, sew the top to the sides, right up along the cord of the piping. Pivot at the corners as you did when sewing the piping to the top (and bottom).
After the sides are sewn to the top check the corners. It’s common to have too much of a gap between the stitches and the piping in the corners. The stitches should be snug up against the cord. Add a few stitches to any corner that needs it.
Sew the bottom to the sides as you did the top.
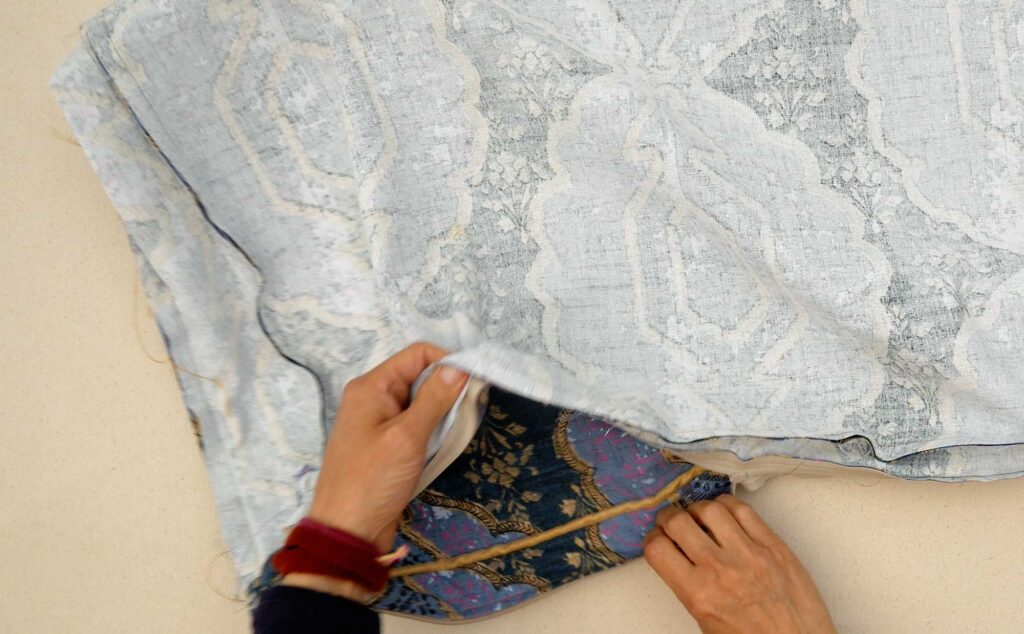
When you sew the second piece on (bottom or top) make sure you have the zipper partially open because once it’s sewn together you’re going to reach into the opening and pull the cover right side out.
After it’s sewn and right side out, poke out the corners with your fingers.
Unzip the zipper all the way and place the foam inside the bed. This part isn’t pretty, more like a little tussle, but once in there – voila.
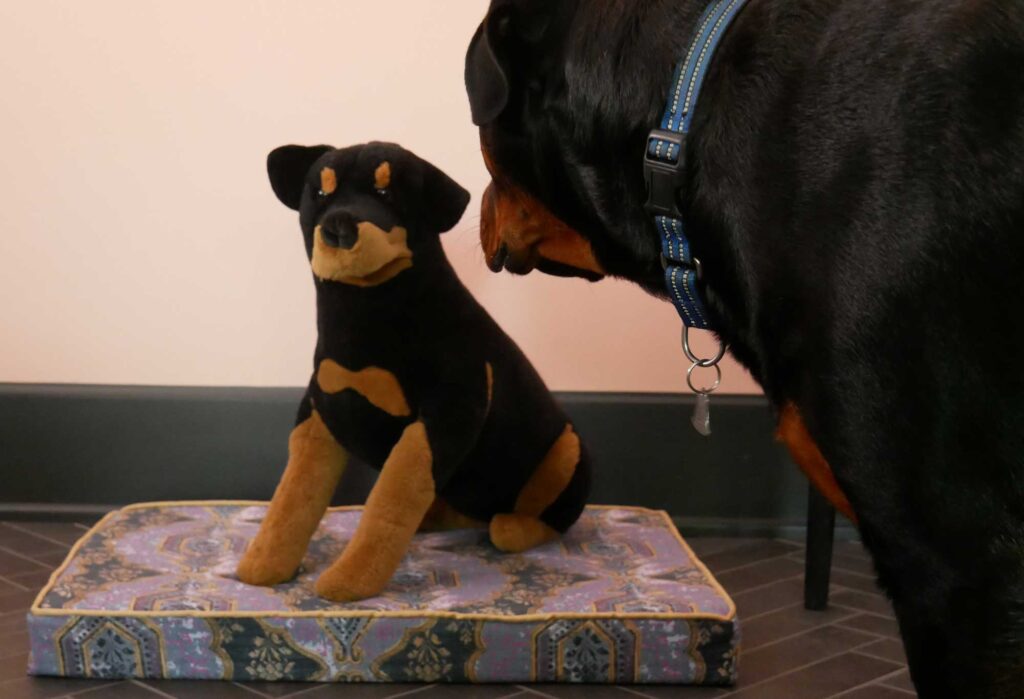
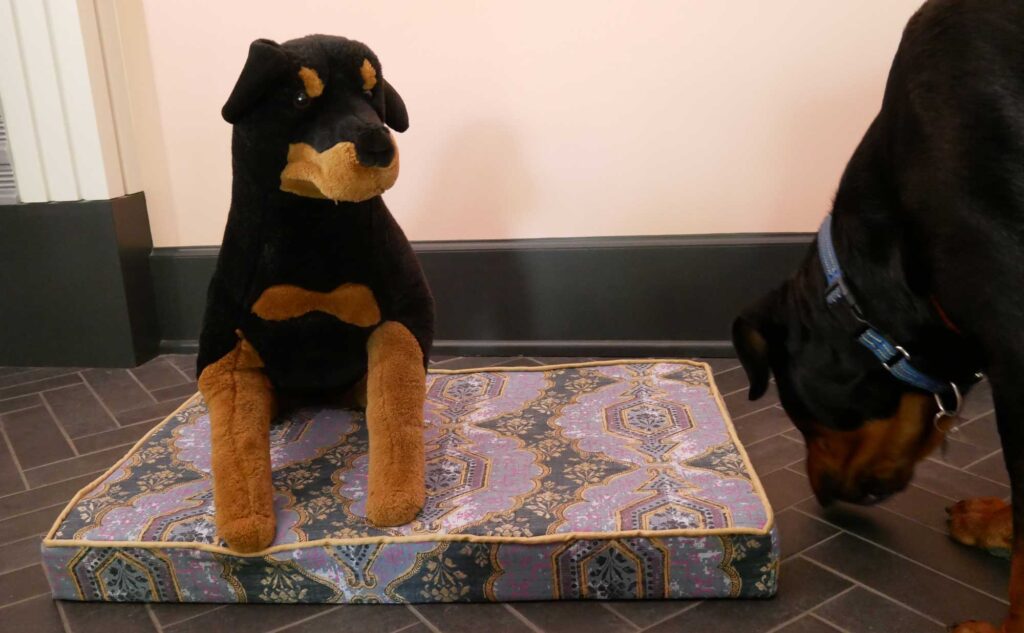
Trim any loose threads you might have and encourage Fido to take a nap.