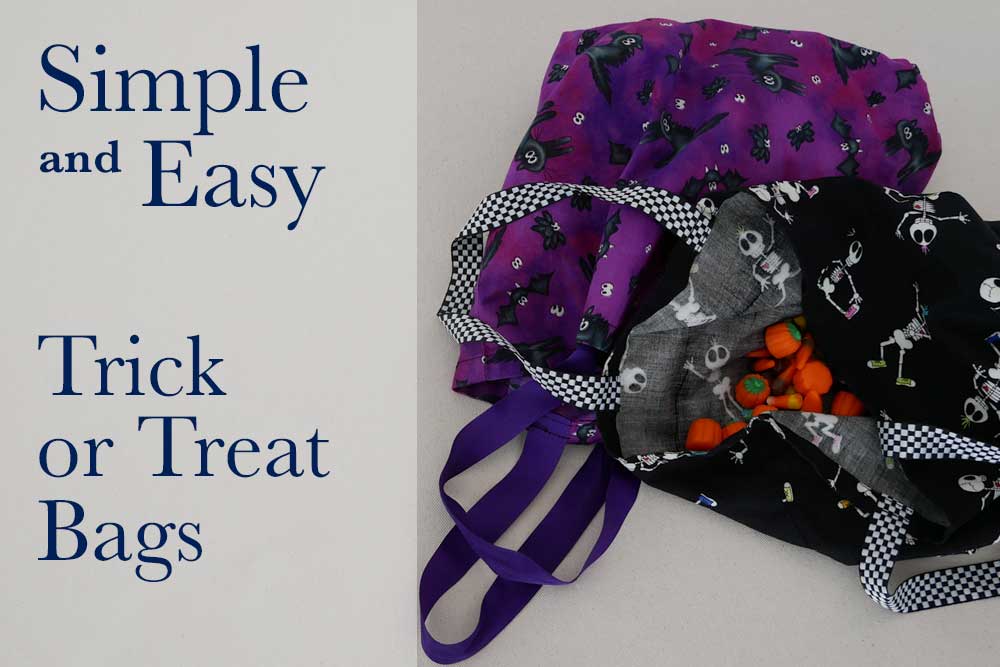
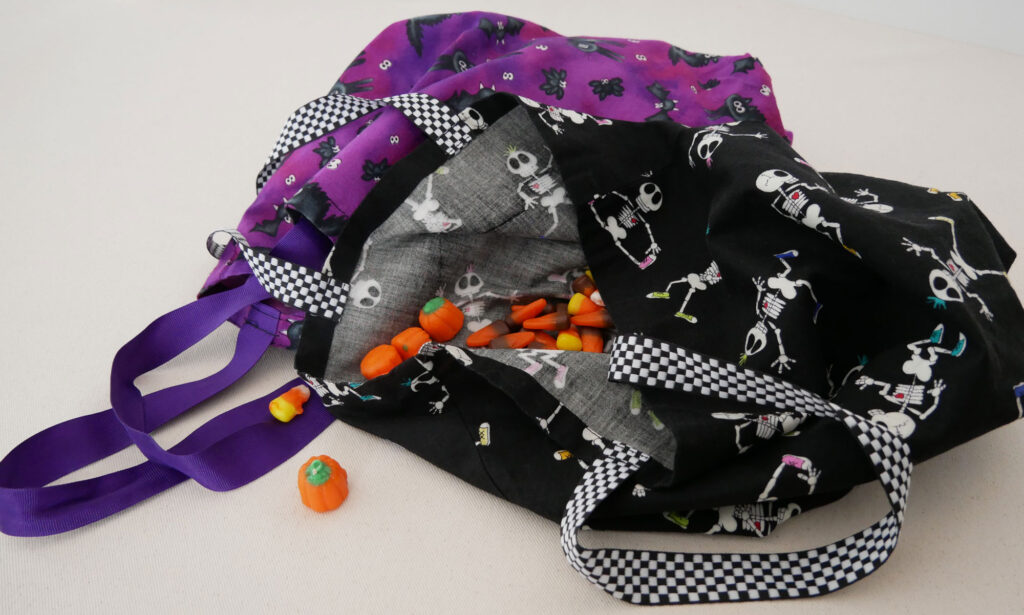
With just half a yard of Halloween-themed fabric and an hour or less of your time, your little goblin or princess will have a treat bag they can use for years to come and unlike the classic plastic pumpkin, it lays flat when Trick-or-Treating is over or can be used all year round for toys, snacks, sleepover PJs, you name it.
Of course, you can make it in a solid fabric (or any themed fabric) for any occasion.
You can watch the whole process here in 8 minutes or read on.
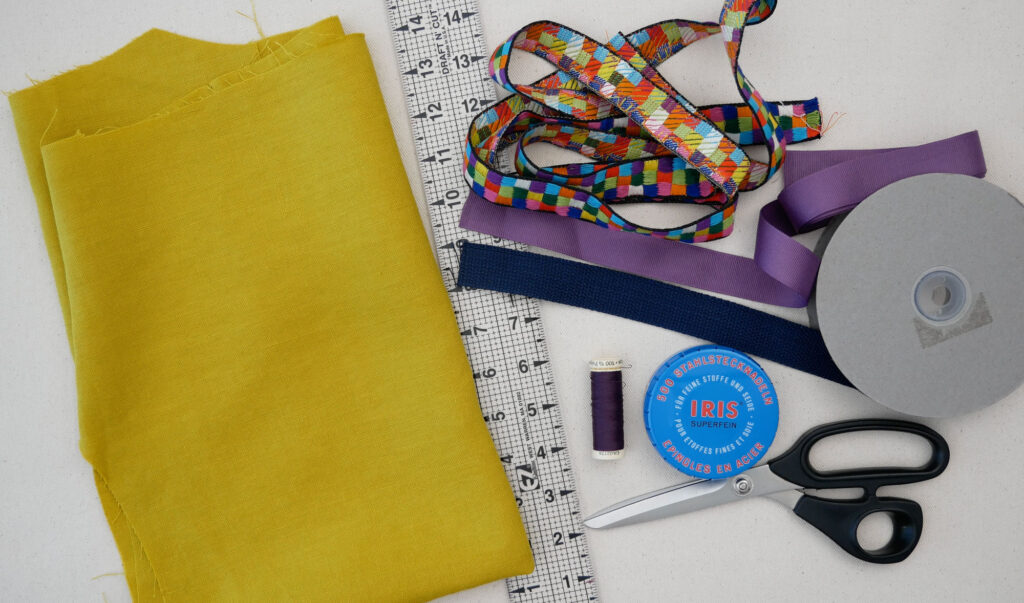
Supplies Needed
- Fabric, about ½ yard
- 1 yard of webbing, strapping, 1” wide grosgrain ribbon or other strong woven trim for the handles
- Ruler, thread, pins, and scissors
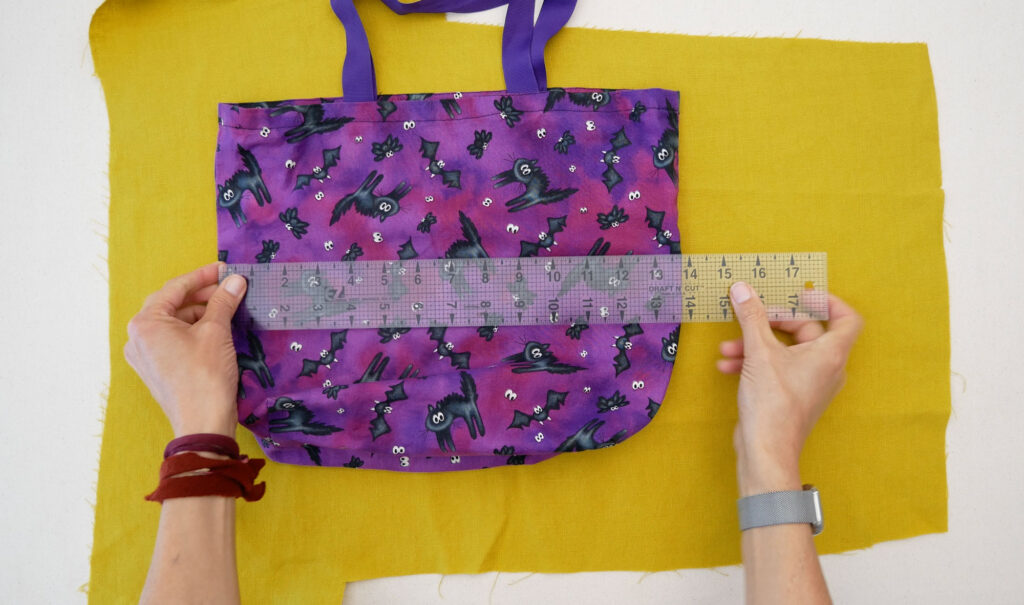
The treat bag can be any size you want it to be. Anywhere between 11” and 14” is a good-sized treat bag.
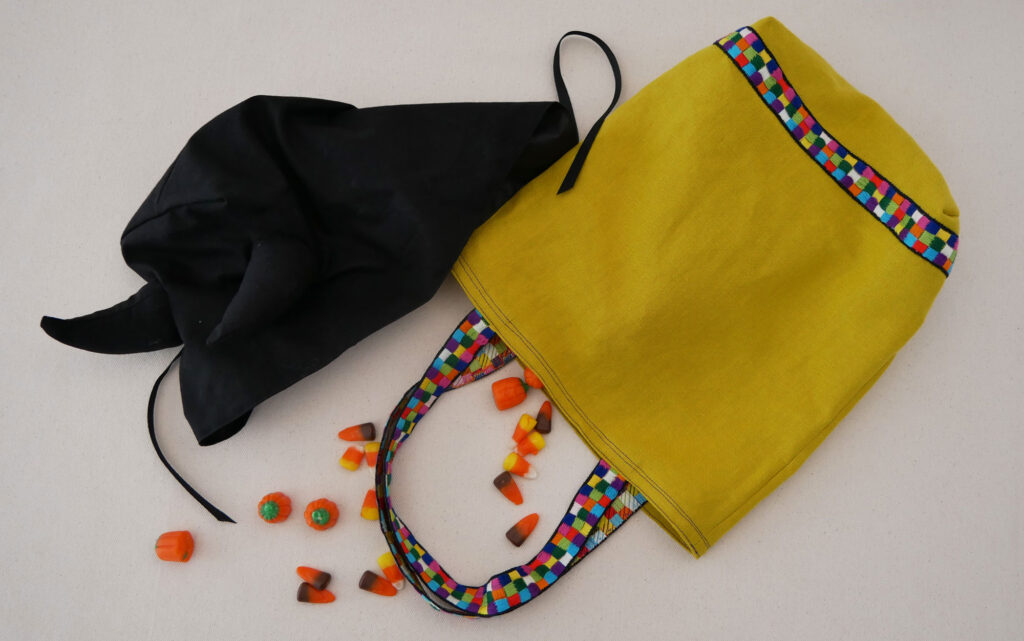
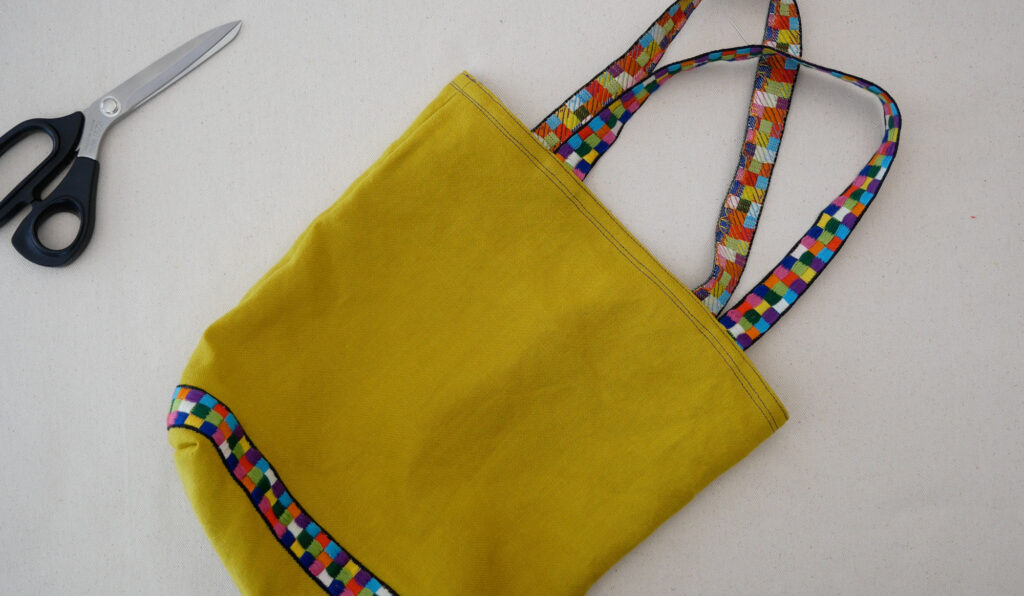
The yellow bag I made for this post was made from a scrap of linen I already had and therefore, I made it as wide and tall as the fabric would allow.

Whatever size you choose, the process is the same.
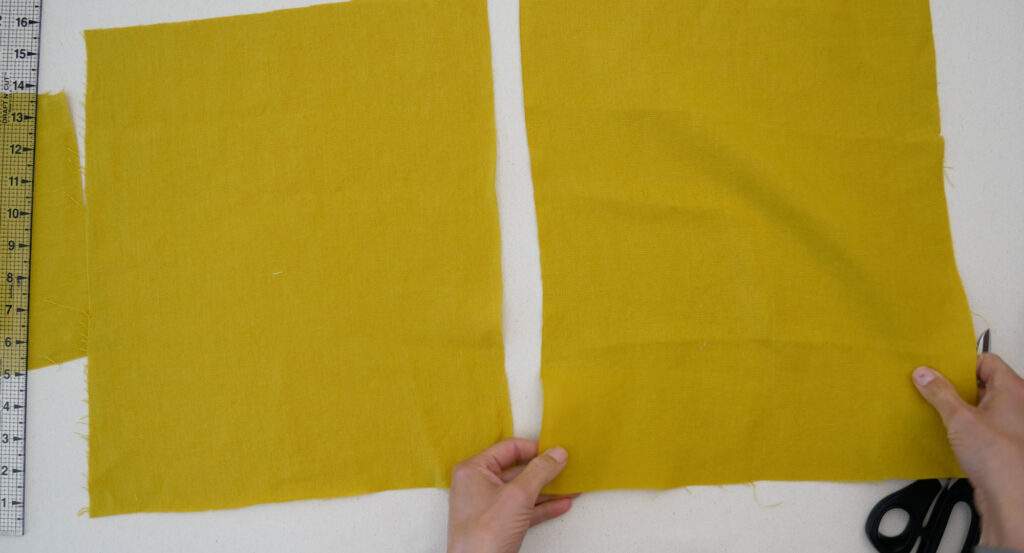
Cut the fabric to make two pieces each 1” wider and 1 ½” taller than you want the finished bag to be.
For the Halloween bags above I cut two squares 15” wide (14” + 1” seam allowance) and 15” tall (13 ½” + 1 ½”) to have a finished bag measuring 14” wide and 13 ½” tall.
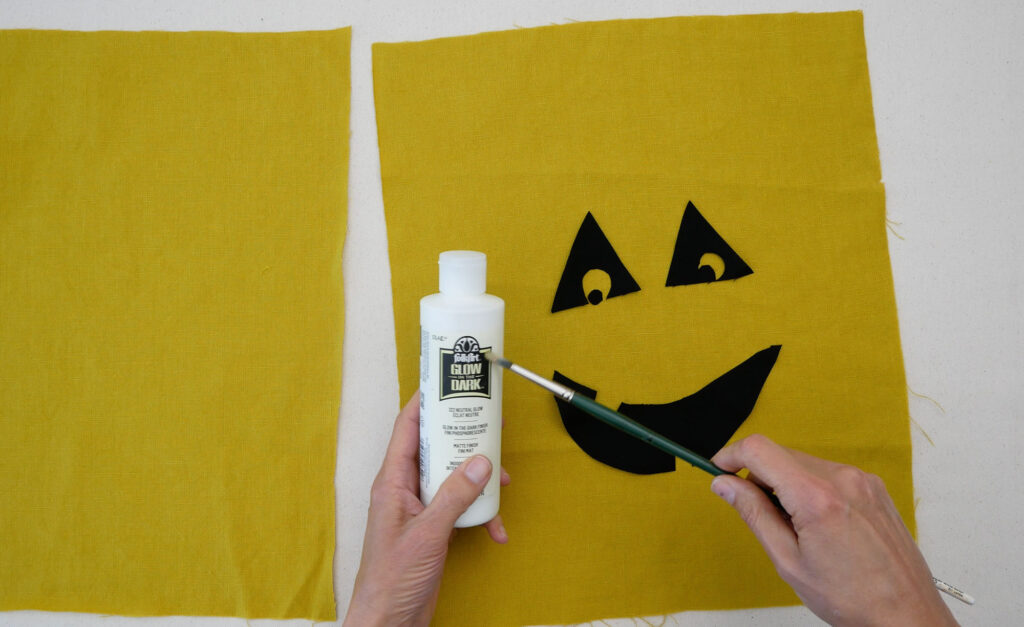
Add any decoration to the bag before you do any sewing. This could be sewn or glued fabric shapes to make a pumpkin face or something relating to the costume or fabric paint or decorative ribbon sewn on. Just leave the bottom 2 ½” of the bag piece free from decoration because this becomes the bottom of the bag.
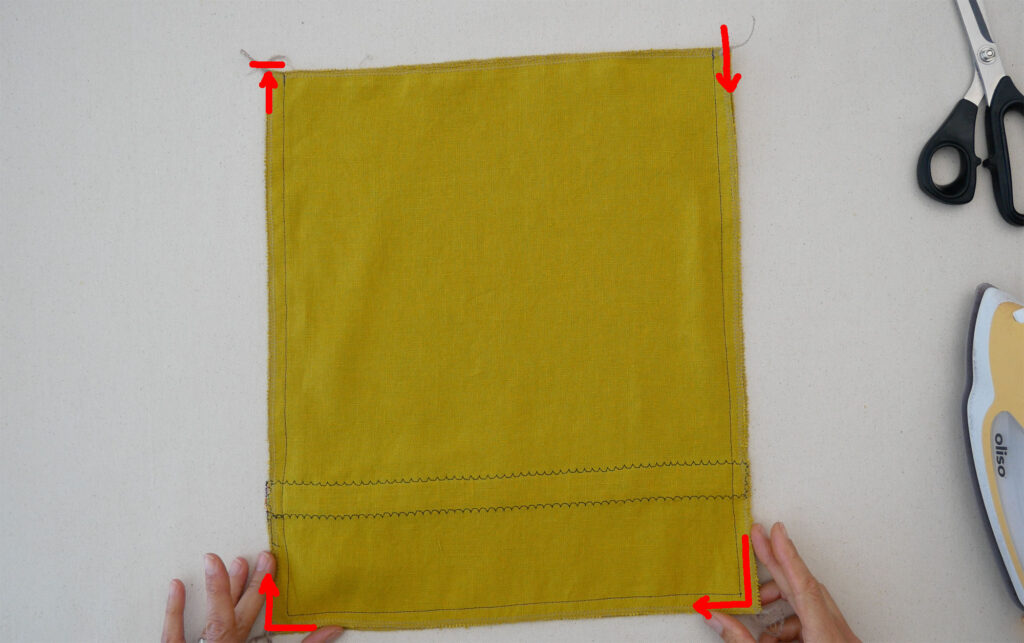
Lay the bag pieces on top of each other right sides together and stitch with a ½” seam allowance down one side, across the bottom and up to the other side to the top. Backtack at the start and end of your stitches. If making by hand use a small running stitch or back stitch if you’re expecting a large candy haul. (The back stitch is stronger.)
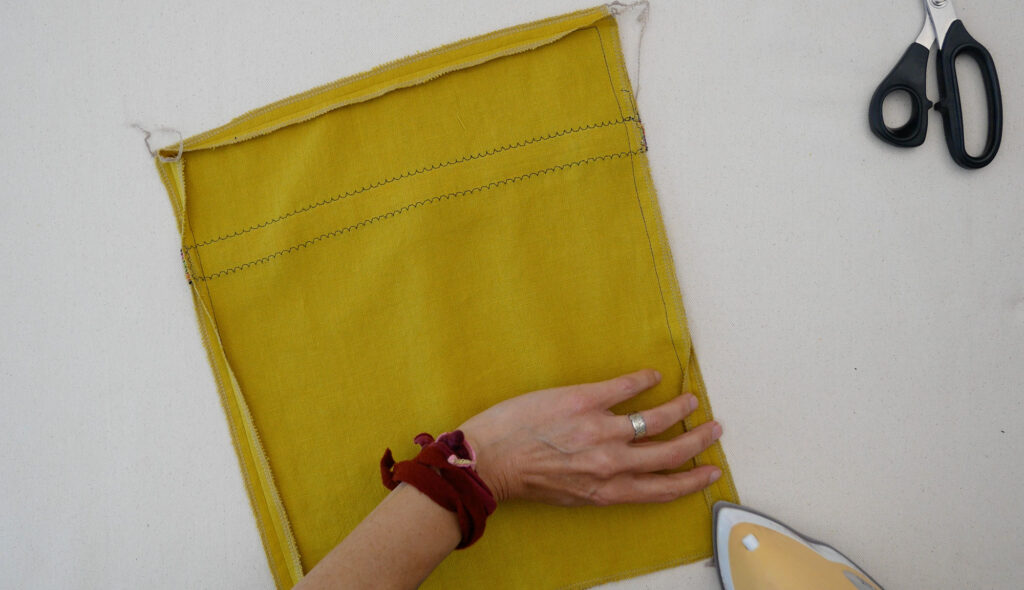
Press open the seam allowances as best as you can. With the tight corners there, I sometimes leave the bag flat on the ironing surface and just press the seam allowance on top back from the seam.
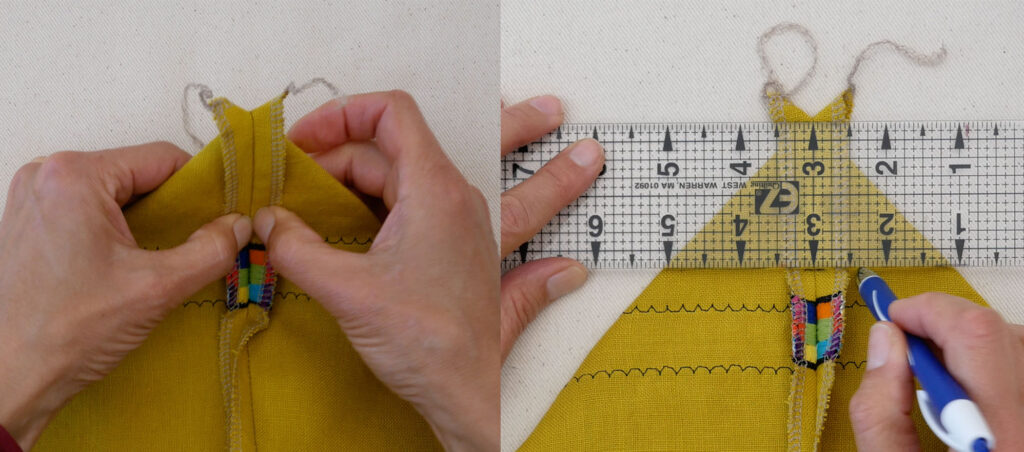
Get your hand inside the still inside-out bag and grab a corner. The goal is to line up the bottom seam to the side seam at the corner. You’ll turn the bag sort of sideways to do this.
Feeling the seams with your fingers, shift them so they are on top of each other. It can be a little tricky lining up the seams, just take your time and try to get an even amount of fabric on both sides of your vertical seam (Either a side seam or the bottom seam depending on which side is facing you.)
Lay this captured corner on a flat surface and with a ruler at the very tip of the corner measure down two inches and mark across the corner. Feel free to use a ballpoint pin (lightly) because this is the inside of the bag.
Do the same for the other corner.
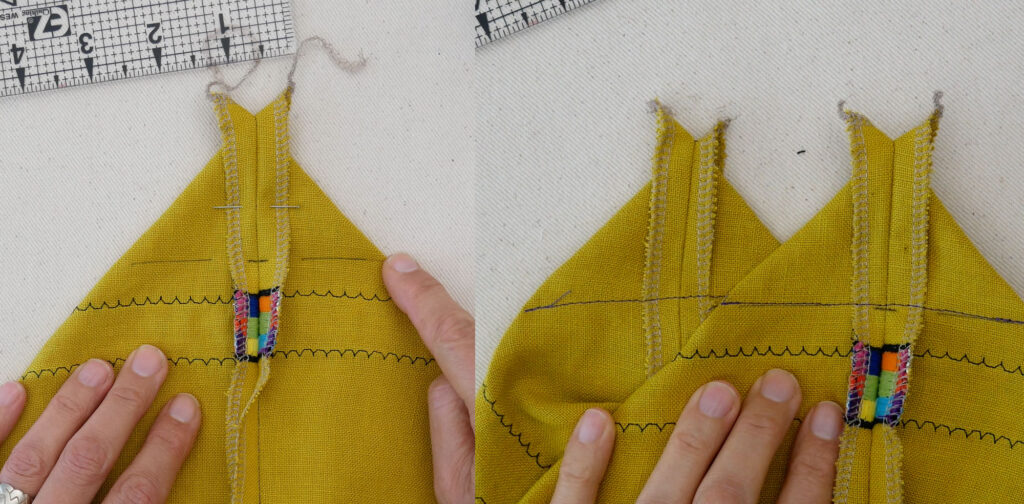
Sew across the bag corners on your line. This will give the bottom of the bag some shape and structure.
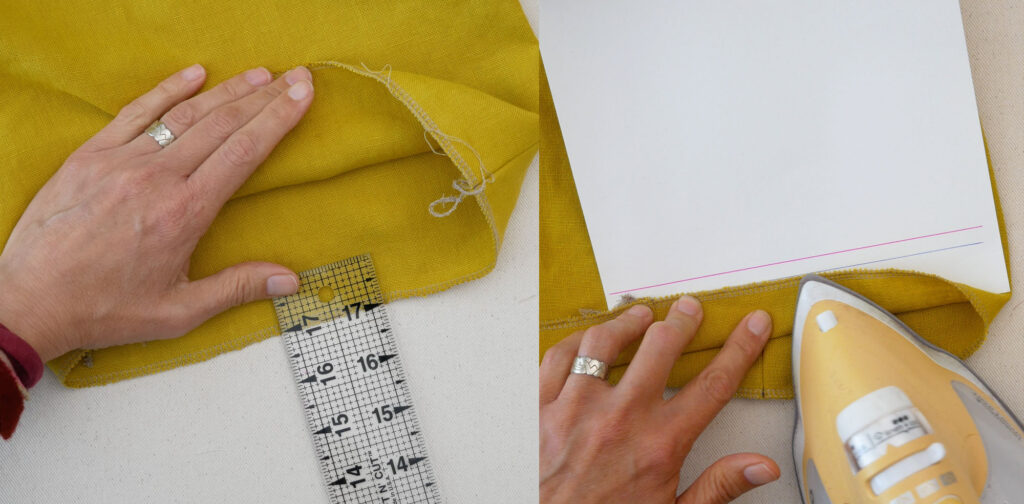
Finish the top raw edge of the bag by first by folding it over, into the inside of the bag, 1” all the way around. There are a few ways to do make sure you are folding an inch.
You could fold and measure one inch with the ruler and press the fold to keep it there and to make a crease. It takes a while because you measure a little and then you press. Measure, press, measure, press all the way around.
Or, stitch a basting stitch all the way around the top using the seam guide on your machine to measure and mark the fold line. The stitches make it easy to fold up for pressing. If using matching thread, the stitches really could be left in the bag when done, or removed.
Or, make a template with a piece of cardstock. Measure and draw a line one inch in from an edge on the cardstock (tagboard – just use white to avoid color transfer). Place the template on the bag, fold the top edge over the cardstock so it meets the 1” line and press the fabric on top of the cardstock.
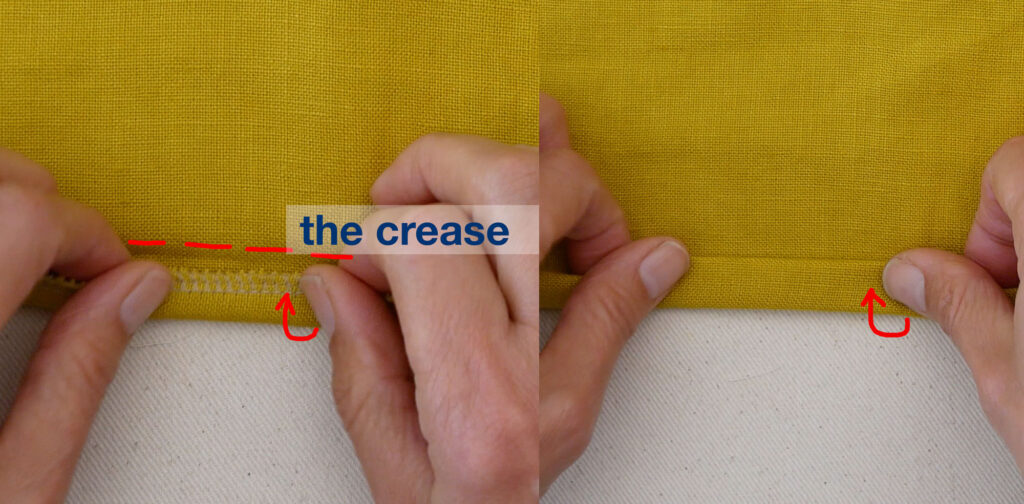
After pressing this 1” you will open the fold up and place the raw edge up on the crease you just pressed. Then refold on that crease. If your fabric frays easily (like my yellow linen, you’ll want to overcast or run a zig-zag stitch around the edges.)
Press this double fold but DON’T sew it down yet.
Cut your handle strap or ribbon into two 18” long pieces.
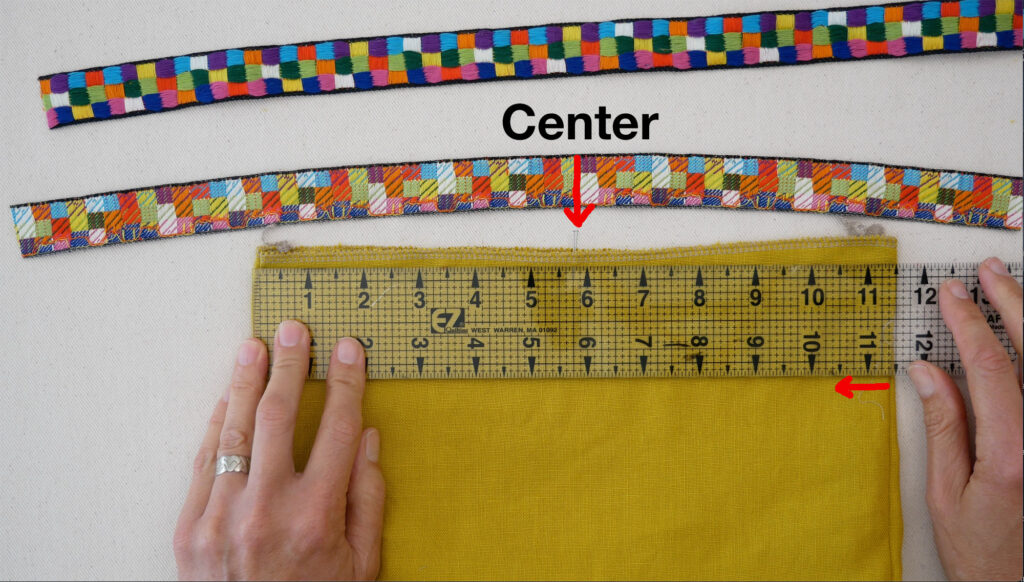
To evenly space the handles across the top, you could find the center of one side by lining up the side seams and folding one side of the bag in half. This is the center of the bag’s side. Measure out from the center X many inches in both directions for handle placement. (This will depend on how wide your bag is so just lay the handle down and see what looks good to you. Measure that and that’s how much you’ll measure over)
Since my yellow bag is narrow I found it visually easier to measure in from the side seam rather than out from the center for my handle placement. I’ve chosen to put the handles 3” in from the side seam
Mark with a pin where your handle will be attached. Lay the bag flat, side seams lined up, and you can easily see where on the other side of the bag the handle placement marks will go. Mark the placement on the other side of the bag.
Because my handles have a right side and a wrong side I have to be careful about orienting them correctly. If you are using grosgrain ribbon or webbing both sides are the same and you can relax a bit here.
Place the bag wrong side up on your work surface. If you have a two-sided handle lay it so it is also wrong side up.
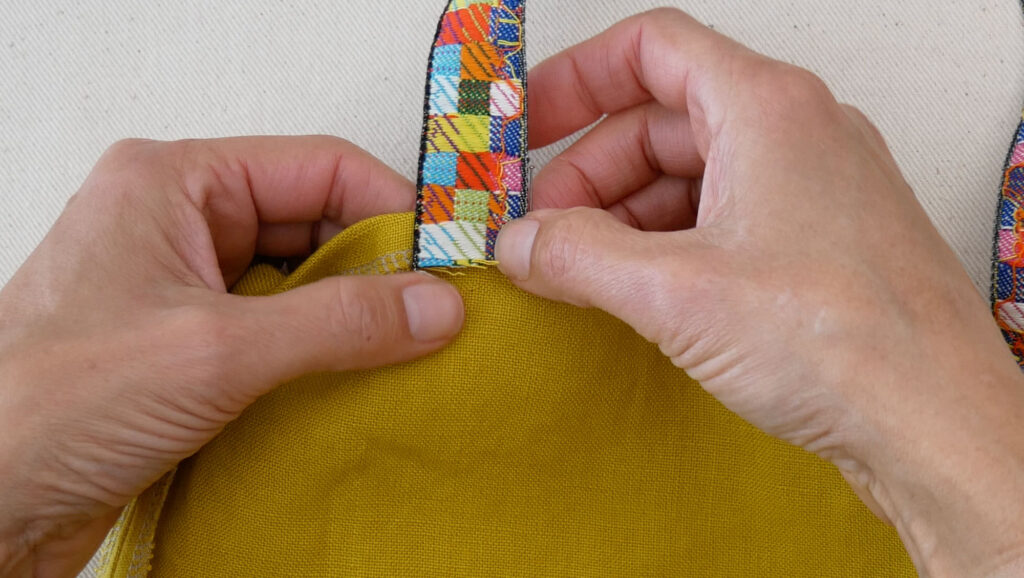
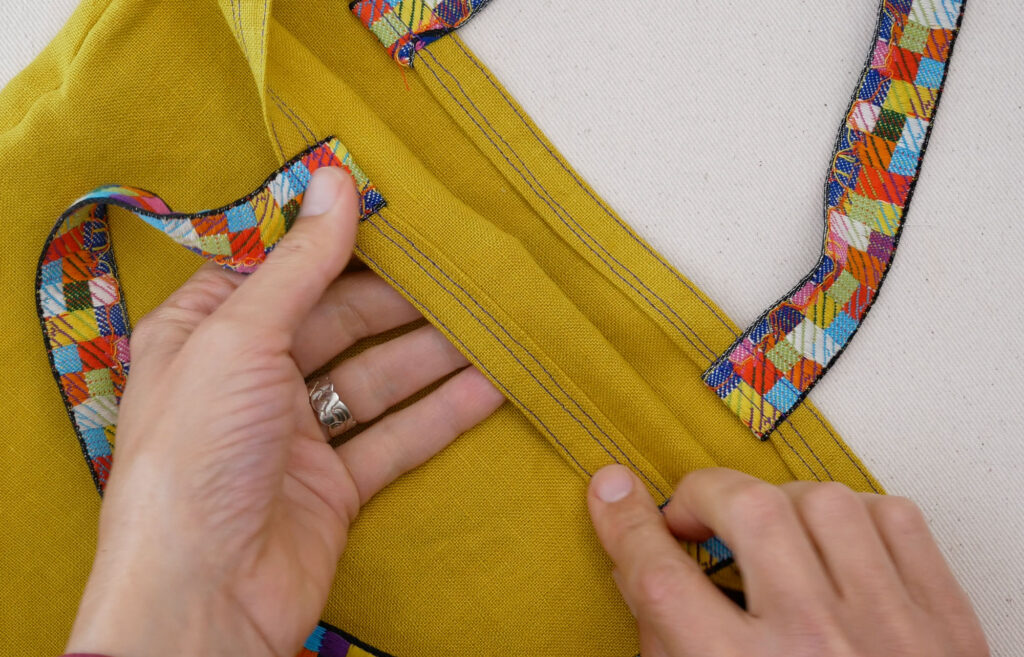
To attach the handle lay one cut edge of a handle down on top of the hem and centered over your handle placement marks. You have to unfold the hem here to line up the handle’s cut edge to the top of the bag.
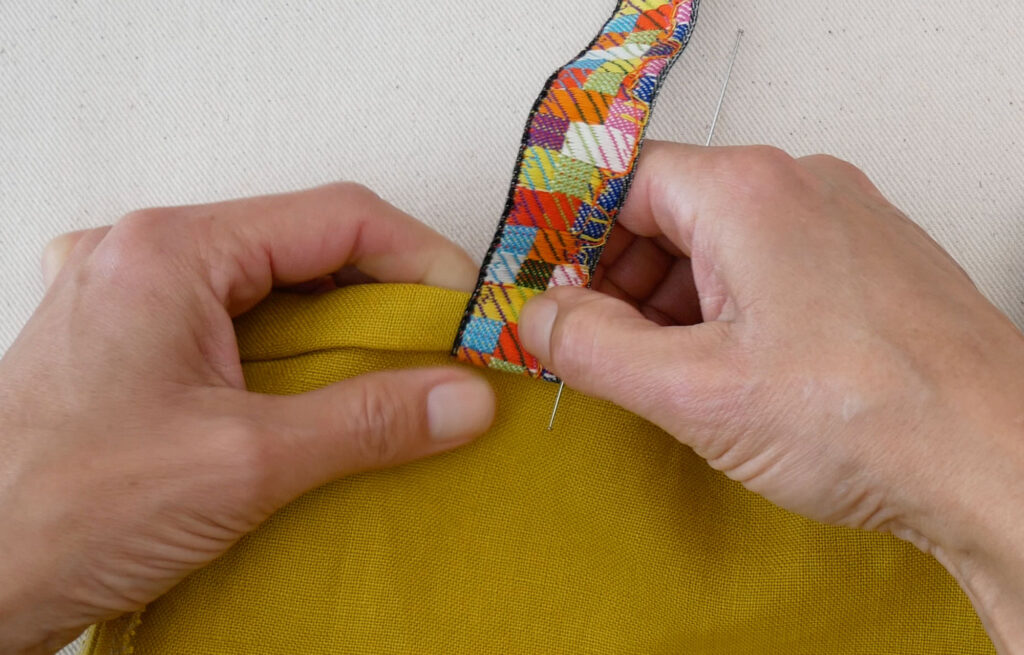
Re-fold the top edge with the handle caught in the fold and pin in place.
When pinning the other end of the handle to the next anchor point check that it isn’t twisted.
Pin all the handles onto the bag and then, if you need to as I needed to, transfer the pins to the right side of the bag because the next step is sewing and you’ll want to see your pins.
Sew the top edge of the bag all the way around the top two times.
Sew once close to the top fold about ⅛” in from the edge and then a second time around about ⅜” to ½” in from the edge to catch the bottom fold of the hem. Having two rows of stitching strengthens the handle connection.
When down, give the stitches a good pressing and clip any stray threads.
The treat bag is finished! A simple project like this really is a treat and you can see with your choice of fabric and size this tote can be used for just about anything plus there’s lots and lots of room for candy – Yum