
Written by Mary
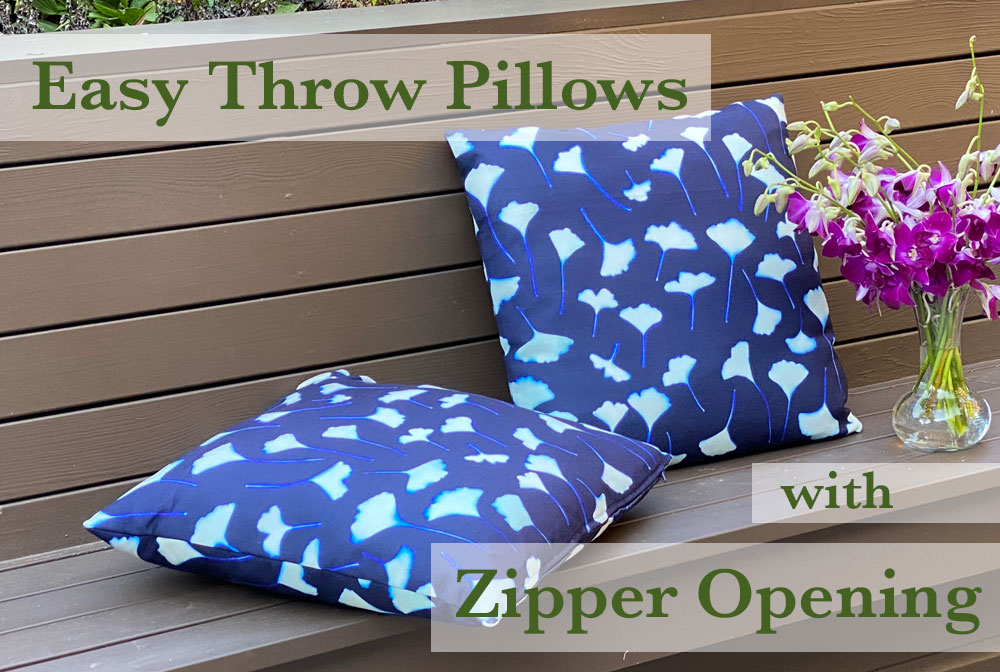
Making a throw pillow with a zipper closure isn’t as hard as you may think. With a few simple seams (in fact, you could sew this pillow cover entirely by hand if you want), a couple of hours, and not much fabric you can transform your couch, bench, camper, or thrown from ok to fabulously cushy.
You can use just about any fabric so this is a great project to use smaller pieces that you love, or sentimental fabrics that you’re not quite sure what to do with like your grandmother’s lace napkins or your grown child’s old baby quilt (Just think, it becomes a pillow for their place and out of your closet)
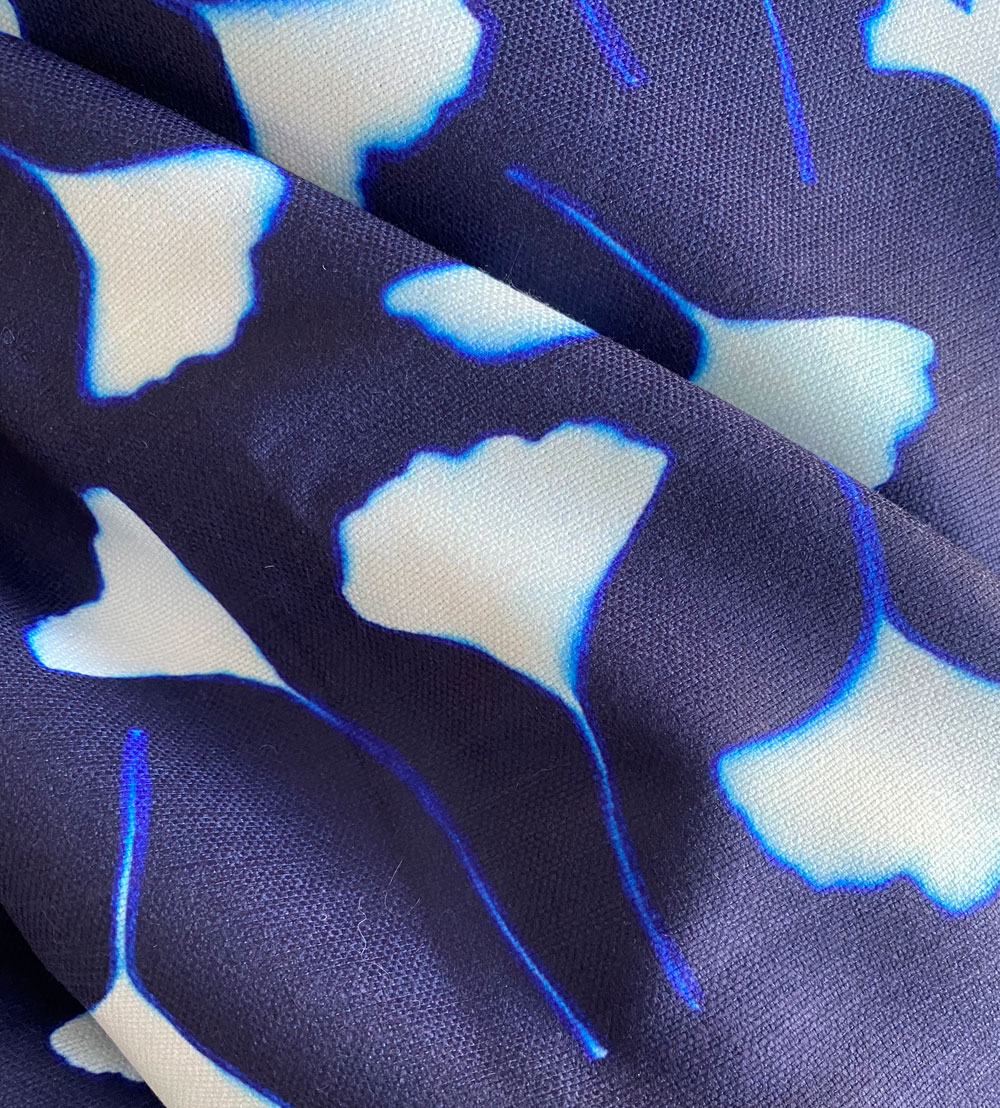
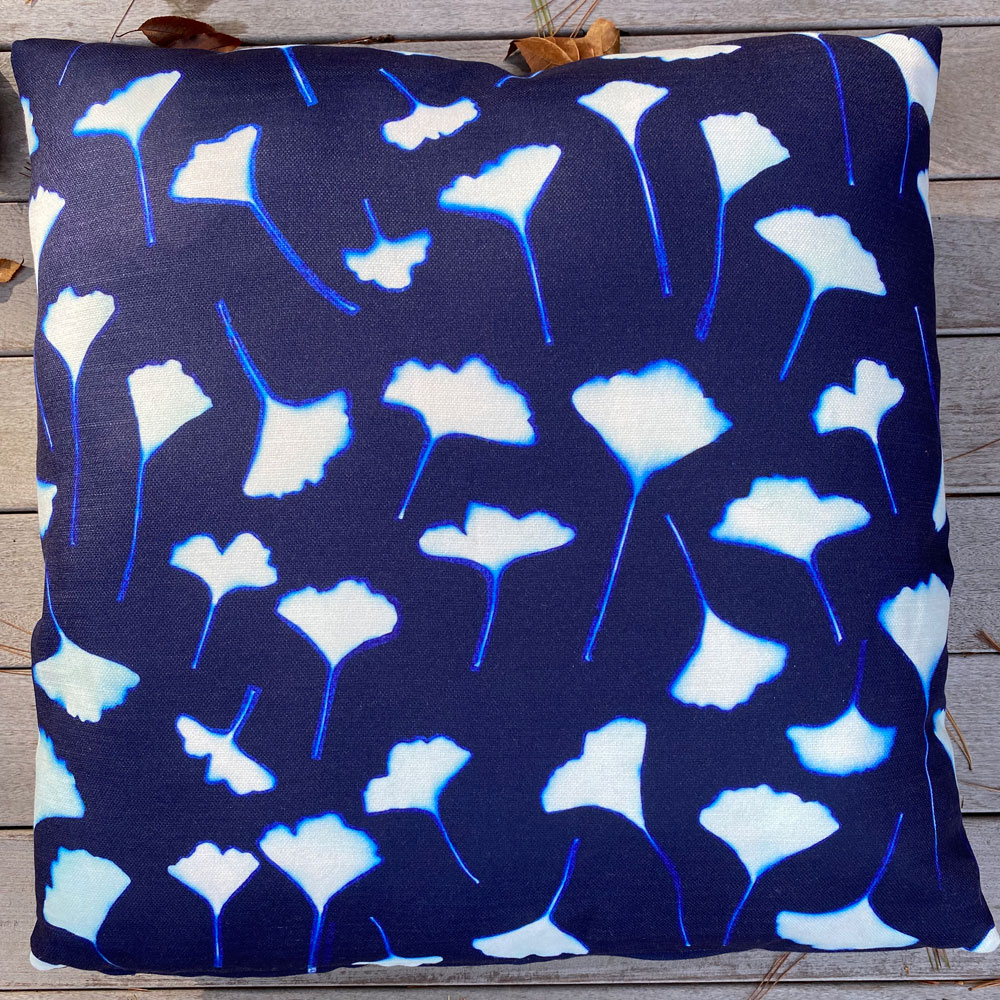
The fabric I used for my pillows is designed by a friend of mine, Lisa Smith of Poem Crown. Lisa is an artist who currently puts her art on facemasks and pillowcases; turning your bed into a gallery, basically. Check them out on her site PoemCrown.com.
Lisa also sells some of her simpler designs, like this one, on her Spoonflower page. Through Spoonflower you can have her designs printed on a wide variety of fabrics depending on what your project is.
I’m using Spoonflower’s Performance Linen which is actually polyester but perfect for throw pillows and other upholstery items. It’s durable, washable, soft and it looks like linen in the best way
I walk you through making this pillow in my video. However, if you prefer to read the steps, please read on. I’ve written them out in detail with lots of pictures.
The Supplies
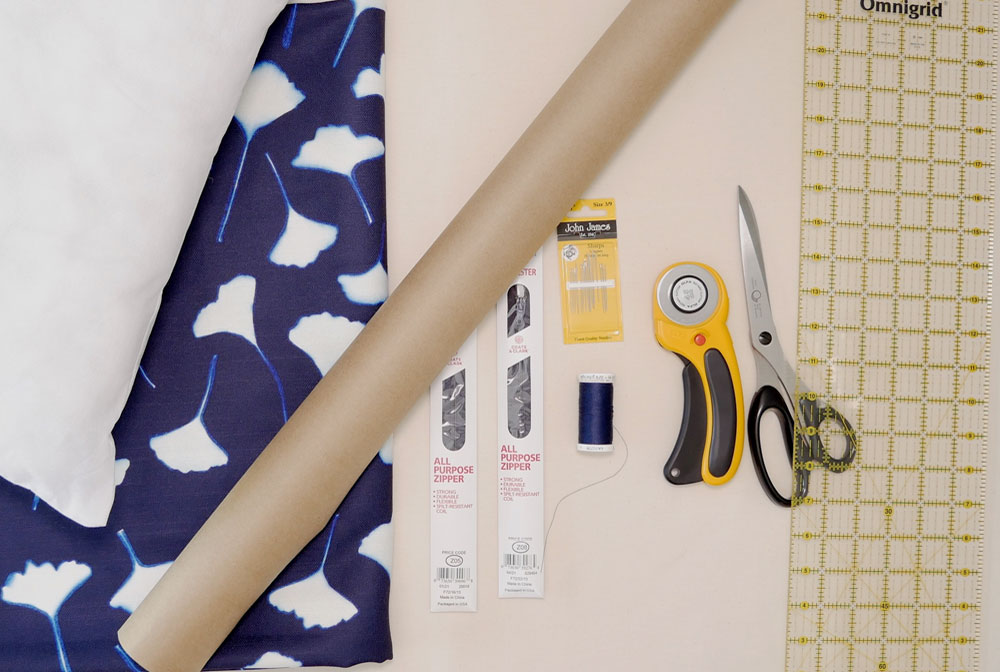
To Make a Pillow You Will Need
- A pillow form or forms in the size you want. Ready-made pillow forms are so readily available and you can always reuse the form from a current throw pillow that has seen better days. If you want an odd size or shape pillow you can make your own form out of muslin, or old sheets and stuffing. Simply cut two pieces of fabric the size you want your pillow plus seam allowance. Sew all the sides leaving a 4″ or so, opening in the middle of one side. Stuff the pillow form. Fold in the seam allowance of the opening and sew that shut by hand or under the machine. It won’t show.
- Fabric (we will discuss how much right after this list)
- An all-purpose zipper – not a zipper with metal teeth unless that is what you have and you’re using things you already have (And I salute you for that). The zipper should be about 4” shorter than the side of your pillow form – the side you plan to put a zipper in (if you have a rectangle pillow you have to choose the orientation). If your all-purpose zipper is longer than your pillow you can still use it and in the video I show how to shorten the zipper.
- Some paper to make a pattern with. This can be tissue paper, tracing paper, paper bags, wrapping paper, or pieces of notebook paper taped together to make a big piece of paper.
- A ruler and pen or pencil
- Matching thread, an iron, pins and scissors
Determining the Yardage Needed
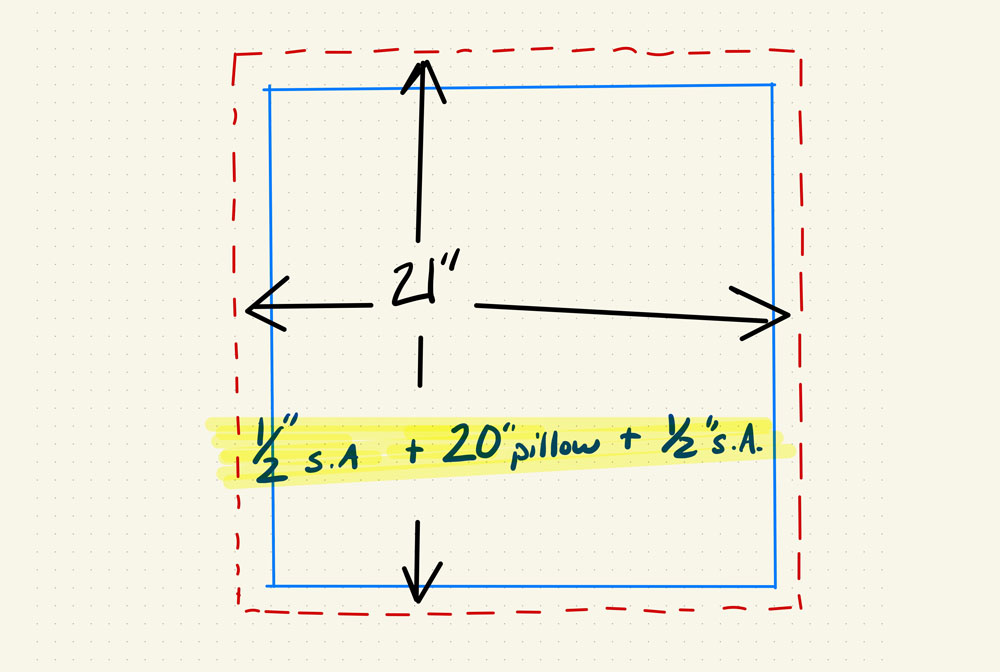
With square and rectangular pillows the backs and fronts are the same size. You will need one of each for one pillow. If your pillow form is 20” x 20” you will need two 21” squares (½” seam allowance all the way around).
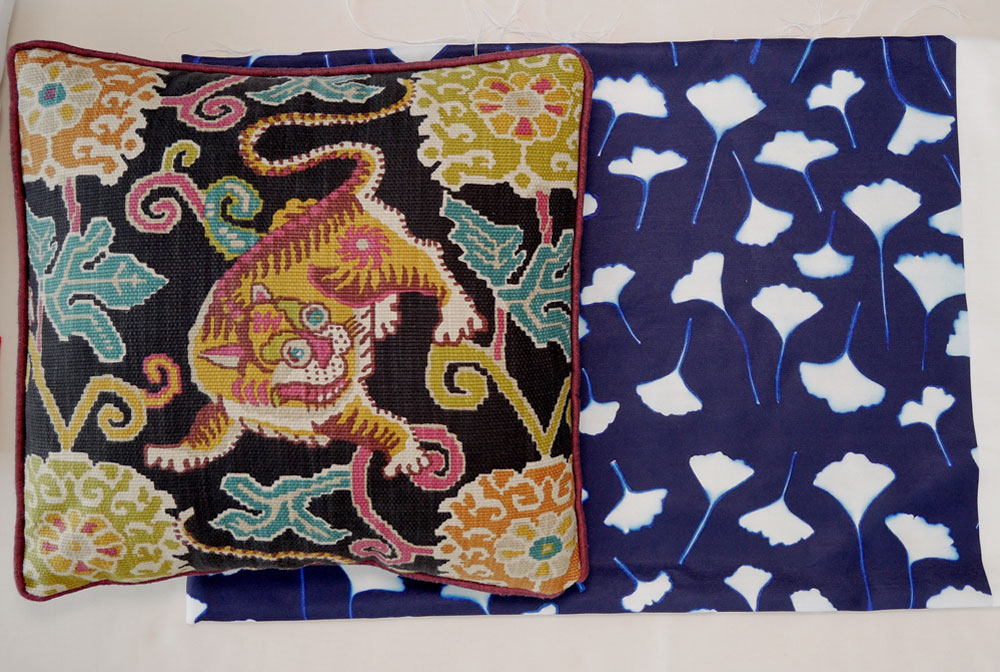
If you have a large repeat on your fabric, like the tiger pillow pictured above, and you want to center a particular element in the print, you’re going to need more fabric than just 21″ of fabric say. Get enough fabric to center that design element. Many upholstery fabrics have beautiful large-scale prints so keep this in mind when picking out new fabric for pillows. I also suggest using paper for your pattern that is slightly transparent so you can line up exactly where you want to cut out the pillow from the fabric.
Remember it’s always an option to have different fabric on the back. So if you have that large repeat, if your fabric is expensive, if you only have a scrap or limited amount to work with, you can make the back panel with another but coordinating fabric (because the edges will show both sides of the pillow).
Let’s Get Started
Make a Pattern
With a ruler, and not draw out the shape of your pillow on some paper. Make it an extra inch wide and an extra inch tall for the ½” seam allowance on all four sides. (I forgot about the seam allowance but luckily discovered my mistake before I cut out my fabric).
If your pillow is an odd shape or a circle add the seam allowance after drawing the pillow out to size.
Cut out the paper pattern
Rectangle and Square Pillows Need Their Corners Tapered
Tapering the corners of the pillow pattern will prevent the “dog ear” look on the finished pillow. That’s when the corners look pokey or floppy.
First, fold the pattern in half one way and then the other (into quarters) making a crease. This crease shows you the middle of each side. Unfold the pattern and choose one corner to work on. Fold that corner up to the crease (midpoint) and make another crease (the quarter-point). Repeat for the other side of the corner.
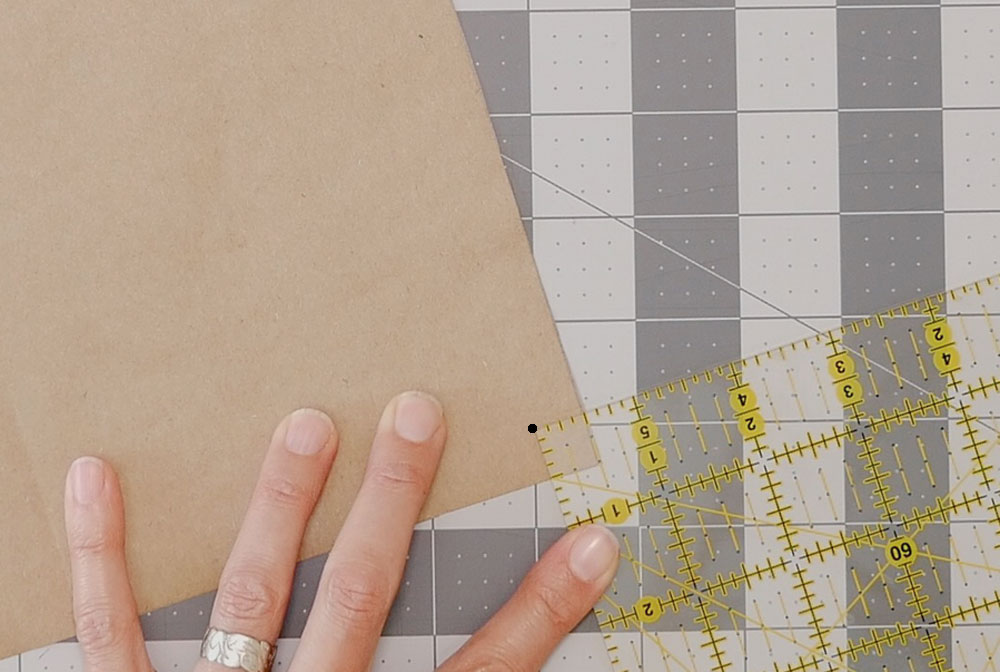
At the corner make a dot that is both in and up ½” from the edge.
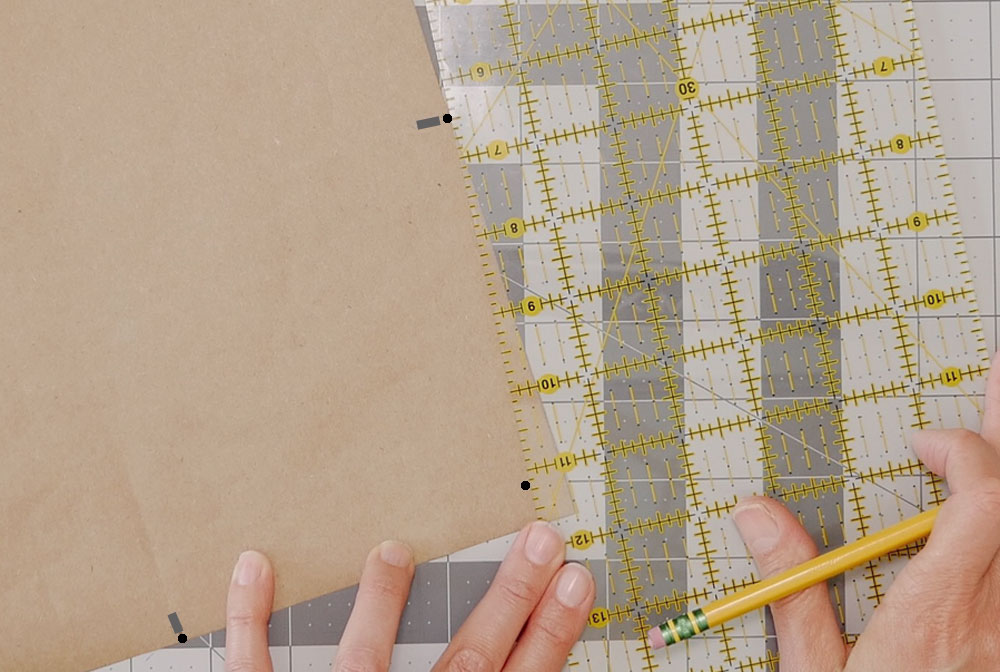
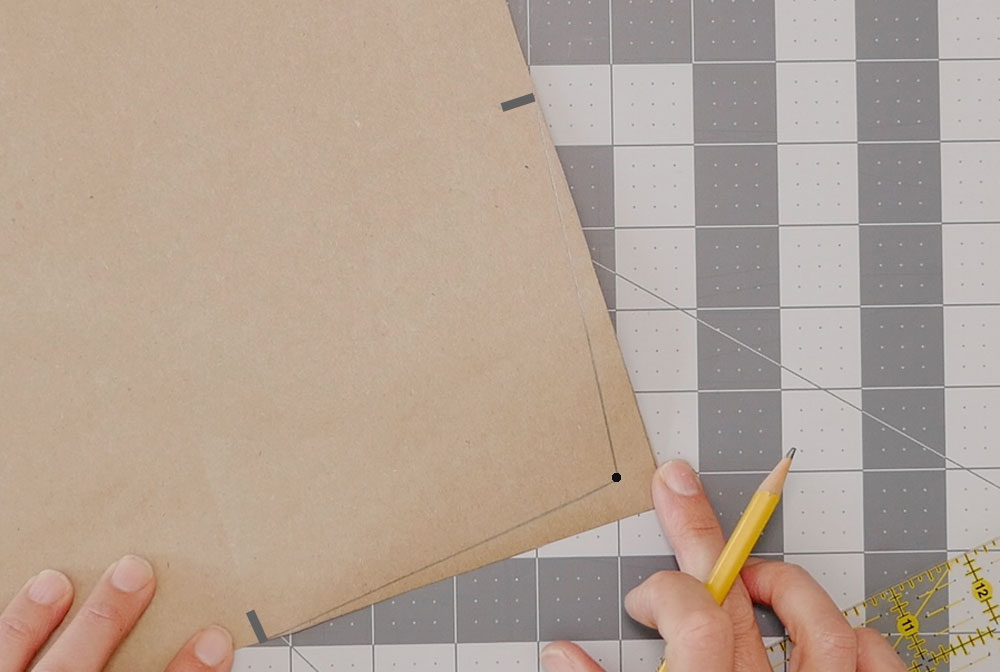
Draw a line from the quarter-point crease to the dot in the corner for both edges of the corner.
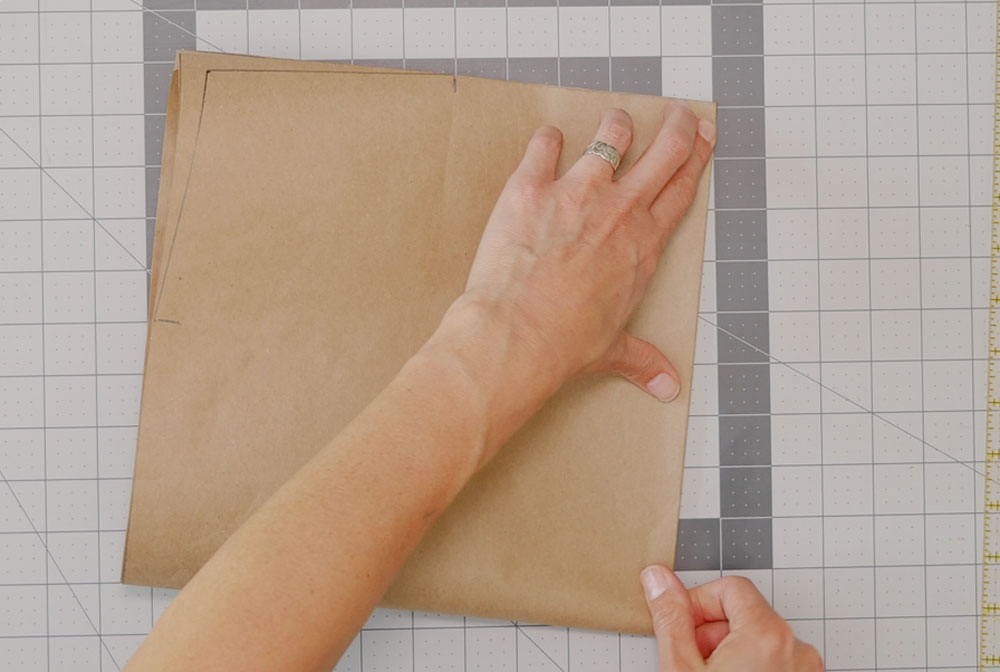
Fold the entire pattern back in half and half again (quarters) so that your marks are laying on the top.
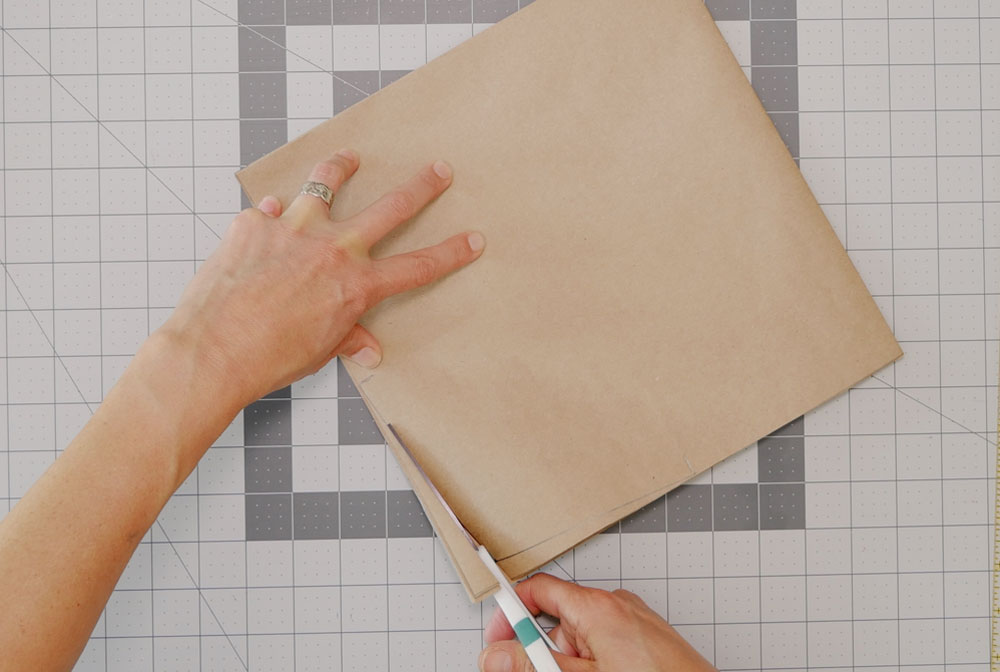
Cut along your marks, all four layers at once.
Cut Out the Fabric
Cut out your pattern twice (a front and a back) from your fabric. Pay attention to the nap of the fabric. If you have a solid, stripe or busy print you can probably fold your fabric to cut out two layers at the same time.
If you want to center up an element in the print of the fabric then cut out one layer at a time to be sure you center up that element on both sides of the pillow.
Put in the Zipper
The zipper is centered from corner to corner along the side you’re placing it on.
Find the center of both your zipper and the side of one pillow piece (front or back) where the zipper will go by folding in half and putting a pin in the halfway point.
Lay that pillow piece wrong side up on your work surface. Lay the zipper along the pillow edge matching up the halfway pins on the zipper and the pillow. Place a pin in the fabric edge to mark where the zipper teeth end at the top and bottom of the zipper. Take the zipper off the fabric and remove the center pin only. (and the pin in the zipper)
With the two pins still in the pillow piece, line up the other pillow piece to it, right sides together, wrong sides facing you.
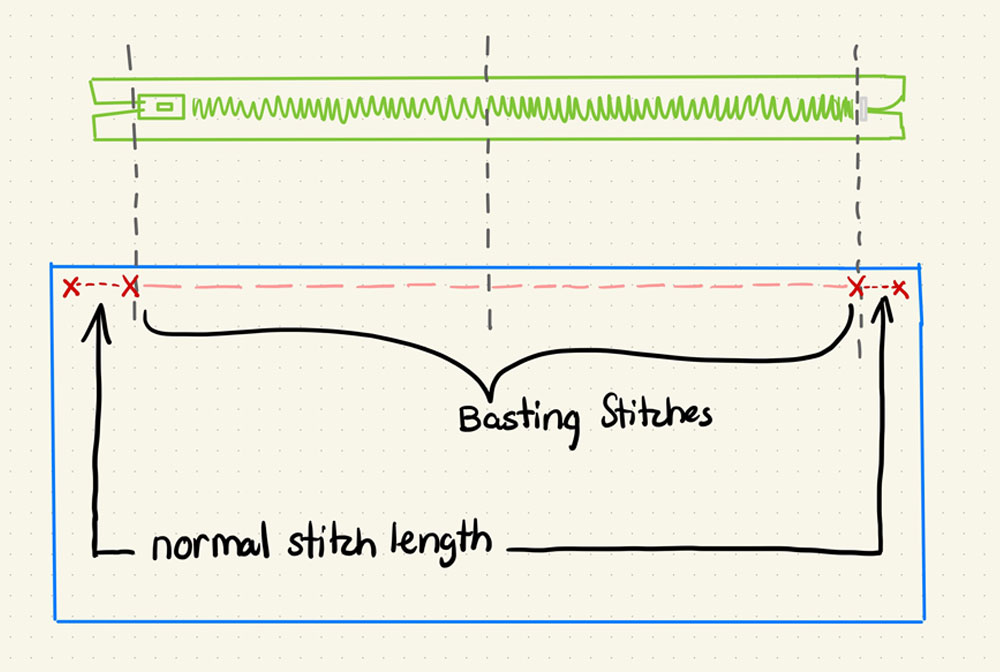
Using a ½” seam allowance you will baste the seam between the pins (where the zipper teeth will be) and sew the ends beyond the pins.
From left corner to the first pin – sew regular length stitches with a couple of reverse stitches when you end at the pin.
From the pin to the pin sew basting stitches (long temporary stitches)
From the second pin to the corner sew regular length stitches with a couple reverse stitches at the start near the pin.
Even though we tapered the edge you will still have a half-inch seam allowance on the entire edge
Open the two pillow pieces like a book, wrong side facing you and press open the seam allowance.
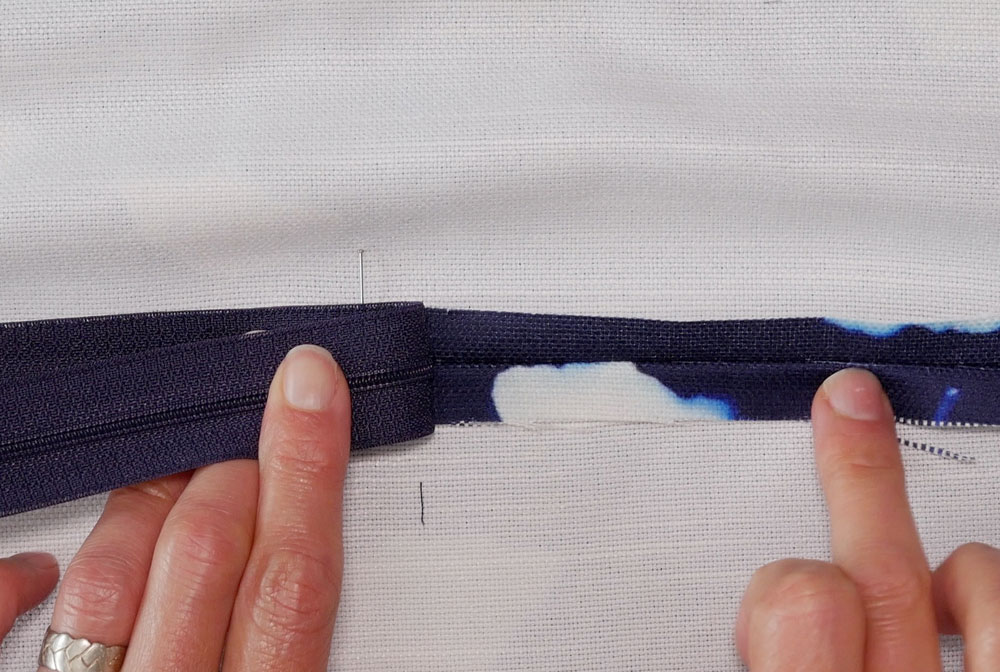
Lay the zipper face down on this seam. Try to center the teeth along the seam line. Pin in place and then hand baste in place.

Have the top pieces of zipper tape touching, either with a couple of hand stitches or with a pin.
Sew the zipper down to the pillow pieces with a zipper foot and a regular stitch length. I aim to sew down the middle of the zipper tape. Sew too close to the teeth and you can’t move the zipperhead past and sew too close to the edge you run the risk of running off the edge.
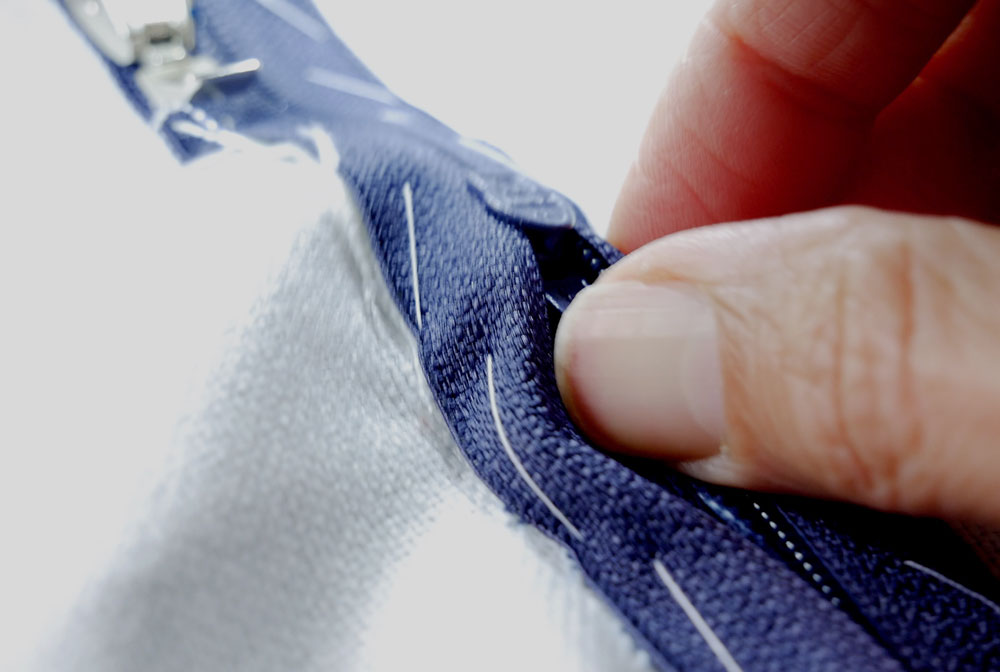
You will have to move the zipper head out of your way when you get close to it in order to keep your stitches in a straight line. This is easier when you sew on the wrong side of the project but when you do that you can’t judge how far over you are sewing from the seam under the teeth (which is why you try your best to line the teeth up on top of the seam).
Hand basting down one side of the zipper first with the zipper unzipped is very helpful because you can see for certain that the teeth are on the seam. However, I never skip hand basting my zipper down because it holds the zipper steady while you sew better than pins ever will.
I did not go for a perfectly centered zipper on this project. With my matching thread, I knew center-ish was good for me.
Sew across the top and bottom of the zipper also. I did this as one continuous line of stitches: down, across, up, across. You could go down, down, across, across.
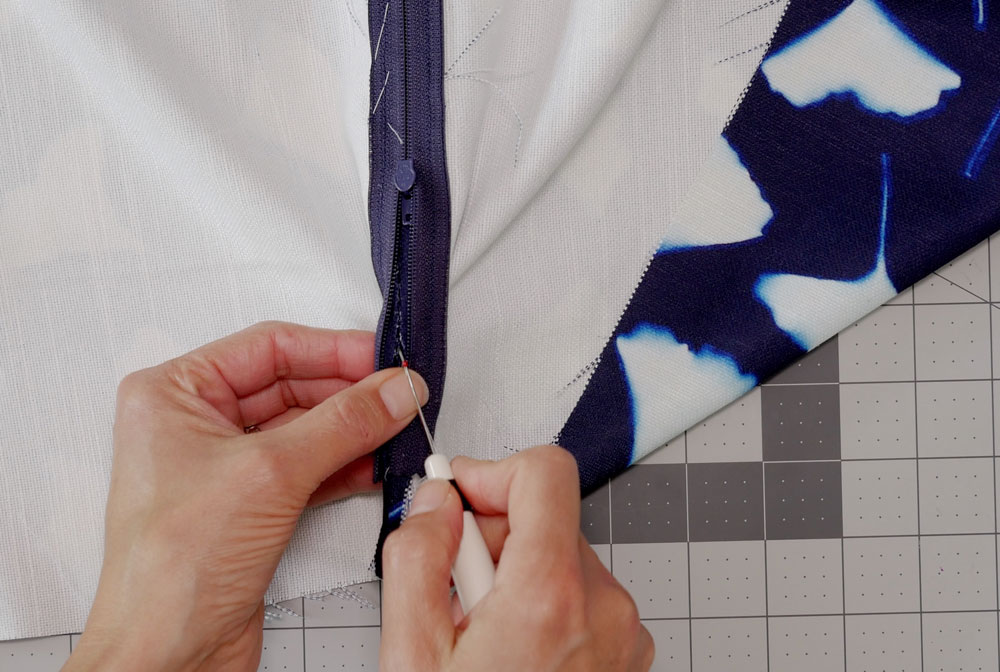
Remove the basting stitches holding down the zipper and the basting stitches in the seam. Don’t remove the stitches on the ends of the pillow pieces that go from the zipper to the corners.
Sew the Sides – We’re So Close
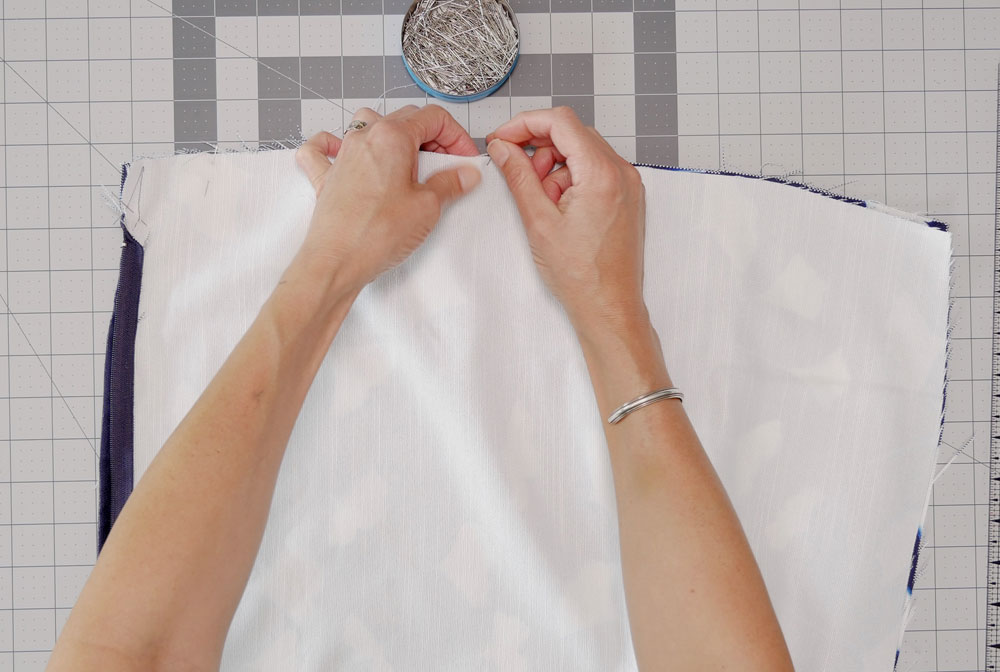
Open the zipper at least halfway – very important
Pin the back and front together on the three loose sides, right sides together.
Sew the back and front together along those three sides using ½” seam allowance.
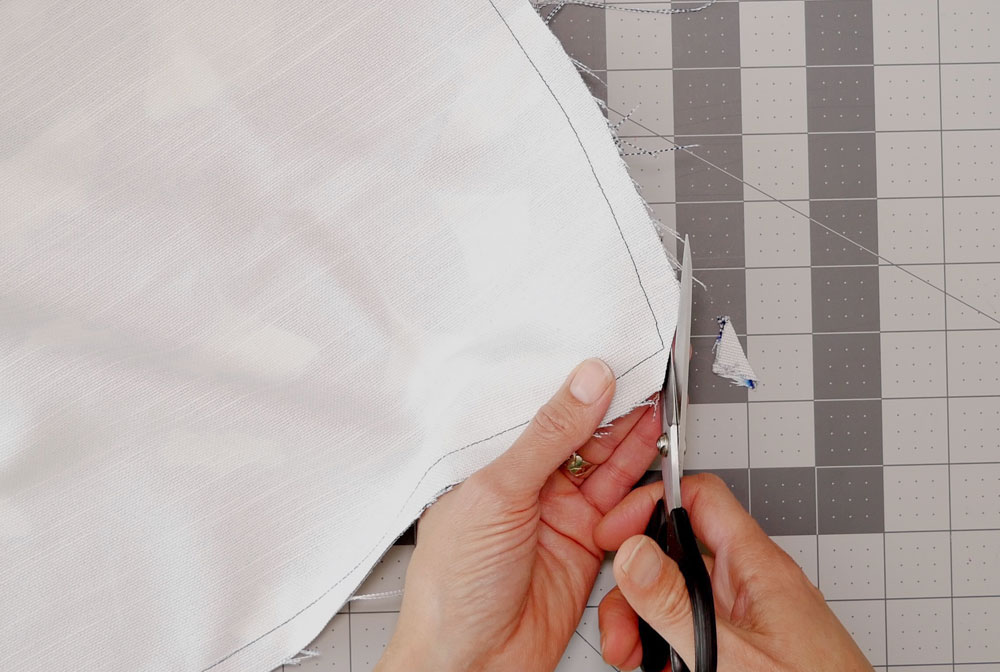
Clip your corners to reduce the bulk. Simply cut across the corner but be careful not to clip the stitches at the corner. If your fabric unravels easily, or if you think you clipped a little too close to the stitches, dab some fray check on the corners.
Finishing Touches
Put your hand in through that open zipper and turn the pillow right side out
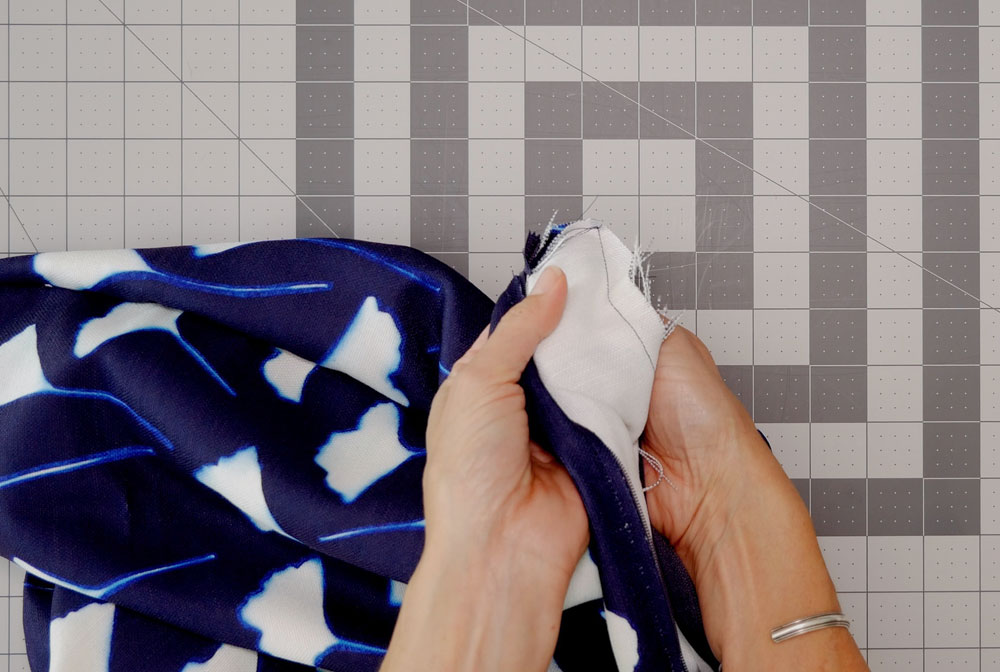
Poke out the corners gently. Never use scissors or anything sharp for this job. You could poke through the corners if you do.
Insert your pillow form and zip up your zipper. Don’t forget to trim off any threads
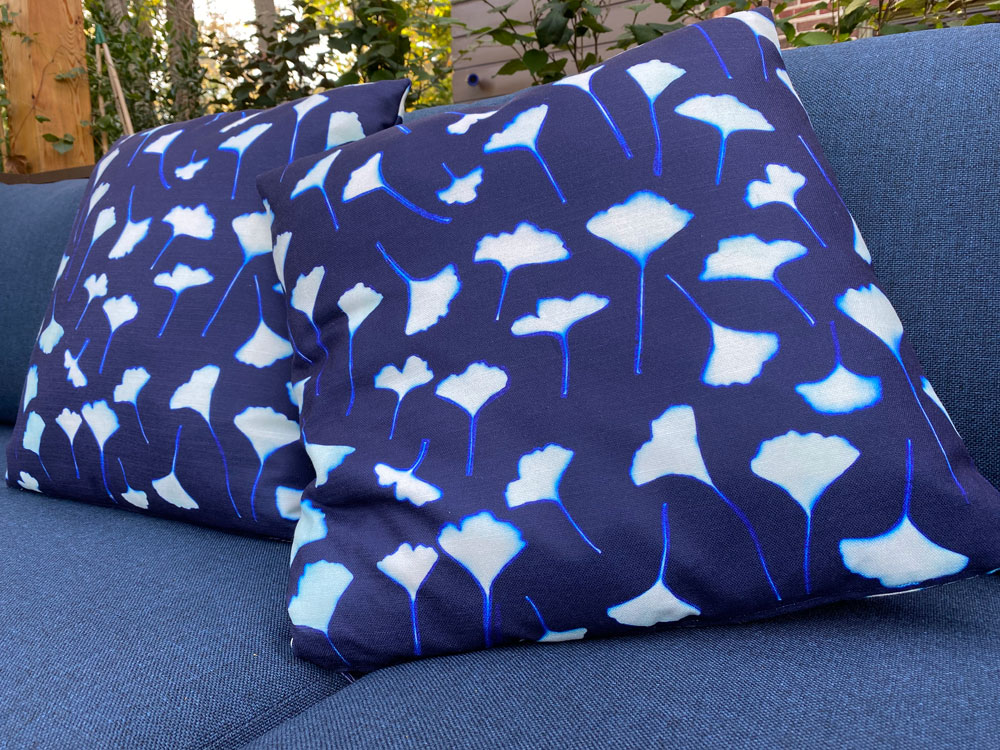
Great job! You just earned bragging rights. When someone says, “oh, I like your pillows” you can say “I know” but you’ll probably say “thank you” (with a huge grin)
Thanks for reading
You may be interested in this post on how to make pillows with an overlap closure (no zipper) or this one about putting in a zipper by hand.
And now time for a break.

Hello,
Thanks for an excellent tutorial! I hadn’t seen the trick of trimming the corners 1/2 inch before and I’m sure it will be helpful in my next project. I do have a question: I’ve seen tutorials that recommend cutting the fabric to the exact size of the pillow form with no extra seam allowance. Could you give me your thought on this?
Thanks and best regards.
I guess it’s like the idea behind trimming the corners in that it would give you a snug fit. Which would make the pillows appear plumper. Now that I think about it, I’m going to try that. I think if I cut the case the same size as the pillow (adding no seam allowance) I would use a quarter inch seam allowance and not bother trimming the corners on small pillows but on larger pillows (15″ & larger) I think I would trim the corners a quarter inch. This is interesting, I’m glad you told me.