
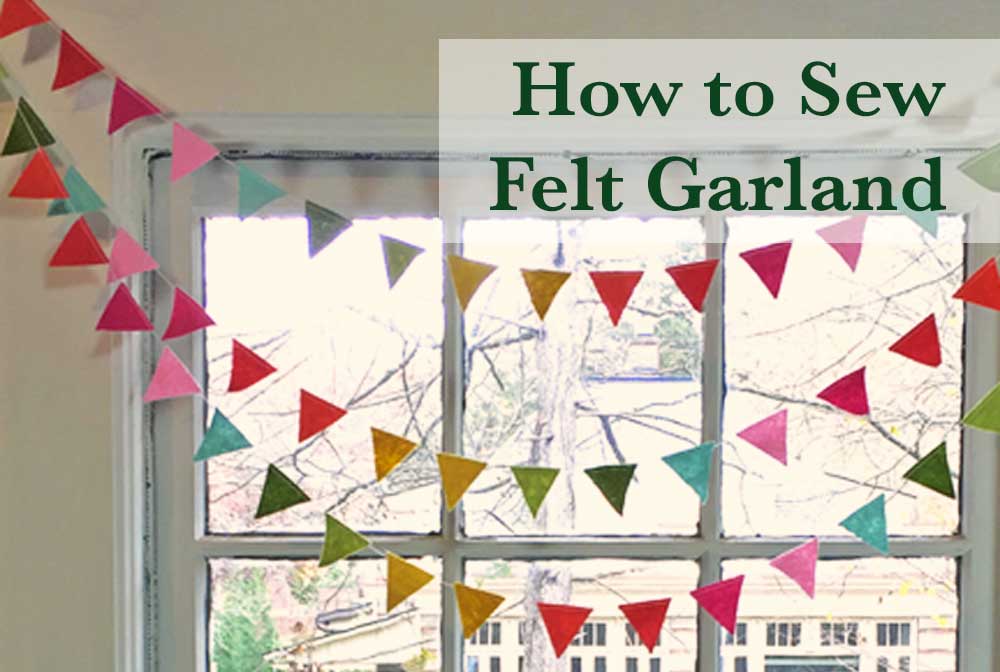
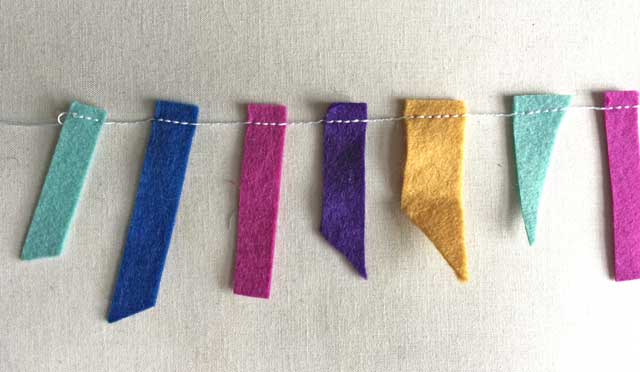
Whether you want to add a little color to a gray room in a grey season or set a holiday mood, or affordably decorate a temporary space (baby’s nursery? dorm room?) a string of felt garland is the ticket.
You pick the colors. You pick the length. Two hours from start to finish.
The Supplies You Need
Felt A blend of wool and rayon makes a nice quality felt at a reasonable price. An all wool felt is a dream to work with but it’s above this project. Save it for something better. You can use acrylic felt found at craft chain stores too but the color selection is limited and the felt is thinner. Scraps are also worth considering here.
Note: I purchased my felt from Benzie Design (ages ago). They did sell felt precut into shapes and still may. I had an excellent experience ordering from them.
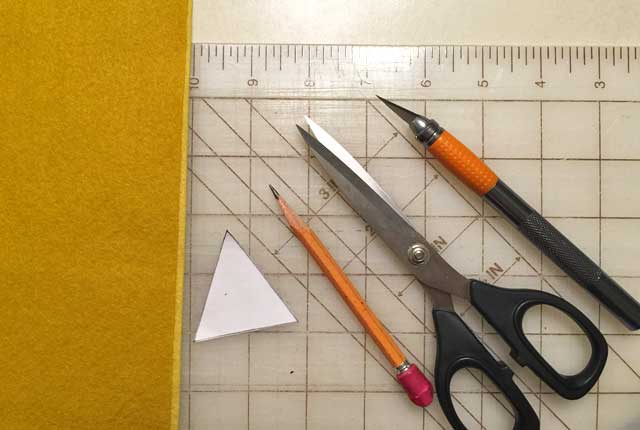
Scissors or Xacto knife or Rotary cutter. Use the tool that’s best for your shape and what you already own.
A pattern of your shape or shapes drawn out on paper for simple shapes and on thin cardboard for more complicated shapes that need to be traced around.
A pencil to mark on the felt with. When using dark felt try a chalk pencil or draw/trace your shape onto freezer paper as many times as you need to cut it out of the dark felt. Then iron the paper onto your felt. Cut out the fused paper and felt as one, cutting out on your tracings. The paper comes right off the felt without residue or a fuss. (Instructions for how to fuse the paper to the felt and what side to use are on the freezer paper box)
A sewing machine.
Topstitching or Heavy Duty Thread
All-purpose thread for the bobbin. Note: The two threads do not need to match. The thicker thread will dominate but your all-purpose thread for the bobbin can match, blend, or contrast with the Topstitching thread. Your choice.
Gift wrapping tissue paper or tracing paper. Something thin. Used pieces and scraps of these papers are perfect.
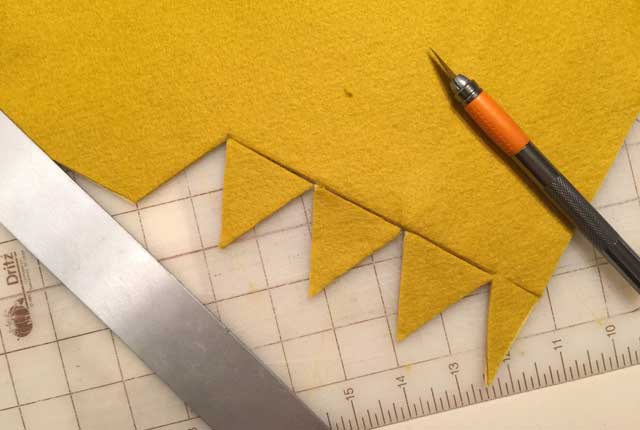
Trace or plot your shapes on to your felt. Stack two pieces and cut two layers at a time. As you cut your shapes, save your scrap pieces for testing with.
Triangles are fun and you can vary the sizes and angles of your triangles. Hearts, circles, and stars make nice garland shapes too.
Let’s Get Sewing
Test One – Sew the shapes by simply feeding them in under the presser foot while sewing
FAIL – Do not do this at home.
The space in between the shapes is inconsistent.
But even worse the neede wants to push the small pieces down into the netherworld below the feed dogs.
And not just at the start of the garland but at the start of every shape.
Note: Saving scraps to run tests on is always a good idea. You can try out construction as well as test how your thread choice looks on the fabric, your stitch length, and your stitch type. I’ve worked out the how-to for you but if you want to test your thread choice use your scraps.
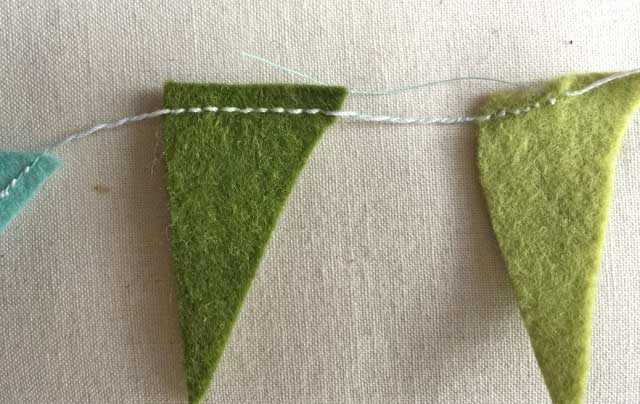
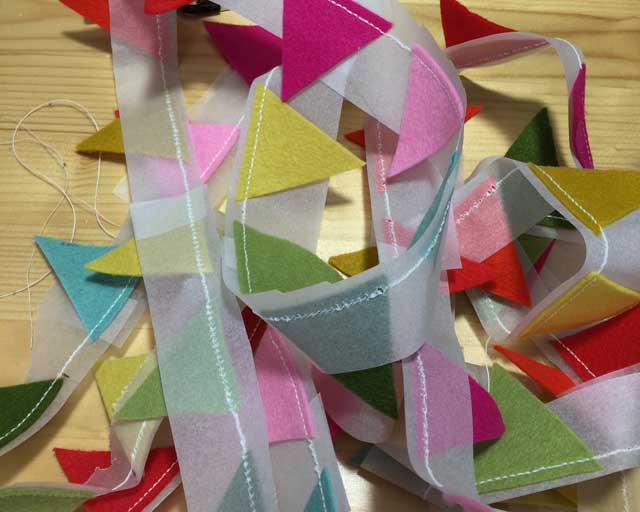
Test Two – Pin the shapes to a piece of tissue paper and then sew that
PASS – (But it gets modified so keep reading)
Spacing is even, or at least how I meant it to be.
Stitching is even too and nothing was sucked down into the sewing machine.
Pencils Down – Let’s Get Sewing For Real This Time
Play with your shapes and decide on color pattern if it repeats. Or is it random, Does it appear random but you’ve planned it out? Decide on spacing. There needn’t be space in between shapes. That’s up to you if the shapes kiss, if they overlap, or if they are an inch apart. (mine are about 1/2″ apart)
And if you have different size shapes decide on the repeat pattern; small, small, large, small, small, large.
All those decisions decided then…
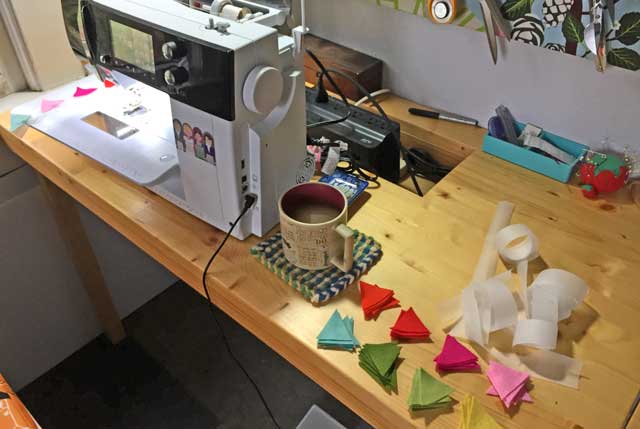
Set Up Your Space
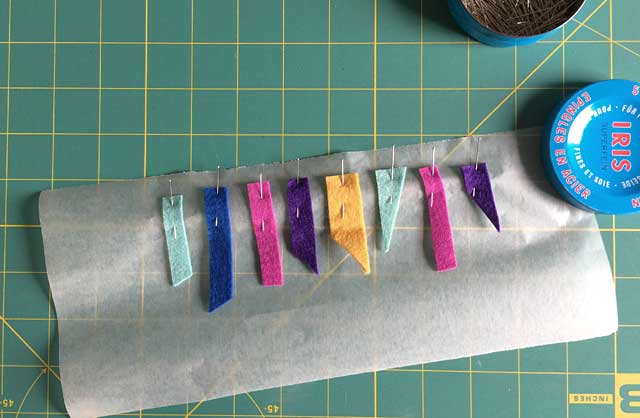
Line up your shapes near your machine in the color order you want
Have some strips of tissue paper or tracing paper at the ready. These strips do not need to be precisely 1″ wide but I tore and cut mine to be about that width. You do not need one long strip but longer strips will have you overlapping them less often. Overlapping the paper is no big deal though.
Thread your machine and needle with the thicker thread. Use a needle sized for denim or a topstitching needle. These needles will accommodate the thicker thread and perforate the paper nicely which makes easy removal of it when you’re done.
Pull on the needle and bobbin threads together so you have about a foot of threads behind the machine. You want a long thread tail at the beginning and end of the garland.
Remember how in Test Two I pinned the shapes to the tissue paper? You can skip the time-consuming pinning.
Or you can pin the first five shapes or so to start off. I did (not knowing I wasn’t going to pin all of the shapes as I went) and it freed me from thinking about the spacing when I first started sewing. As you get the hang of sewing the shapes and find a rhythm, you can stop using your “training wheels” whenever you feel ready.
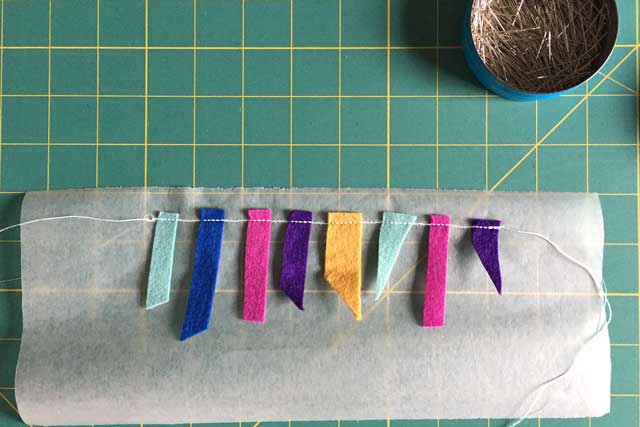
Place a strip of tissue or tracing paper on your machine with an inch or so behind the needle and most of it in front of the needle. Lay your first felt shape onto the paper strip just under the needle. It doesn’t matter how far to the left or right your shape is on the paper.
Start sewing with the needle in or poised above the first shape, not the paper before the first shape.
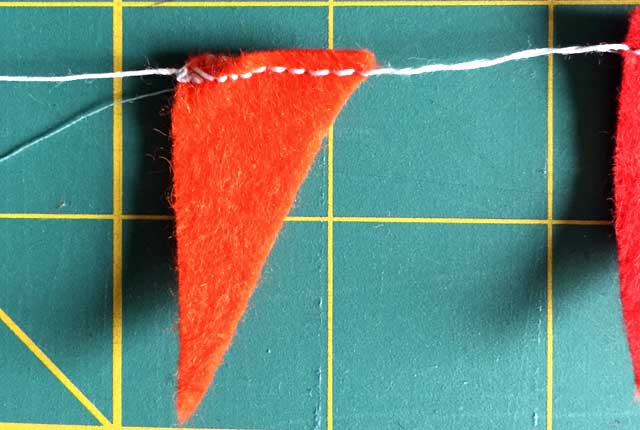
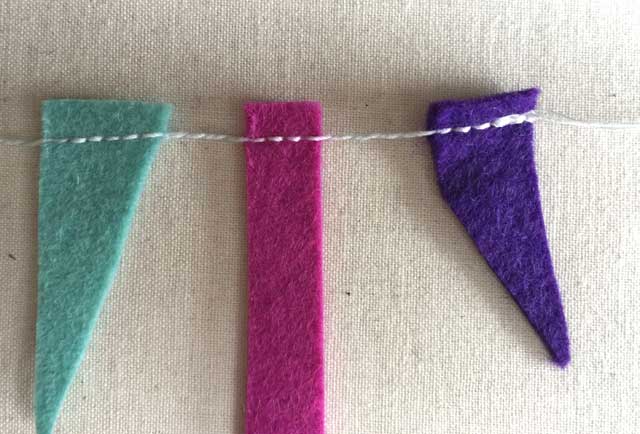
Take a stitch or two then take a reverse stitch or two (back tack). You’ll do this just at the start and at the end of the garland (purple piece above), not on every shape.
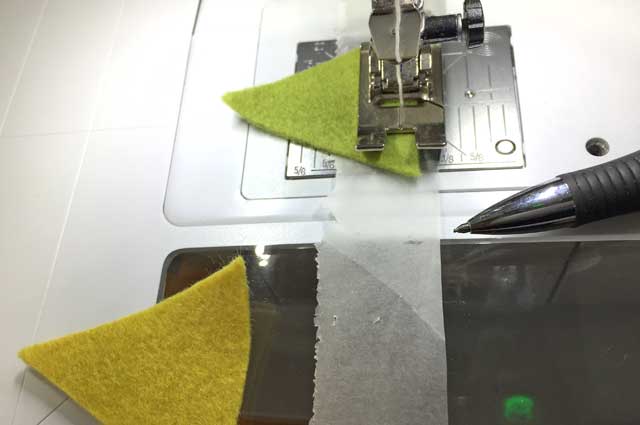
After abandoning the pins I used a pencil to mark where to place the next shape. I just eye-balled it. I didn’t measure. However, before I was halfway through sewing my shapes I was placing the next shape onto the paper strips without a mark. You develop a rhythm. And you realize the spacing isn’t that crucial.
You will find that the presser foot wants to move your shape toward you as you approach it. Leave the needle down, inserted into the paper, and raise the presser foot if you need to assist or guide or place the shape under the tip of the foot (the toes, I suppose).
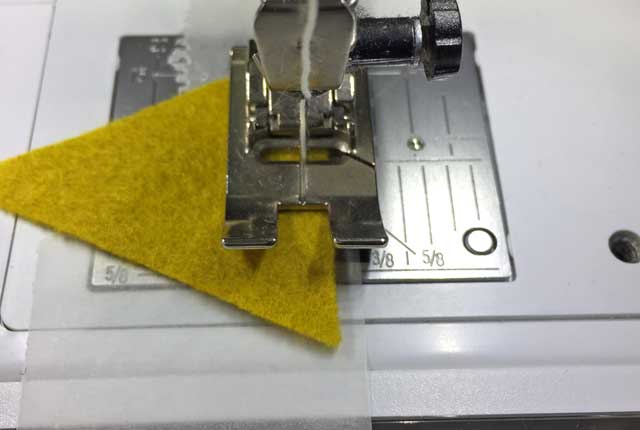
Find a spot on the presser foot to line up your shapes with. You could also sew through the middle of a shape. Circles and hearts lend themselves to being bisected.
Also, the shapes need not be lined up on the paper perfectly with each other. Not even close to perfect because the paper will be removed. Don’t sweat this. You got it.

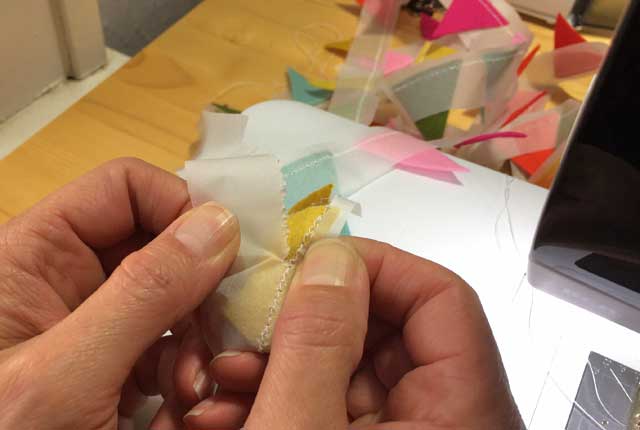
Before you run off the edge of the paper, slip another strip on top and under a bit of felt. Placing the new edge between the felt and the current paper lets it feed smoothly under the needle and foot.
When you’re done sewing back tack at the end of your last shape and pull a generous length of thread from the machine (and bobbin). You want to have 10 inches or more of threads on each end of your garland to help you place it where you want. You may need to tie the ends around something or make a loop to hang it from or wind the threads around a nail or hook. So give yourself some thread.
Tearing the paper is easy but you’ll ruin the garland if you rip it. Be gentle, be patient and stitches won’t get damaged.
I found pulling one side of the paper while holding firmly to the other worked really well.
You will have little pieces of paper get stuck or left behind. They’ll come out easily when you’re all done, maybe even before. You could also use a spray bottle of water and mist the paper to make it even weaker and easier to tear.
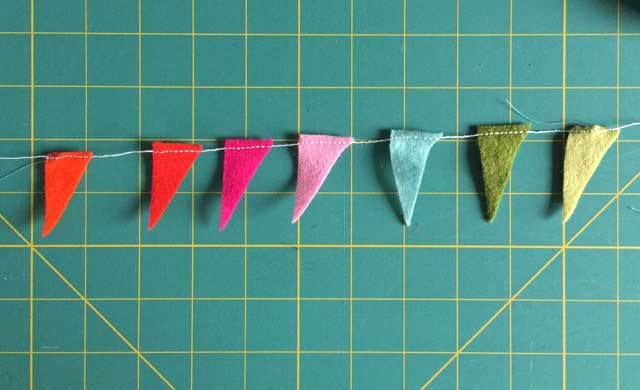
And done.
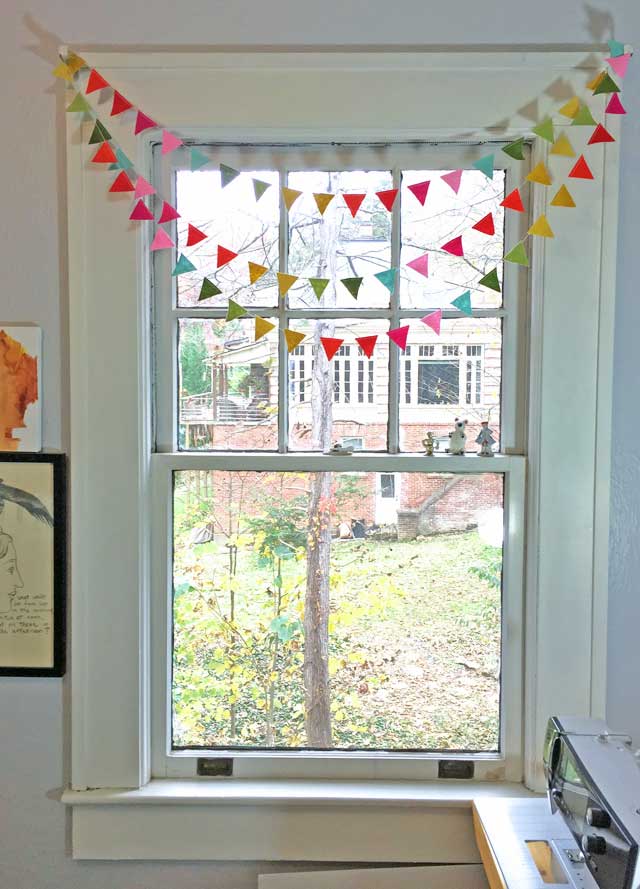
I used seven colors, and seven shapes of each color. I spaced my 1 3/4″ triangles a 1/2″ apart from each other and ended up with a little over 4 yards of garland.
They are so cute! and look great on your studio window! 🙂
Thanks!
Is the tissue paper that was used the stuff you’ll find in the gift wrap section of the store? Or is it seeing tissue?
I used tracing paper but you can certainly use the tissue paper you get for gift wrapping.