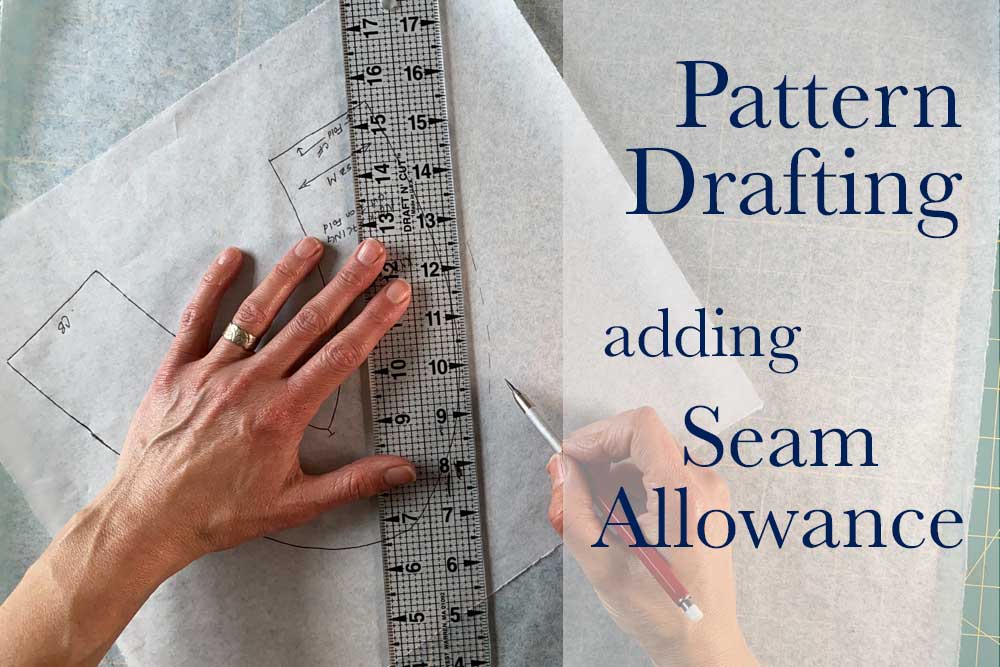
Most patterns (in America) have seam allowance included. The outline you see is the cutting line and the seam allowance is not marked on the pattern. Somewhere in the instructions the size of the seam allowance will be noted. And hopefully, you don’t have to hunt for that information.
This post is going to show you how to quickly and accurately add seam allowance to any pattern that doesn’t include it. And if you put the ruler on facing inward (opposite of what I show here), you can use this easy method for marking seam allowance on a pattern that includes it – very useful when you alter a pattern.
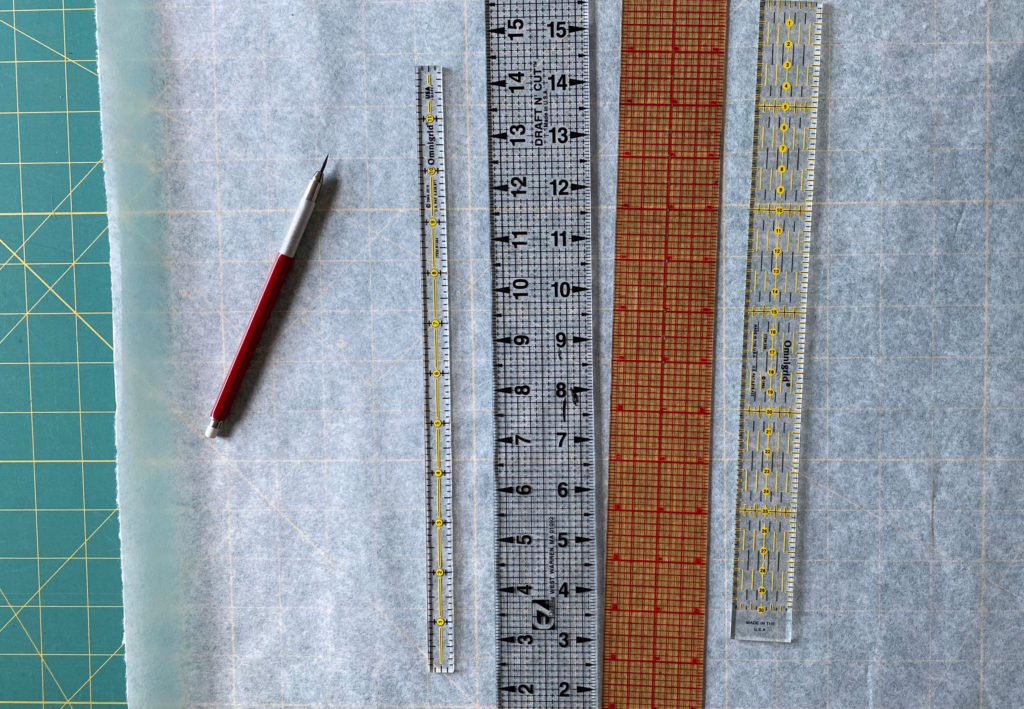
To add seam allowance to a pattern that doesn’t include it OR a pattern you altered or drafted all you need is a ruler and a pencil. A see-through ruler makes it super easy but you can use any ruler, you just have to hold it a little different (I’ll explain soon).
See-through rulers commonly come 2″ wide with a grid printed on them. You can find them in centimeters too. They also come narrower, like the 1/2″ wide ruler above (Far left).
If your ruler is the same width as the seam allowance you’re adding you can use it as a guide. Just lay one long edge on the pattern’s edge and draw along the opposite long side. Bam! Seam Allowance.
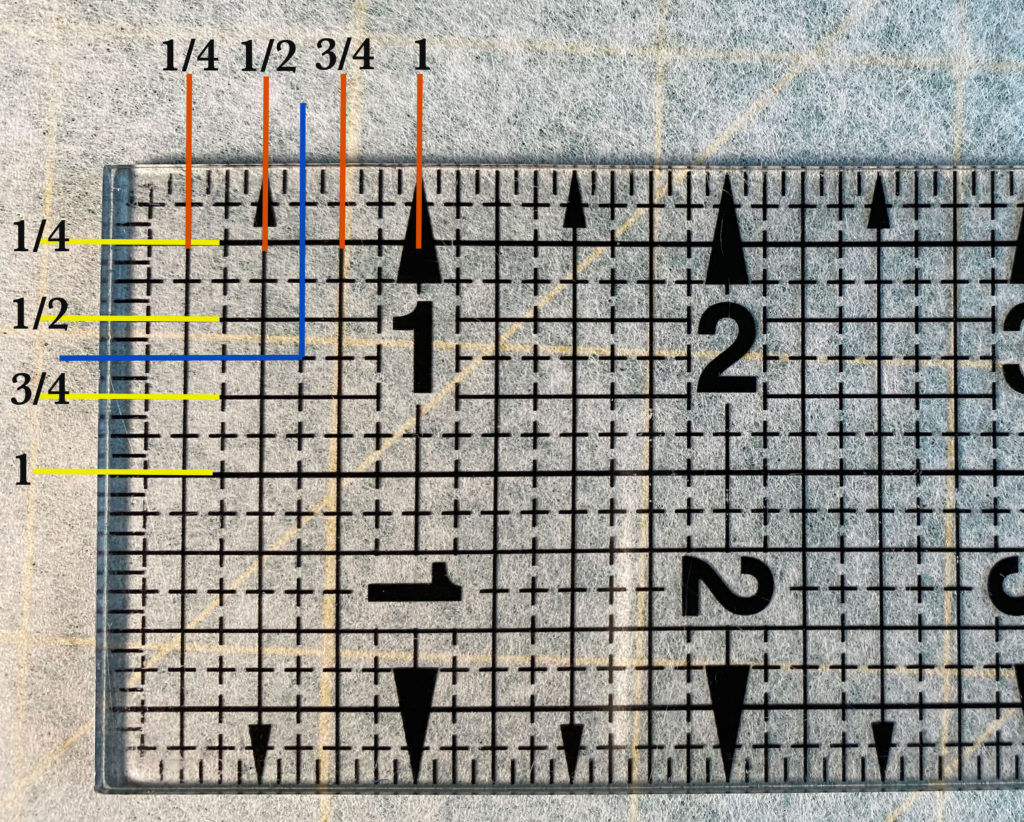
Looking at a grided ruler in inches you can see it has a line for every 1/8″ along both length and width of the ruler. So you can lay the ruler a 1/4″ off a line, or a 1 1/2″ off the line or whatever you need.
In the following demonstration, I will add a 5/8″ seam allowance to the pattern piece. (The blue lines in the picture above.)
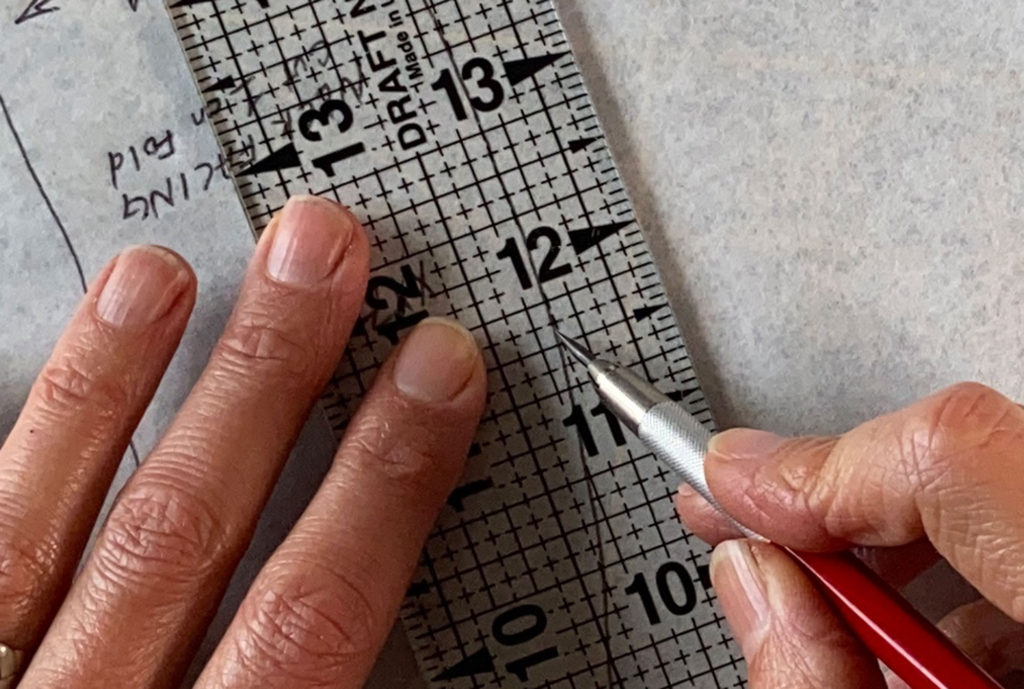
First, find on the ruler which line gives you the amount you want to add. (I’m going to use 5/8″ around the outside of this neck facing pattern . If the ruler is in front of me horizontally I will go down from the top, 5/8″ to find the line I need. If the ruler is vertically placed in front of me I will go from the right side of the ruler, over to the 5/8″ line. And probably from the left if I’m left-handed.)
Lay that line on the outline of the pattern so the outer edge of the ruler is 5/8″ – or whatever your seam allowance amount is – away from the outline.
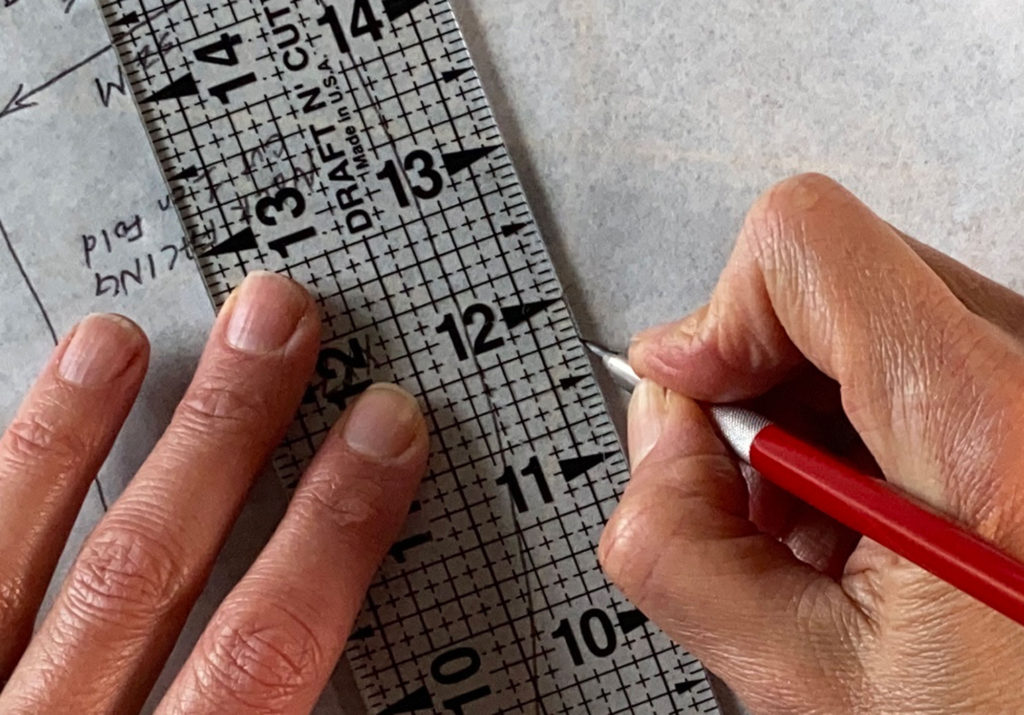
Mark with a pencil along the outer edge of the ruler.
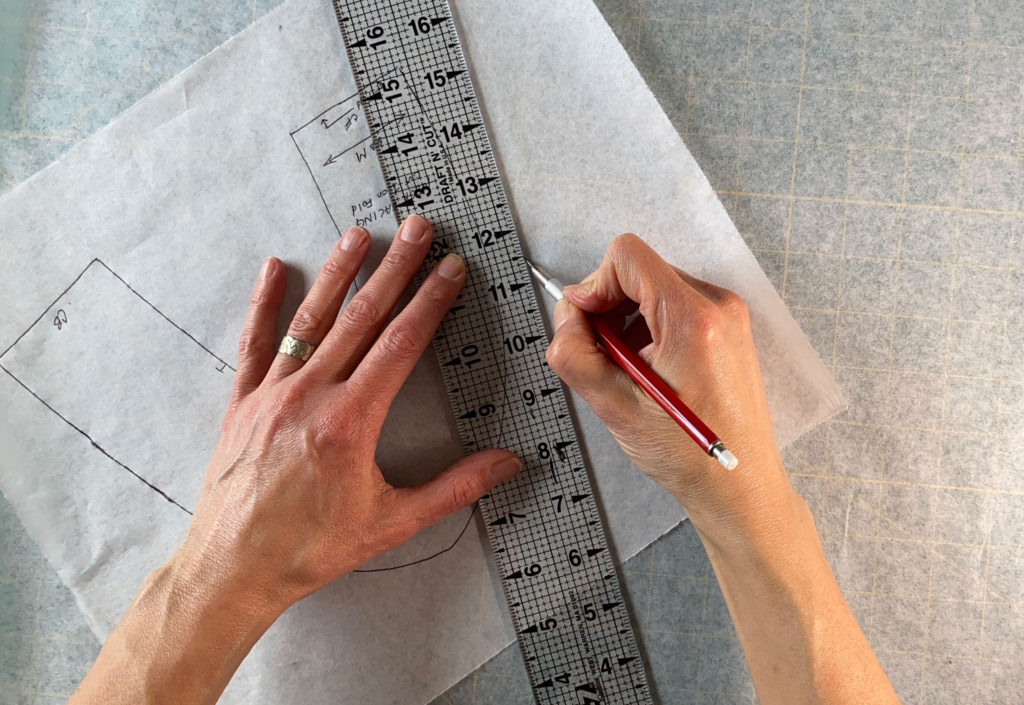
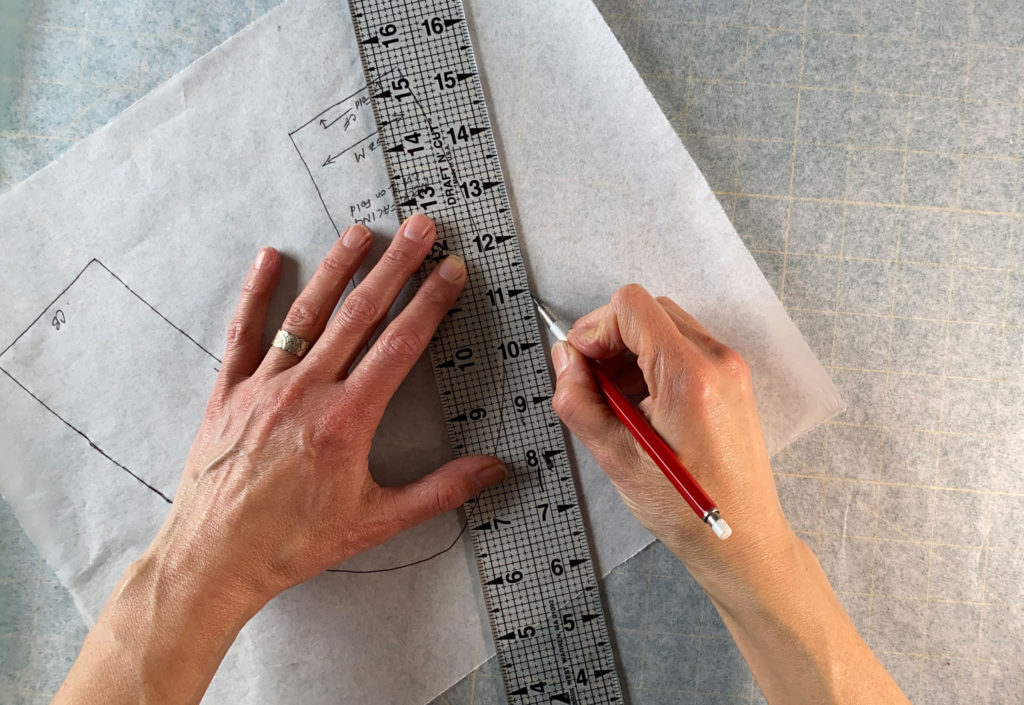
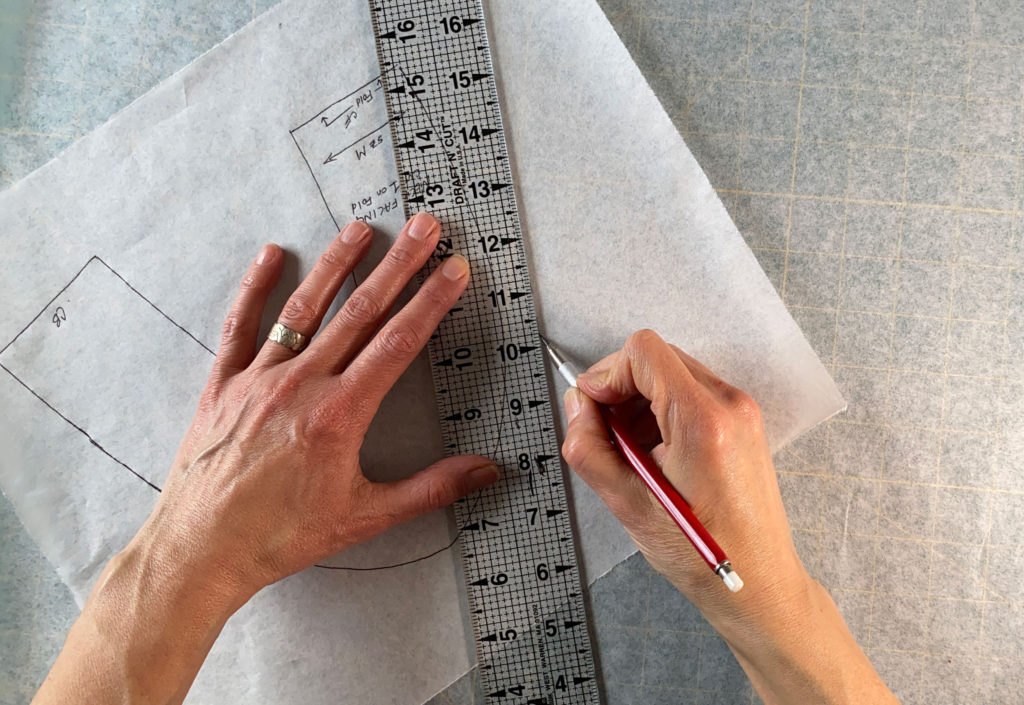
If your pattern is a straight line you can mark one long line. If there is any curve to it though, you’ll need to mark a short line, move the ruler down the pattern outline, and mark again.
You keep doing this along the entire outer edge of the pattern. Of course, you end up with a dashed line. If there are any large gaps between your dashes, go back in, measure out your amount, and add some more dashed lines.
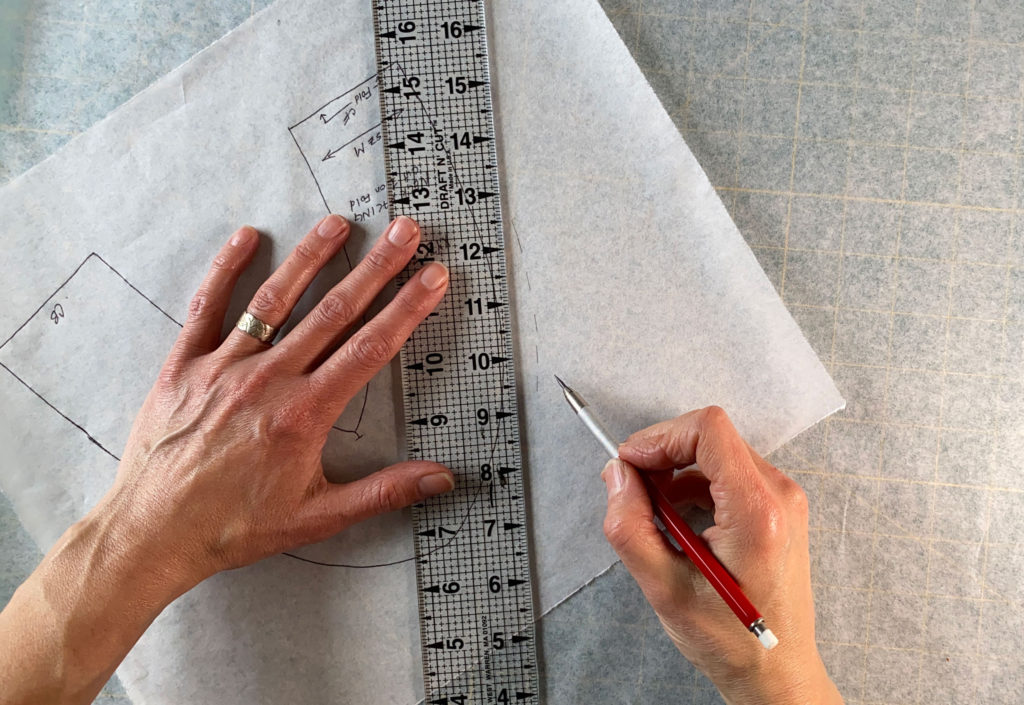
This is the line you will cut out your pattern (and fabric) on.
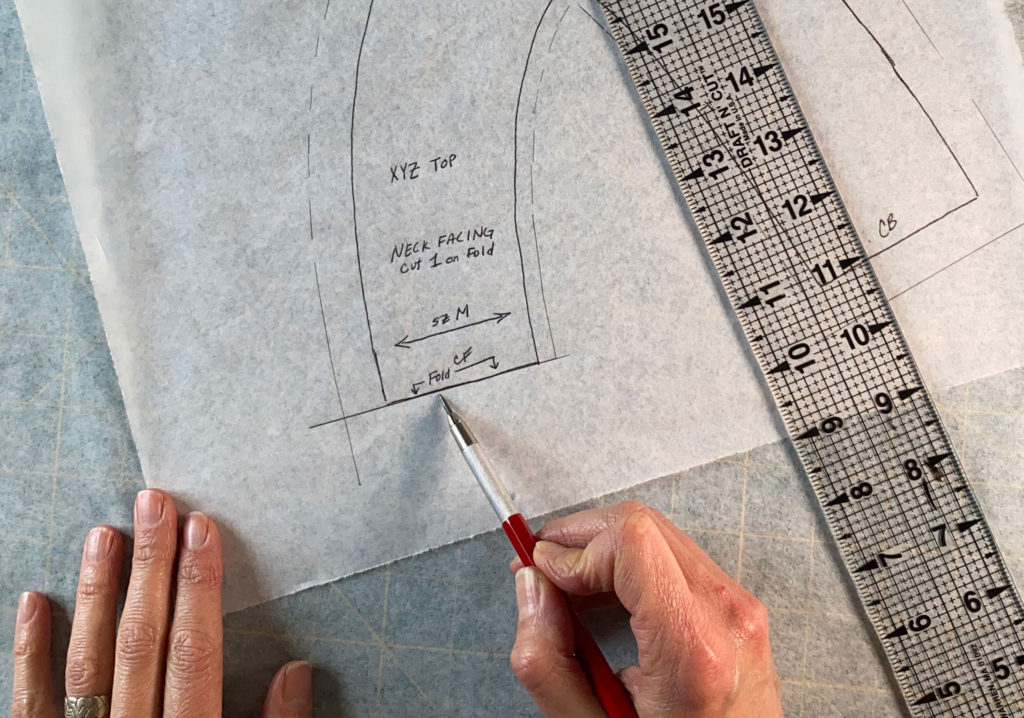
And remember, where a pattern is cut on the fold – no seam allowance is needed. Which is another reason why to transfer over information to any pattern pieces you trace.
And if Your Ruler is Not See-Through
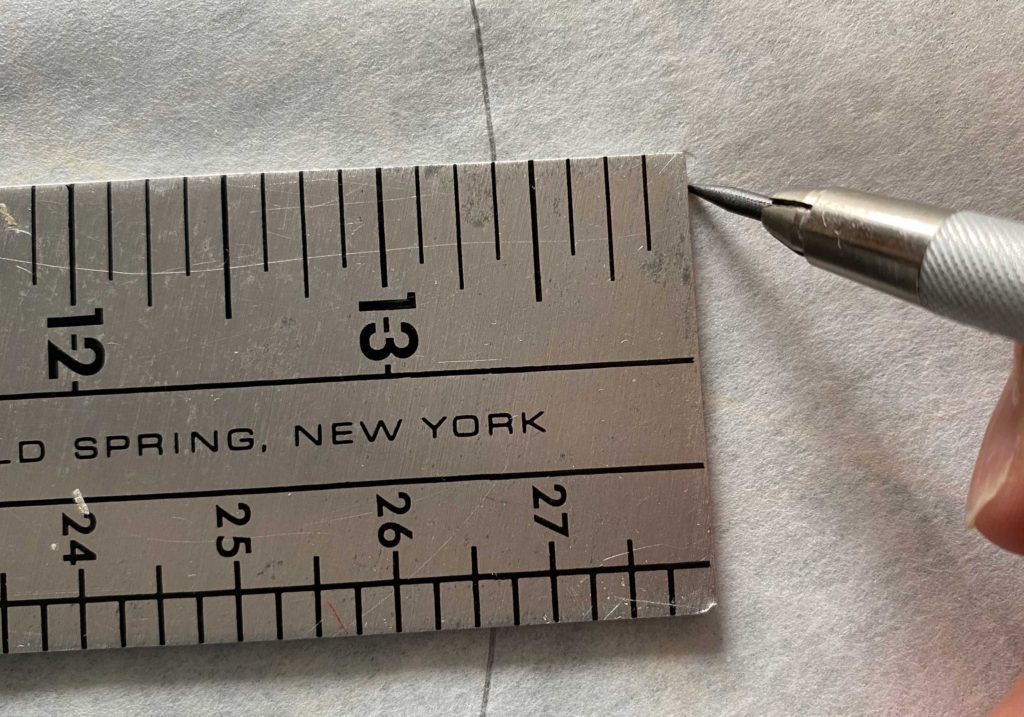
Line up the 5/8″ mark (or whatever amount you need) on the pattern outline so the short end of the ruler extends out beyond the pattern. Mark against the sort edge. You have to move the ruler a lot more but it does work.
Just be sure your ruler edge starts at zero. If not make adjustments to get the amount of seam allowance you want.
Transferring Notches
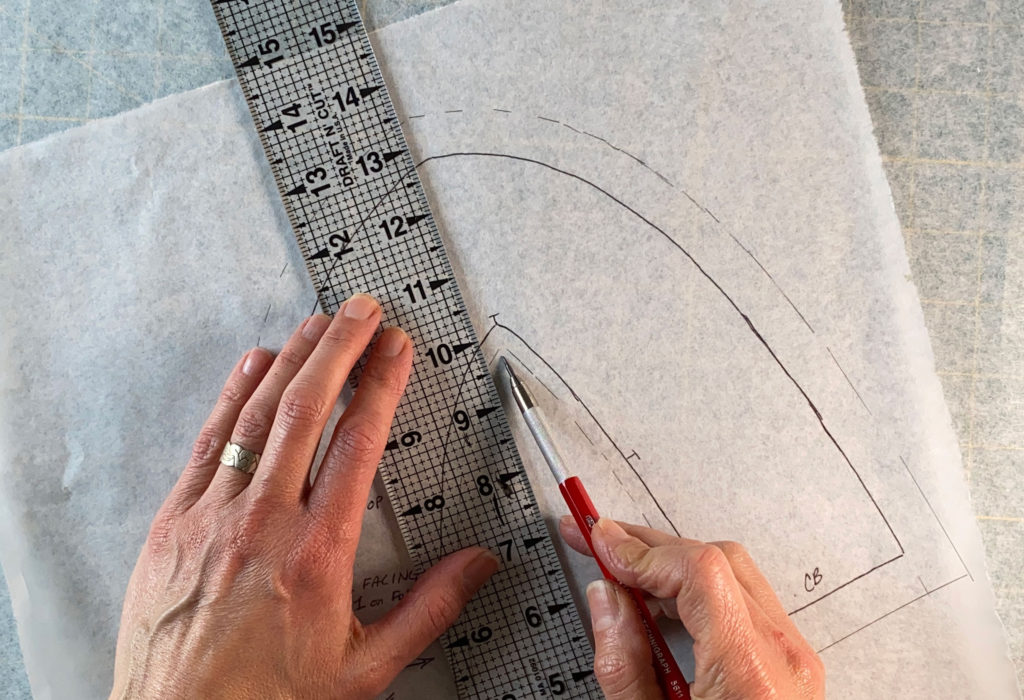
Do not forget to transfer any notches into your seam allowance.
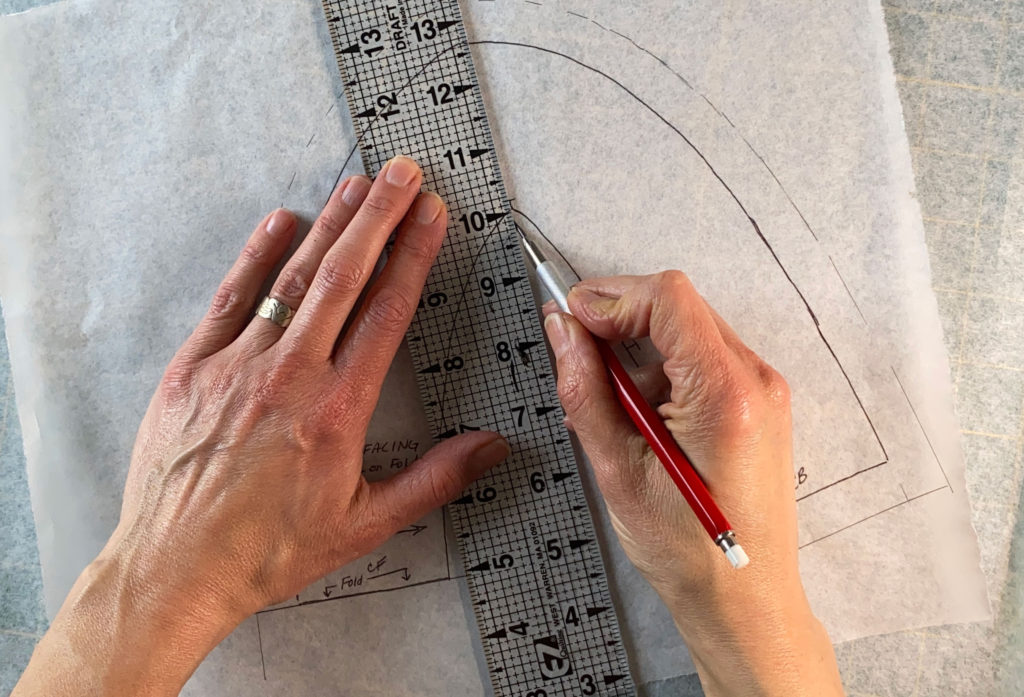
Simply use the ruler to draw them straight out.
I also like to add a notch to anywhere I think could be helpful like center fronts and center backs, dart legs, and hem allowance.
Adding Different Amounts of Seam Allowance
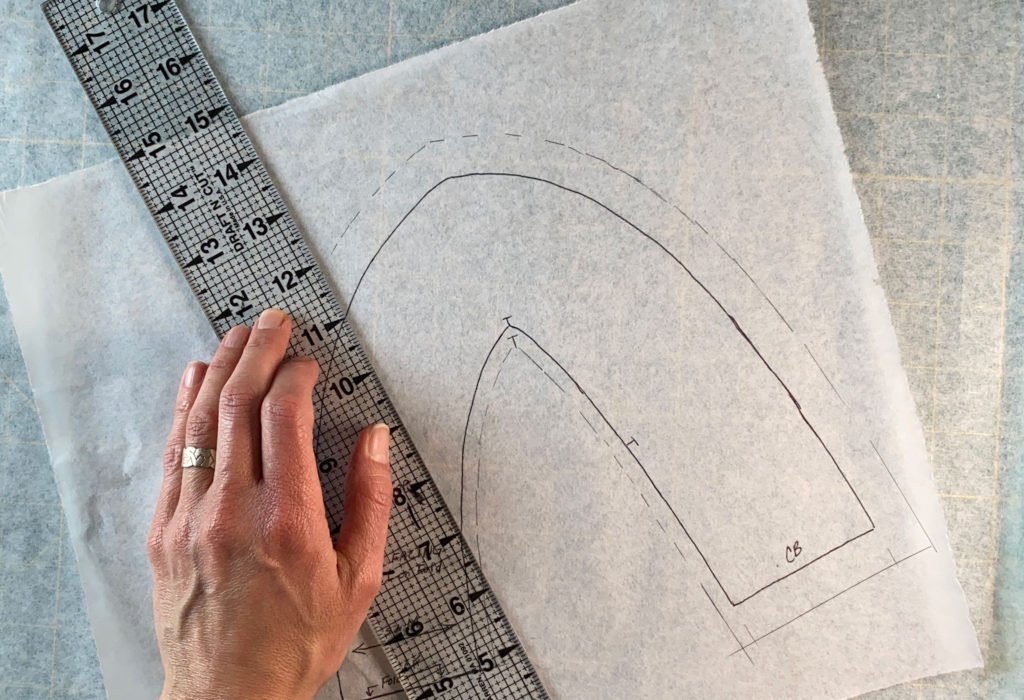
The beauty of adding your own seam allowance is, of course, you get to decide how much seam allowance you want to add where.
Example:
I think I might need a little extra width in the hips so I will add an inch of seam allowance to the side seam in case I need to adjust the garment there.
On a tight curve like a shallow neckline, a lot of seam allowance makes sewing the curve harder, and you’re just going to have to trim it away when you’re done sewing it, so you don’t have to add a lot in the first place
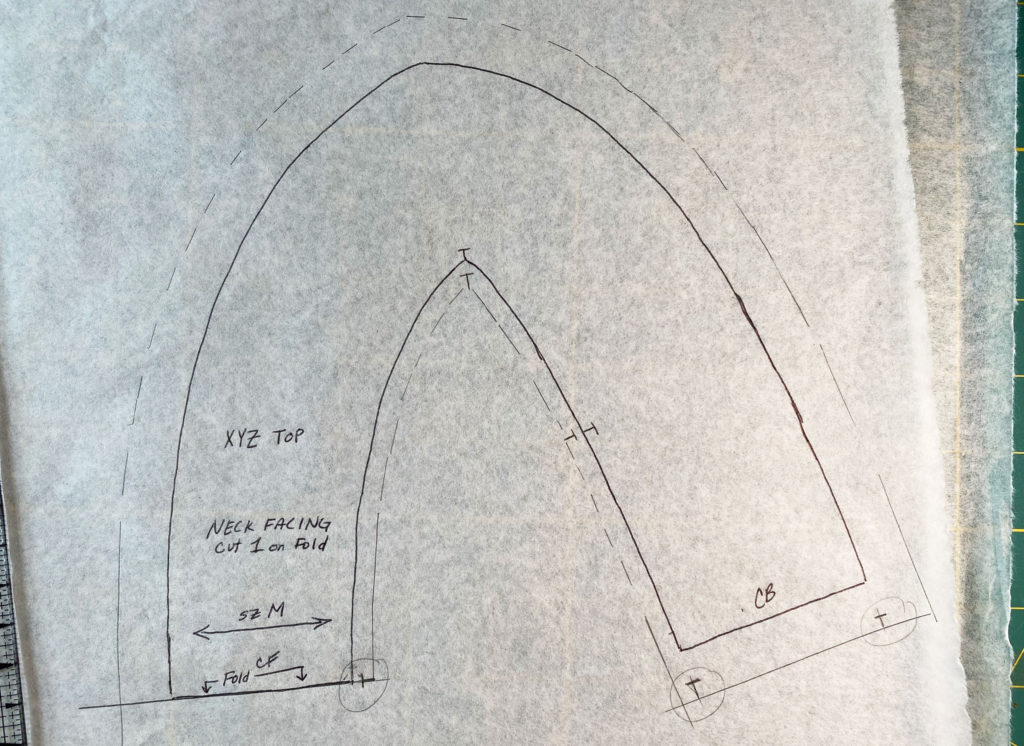
However, You need to remember how much you added where. Putting a notch where the seam allowance begins is an easy way to remind you.
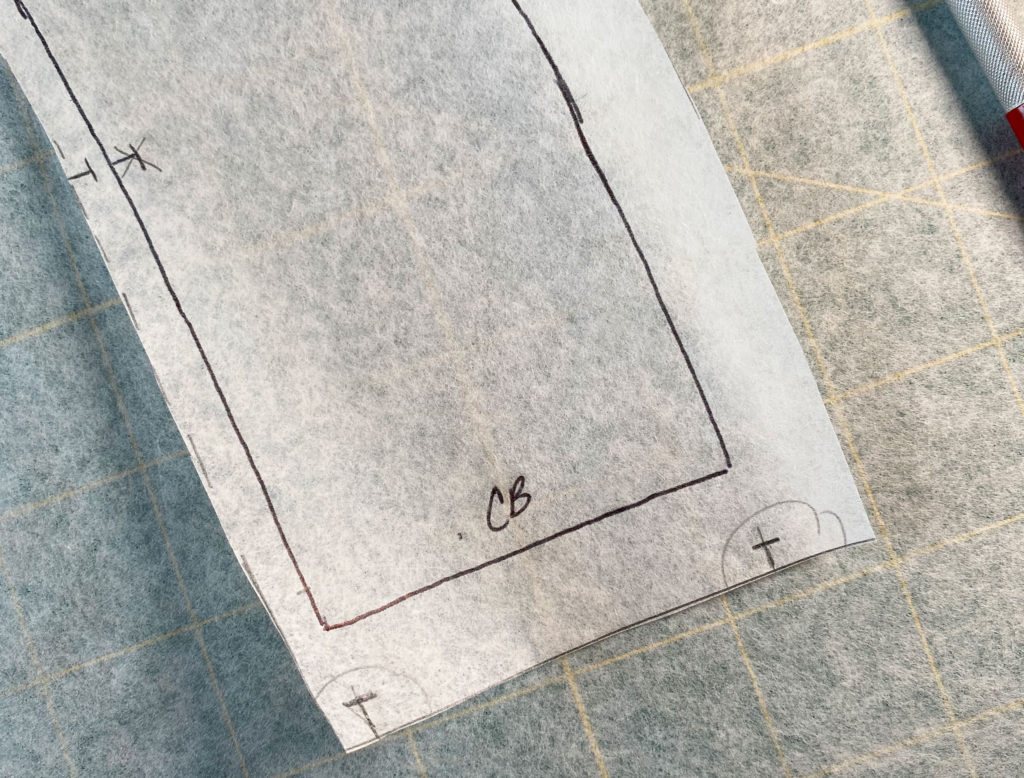
On this neck facing I have a notch in the seam allowance to show me that my neckline uses 1/4″ seam allowance and the edge of the facing uses 5/8″ seam allowance.
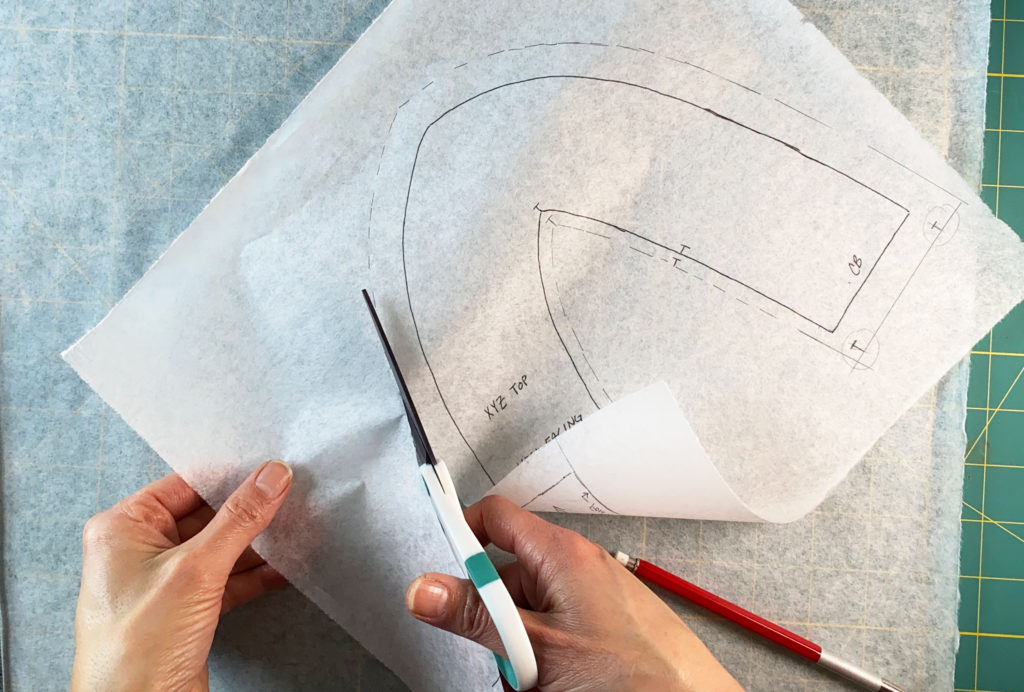
When you’re done cut it on the line you just drew.
Do you cut your patterns out with paper scissors first or do you cut them as you’re cutting your fabric?
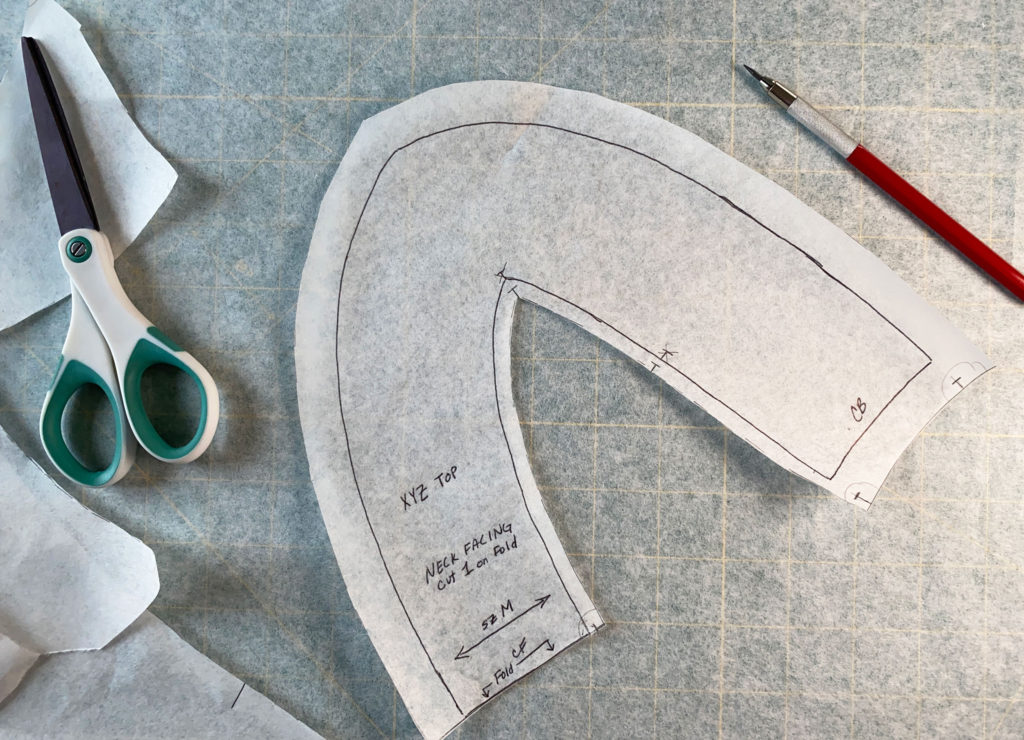
There is some debate over this but if my shears can cut twill and denim then they can cut tissue paper.
Sometimes I do cut out a pattern first, or some pieces of it, to help me place them on the fabric. Or if I drafted the pattern on thicker paper I will cut it first. But I say, they’re your scissors, do what you want – and if they aren’t your scissors, ask the owner first 😉

