
What if the seams on your pattern are not true? What if the side seam of the back bodice is longer than the side seam of the front bodice? Or if the shoulder seam is way off?
Or how do you fix a seamline that becomes wonky after you added length or another alteration to the pattern?
If you’re uncertain how to correctly check if the seams are true or not watch this Daily Sew video
How do you true seams and seamlines?
- Do you take the extra length off of the longer piece?
- Do you add length on to the shorter piece?
- If adding or subtracting where do you add or subtract? Which edge of the seam gets the change?
In this video, I demonstrate step by step, and there aren’t that many steps, how to correct an uneven, or un-true, seam and how to correct any wonky seamlines.
Just need a quick review? or want to see the close-up pictures?
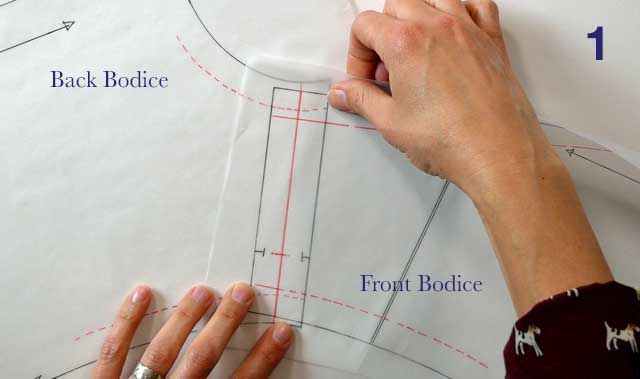
Line the pattern pieces on top of each other on the seam line. And remember, start at the notch.
To review how to walk a pattern together to see if it’s true see this post and video
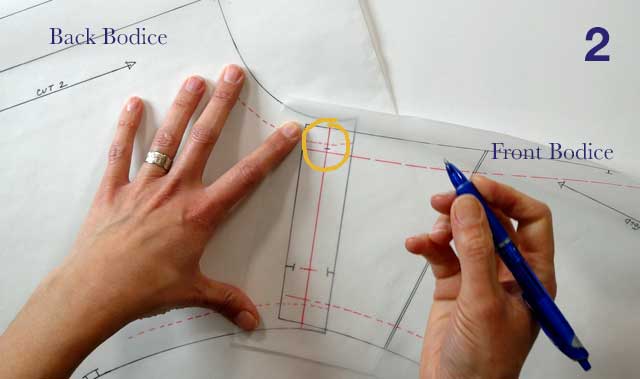
You’re going to split the difference. Just eye what the middle of the difference is and mark it on each end of the seam that’s off. Seams won’t always be off at both ends.
Transfer these marks to the other pattern piece
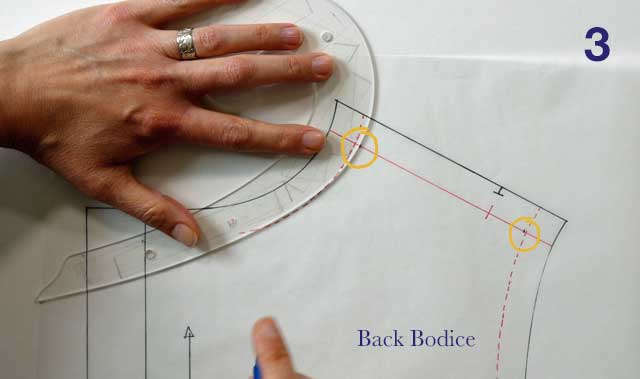
With a straight or curved edge blend the difference into the original seam line. You will do this to both pattern pieces on all the edges that are off.
A longer seam will be reduced and the shorter seam will be added onto.
Alter the seam allowance to reflect the change in the seam line
Seams will also need trueing after alterations especially slash and spread alterations.
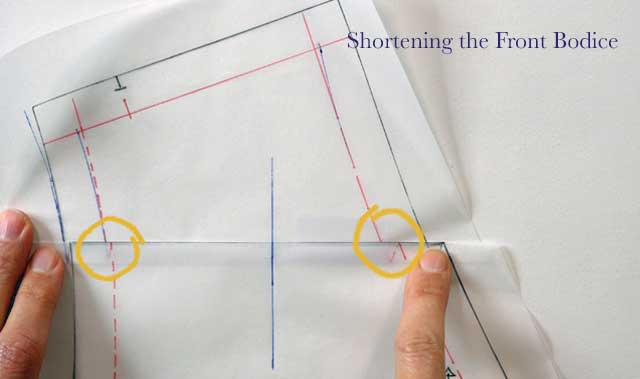
Folding out, even a half inch will mess up any seam that is not already straight.
After taping the fold in place split the difference where the seam line is not lining up.
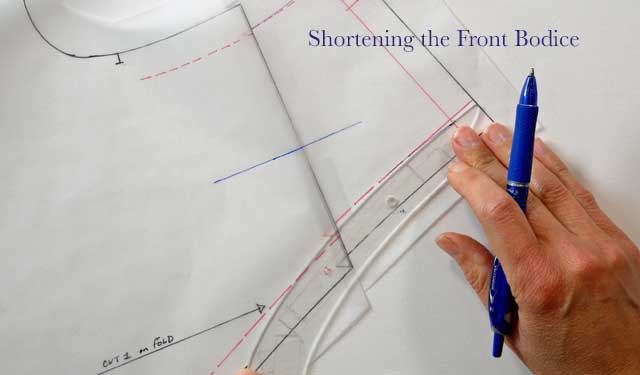
Using a curved edge blend from the mark into the original seam above and below the alteration.
Adding length works the same way:
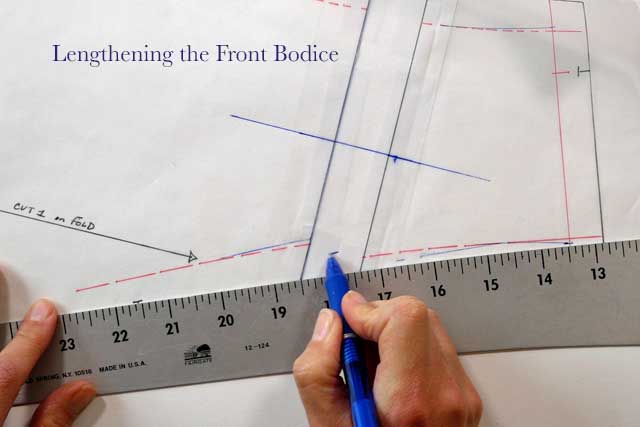
After adding your length use a straight or curved edge to draw a line that will split the difference and blend smoothly into the original seam above and below the alteration.

Don’t forget to adjust the seam allowance to echo any changes you made to the seam line.