
The stay stitch, the understitch, and the basting stitch are techniques you will come across frequently when sewing garments. This short video will explain what, why, and how of all three. Or read on.
Stay Stitch
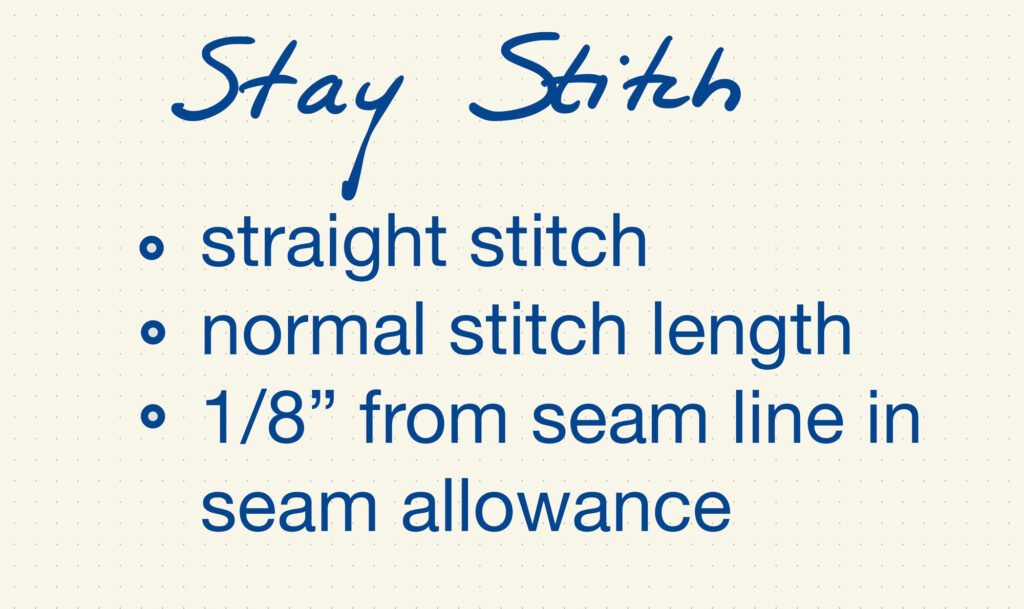
The stay stitch is a straight stitch of normal length sewn on a single layer of fabric ⅛” from the seamline in the seam allowance.
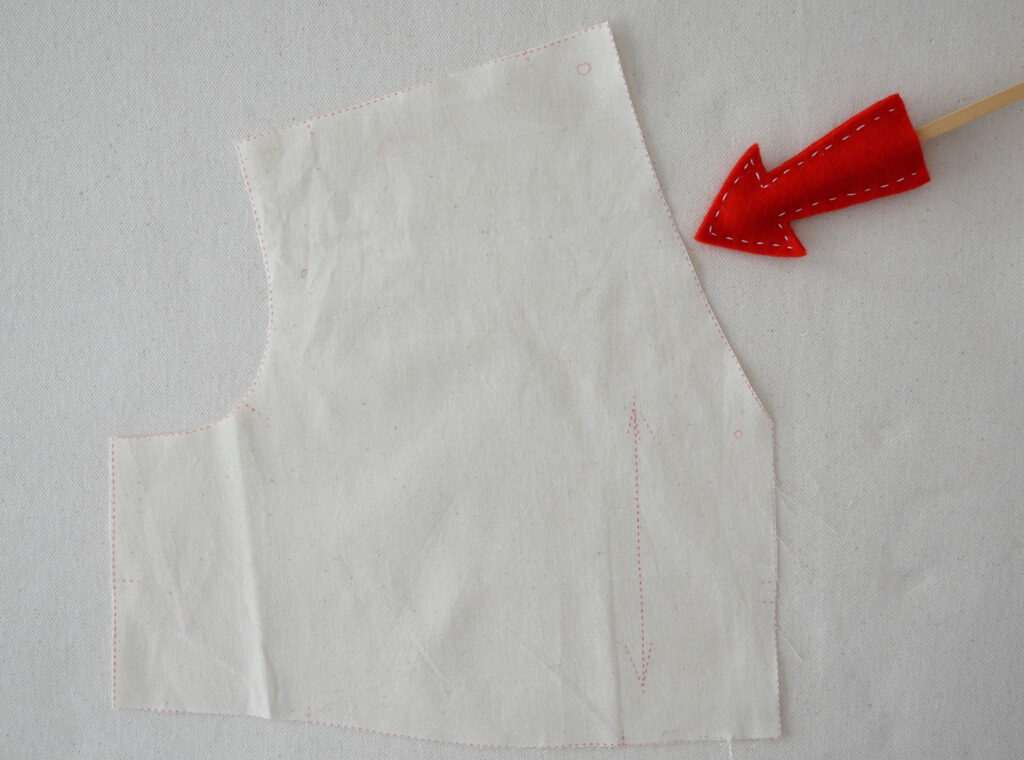
Before you pin or baste or sew a seam, a line of stay stitching is sewn to the edges of garment pieces that could lose their shape due to handling or while being sewn. Usually curved necklines or diagonal edges. Any cut edge not following the length or cross grain can stretch out of shape. More so if it is a true bias cut. So a line of stitches – stay stitching – is a preventative measure.
Stay stitches lay ⅛” away from the seam line, in the seam allowance. For example; if my seam allowance is ⅝” I would staystitch ½” in from the edge.
Staystitching is a step a lot of people want to or just do skip. Don’t skip it. You’re taking a lot of time to make your garment, what’s an extra minute or two to have a successful outcome?
Staystitching is also a guideline for sewing that edge, and for clipping the seam allowance on that edge’s seam.
You do not need to remove these stitches after sewing the seam.
Under Stitch
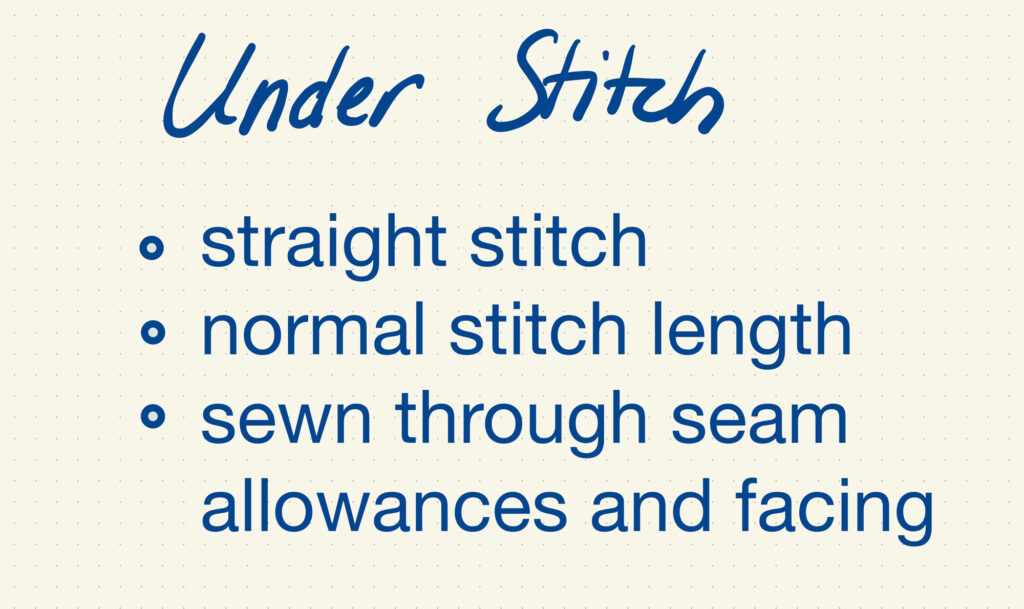
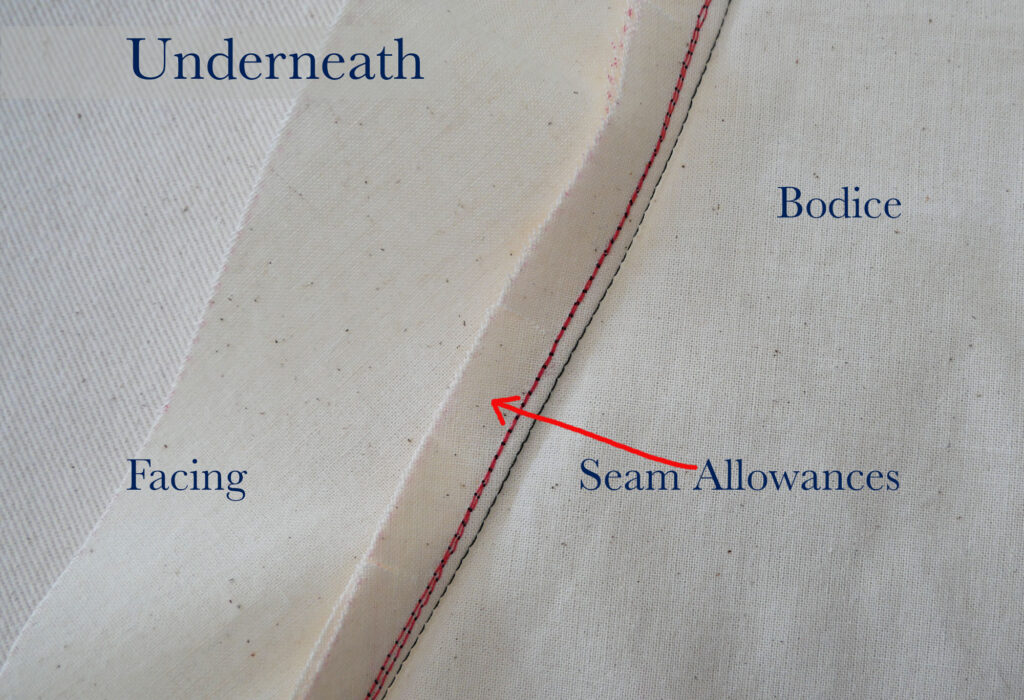
The understitch is a straight stitch of normal stitch length sewn through 3 layers of fabric, the facing, a pocket, or other garment piece, and both layers of the seam allowance.
Understitching keeps the facing, or side seam pocket, from rolling and peeking out from under the garment while you wear it. This is why you will see it required around necklines, armholes in sleeveless garments, and the waist of skirts or pants that do not have a waistband.
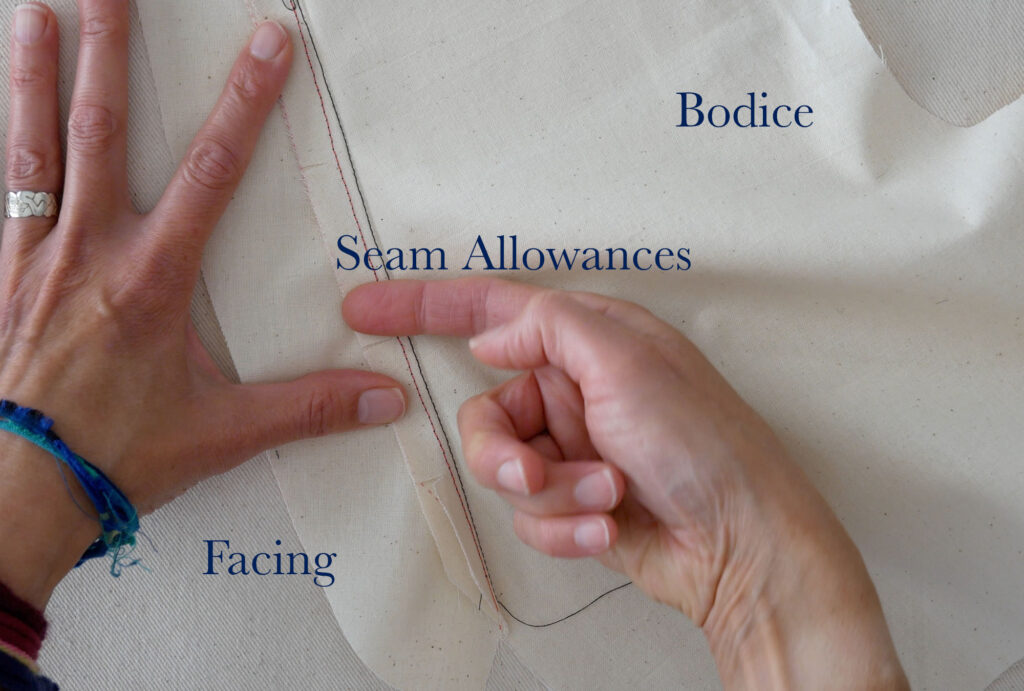
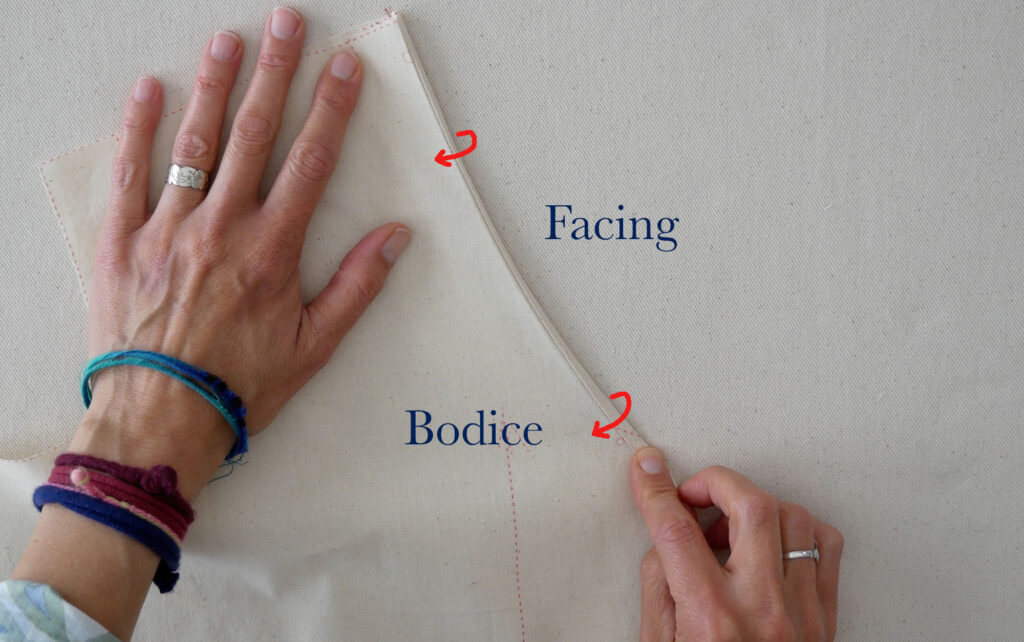
After sewing the facing onto the garment piece, press the seam allowance open and then both seam allowances toward the facing. Grade and clip the seam allowance if needed.
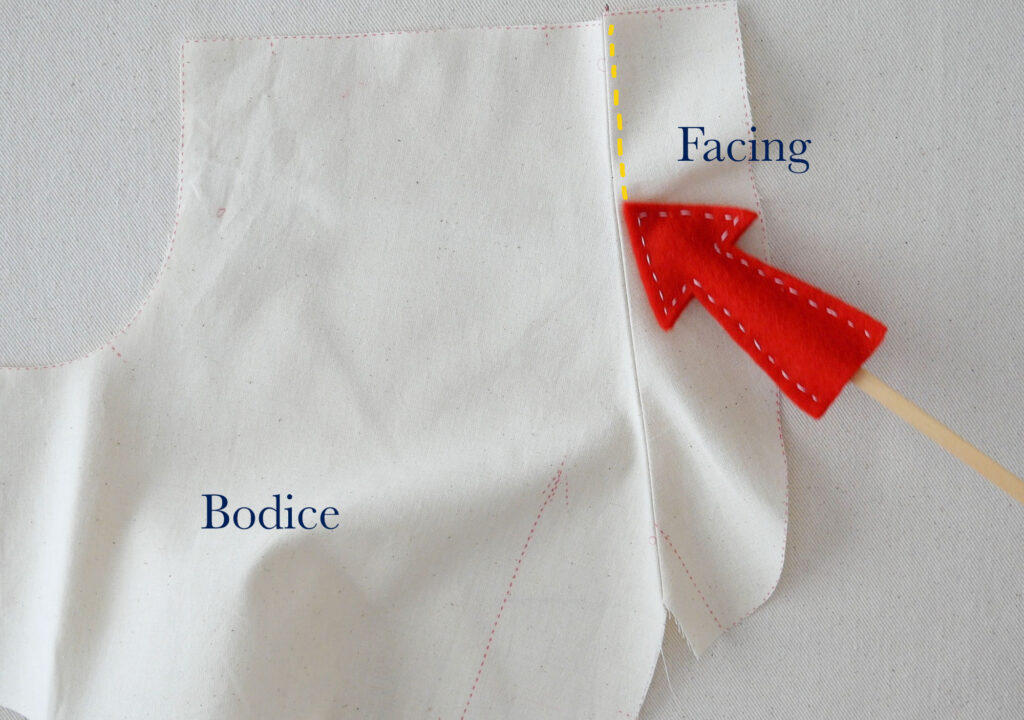
With the facing face up, and the seam allowances under it, stitch close to the seam line through the facing and the seam allowances. After understitching flip the facing to the inside of the garment and press again.
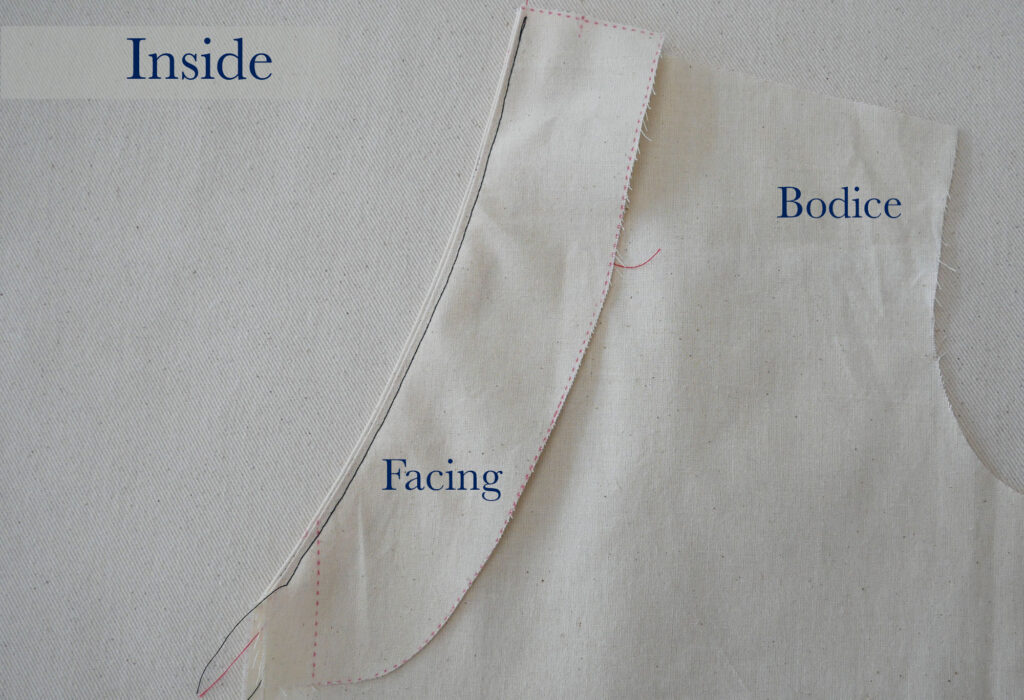
You don’t see these stitches on the outside of the garment.
Basting Stitch
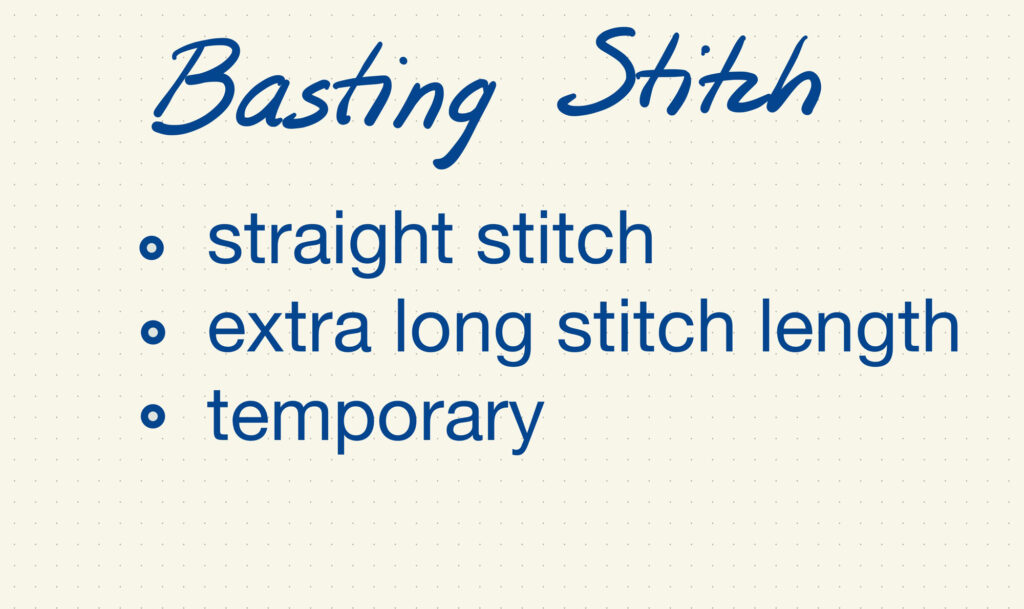
The machine basting stitch is a straight stitch of extra long length. It is not as secure as a shorter stitch.
Basting stitches are meant to be temporary; to hold garment pieces together so you can sew over, on or around that seam.
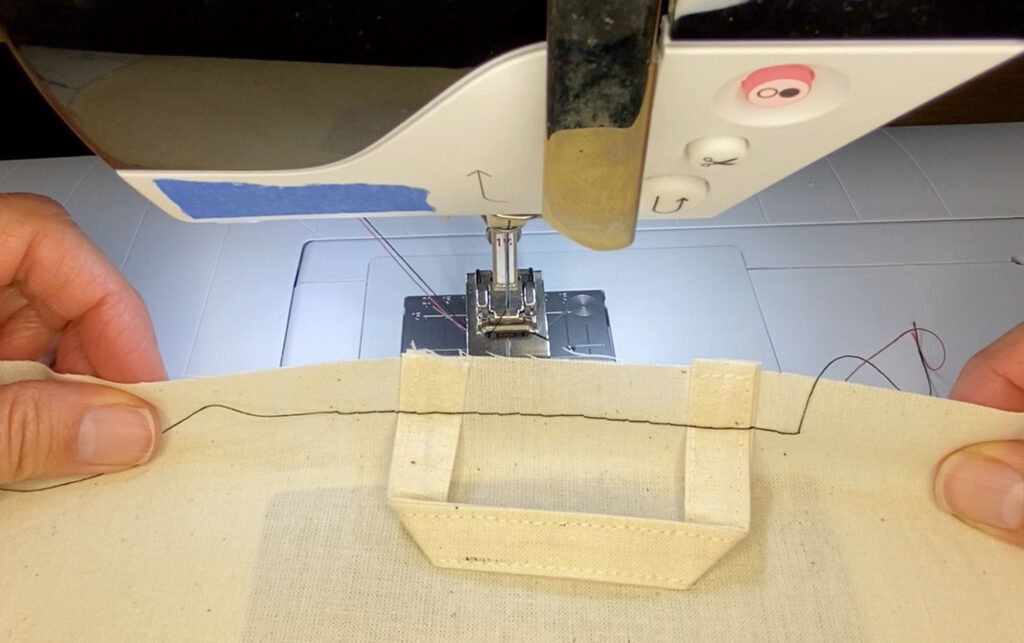
For example, you will baste a center back seam together before putting in a centered zipper. This holds the zipper in place without a straight pin being in your way. You will also baste side pockets across the top to the front of the pants or skirt to keep them in place as the waistband is attached. You will also baste a gathered sleeve to the arm hole to make sure there are no puckers before permanently stitching it down.
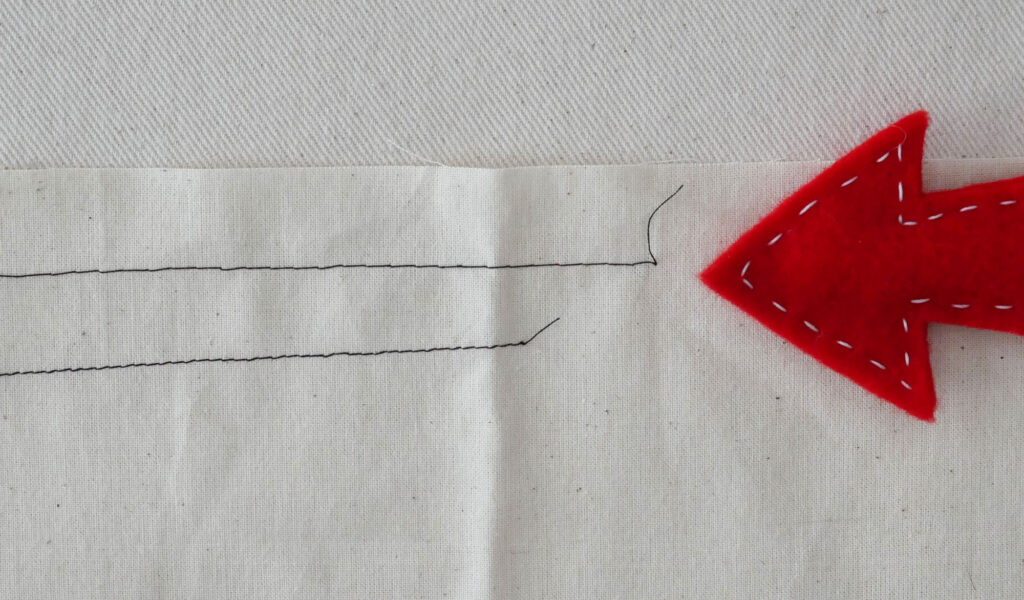
Because they are meant to be temporary you do not back tack when basting. Which also makes these larger stitches easy and quick to remove by pulling on the bobbin thread tail.
Basting a seam is a great way to check the fit during construction. Baste the seam and it try on. If the garment is a little too loose or too tight you remove the basting and permanently sew with a wider or narrower seam allowance for that seam.
I use basting stitches to mark a fold line for hems, patch pockets, and facings.