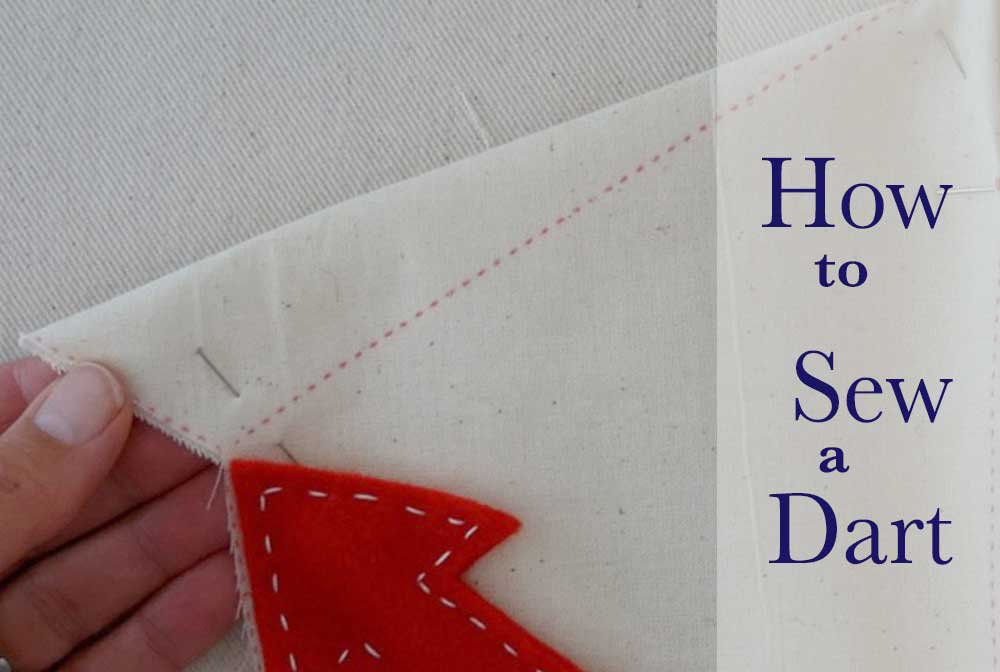
If you’re sewing clothes for women you’re going to be sewing darts. As simple as they seem to construct there are nuances to getting a good-looking dart – and by that, I mean one that isn’t noticeable.
What are darts, exactly?
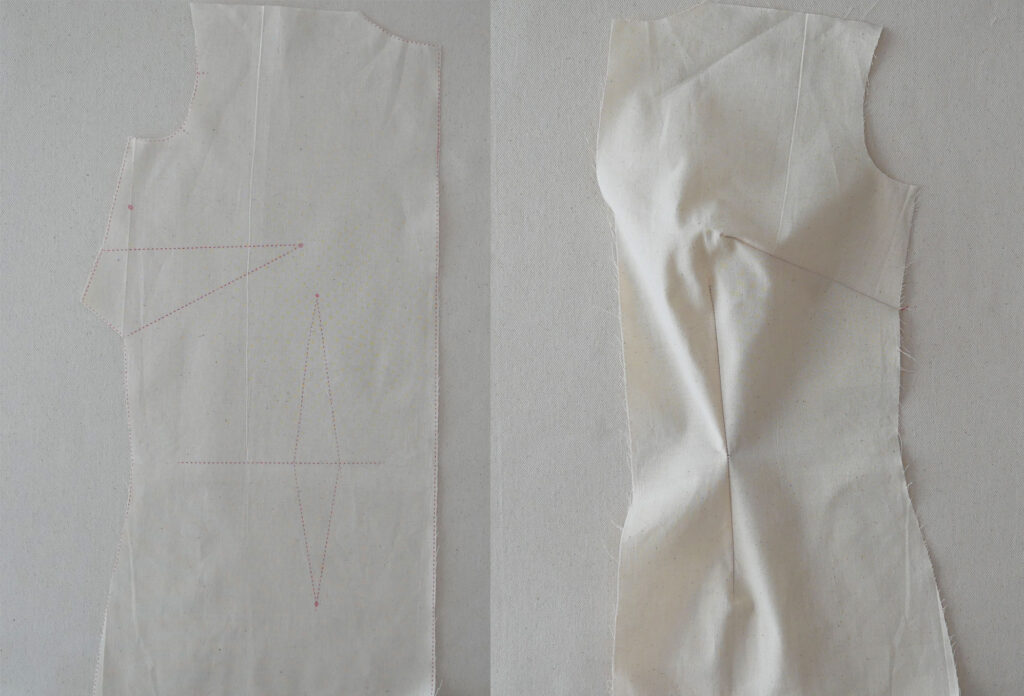
Darts are what bring fullness and fit to the flat 2-dimensional fabric.
Darts point to the fullest part of the body, the bust point, the curves of the pelvic bone and therefore you may have to shorten or lengthen them depending on your height.
Or move, raise or lower, them.
Darts usually come in pairs so if you move or change the length of one dart, be sure to do the same to its mirrored twin.
Marking Darts
When your fabric allows, (smooth surface) you can transfer the dart legs and point to the backside of the fabric with dressmaker’s tracing paper and wheel.
You want to mark the backside of the fabric because you’ll sew the dart from the back.
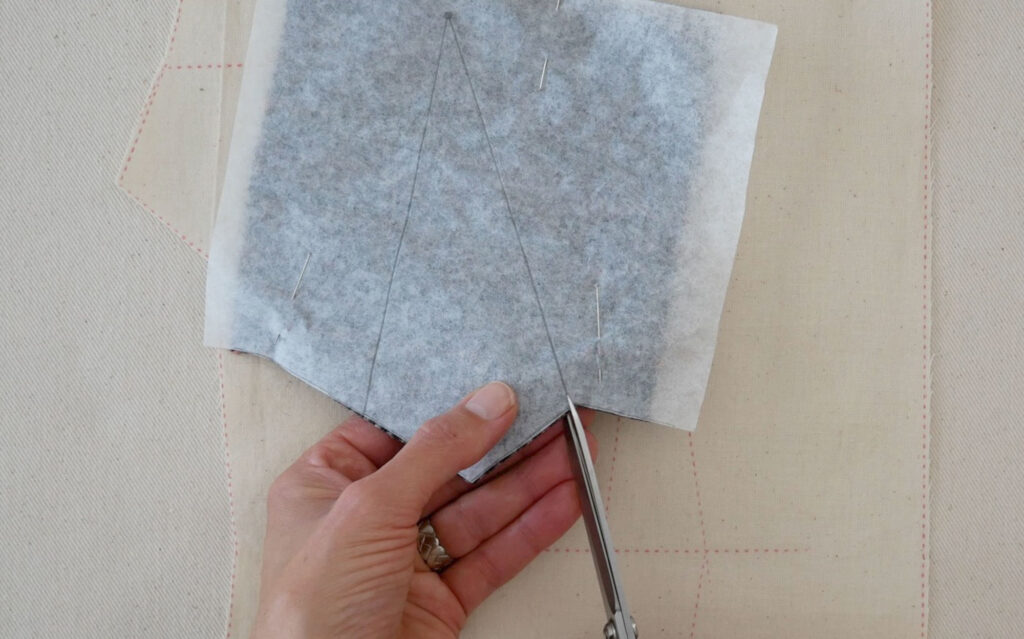
However, I usually mark by simply snipping notches, about ¼” long, in the seam allowance where each dart leg starts.
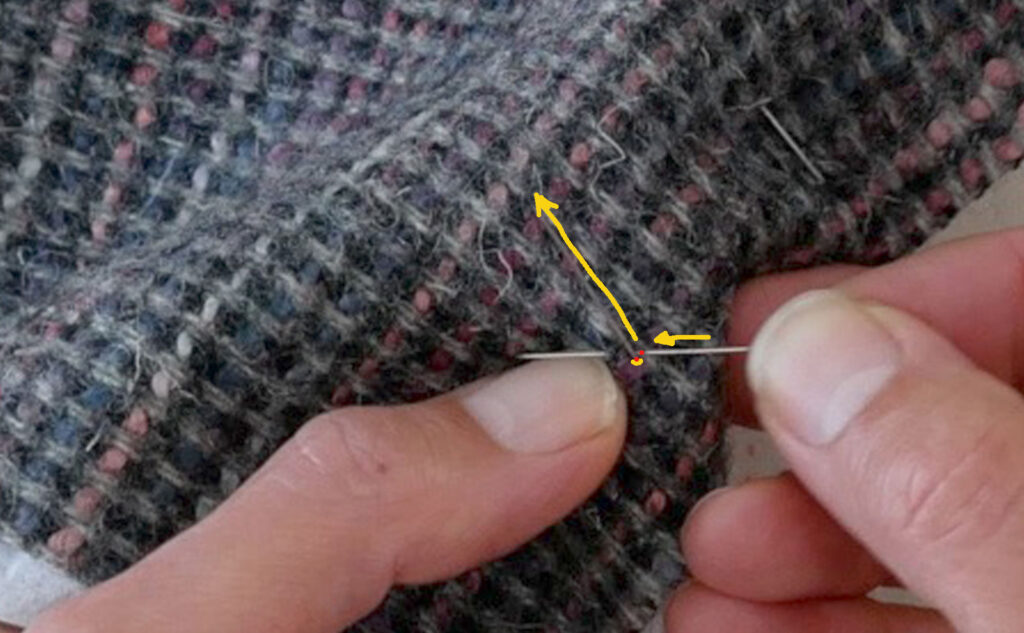
To mark the point of the dart, poke a pin through the mark on the pattern and fabric. (I lay my pattern pieces on top of the fabric face, not the backside) Flip over enough of the fabric to see where the pin came out. Remember this is the point and what you need to mark. Place a second pin in the fabric where the first pin is coming through to the back.
My rule is where the second pin goes into the fabric is what I’m intending to mark (the point in this case). The pin can exit the fabric anywhere.
If you cut your fabric out face down. Everything is the same except flipping the fabric over to see where the pin comes out. Instead, you will unfasten part of the pattern piece so you can see where the pin marking the dart point enters the fabric
After the dart is all marked remove the pattern piece
To fold the dart for sewing, line the notches of the legs up and fold the dart to the point.
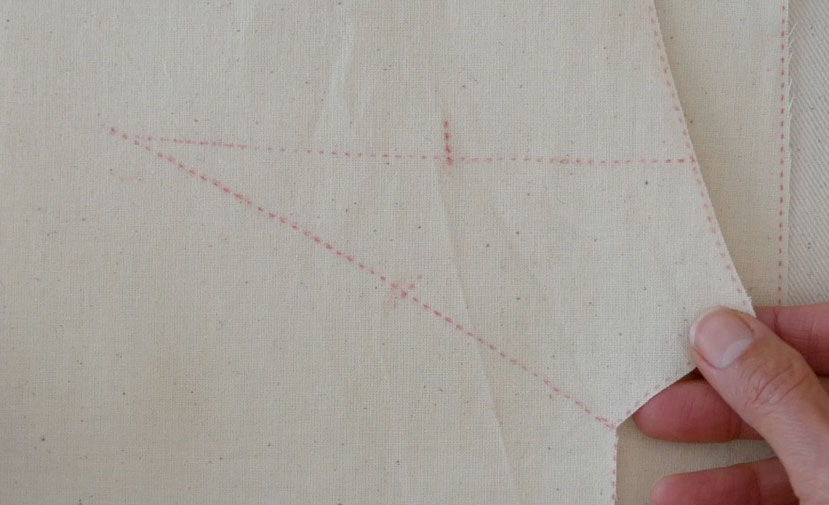
If the dart is shaped, like this slightly curved dart, you’ll want to transfer the dart leg and some cross lines at the midpoint to be certain you are getting placement correct when folding the dart for sew. Line those midpoints up first then work out the fold.
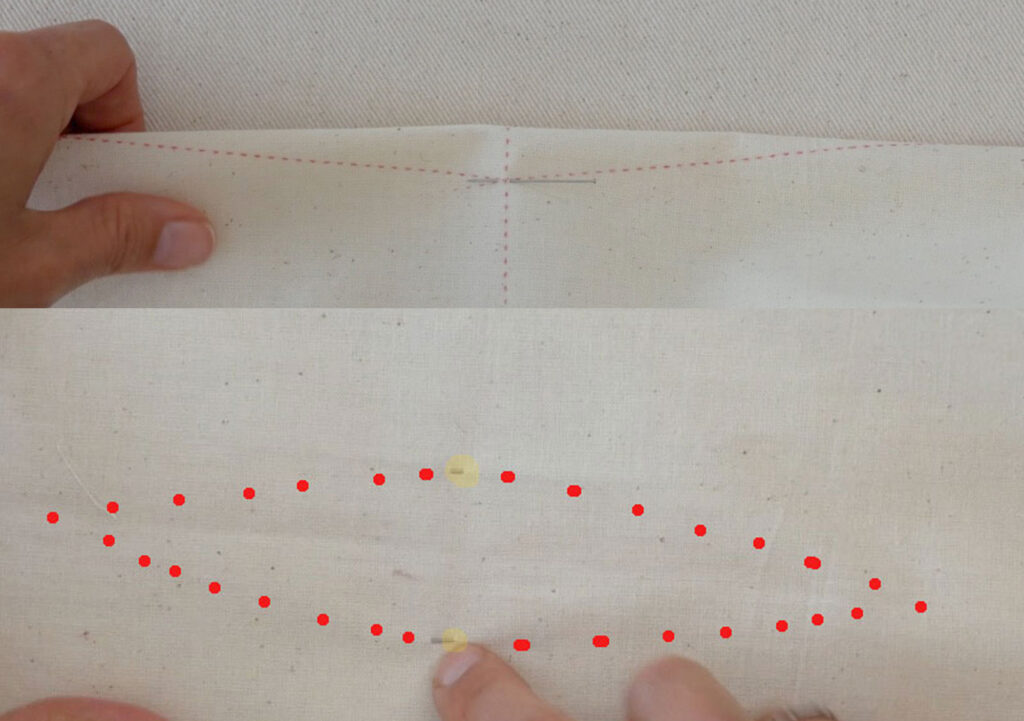
On a double-ended dart, Place pins to mark the widest point of the legs. Match the pins, and then fold out to both ends.
Sewing Darts
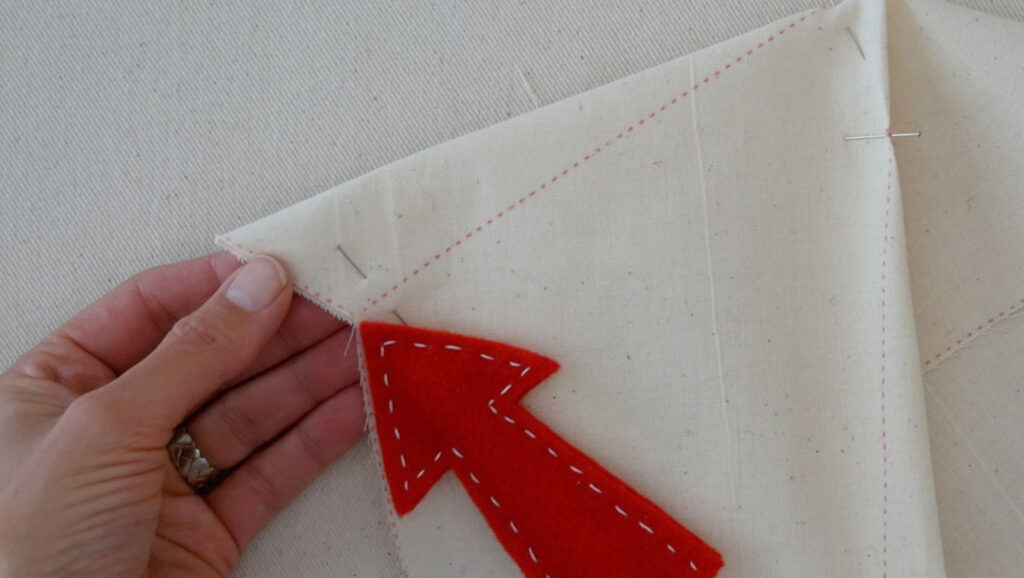
Start at the legs or widest part of the dart and sew toward the point tapering to nothing.
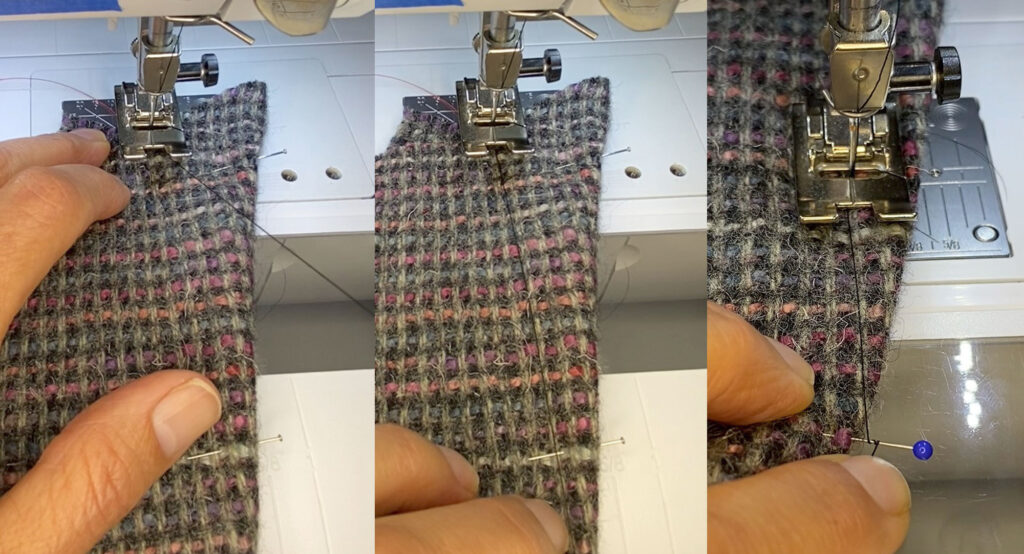
For straight darts, a thread is a great guide for sewing. Pull the needle thread so you have a thread tail as long as the dart. Insert your needle at the dart legs. Bring the thread tail around to the pin that marks the dart point. Wrap the thread tail around the pin a couple of times. The thread tail now “draws” a stitch line from the leg to the point. Lower the presser foot and follow the guide.
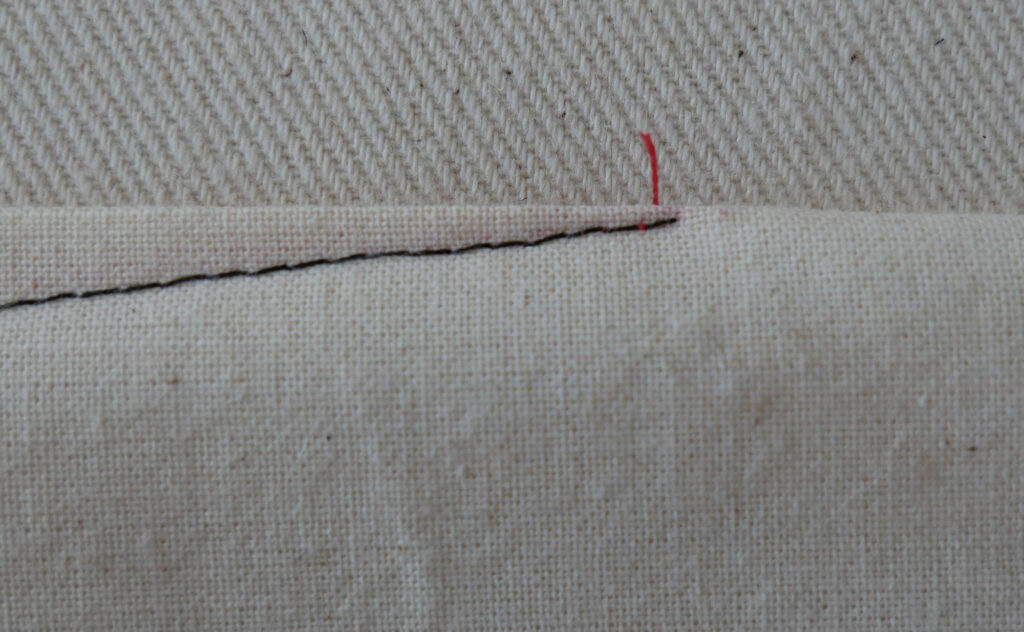
It is important to go very slowly as you approach the dart point to ensure your last few stitches are right next to the fold, just catching a couple of fabric threads. Do not sew off the fold.
For darts that start at the waist and go in two directions; start at the widest point on the dart and sew to one point as described above. Overlap your starting stitches and sew toward the other point.
Don’t Backtack
It’s best practice to never backstitch at the dart point but rather to tie the thread tails. Backstitching can lead to a pucker right at the point when the backward stitches don’t line up exactly with the forward stitches
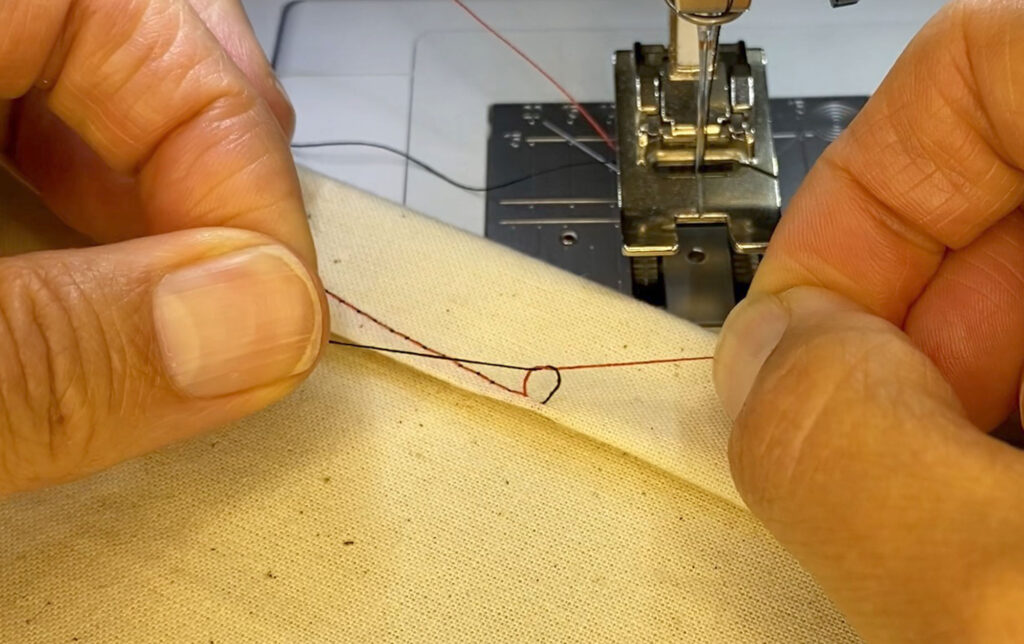
To tie the tails: Pull an extra bit of thread before you snip it free from the sewing machine. Bring the needle thread to the back by tugging the bobbin thread so a loop of needle thread appears. Place a straight pin in the loop and bring it up. This brings the needle thread to the back. Tie the two thread tails together. Try to get the knot at the dart point.
Pressing is Important
Press the dart before you sew that garment piece to anything. First press the dart flat try not to crease the fabric beyond the dart point.
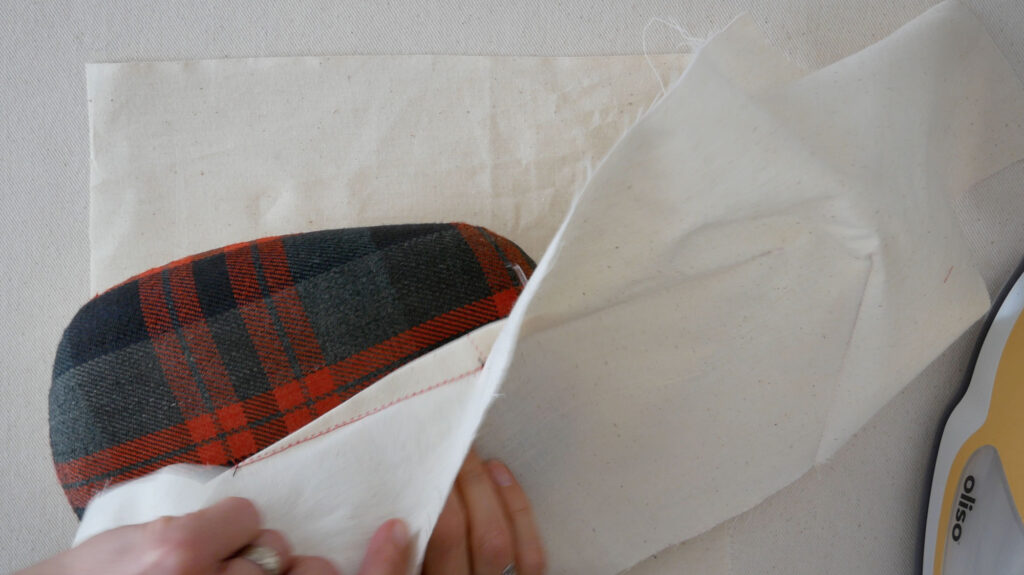
Next press the dart over a curved pressing surface like a Tailor’s ham from the wide base toward the point. This helps set the shape.
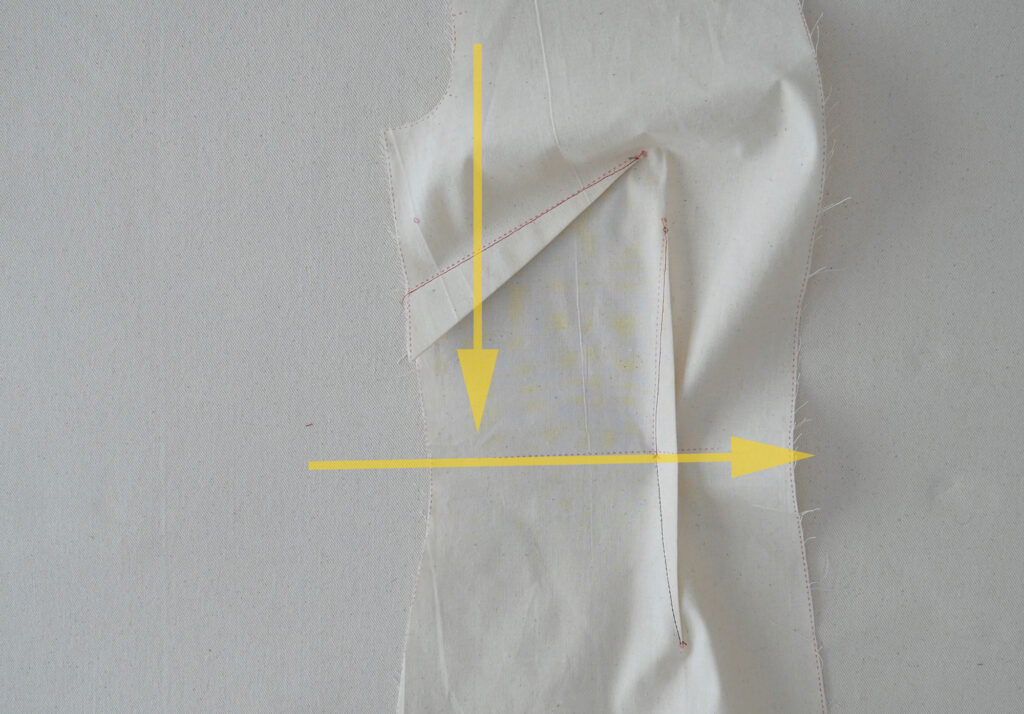
Generally, the dart fold is pressed downward on horizontal darts like bust darts.
Vertical darts are pressed toward the center of the garment – center front or center back.
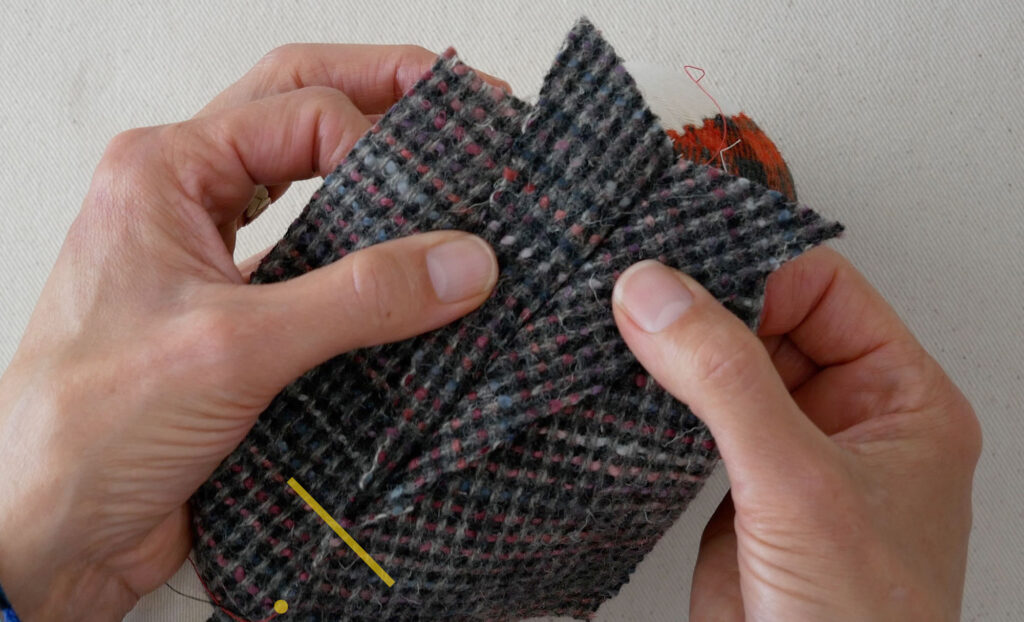
Darts in a Thick Fabric
Deep darts in heavy fabric are cut open along the fold from the wide base to about ½” to 1” away from the point. The fabric is the pressed open
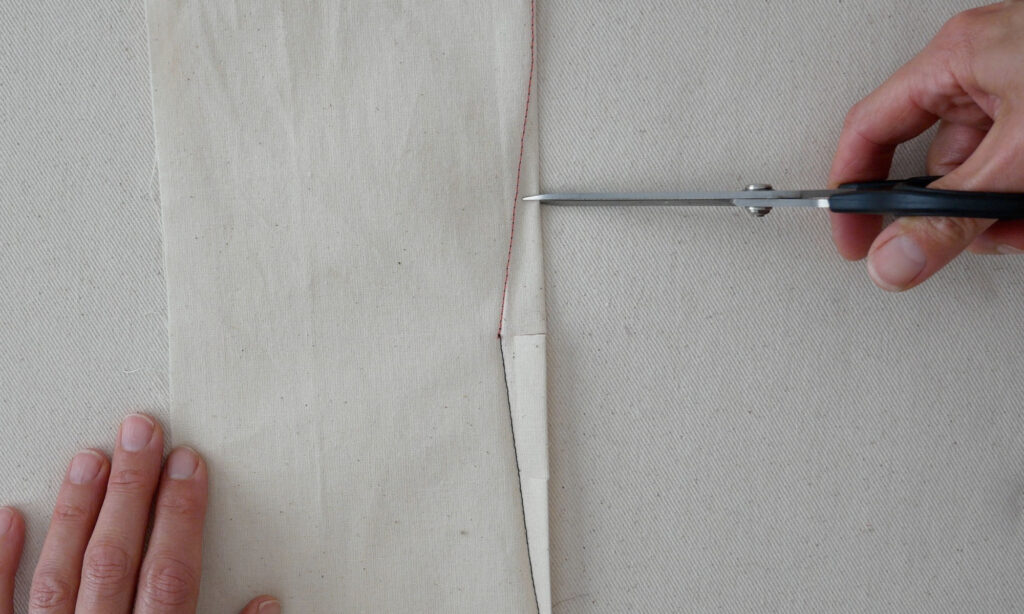
Double Pointed Darts
After pressing flat, clip the widest part of the dart and if needed, above and below, to release any stain. Press one half of the dart at a time, from the middle to the points.
