
There are many, many times when you will need to fold over and press up a certain width of fabric. You may be pressing up a hem, pressing over fabric for a casing or pressing in the raw edges of a patch pocket. Your directions will simply state to fold over X inch(s) and press. (or X mm – or is that cm? When are we switching to the metric system? 1975 was it? Why is is taking so long?)
Literally translated you measure, fold and press.
But do you measure, fold, pin in place, and press?
Do you measure, fold, hold with your fingers and press (and steam your fingers)?
Neither is wrong but both take more time than you think and you risk leaving holes in your fabric from ironing over the pins, or burning your fingers when the iron gets too close.
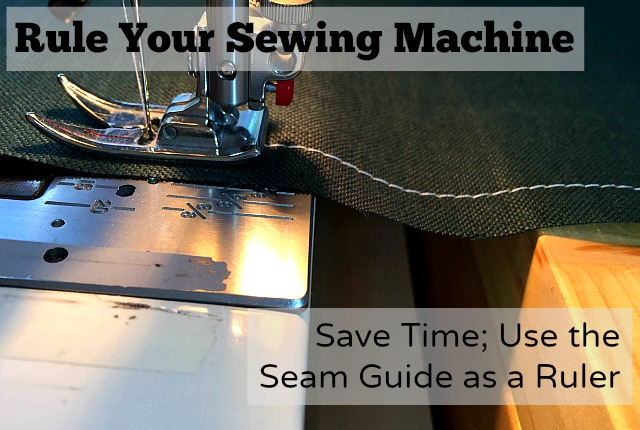
What about a third way, a quick and painless way, to measure, fold and press?
Let your sewing machine measure for you. Seam guides were etched into the throat plate just for measuring. This is their destiny. Let the guides and some thread mark percisely where you need to fold the fabric.
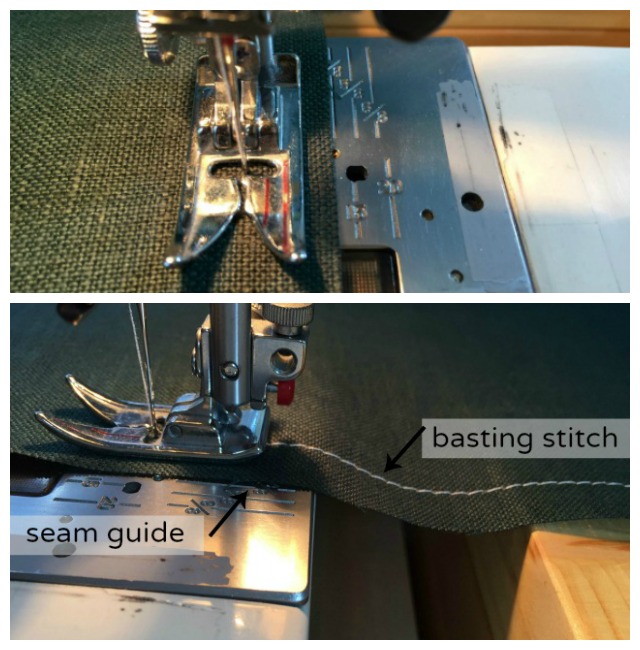
Set the stitch length to basting, line up the raw edge of the fabric on the guide corresponding to the amount you need to fold over and sew, fast if you want. If you need to fold over 1/2 an inch you would stitch 1/2 inch in from the cut edge. If you need to fold over 10 mm you will line the fabric up with the 10 mm seam guide. So simple, so quick. Love it.
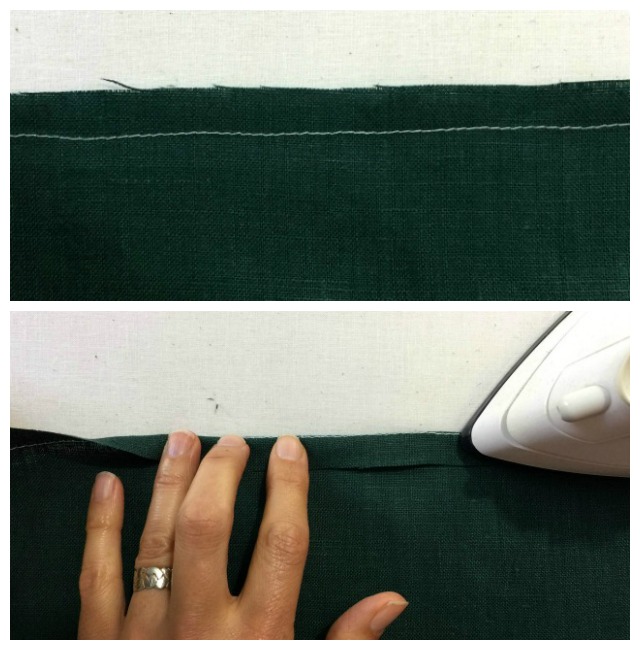
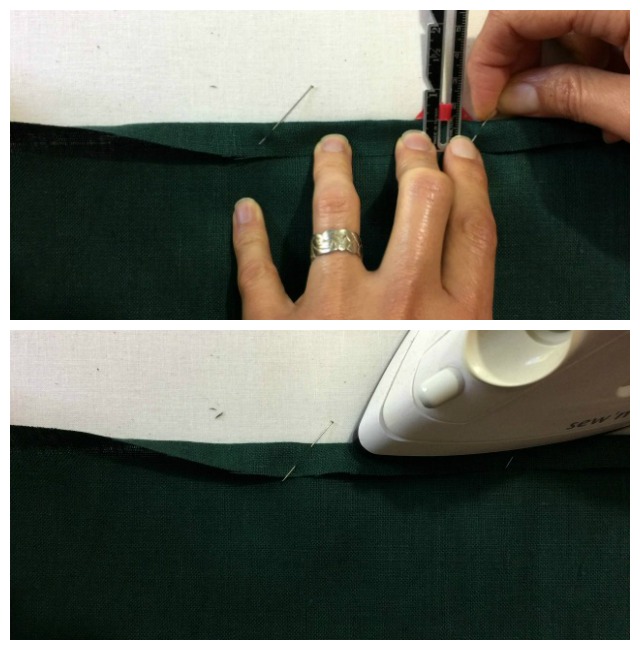
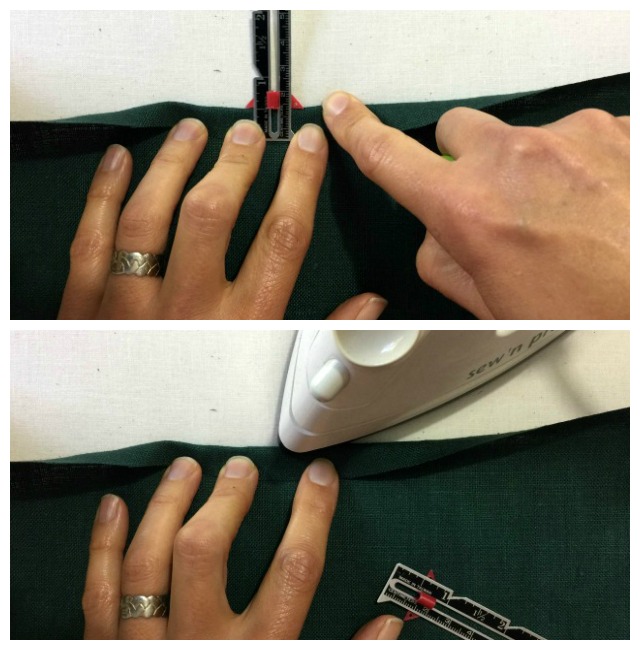
At the ironing board, after making your stitch line, fold on that line, or just above the line and press. The stitches actually help the fabric fold so you can keep your dainty but capable fingers farther away from the iron when you press the fabric.
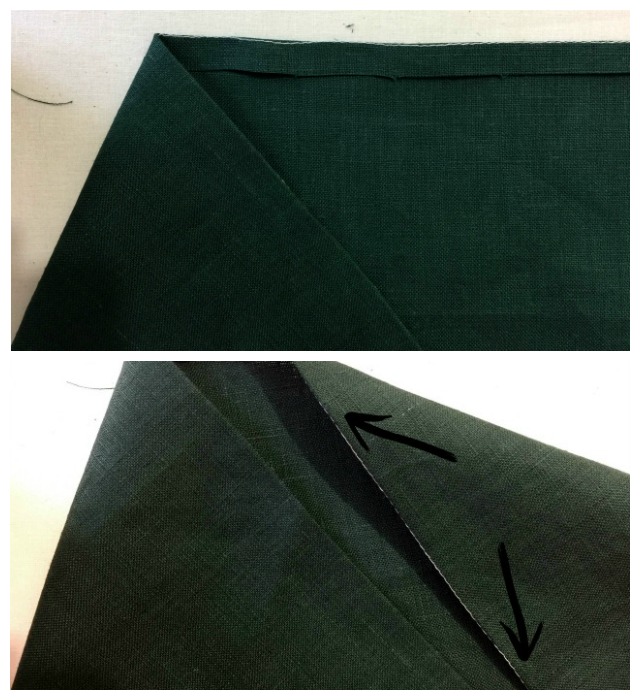
Folding the fabric just above the line of stitches makes the stitched guide line lay in the inside or underside of where you are sewing (top picture). If some or all of the stitches show on the outside on your garment (bottom picture) you can easily pick out the stitches. That’s why you use basting stitches.
(I’ve used white thread to show up in the pictures. If your thread is matched to your fabric any stitches on the right side of the garment may not show.)
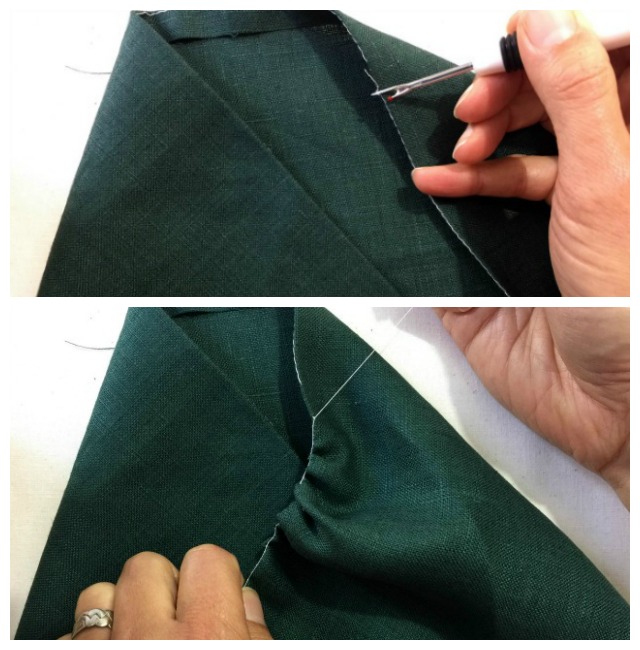
You can either pick out the few stitches that show on the right side of the garment or take all the guide line stitches out by pulling the bobbin thread out. This is a quick way to remove a line of basting stitches. Simply pull on the tail of the bobbin thread (or cut/pick some stitches out to start a tail) this will gather the fabric and let you slide it off the thread.
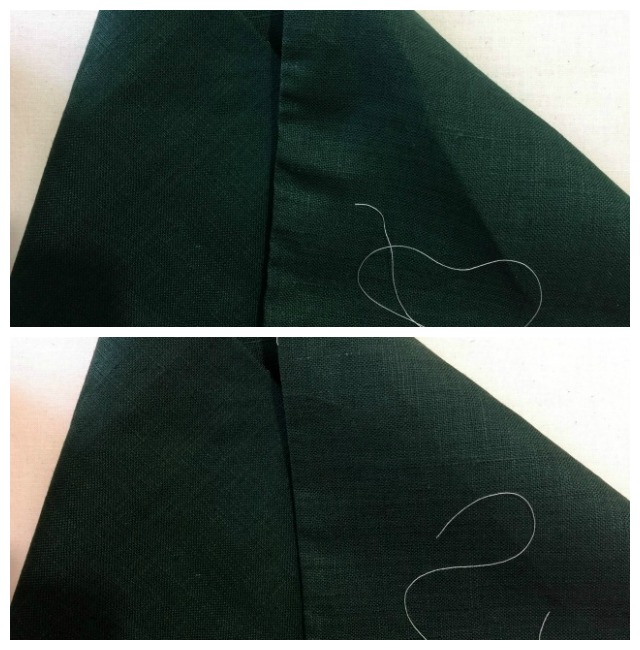
Pulling the bobbin thread will leave wrinkles, so press you crease one more time after removing the stitches.

Done. So much faster than measuring every few inches when you have a long area to fold up. Try it, you’ll like it – or if you don’t like it you’ll know what you don’t want to do.
What’s that you wonder? Isn’t this method a waste of thread? Technically, yes. You are using thread that won’t hold anything together and isn’t to be seen. However I look at the big picture; this method saves time and I could stop right there but it also saves frustration when measuring up an entire skirt hem, and could help you avoid steaming your fingers. Besides thread is not that expensive. And if the principle of wasting thread still bothers you (and yes, it’s allowed to, we all have our little things) you could use your older spools or the odd color spool for making guide line stitches.