
We’ve all heard you should take your clothes to a tailor for alterations; have them fit to you. But you got sewing skills. You don’t need no stinkin’ tailor – well, not for every alteration and besides, you always want a good smelling and talented tailor when you do need one.
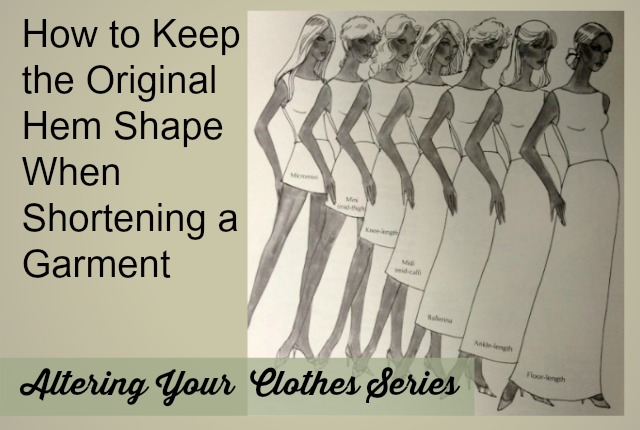
Shortening a dress, skirt, or top is something you can do on your own. Just measure up to where you want the garment to end, cut off the excess fabric and hem it. Sometimes though the hem does not go straight across in a perfect horizontal line. Here’s how to shorten a garment with a curved hem and keep that same curved shape it came with.
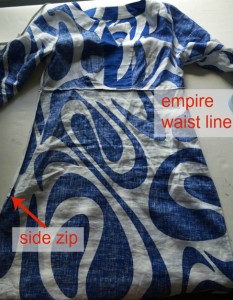 My example is a linen dress I ordered. When it arrived I could see the fabric was too thin to wear without a slip and really what is the purpose of a summer dress that needs a second layer? It gets too hot for that. I could have returned the dress but I really liked the print, style and fit. Having just enough knowledge to make more work for myself I decided I would shorten the dress into a tunic.
The hem curves slightly up at the sides which is a nice shape so I wanted to keep that detail on the tunic. I put on the dress and measured up from the hem where I wanted the new hem to be; how much I wanted to shorten it. Off of me and flat on the work table I could have measured and marked “x” inches up all around the dress to get the original hem shape but there’s an easier more accurate* way.
*When you measure all the way around the hem you may pull on the fabric, or not pull on the fabric, every time you measure and mark. Some fibers shift and slip more than others as well. This method of measuring leads to a wobbly line. The method I share here is far less frustrating, at least to me, and maybe it will work best for you as well.
This dress had a long side zipper which extended below where I wanted the new hem to be. That meant the zipper had to be dealt with too. It had to be shortened. To get it out of the way I pick out the stitches attaching the zipper to the dress on the bottom few inches of the zipper, then I sewed that side seam closed since the zipper no longer would (it would be part of the hem allowance soon). The zipper stop had to be raised so I sewed over the teeth where I wanted it to now stop. I cut of the now excess zipper length and bound the raw edge of the zipper with a strip of fabric.
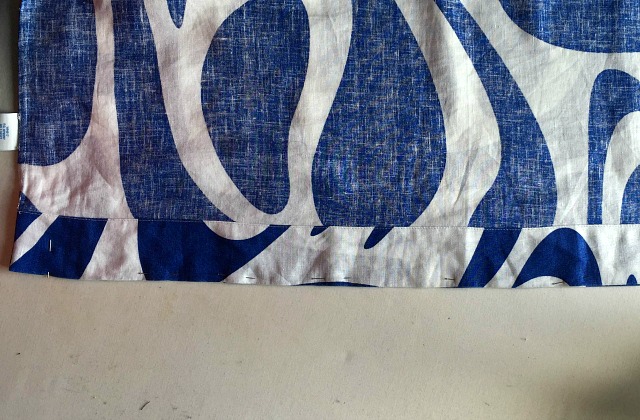
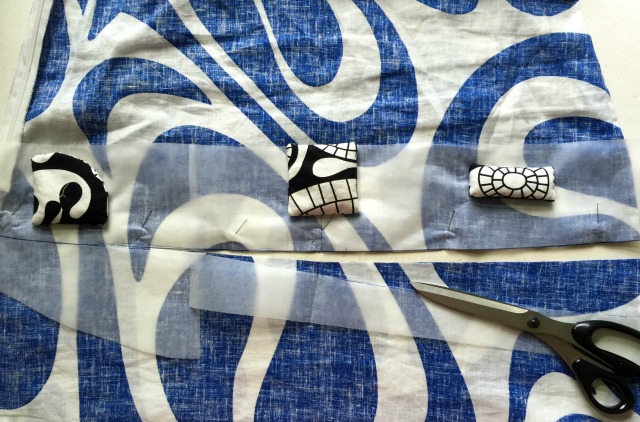
Iron the area of the garment you are working on (I actually did but it wrinkled just moving it about). Pin the front hem to the back hem lining up the edges. Take note now how deep the original hem is and decide how deep you want your new hem to be. Also decide how you are going to finish your raw edge. The method you use will determine the amount of fabric you need to leave to make the new hem. Serging the raw edge? Then leave only the amount equal to the depth of your new hem. Folding the raw edge under? Leave 1/2″ (1 cm) to fold under plus the amount equal to the depth of your new hem.
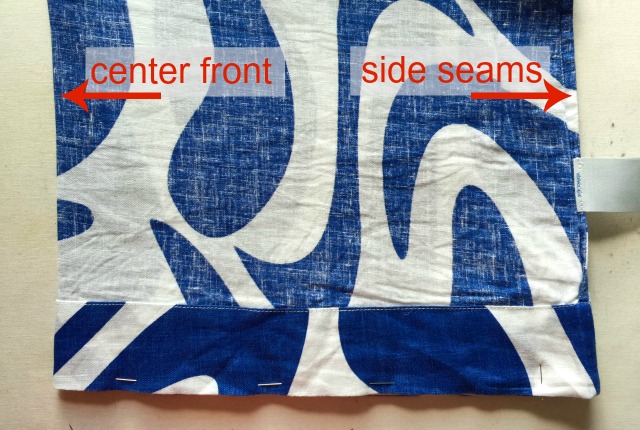
Fold the garment in half vertically lining up the side seams on top of each other. With an iron press the fold. This makes a crease to mark the center front, and back, of your garment. Press up slightly past where the new hem will be making a long crease.
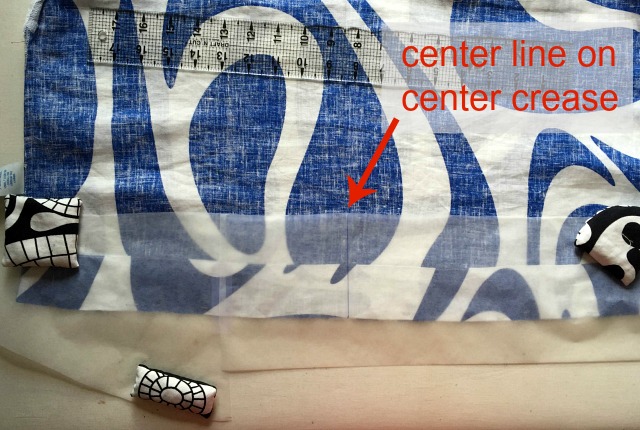
Draw a vertical line near the center on a piece of tracing paper that is as wide as the entire hem of your garment (I taped two scraps together to make one long piece). No measuring needed, just draw a straight line a few inches tall. This is now a reference line to be lined up on the center crease you made in the garment.
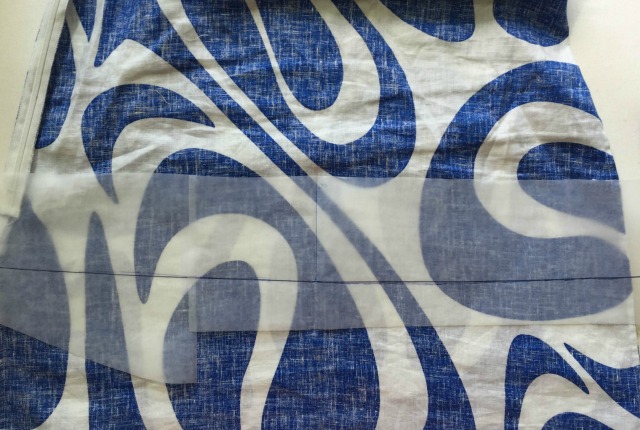
Open your garment back up but leave the hem pinned together. Lay the tracing paper so the reference line you drew is on top of the center crease in your garment. Use pattern weights or pins to keep the paper from moving
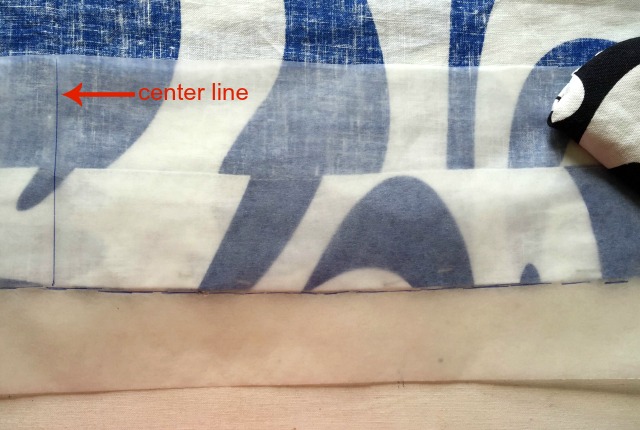
Trace the hem from side seam to side seam. It can look sketchy. It will be trued up soon.
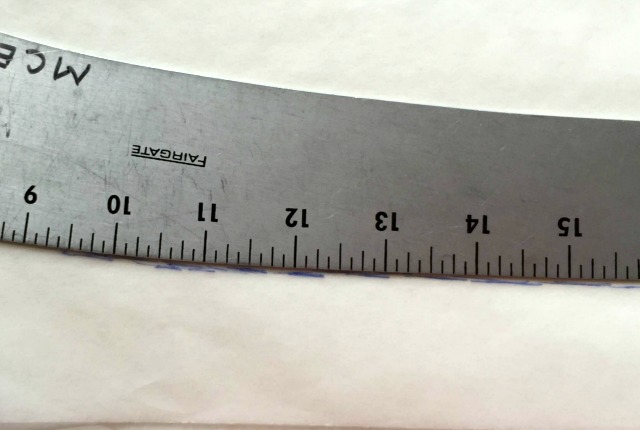
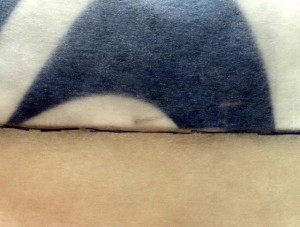 Here is a close up. You’re aiming to capture the original shape. Remember, ready to wear garments are cut from inches high layers of fabric and are sewn fast. Shifting happens. This hem will not be perfect and neither will your tracing. This is also why you should trace the complete width of the hem should it be off on one side more than the other side.
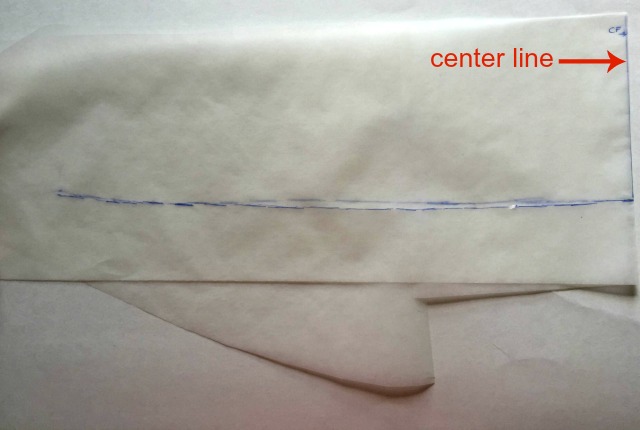
Take the tracing off the garment and fold along the center line; your vertical reference line. Notice that the tracing is a little off. The hem is probably a little off too. It’s okay though, it’s easy to fix.
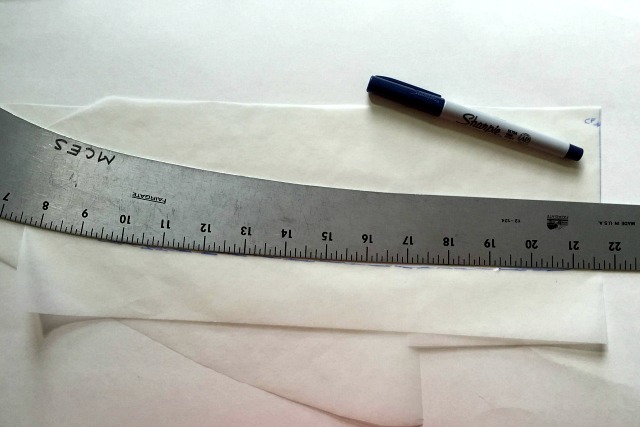
Line up a curved ruler on top of the still folded tracing. (Use the curved ruler that most closely lines up with your curved line) You now can see three curves; the edge of the ruler, the top tracing and the bottom tracing. Move the curved edge around to find a pleasing curve, a compromise between the two tracings, and with a different pen or ink so you can tell which is your new line, draw a new line on the paper following your curved edge.
You may have to move the curved edge into a few spots to get your entire line (but we’re just redrawing one half right now. The paper is still folded in half.)
Flip the folded tracing paper over to the other side and trace your new line on that half. Open up your tracing. Now both curves, the one to the right and the one to the left of the center line, are the same. The new line is symmetrical.
Place the trued up tracing on top of your garment approximately where you are cutting to shorten it. Line up the center line on the tracing to the center crease you made in the garment.
Remember to leave hem allowance. Example: If you want to shorten the garment 10″ with a 2″ hem plus 1/2″ for finishing the raw edge then your new cutting line is 10 – 2 (the hem) -1/2 (for finishing raw edge) = 7 1/2″ . You would place the traced line 7 1/2″ up from the original hem.
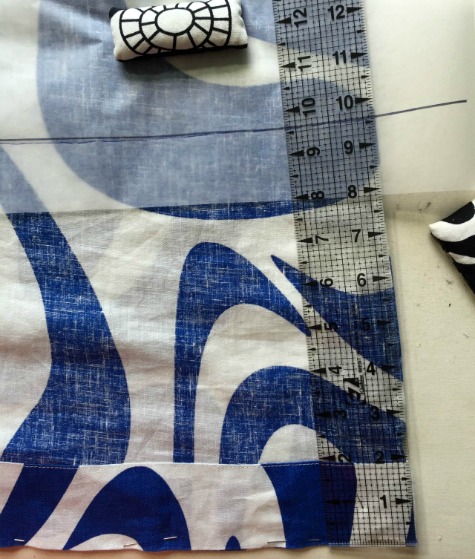
Measure up on both side seams from the hem to your traced line. They should be equal distance up from the hem. Keep the center reference line on top of the center crease of your garment.
Many garments flare out slightly at the hem so the side seam you traced will most likely extend beyond the side seam further up the garment where you are about to cut. This is why you line up the tracing and the garment at the center and not the sides.
Pin or weigh down the tracing and when you are happy with the placement cut along the trued line, just like a pattern.
Hem your garment as you planned. Make yourself a badge and wear it with pride.
![]()

Very helpful, thank you!