
Also referred to as a “modern silhouette” (who made that up?) the boxy woven top is now ubiquitous on every sewing and sewing pattern site.
As great as they are sometimes they need to be more fitted to balance an outfit.
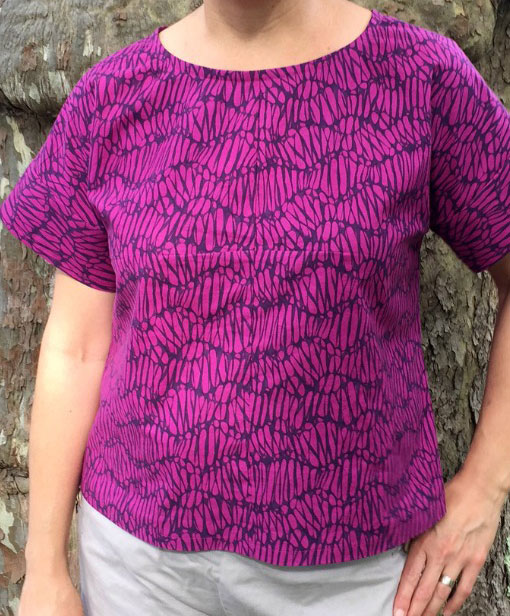
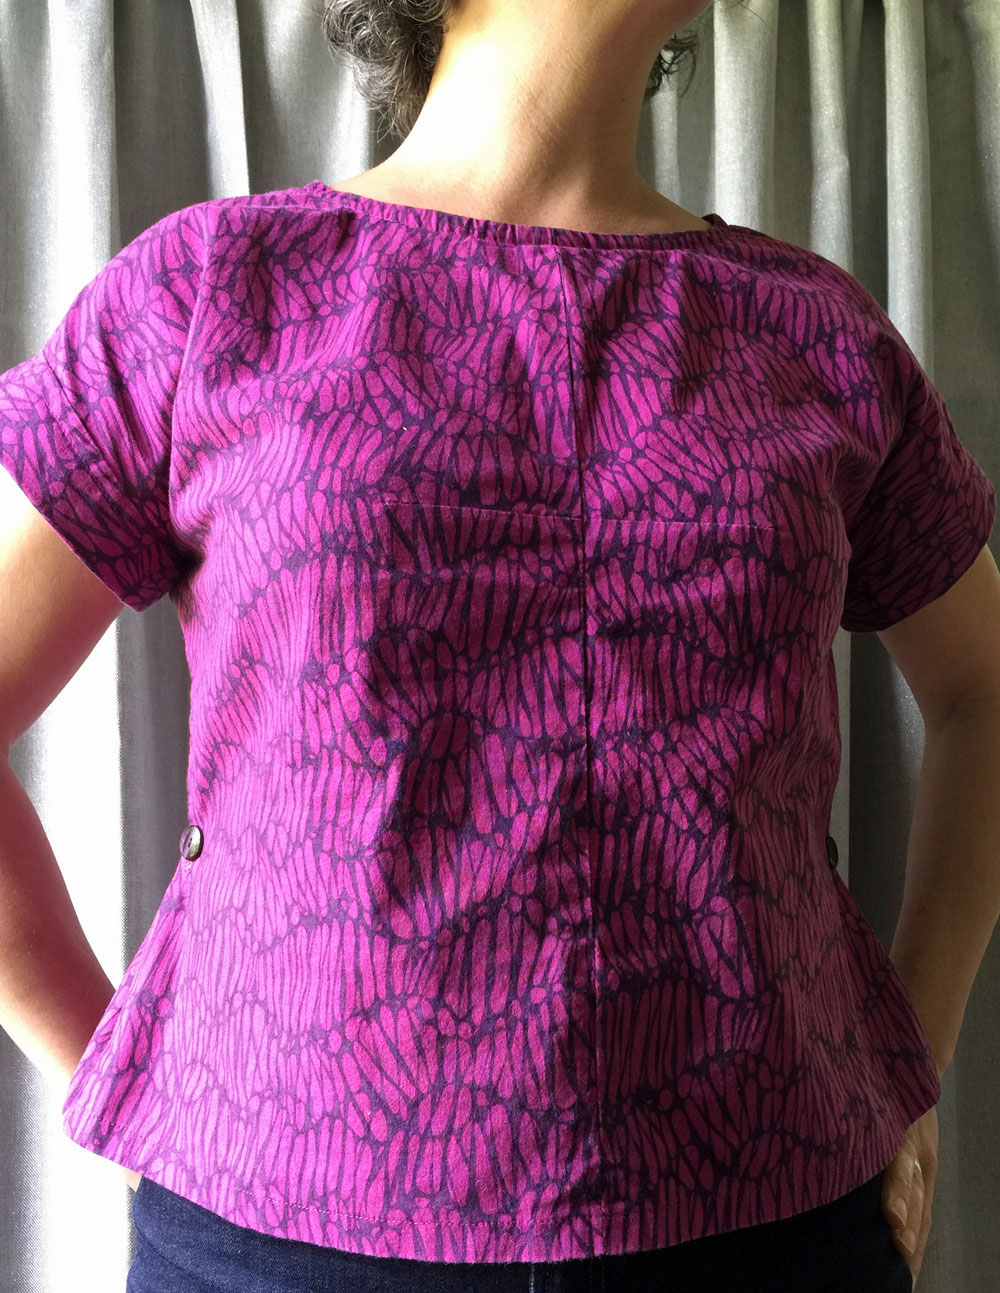
my top is Lisette for Butterick pattern #B6182 which I reviewed here. That center bust dart is pretty cool. I also made it without the sleeve bands which I like better.
Taking in the side seams seems like the obvious alteration but that may not leave you with enough room to get the top over your shoulders while putting it on and taking it off. Remember, it’s not made of stretch fabric and it has no openings.
Taking in the side seams would also mean it is always fitted. It is now an “un-modern” silhouette. It is a different top altogether.
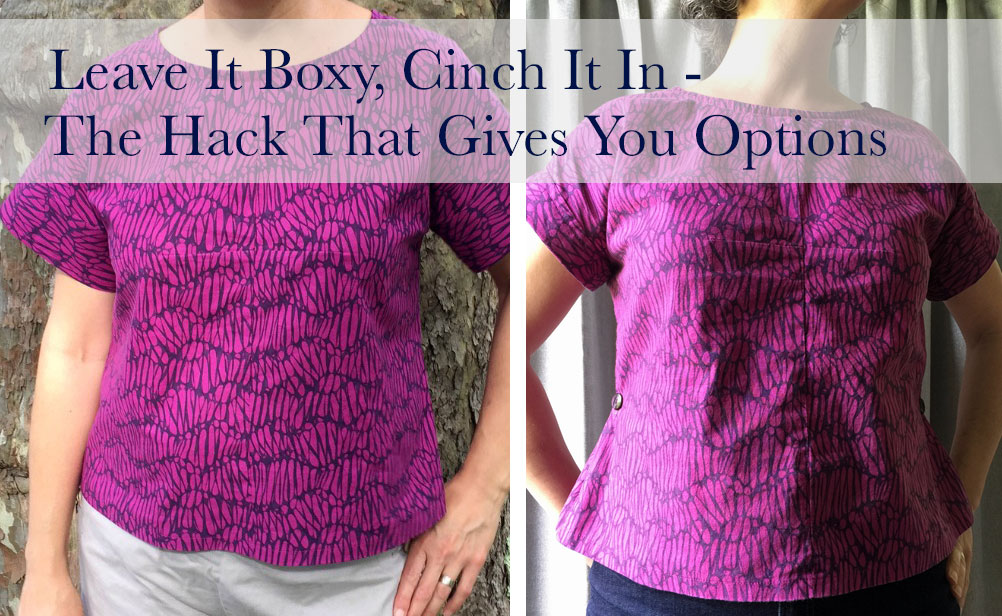
So how about a little, quick method to make the top more fitted for some days and yet let it be what it was designed to be on other days?
Yes, you could sew a fitted top instead of hacking a boxy top but in the pursuit of controlling the amount of clothing in our closets and of reducing the patterns and fabric we buy, and to conserve the limited sewing time most of us have, altering, hacking and being resourceful with what you already have is, to me, a better option.
Working like a side tab on jackets and pants, buttonholes placed in the side seams attach to buttons sewn on farther back.
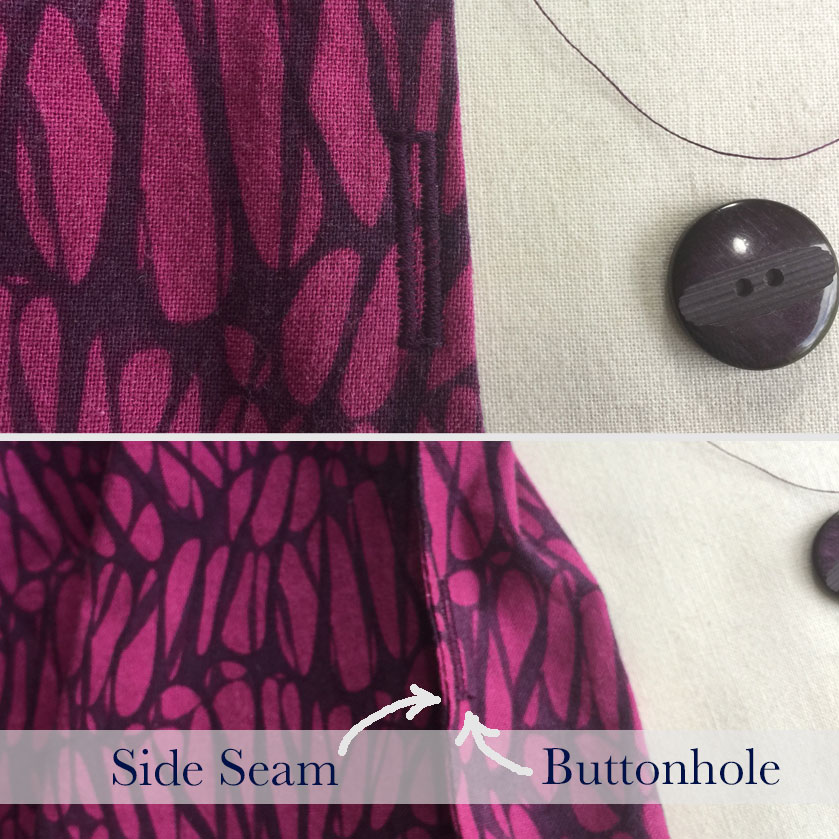
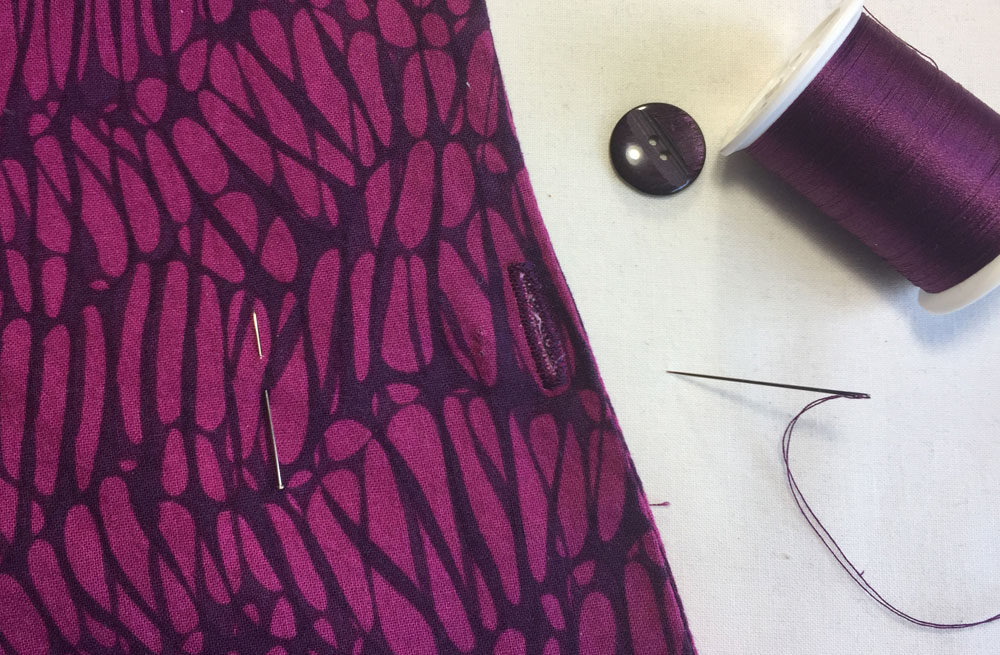
To keep the option of leaving the top boxy side tabs were omitted and a vertical buttonhole made about 1/4″ in from the side seam was used instead.
The buttonhole is sewn through the front, the back, and the sandwiched seam allowances.
This way it is inconspicuous and blends into the garment when not being used as a buttonhole. A tab would flop around without a button.
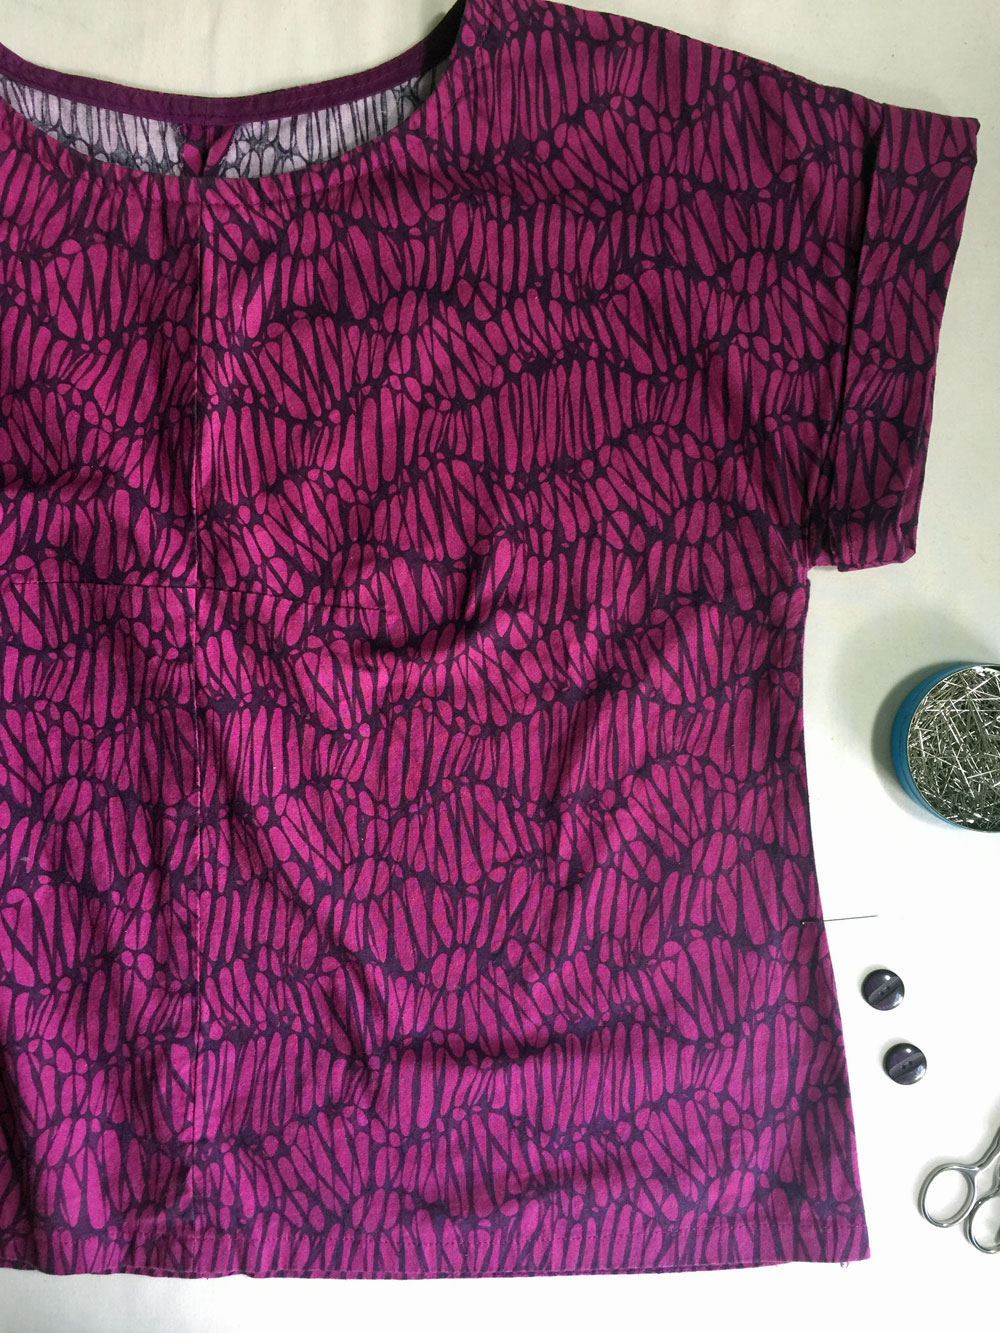
The buttonhole was placed where the garment tapered in slightly. If your boxy top is truly a box, place the buttonhole at your natural waist.
Where to sew the button on was decided by trying the garment on, folding back the extra fabric at the waist (on both sides at the same time) and noting how much fabric it appeared I was folding back.
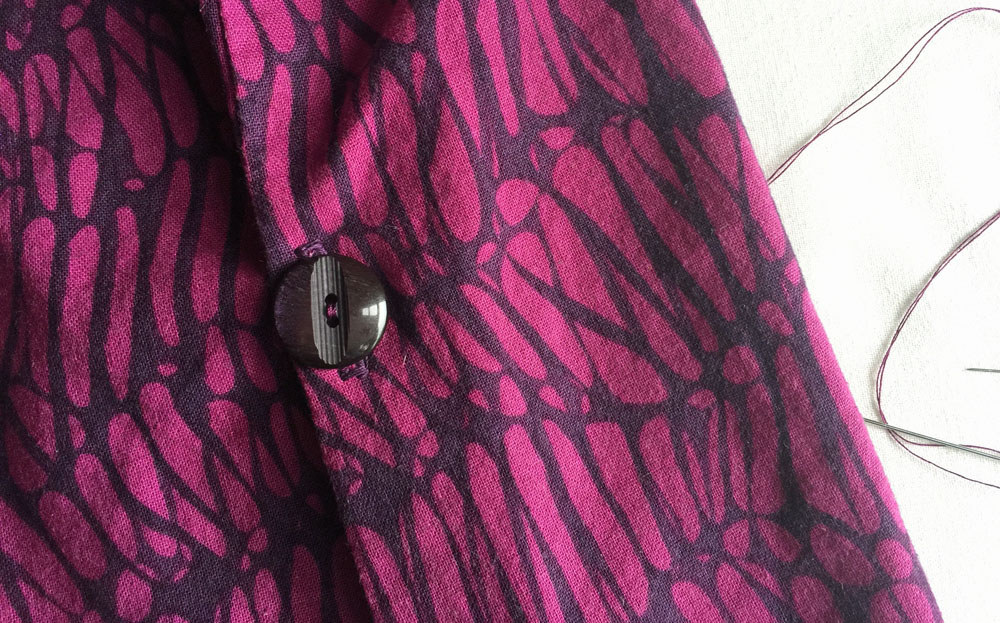
Remember you’re folding back both the front and the back. Grab hold of the buttonhole to fold the side seam backward.
The button lays centered in the buttonhole.
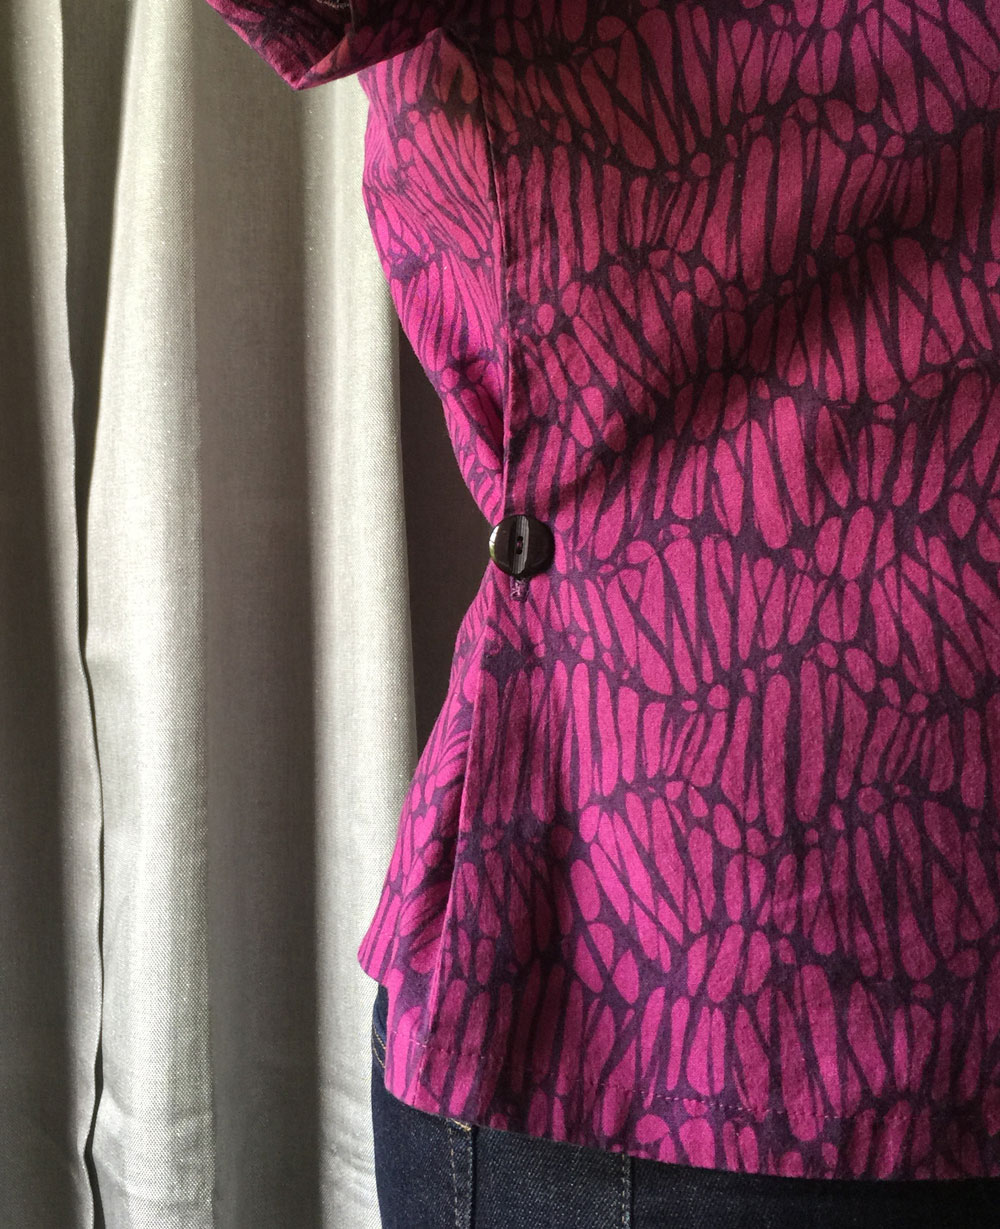
Now it can be worn two different ways. One top, two options.
I wish everything came that way.
PS. I was afraid if the buttons were placed too far back they would be impossible to reach and button. I placed my buttons about 2″ from the buttonhole and had absolutely no problems buttoning them. I guess if you can reach your waist, you can button a button there (because the button is brought forward to your side waist. You are not doing a half twist to button your button)
It took me a while to work out how you did this. Has the buttonhole slightly reduced the width of the top, because it’s pulled the fabric together? I wonder if it would not be subtle enough if the fabric was plain? I also wonder if we would get the same effect by having a chain loop for the button? Well done, though. It’s a clever idea.
I thought about a thread chain loop too and maybe that would be more subtle for a solid top. So, yes, the buttonhole takes out about 10mm (3/8″) from each side. I sewed it about 6mm in from the side and then the width of the buttonhole takes up space too. If you did this on a solid top you could either match buttons and thread to the cloth or go contrasting and play it up as a design feature. (I mean, what other choices do you have, right? 😉 And, as you mentioned, maybe a loop instead of a buttonhole. Thank you for bringing that up. I’m glad you like the idea.
A great idea!! I just learned something new and will try this one absolutely! Thankyou 🙂
Thanks!