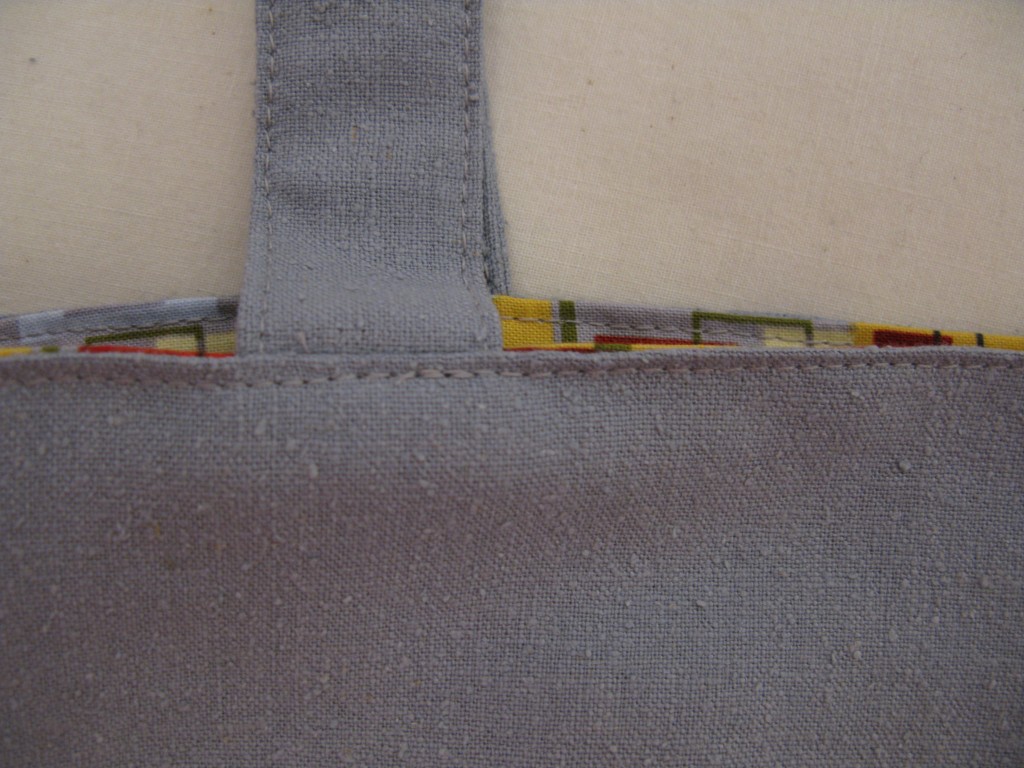
What got me started on this project, or what made this project (turning my mom’s dress into a skirt) jump to the front of the line, is that I really wanted a simple bag for summer. And I really wanted a grey bag. I saw that dress crumbled up in my mending pile and realized that was the perfect fabric for my purse. I knew I wanted to turn the dress into a skirt but could I also get a bag out of it?
I needed a front and back and handles. I needed the bag big enough to be practical small enough not to look like a grocery tote. I measured the dress bodice. I could get: bag front and back each measuring 13 3/4” x 13 1/4″, two strap pieces each 4” wide by 22” long and two pieces (normally one would be preferred) to add width to the bag sides and bottom. I made these pieces 3” wide for a finished 2” wide side and bottom. I also needed a lining for the bag but I had plenty of cotton for that.
I prefer a bag pattern where half the width of the bottom and also the side is incorporated into the front and back bag pieces. Since I was taking my bag pieces out of dress bodice I couldn’t make my finished bag as big as I wanted unless I made the sides and bottom separate pieces. However my lining fabric was yardage and I had the clever idea to make the lining my preferred way, no separate side or bottom piece. This seemed easy enough but later I did get thrown off by the math (never my strong subject).

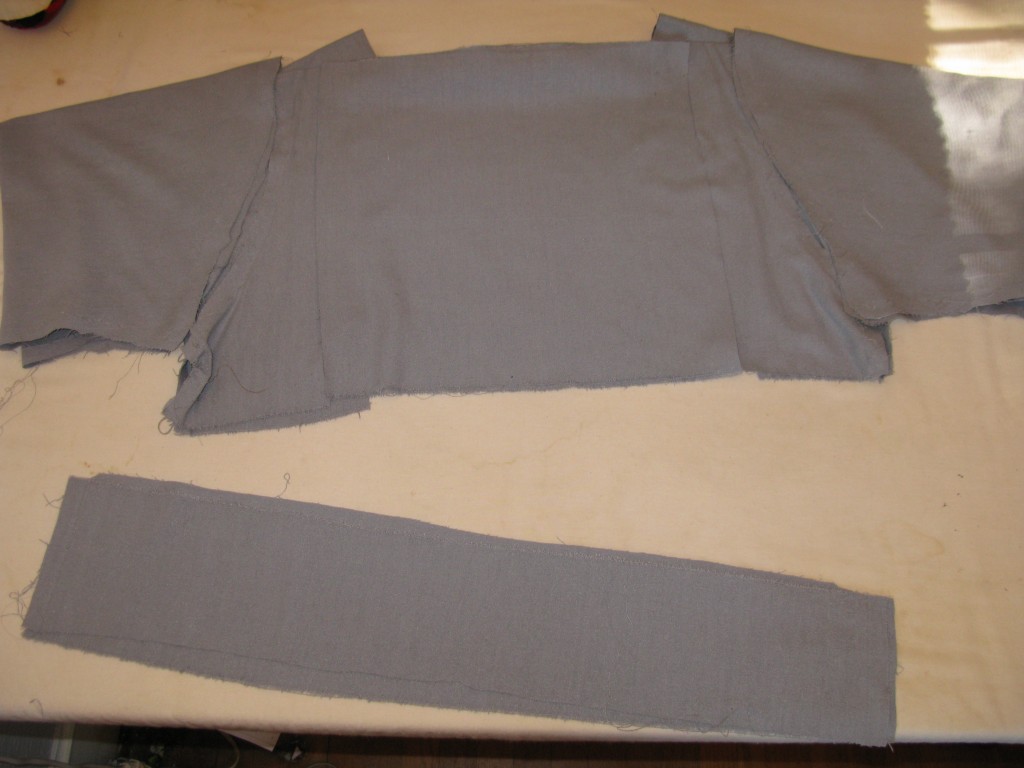
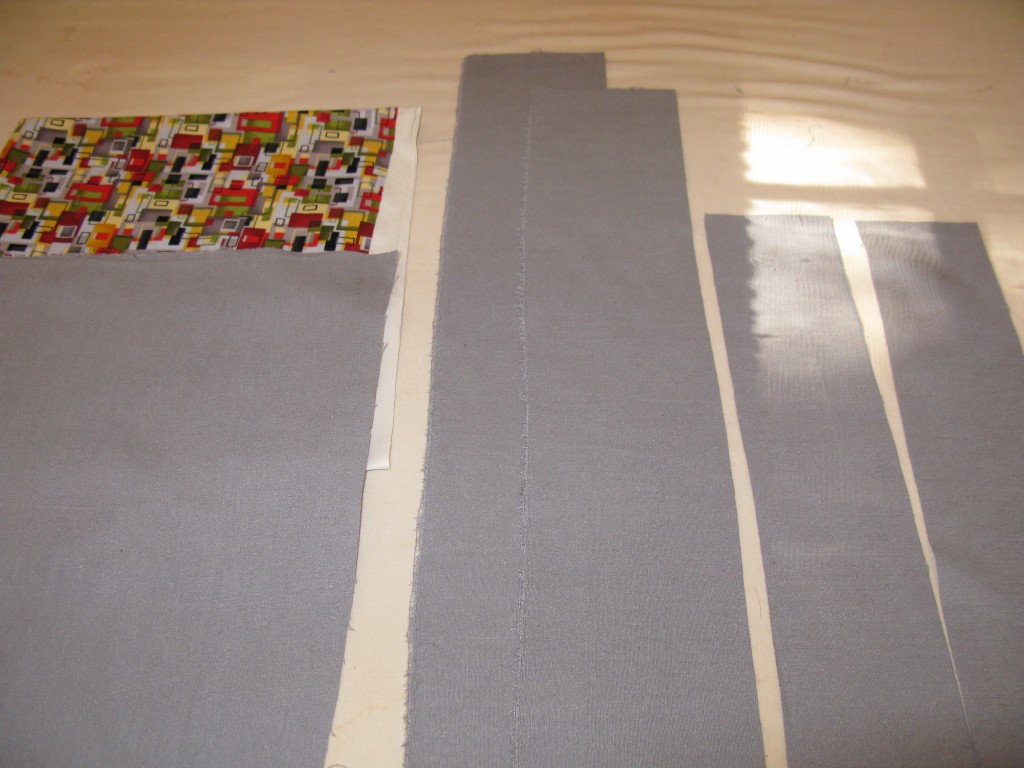
Construction:
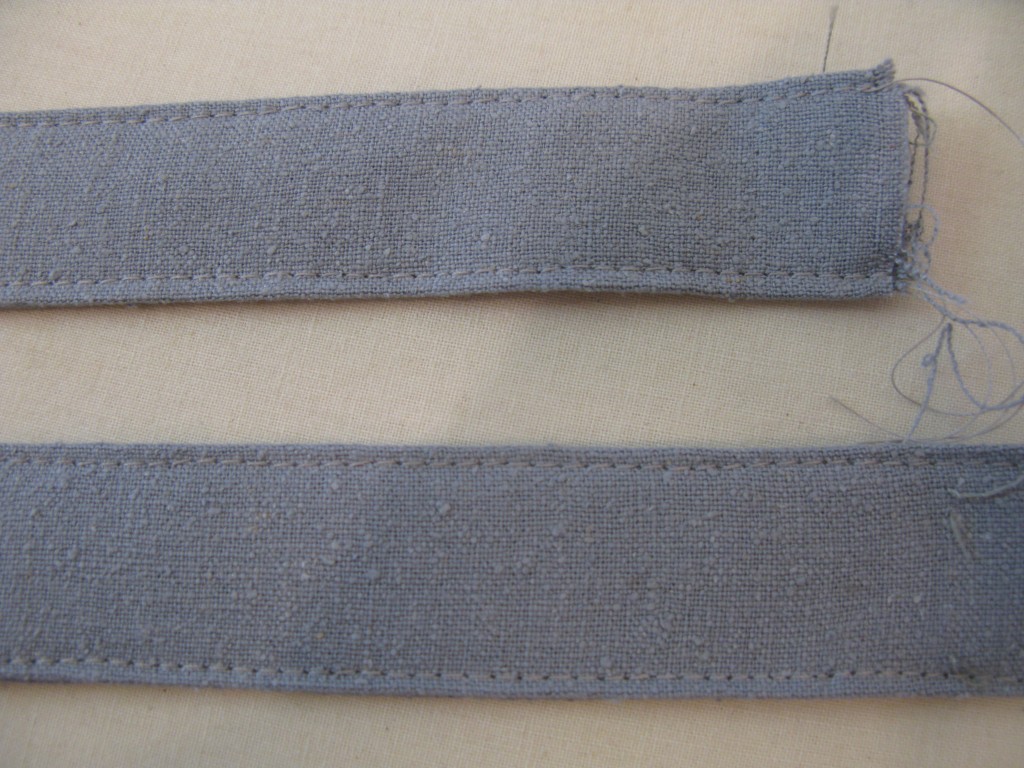
I start with the straps. Iron the strap pieces in half, length wise. Open up the straps and turn the long raw edges in to the center. The edges should lay right next to the center crease you made; iron. Refold the strap on center fold (the strap is now folded into quarters) and iron. Edge stitch the strap close.
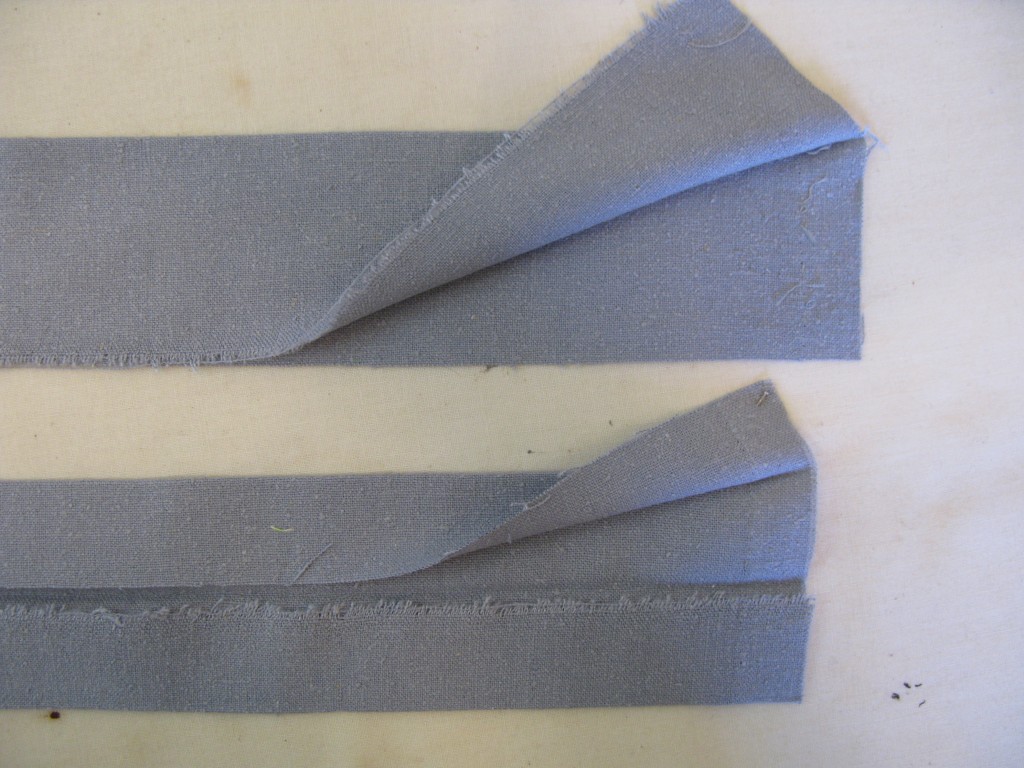
If you have two bottom/side pieces instead of one, like I do, sew them together along one short edge; iron the seam open.
Mark the center of the bottom edge of front and back bag pieces with a straight pin or chalk. Then go to the bottom corners of both pieces and mark with chalk pencil, a half inch (my seam allowance) in from side and bottom.

Lay the bottom/side piece onto the bottom edge of the front piece, matching the centers of both pieces together and pin. Continue to pin the pieces together across lower edge. To sew the bottom to the front, lower the needle into the mark in the corner and stitch across the lower edge stopping on the second mark. If you needle wants to end slightly after your mark, lift the pressure foot and move the fabric so the needle finishes the last stitch on the mark. Back tack a couple stitches.
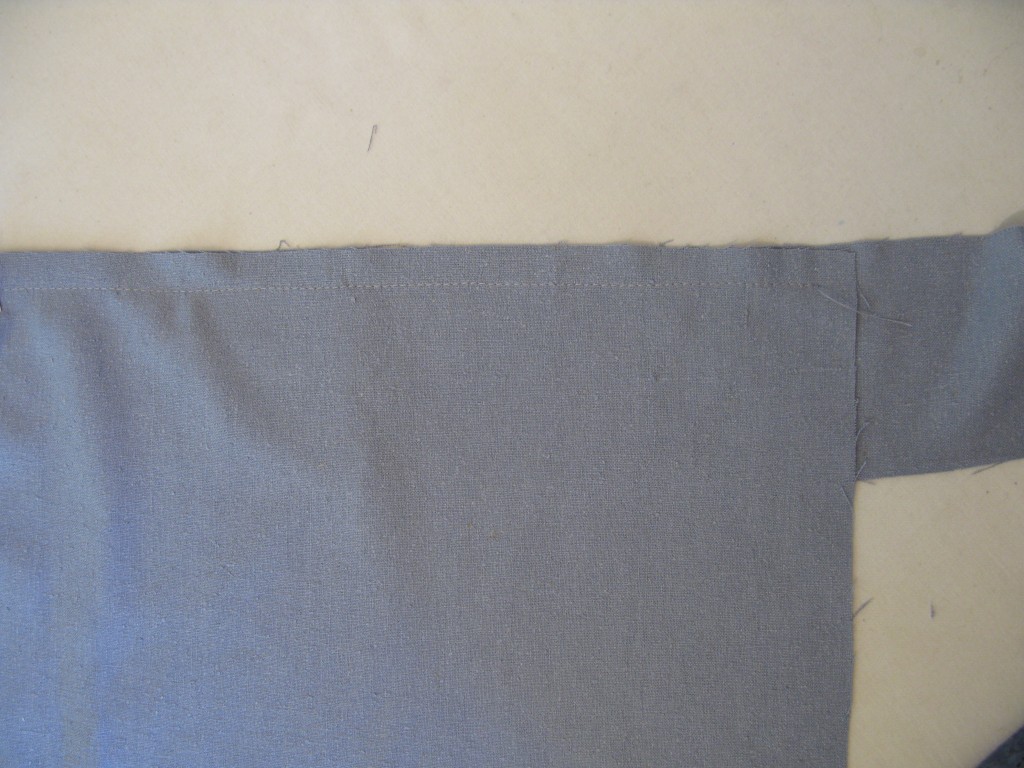
Sewing side edge: at a 45 degree angle cut on the side/bottom band, to but not through to where the stitches began . Turn the side/bottom piece around the corner and pin to the side edge of the bag front. Stitch starting exactly where the stitches end on the lower edge. You will have to fold the side/bottom piece at a 45 degree angle to get it out of the way and flat up the side. Repeat on other side edge.

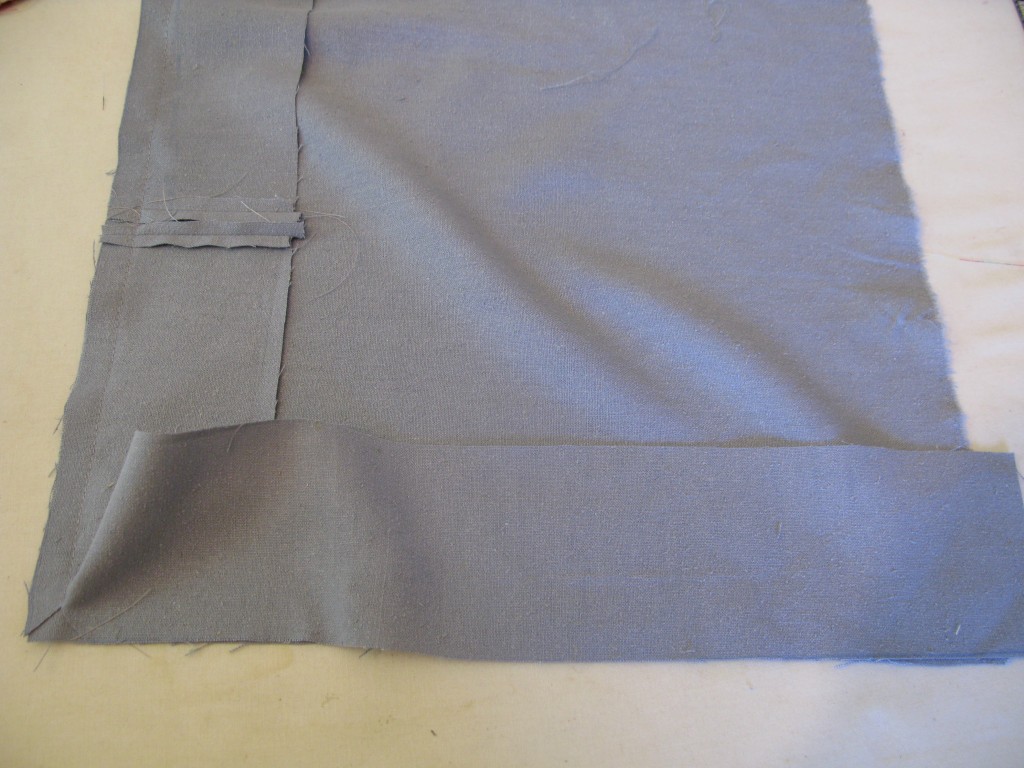
Sew the bag back to the side/bottom piece in the same manner. When done use fray check on the bottom corner stitches and on the edge of the angled cuts. You should have a bag sewn on both sides and the bottom, top wide open. It will remind you of an open cereal box and then you will be hungry for granola or Cocoa Puffs.
After your cereal break it’s time for the lining: I find the side band a pain compared to just a front and back piece sewn together with a pinched bottom for adding width. So I decided that was how I was going to construct the lining. I cut my two lining pieces 2 1/2 inches wider and 1 1/ inches taller than my bag front & back (Remember, I’m incorporating half the width of the side and bottom into the bag pieces plus seam allowance). Stitch your lining pieces right sides together on the two sides and across the bottom.
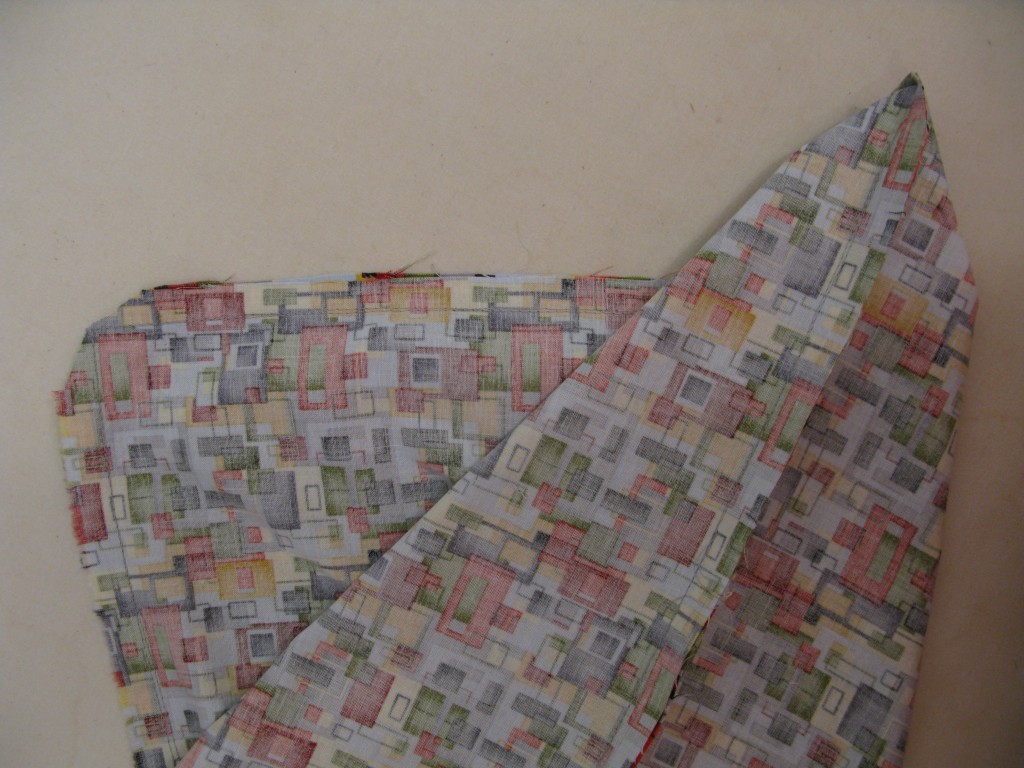
Trim the corners of excess seam allowance. Pinch the corners so the side seam and the bottom seam are lined up, one directly on top of the other and sew across the point 1” down from the tip (for two inch wide bottom and sides. 1 ½ for 3” wide bottom & side. 2” down for a 4” wide bottom and side… you get the pattern?)
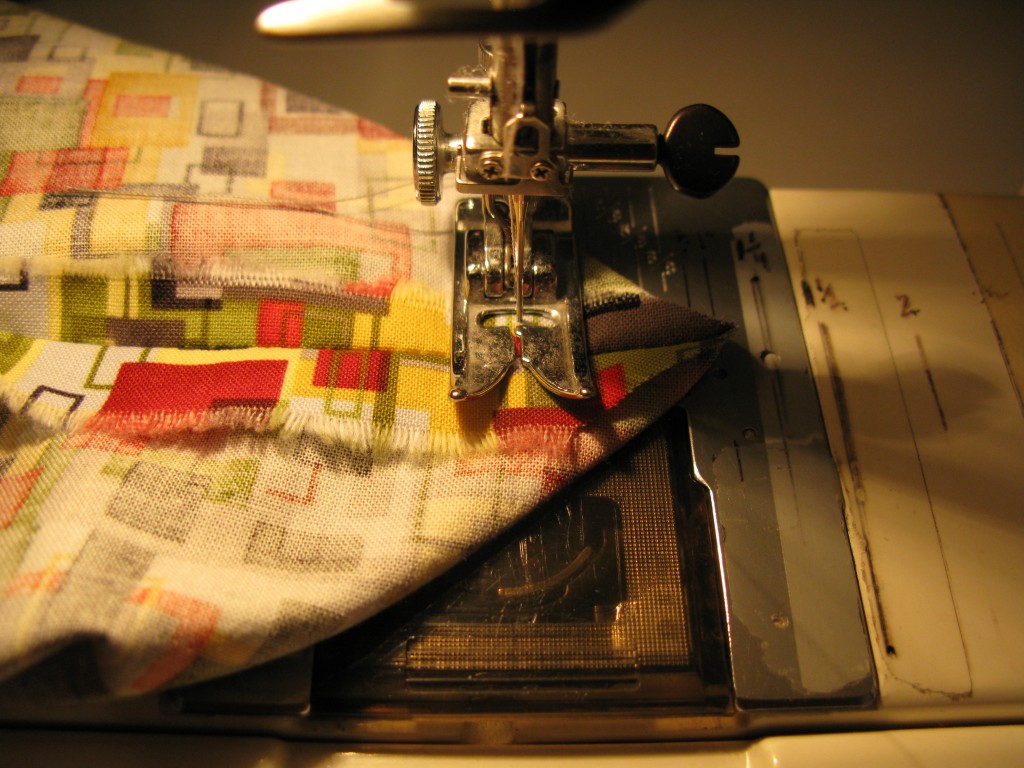
Iron your stitches and then trim off the tip leaving a ½ inch seam allowance.
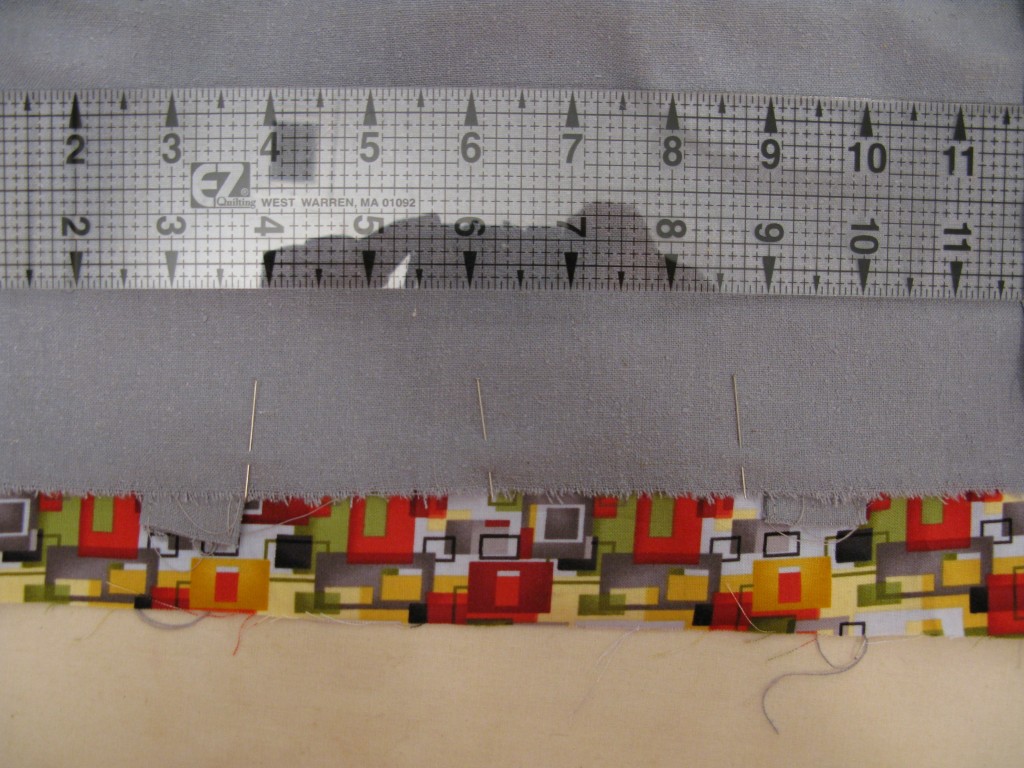
Place the lining inside the bag, right sides together. Pin straps in place sandwiched between the bag and lining and laying downward so the top of the handle is toward the bottom of the bag. (The picture below shows the lining sticking above the bag. This is because I cut my lining too tall -math problem. I just trimmed off the extra after I lined it up and was thankful I didn’t cut it too short.)
Sew around the top edge leaving a two inch opening. Reach into the opening and turn the bag right side out. Iron. Top stitch the top edge catching and closing the two inch opening while doing so. Iron. Always iron.
