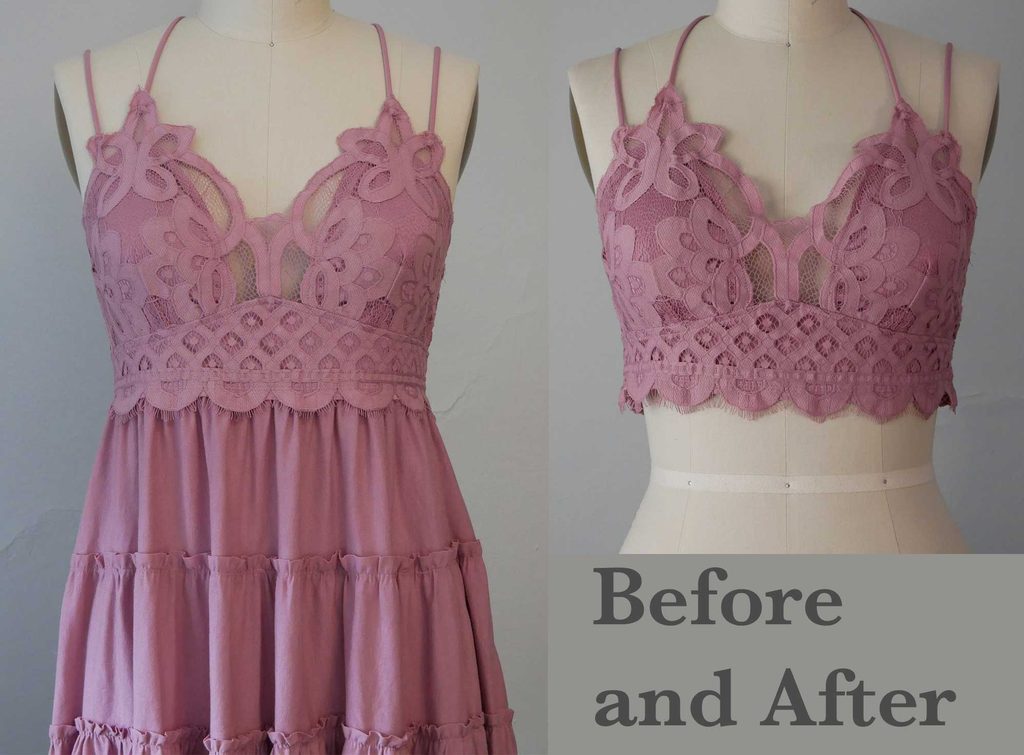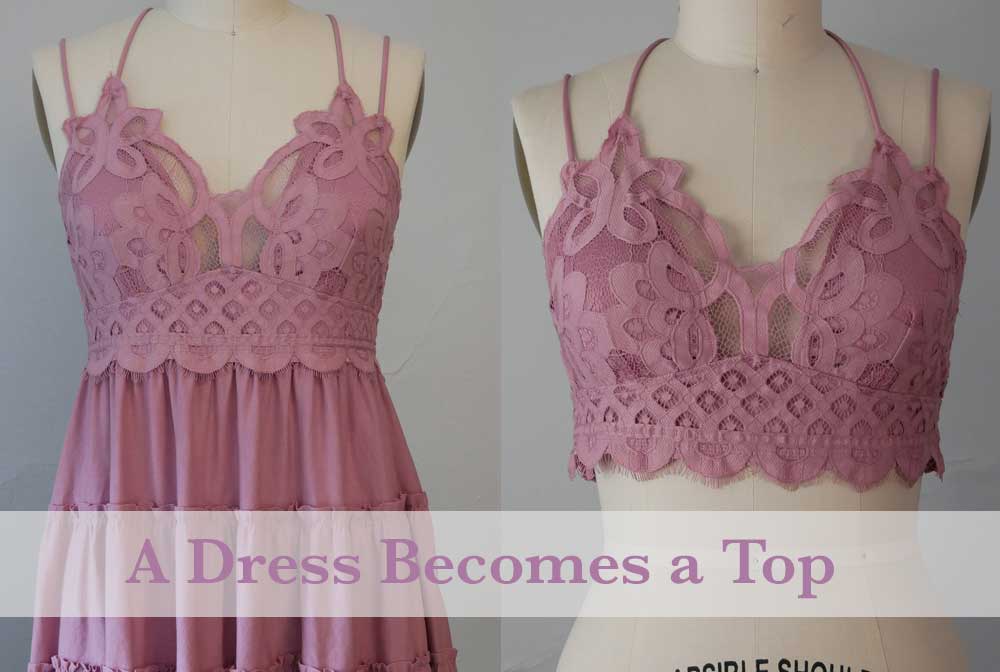
Sometimes the easy solution is the best. Like, don’t overthink it, but do think it through first.
My client wanted to remove the skirt from this empire waist dress. The Dress was an odd length; too short for a dress and too long for a top, and therefore it went unworn. However, if I could get rid of the skirt part, she would be very happy to wear the dress’ bodice as a top.
“Just cut it off,” she said. “Well, maybe that’s not the best way, but you know, take it off”
Look for Construction Clues for Deconstruction Instructions
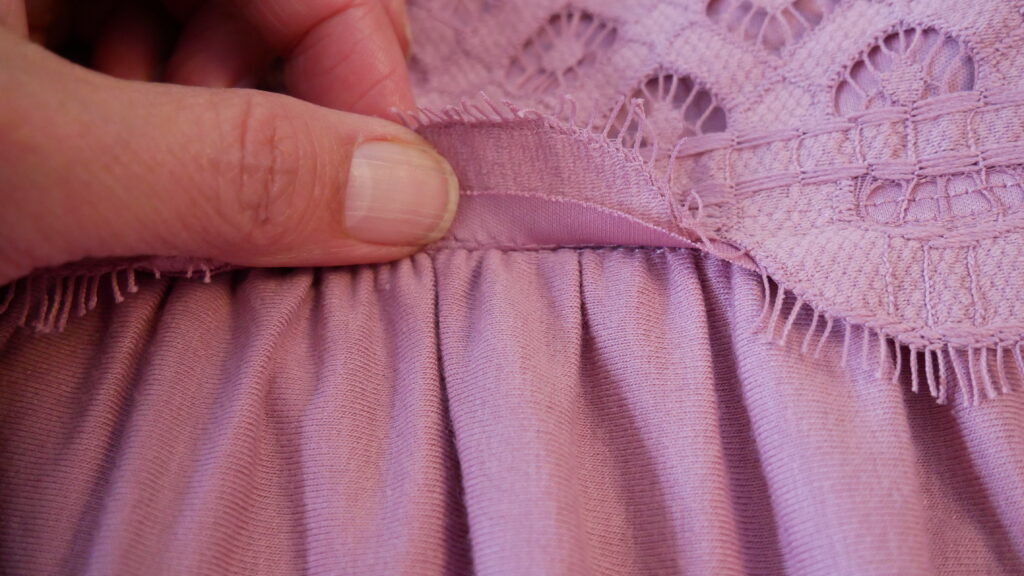
Looking the garment over will tell you how it was constructed, which will tell you how to deconstruct it. At first I thought the skirt would have to be unpicked from the bodice, because cutting off the skirt was too “amateur”, right? I’m a professional; I need to do it the professional way. But two observations changed my mind.
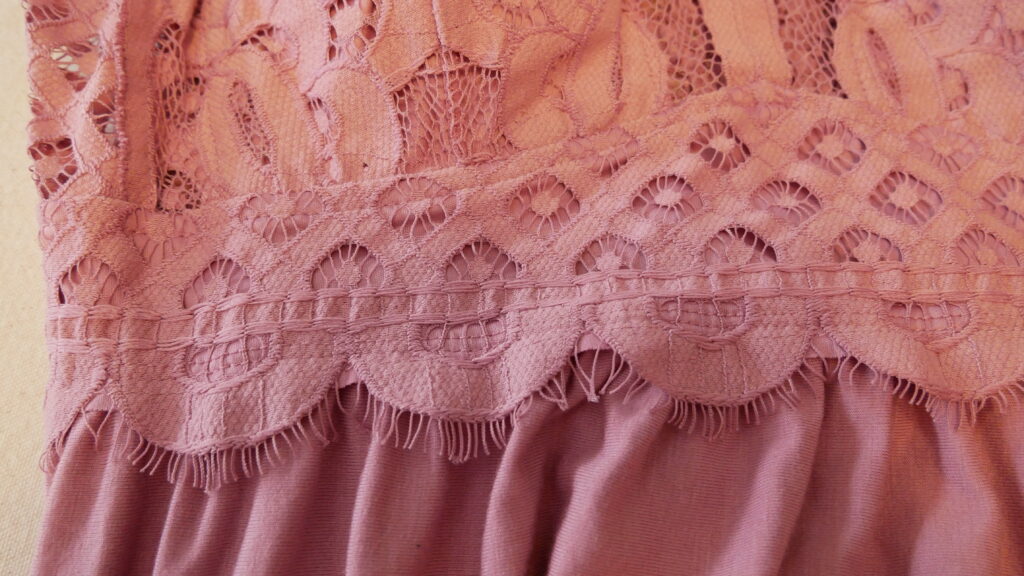
First, I felt that the back of the bodice needed the stabilizing that the skirt seam was giving it. If I removed the skirt by unpicking the seam, I would also be removing the stabilizing effect that the stitches gave to the shirred back panel.
Second, both the skirt back and front were sewn to the corresponding bodice before any side seams were sewn. There was an entire front and an entire back assembled, and then they were sewn together from the underarm to the hem. And the skirts were not lined up at the side seam. The back skirt was lower than the front skirt. Unpicking the entire skirt (front and back as if one) from the bodice would give me trouble at the overlocked side seams.
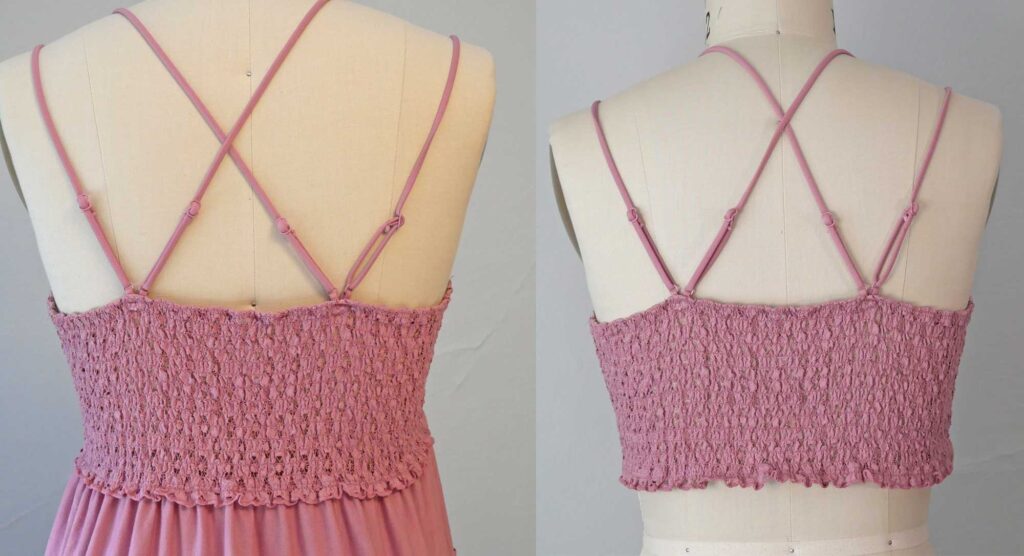
“Cut it off” was looking like the right solution. And then two more observations sealed the deal:
- The skirt was a fine knit jersey, it wasn’t going to unravel, if I did simply cut the skirt away from the bodice.
- The scalloped lace edge of the front and the shirred back panel both hung over the bodice/skirt seam and would cover up the cut edge.
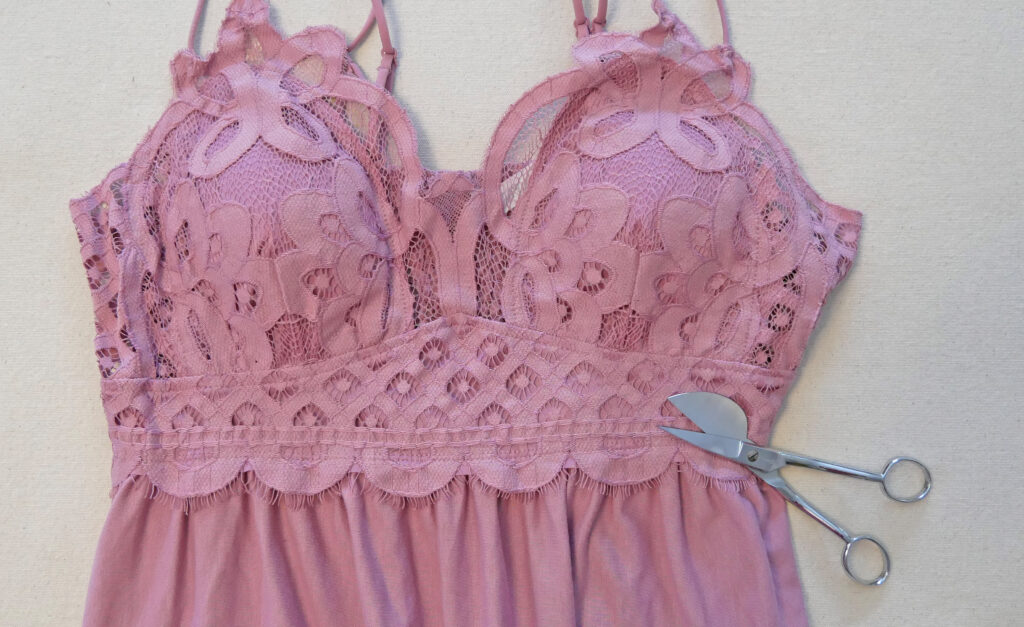
Cutting Tips
When cutting one layer of fabric, whether it’s a garment or a quilt, you always need to be certain you are not cutting any other layer. A big help is a pair of duck-bill scissors. They protect the underlayer of fabric when cutting a top layer. I own a pair, and if you do, use them for this sort of cutting. If you don’t have a pair but a friend does, borrow them, but don’t go out and buy a pair unless you sew an awful lot and plan to keep it up. They are a pricey and specialized tool not used frequently by garment sewist. You can cut away a layer without them; just be diligent about checking where the blades are.
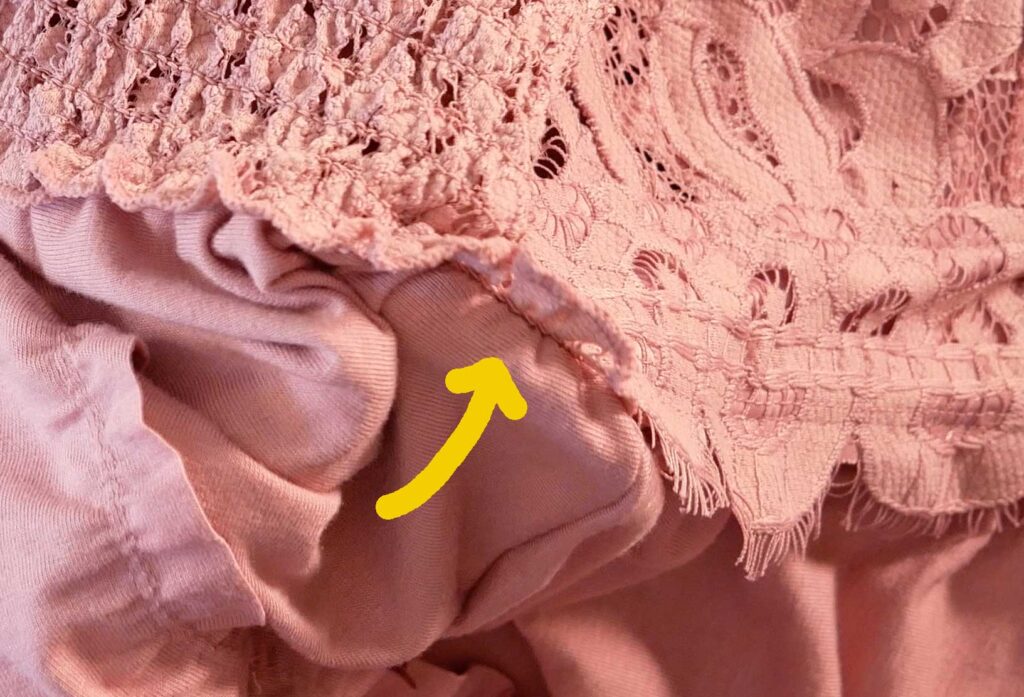
To start a cut in the round, make a small snip into the skirt where there is no seam. Spread the hole to see it better and snip close to the stitches.
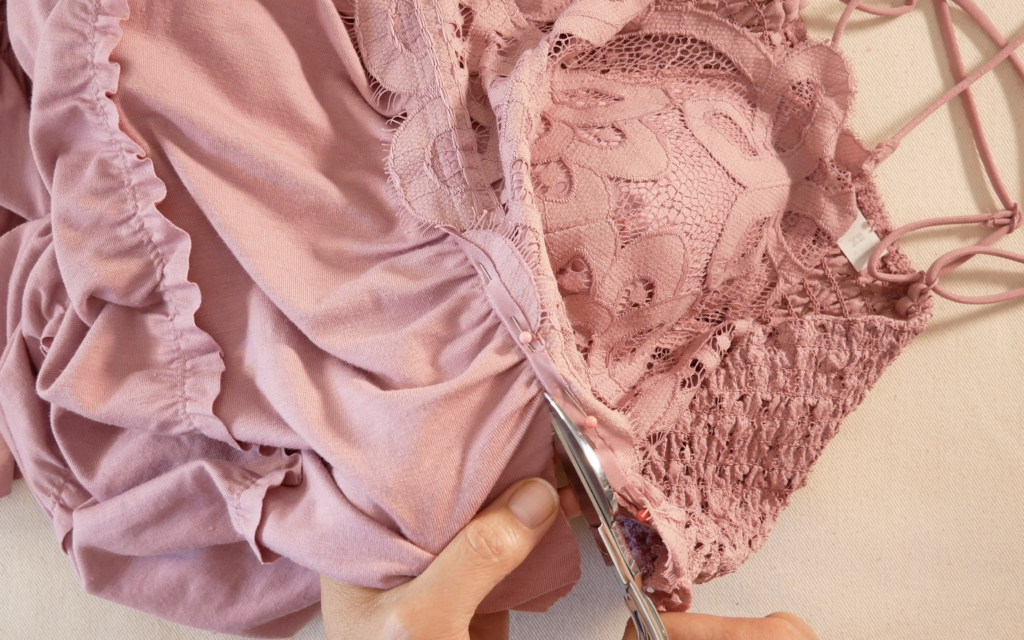
Also, pin up or back any fabric that can be pinned out of the way. You’ll have a better view of where to cut and that fabric will not accidentally be snipped.
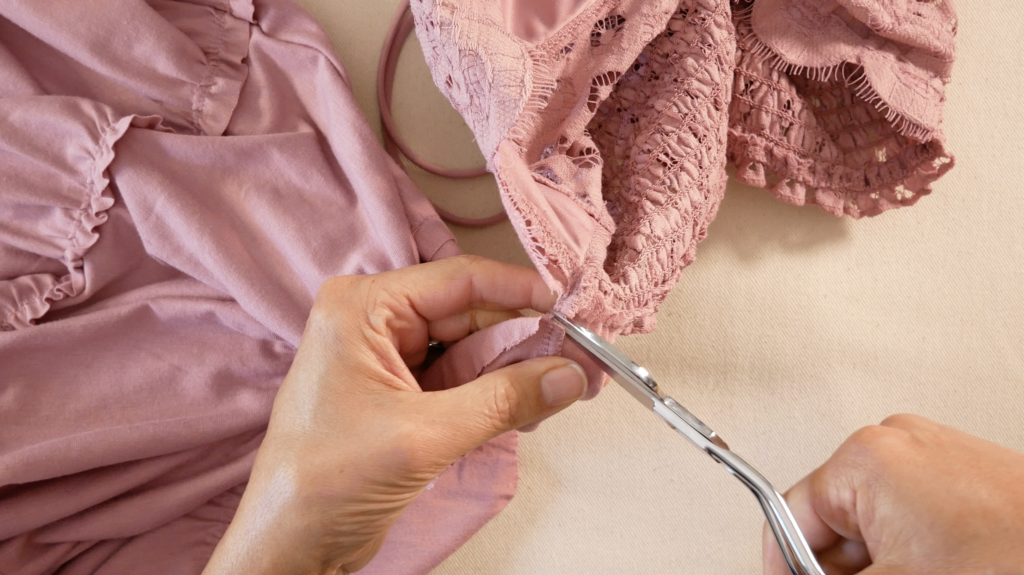
When you get to the seams, take your time to cut through them. The seam is bulky and can throw the straight cut line off.
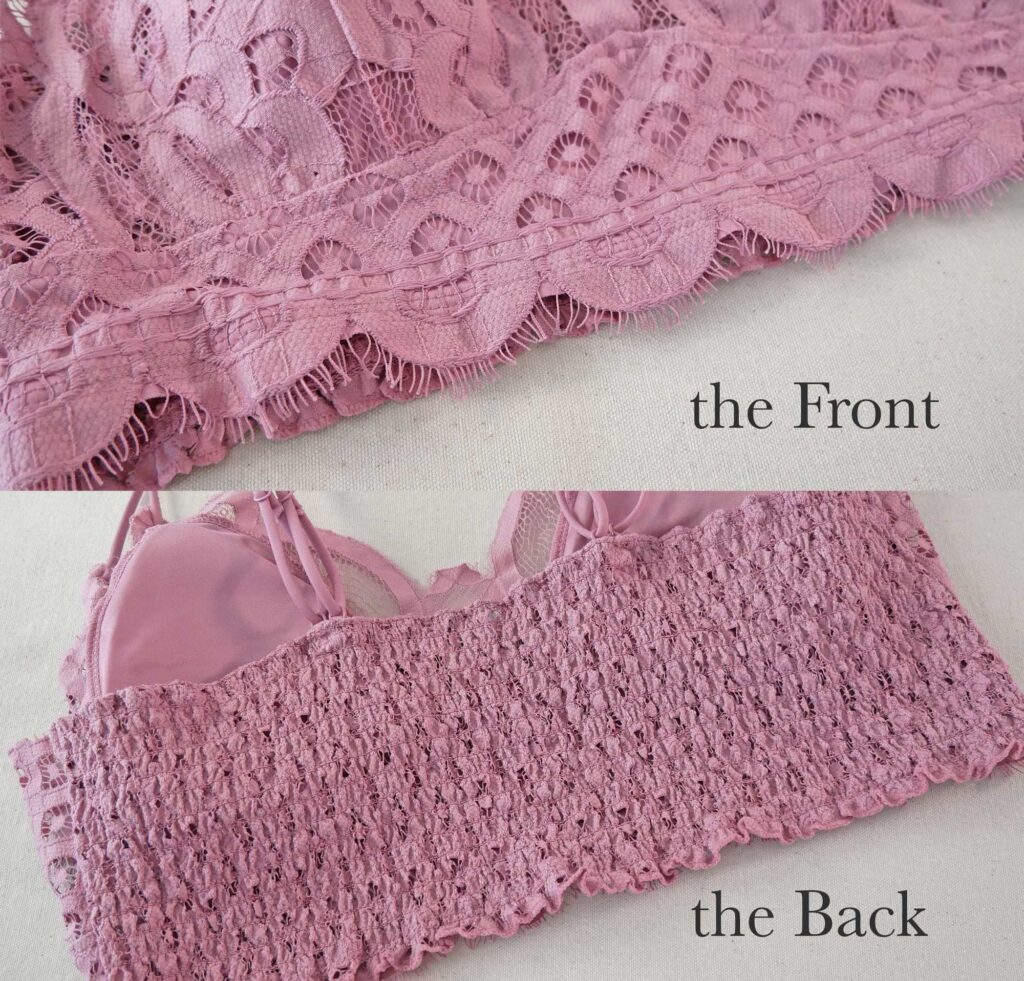
This alteration took less than 30 minutes, and that included coming up with the plan. I encourage you to try the easy way too (after looking over the garment to see if it will work ;-). Sometimes you have nothing to use. If you’re not wearing the garment now, then trying an alteration, even if it doesn’t turn out, doesn’t cost you anything. And if it does work out, you have something to wear with little to no extra cost.