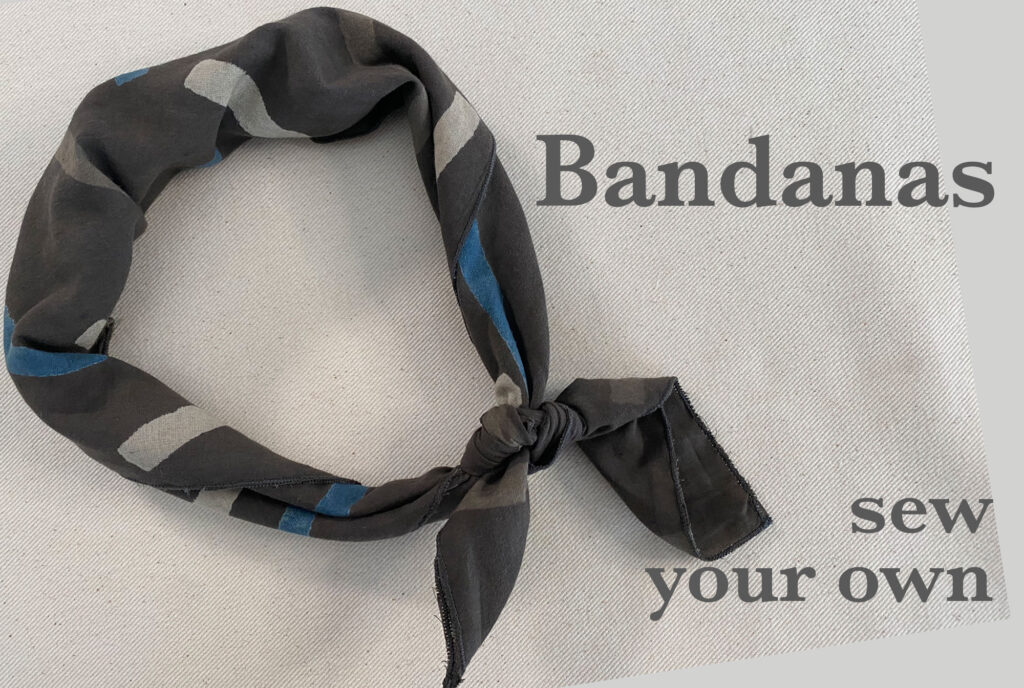
When you think bandana you probably think of a black and white printed paisley design with a border. Classic choice.
But bandanas come in all sorts of fabric designs and as far as projects go, they may be one of the easiest things to sew. So why not sew your own, in your choice of fabric whether that’s a solid color, a woven stripe, a Liberty of London print or fabric you’ve printed or dyed yourself?
You can watch the video here or read on for detailed instructions.
The only limitation is that the fabric is soft and not too stiff. A light or medium-weight fabric that’s soft enough to be around your neck. Something that can be tied on itself. That scrunches up small and can be folded.
If you’re looking at a fabric that is printed check the backside. When bandanas are tied or looped around anything both sides of the fabric are on display. Ideally, you want a fabric that is the same on both sides.
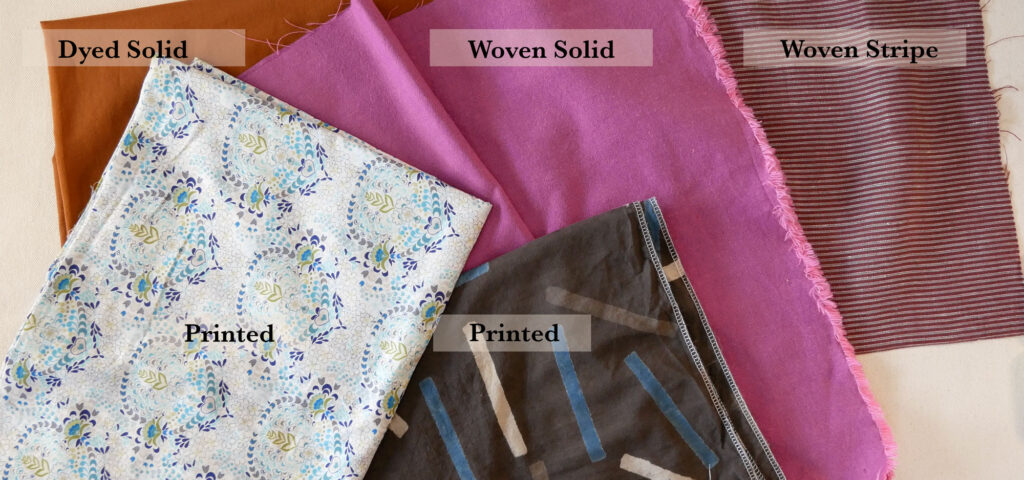
Solid fabrics can be woven from dyed yarns like the pink fabric above. Or woven from undyed threads and then dyed after weaving to be the same on both sides.
Some patterns are woven with dyed threads, like the stripe above and Ikats, and therefore the same on the front and back
Printed fabrics (not batiks) are printed onto one side of a white or dyed fabric. The back side is usually solid with maybe some show though.
Except very lightweight fabrics like cotton lawn. This fabric is so thin that the dye seeps through to the wrong side of the fabric and leaves an almost identical back side, like the delicate blues and greens print and the grey block print above.
Now, that said, you can absolutely make a bandana from a one-sided design and then fold and wear it so the design side is seen.
Let’s Talk Bandana Size
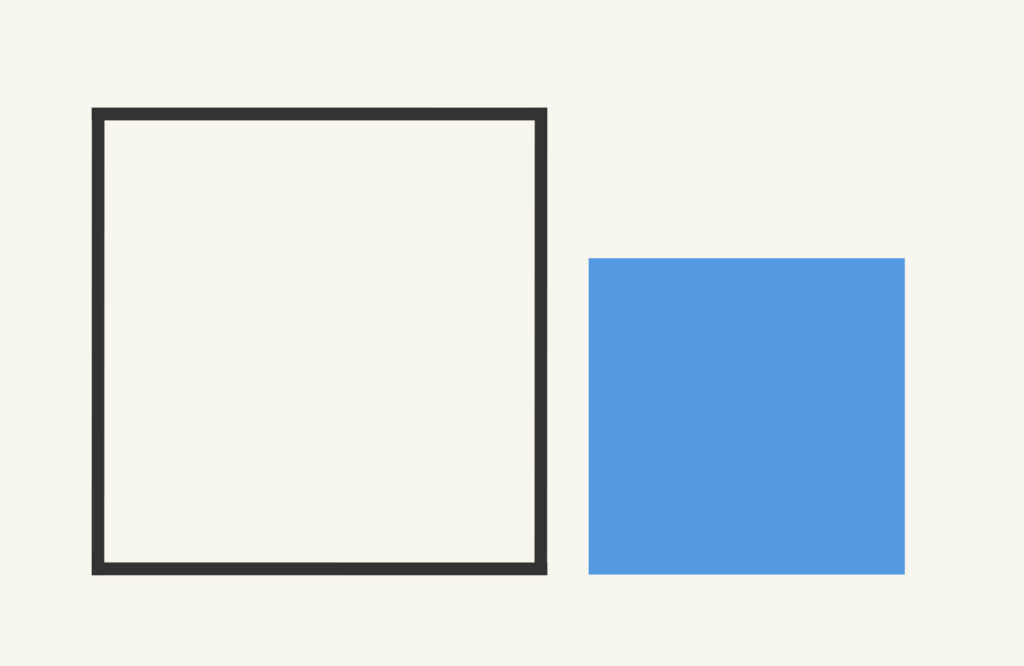
Bandanas are square and typically range from 24 to 26 inches in size. Recently bandanas are smaller because smaller equals less fabric which equals lower cost.
So feel free to make it as small as 20 inches square but check that when it’s folded on the diagonal, from corner to corner, it’s long enough to fit around your neck and has extra length to tie.
Or make it 26 to 28 inches square. This is big enough to wrap and tie around the head in a variety of ways
Think of the end use when deciding the size.
And, of course, you can make other shapes and sizes from similar or heavier fabric but then they’re called scarves, not bandanas
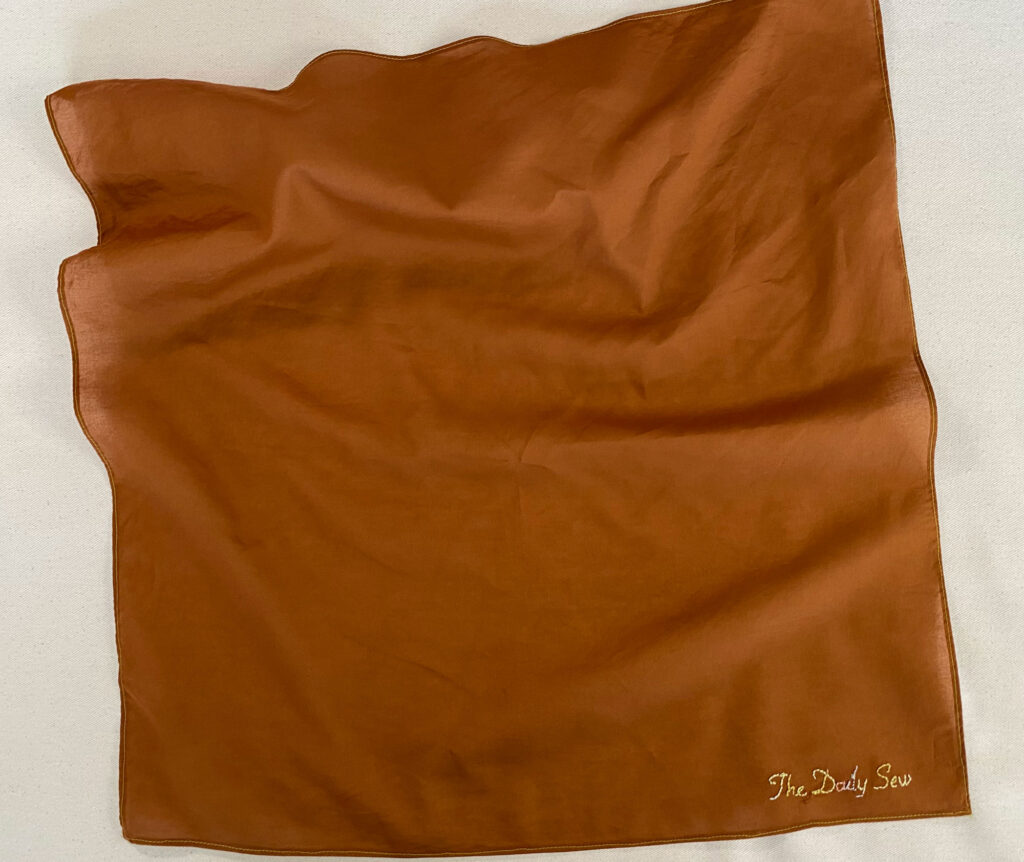
How much fabric you need will depend on what size bandana but the rule is you need fabric ½ to 1 inch larger in both directions than the desired size of your bandana. Depending on the technique you plan to use to finish the raw edges.
The extra ½” allows for ¼” on all sides for a narrow 1/8″ wide hem. Adding an inch to the size allows for ½” on each side to finish the raw edge of the cloth with either a 1/4″ wide hem or the satin stitch finish, explained below.
How to Finish the Edges
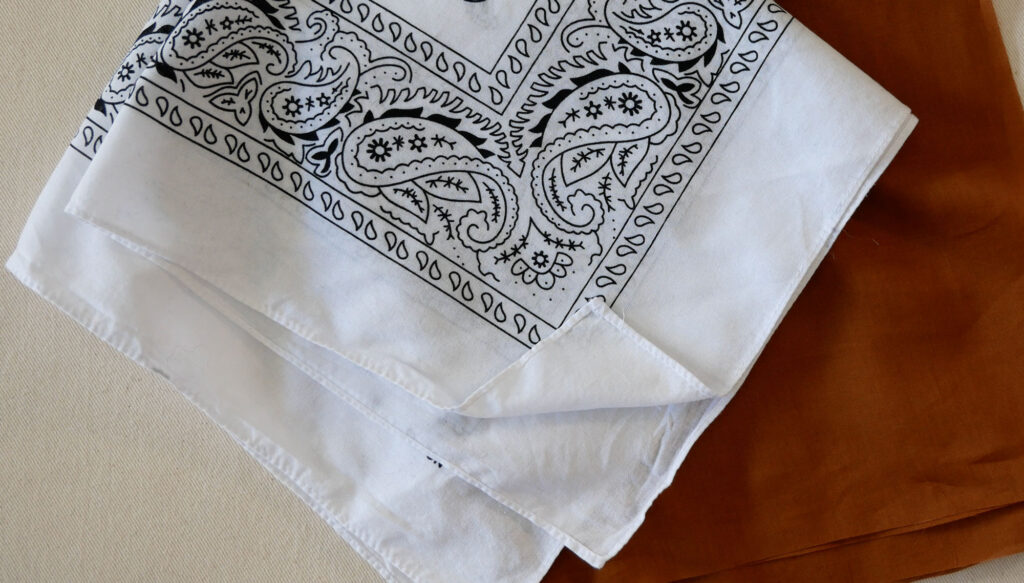
In my mind, I thought bandanas were finished with a rolled hem. They’re not. They are finished with a narrow hem, or in the modern world, a serged edge.
The narrow hem looks nice and tidy and easy to replicate at home.
The serge edge looks, well, boring. The idea is good: an edge without a right or wrong side. But we can do better.
This post will explain the narrow hem and the satin stitch edge. If you want to hem by hand, or challenge yourself to learn the machine rolled hem (aka baby hem) watch my video: How to Sew a Narrow Rolled Hem It will teach you how to sew a narrow hem by hand or use the rolled hem foot for your machine and sew it on the machine, which is finicky.
A Narrow Hem
This is the same kind of hem used on shirts. The edge is simply folded in on itself, twice then sewed down for a ⅛” to ¼” wide hem.
Keeping the finished hem narrow reduces bulk. Less bulk keeps the bandana fluid (less weight on the edges to bring it down) and makes it easier to tie the corners.Plus your bandana will look less like a napkin.
So if you want a 26” bandana, cut your square to be 26 and ½” for a ¼” hem allowance and a ⅛” finished hem. Or cut it 27” square for a ½” hem allowance and a ¼” finished hem.
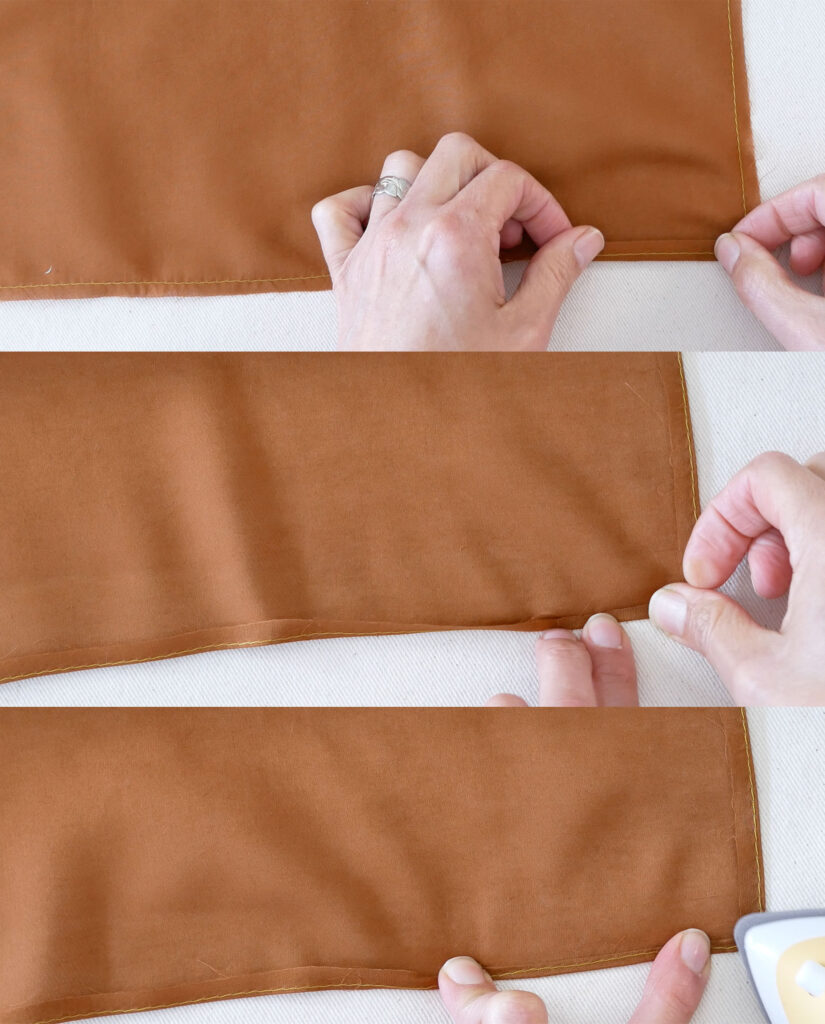
Now you have to measure, fold and press the edges to the wrong side of the fabric (or choose a side if they’re the same) but doing all that simultaneously can get your fingers burned (usually with the steam). So use your sewing machine to measure and mark the fold.
Set your machine to a basting stitch (a long stitch length) and sew in from the edge, along all four sides, the width of your hem allowance.
If your fabric is lightweight spray starching the edges before folding the hem up helps a lot.
At your ironing surface, fold the fabric on the stitch line to the wrong side. It’s ideal for the fold to be to just the left of the stitches so they come over to the back. You’ll see them on the back.
As you fold press the fold.
Next, open the fold and place the raw edge, the cut edge, to meet the crease.
Press, And again, do this all the way around. The corners will fold over one another.
Some fabrics will need to be pinned to hold the hem but others will be ok without them especially if you use starch. Look at your hem, if it’s unfolding, add a few pins.
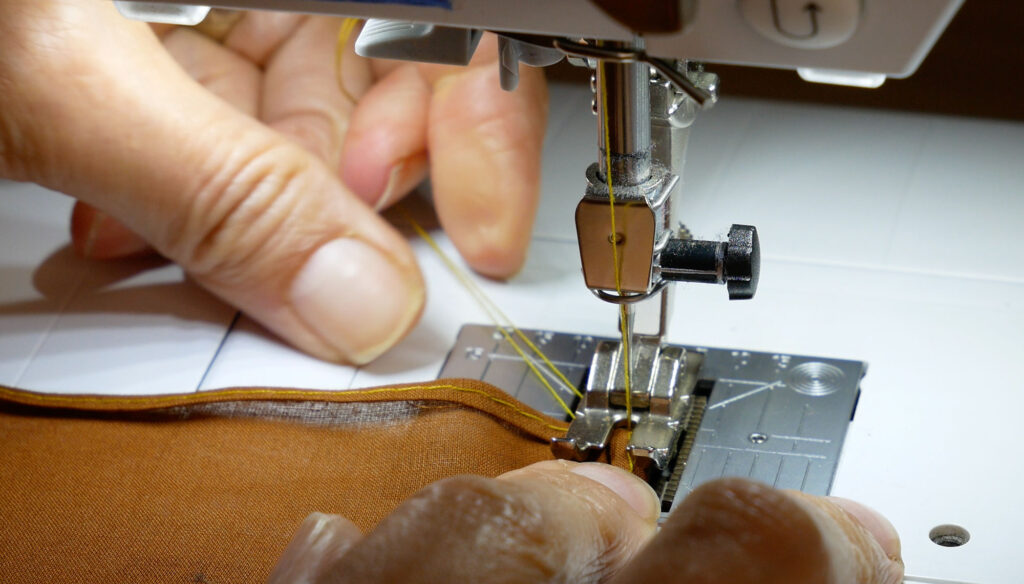
Set your machine back to a normal stitch length.
Note: I chose to sew my hem with a contrasting thread for fun and so you could see the stitches better. Using matching thread will blend the hem into the rest of the cloth.
Place the hem under the needle so it is on the top (you can see the folded hem) and insert the needle through all the layers.
Grab hold of the thread tails, both the needle and bobbin thread. Lower the presser foot.
Hold the thread tails back and a little taut with your left hand. This prevents the needle from pushing the fabric down into the machine when you start sewing.
You want to sew the hem down close to the inner fold or down the center of the folded hem. Take the first few stitches slowly.
When you get to the corner, slow down. Use a pin, finger or awl to hold the next side’s hem in position. When the needle goes through the next side’s folded hem stop with the needle still lowered through the fabric. Lift the presser foot and turn the bandana.
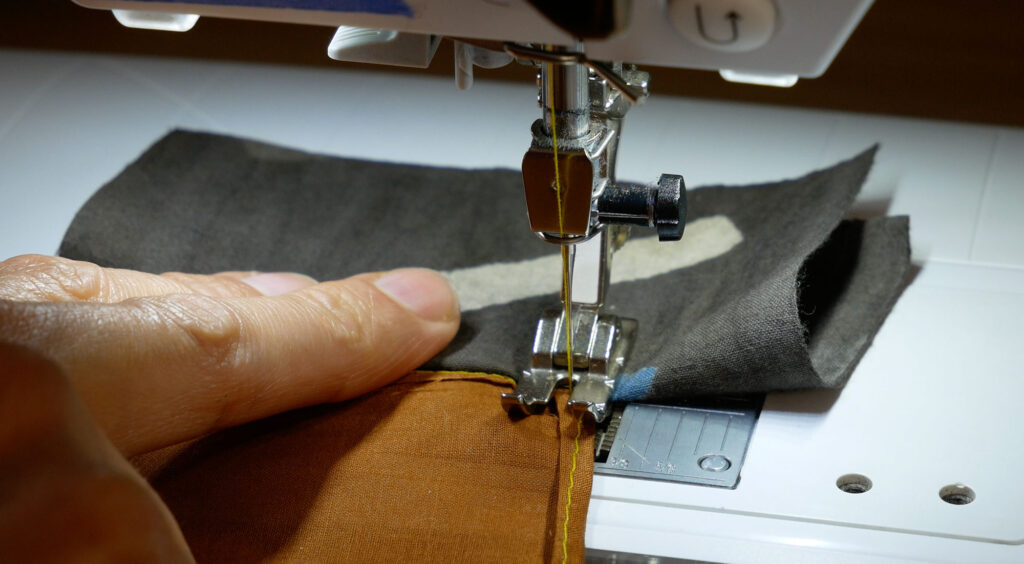
Add a scrap of fabric behind the needle, under the back of the presser foot where there is no bandana. Then continue sewing the hem. The scrap fabric prevents the needle from pushing the corner of the bandana into the machine. Lightweight fabrics are very prone to this
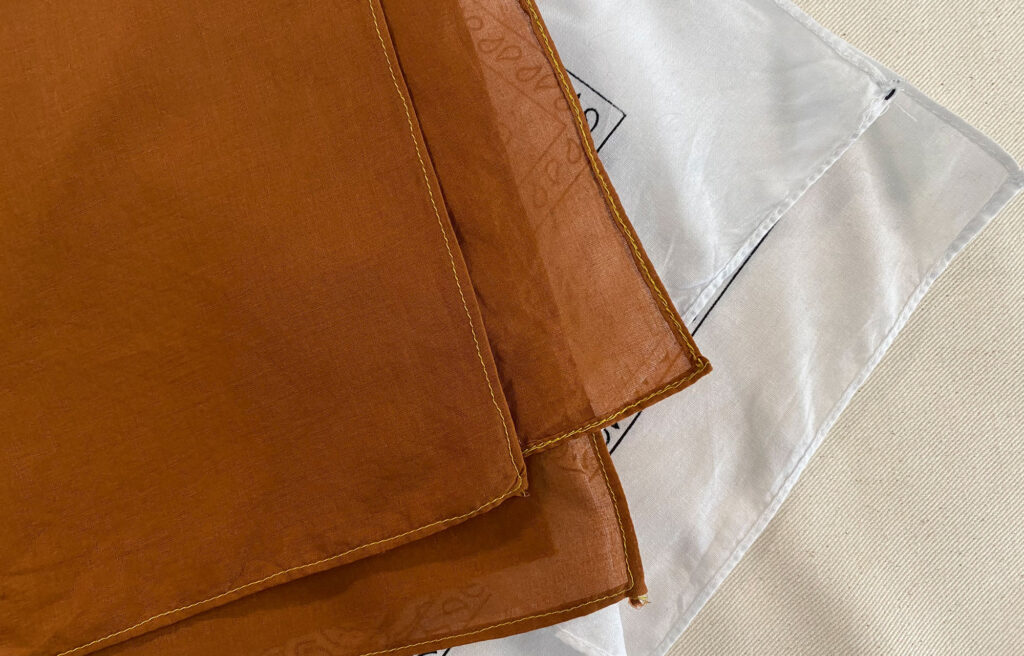
Note: I am using a straight stitch like a traditional bandana uses. You could use a decorative stitch to secure the hem in contrasting or matching thread.
A Better Than Serged Hem
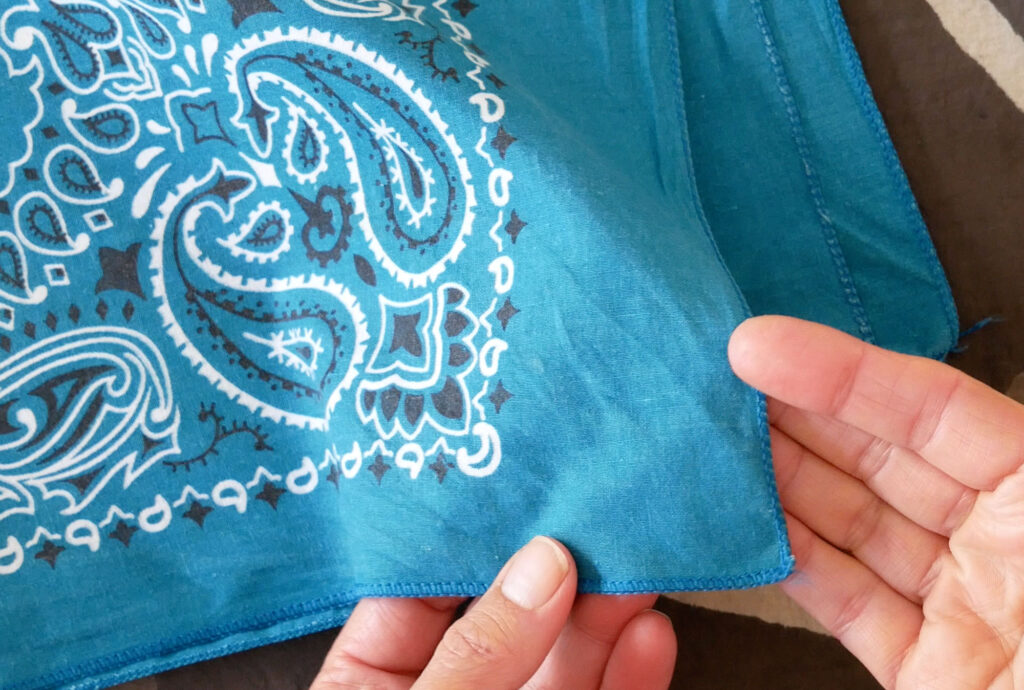
One of my store-bought bandanas has a very narrow serged edge. I like this idea of a hem with no right or wrong side but I’m not keen on exposed serged edges.
I don’t know what this treatment is called but it came out of my Vogue Sewing Book as a way to finish the edge of seam allowance. Perfect. No serging and no zig-zag stitching on the edge of lightweight fabric.
Instead, you run a satin stitch (a tight zig-zag stitch) inside the edge and then trim off the excess fabric so the satin stitch becomes the edge.
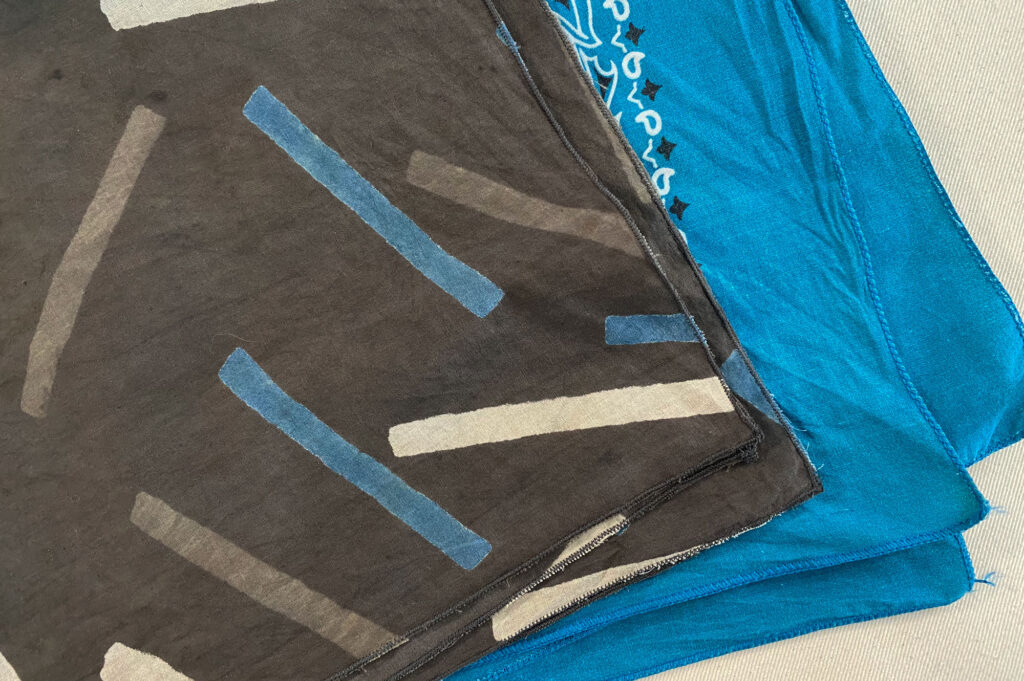
For this technique cut your bandana to be 1” larger than the finished size. So for a 24” bandana cut the fabric to be 25” square. We will use a ½” seam allowance.
I thought it would be helpful to sew a line stitches ½” in from the edge all the way around and then stitch the narrow zig-zag on that line of stitches
Sew a line of basting stitches ½” in from the edge on all four sides.
Then set your machine to a narrow, short zig-zag stitch. (like the long sides of a buttonhole). The goal is to have a very tight stitch around the edge of the bandana to keep it from fraying.
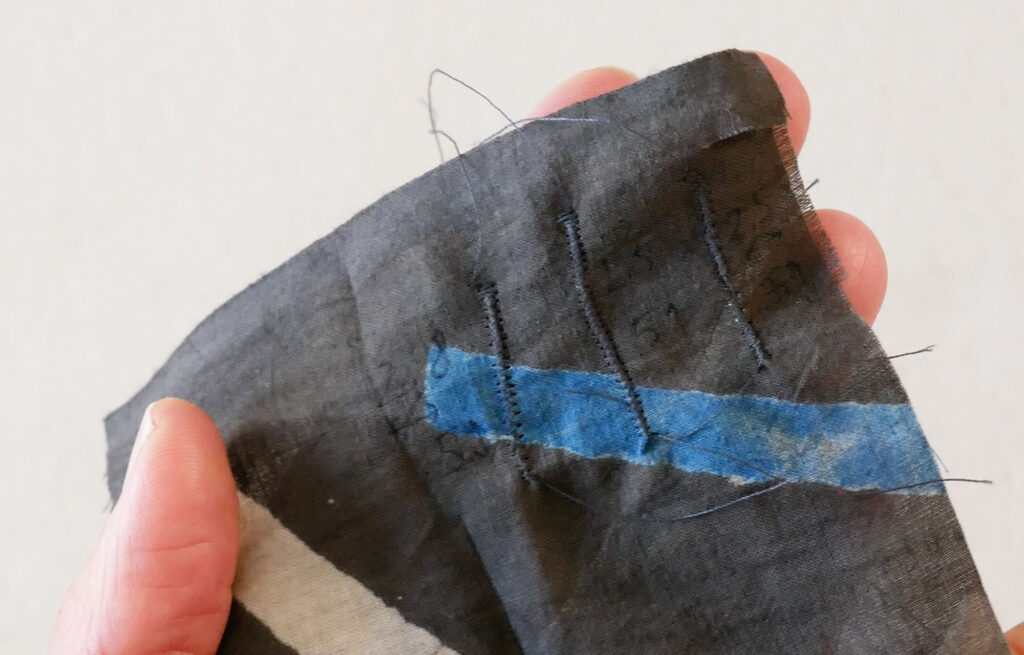
Sew some samples with different settings on a scrap of your fabric (one layer thick) and importantly, write down what settings you used next to the sample stitch so when you decide on the stitch you like best, you can replicate it.
Remember, instead of sewing over the edge, we’re going to sew over the basting stitches and then trim off the excess fabric. The basting stitches are a guide to follow for the zig-zag/satin stitch.
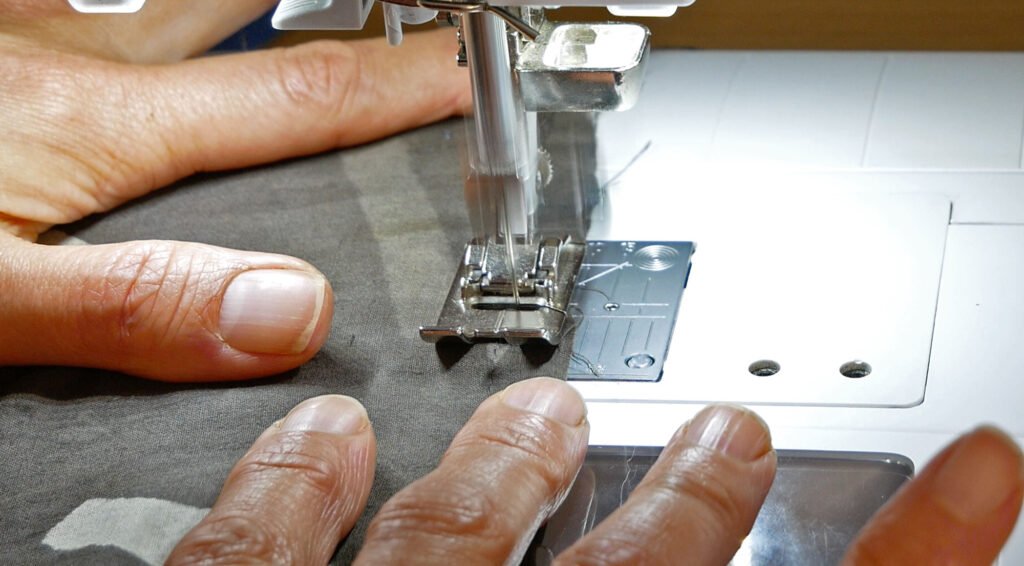
When starting at the corner, pull the thread tails taut and to the back to keep the fabric from being pushed down into the machine.
As you sew the zig-zag/satin stitch you may need to spread the fabric- keep it taut – with your right fingers to prevent the needle from grabbing extra fabric width-wise. And if it does grab a little and make a wrinkle remember we are cutting off the fabric to the outside of the stitches so it won’t be noticed.
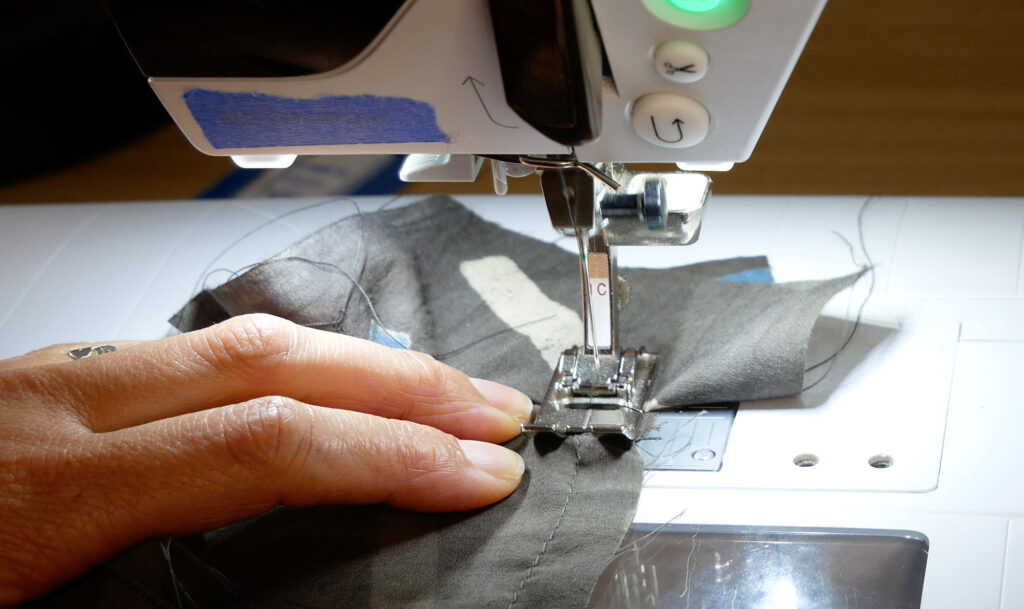
When you get to the corner either turn, leaving the needle down and raising the presser foot. And then place a scrap of fabric behind the needle, under the presser foot, to prevent the fabric from being pushed down into the machine at the start.
OR stop sewing at the end of each side and start over at each corner, pulling the thread tails at the start to prevent the fabric from being pushed down into the machine when you start the next side.
When all the sides are sewn add a drop of Fray Check to each corner.
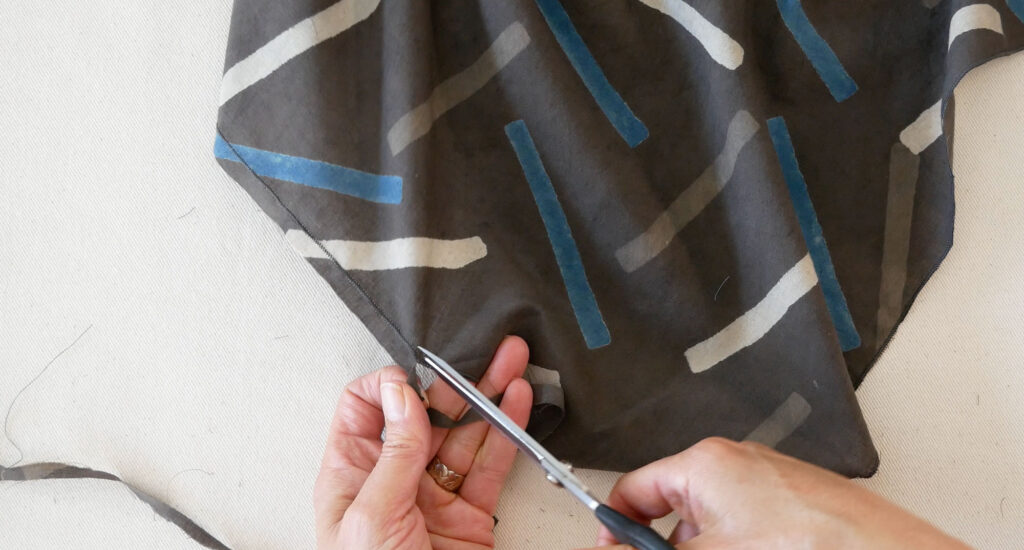
With sharp, pointed scissors or duckbill scissors very carefully trim off the fabric to the outside of the stitches. Do not cut your stitches.
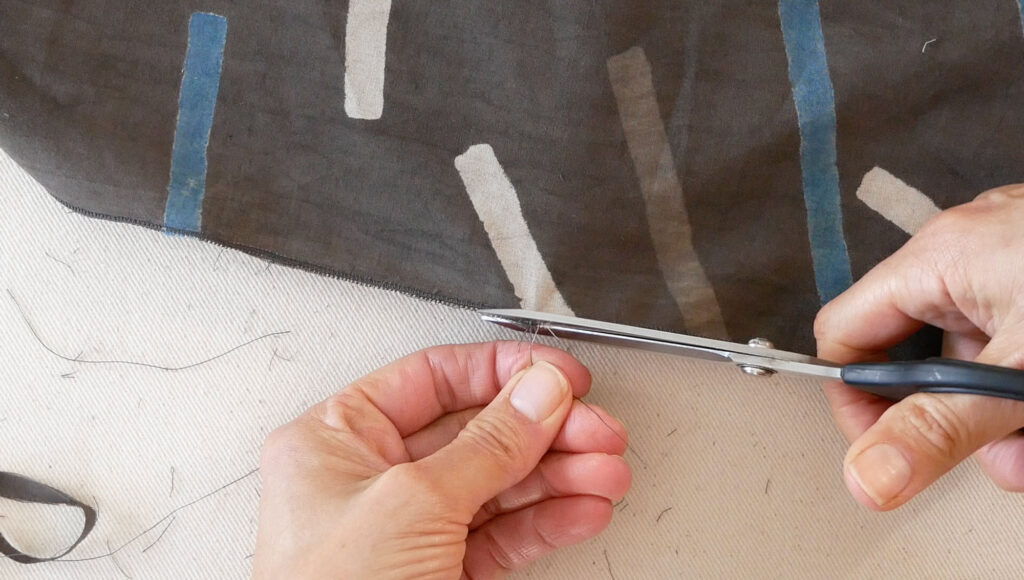
Run your fingers along the edges to bring up any thread whiskers and trim them off.
And remember, you can always opt to sew by hand. In fact, silk bandanas and other scarves made of delicate fabrics are finished with a hand-rolled hem.
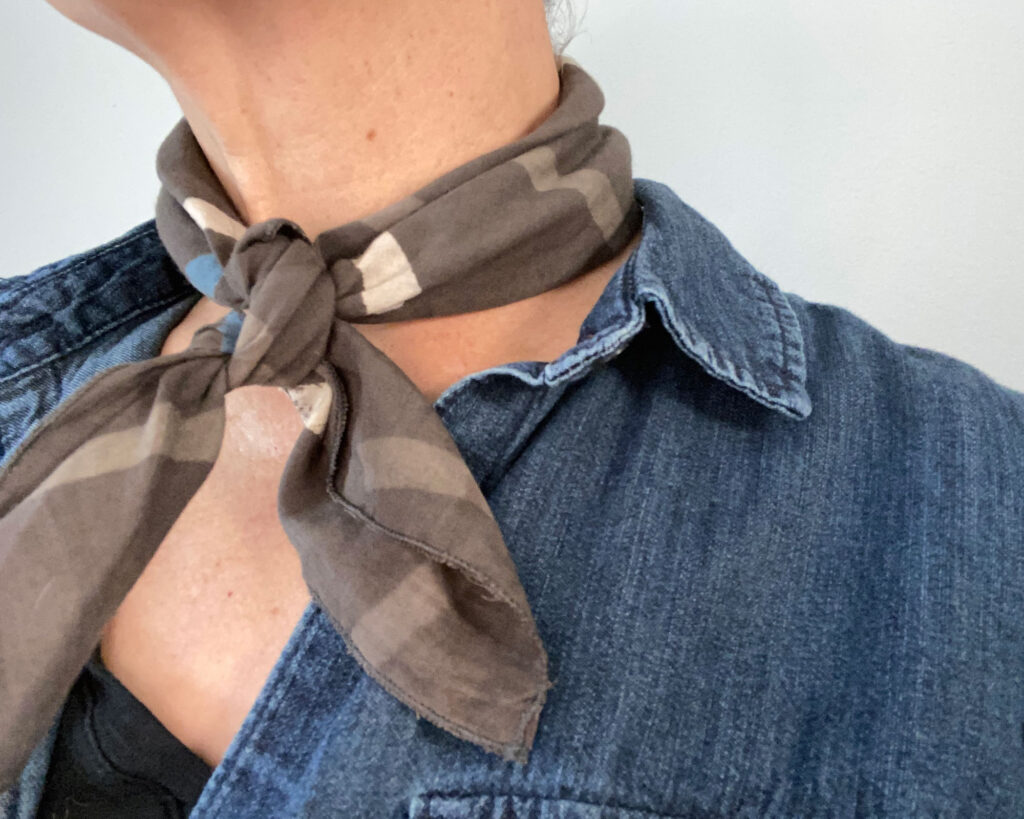
Fun Ideas
You won’t find the traditional square panel paisley design printed on a roll of fabric at the fabric stores because that fabric is made specifically for bandana manufacturers. So here is your opportunity, a call even, to have some fun.
A bandana really is a blank canvas. The simple shape and construction does not interfere with any design happening on the cloth so try block printing, painting, dying or adding decorative stitchwork to your bandana.
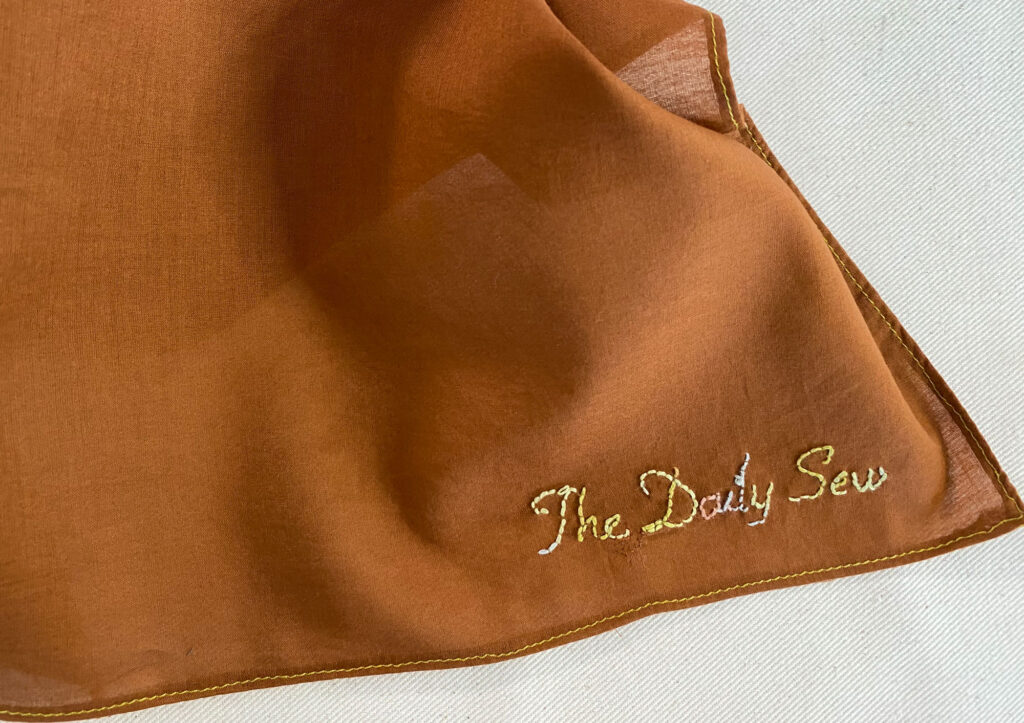
A design could be added all over or just in one corner and then folded in a way to show off only the ”right” side of the bandana.
Plain bandanas pre-hemmed and ready to dye, paint, and print can be found at Dharma Trading Company. They also sell dyes and fabric paint, plus have a few helpful how-tos https://www.dharmatrading.com/scarves/scarves-bandanas-and-sarongs.html
For some art bandanas as well as fresh takes on the traditional print check out these made-in-the-USA bandana sites:
- Mr Bandana
- Handker
- All Very Goods
- Last Chance Textiles
- Ginew
- Jenni Earle (no relation – but pretty cool that she’s also based in NC)
And for the History of the Bandana, this is an interesting article
