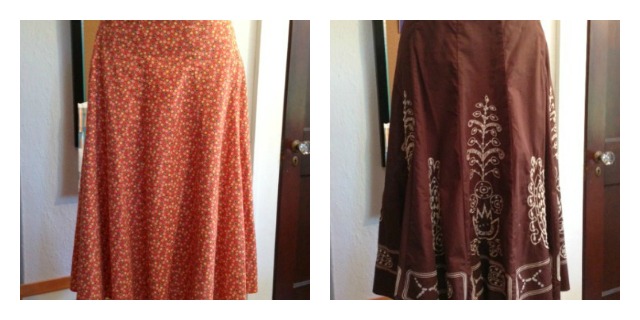
 I made the orange skirt without a commercial pattern. I based it off the brown skirt which I had bought years ago. I like the way the brown skirt fits and thought how hard would it be to copy it? It’s simply constructed with ten identical panels, a side zipper and a 2″ facing at the waist. That means, two pattern pieces was all I was going to have to draft. The panel (since it’s identical I only have to draft it once) and the facing (front facing is the same as the back facing here).
To draft the pattern I started by putting straight pins along the seam line of one of the panels. I folded the panel in half and finger creased it along it’s center fold line. I marked this center line with straight pins. The center line references the grain line and will help me true my new pattern.
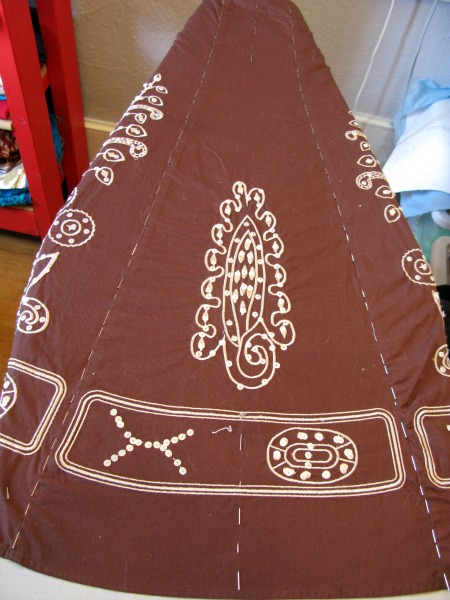
I laid a cheap cotton fabric over the panel I had “traced” in straight pins. I could have used muslin or non woven interfacing as a pattern material too but I had this yardage.
The straight pins outlining the original skirt let you feel where the seam is exactly under your pattern material. This makes tracing off the pattern’s shape easier and more precise.
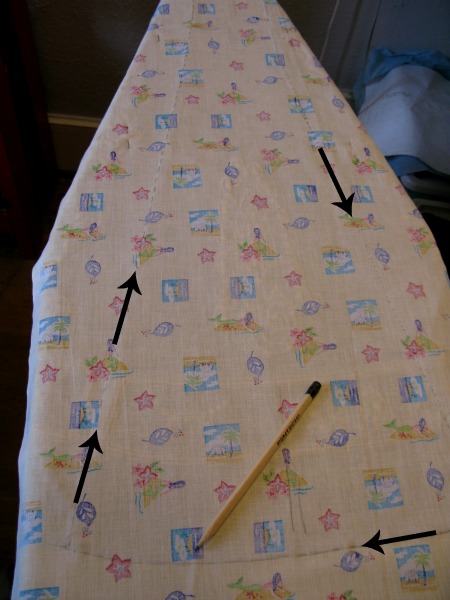
After I transferred the shape onto my pattern material I cut it out and folded it in half to check for symmetry. Redraw to true up any variations. Lines that are “off” a little can be corrected by eye.
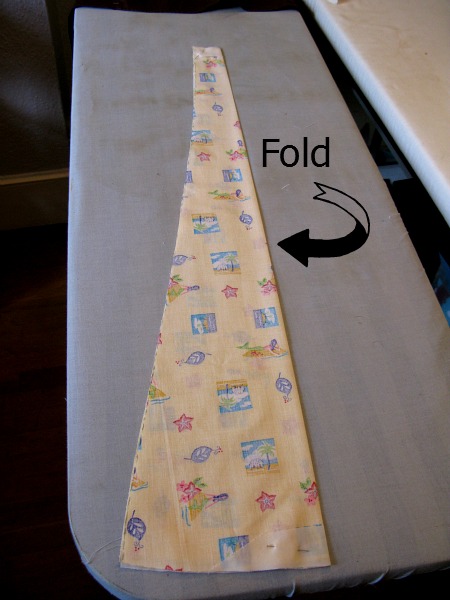
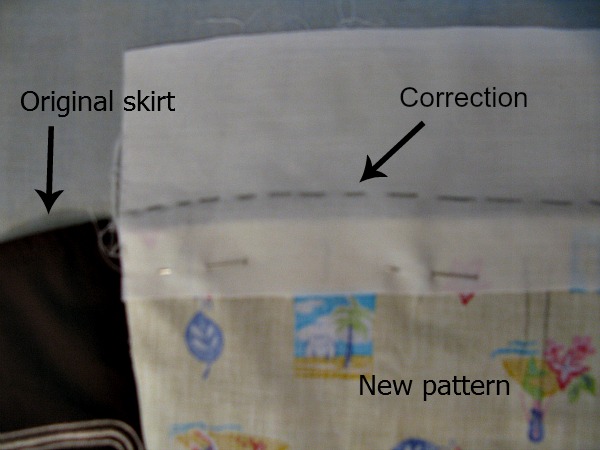
My hem was shorter on one side. I wasn’t sure which side was off so I laid my new pattern on top of the original skirt to check where the problem was. One side of my panel was too short. To make the correction I pinned a scrap of muslin onto my pattern piece (for length) and redrew the hem the correct length. If you were using paper to draft your pattern you would tape more paper to add the new length.
Drafting the facing was done the same way as the skirt panel. I traced the waist seam, side to side and the side seams two and a half inches down of the ready-to-wear skirt onto scrap fabric. From my drafted waist line I measured down two and a half inches to draft the bottom of the facing.
Now I had a panel and a facing pattern. It was all I needed. But wait, I almost forget to add seam allowance to the pattern pieces. To do this it’s best to retrace your new patterns onto paper, using a tracing wheel and tracing paper. Then add the seam allowance to the paper pattern. An alternative way to add seam allowance is adding the seam allowance to the piece as you cut it out of your garment fabric. This is method is only for sewers with no distractions or focus issues. Needless to say I retraced my new pattern pieces and added the seam allowance to the pattern piece.
You can trace off any simple skirt using this method. The best part about making patterns from ready-to-wear garments you love is that you know they fit.
Let me know if you have any questions about this project.


Hi there! I know this post is a little old, but I just want to say I found it super helpful, thank you!
I’m so glad you found this post helpful – that’s what I’m aiming for. I appreciate you letting me know.
Thank you for this post! I have a favorite skirt that I want to create in different colors. Will let you know how it goes 🙂
I’m glad I could help you duplicate that skirt. I’m about to make a copy of one of my skirts too. Yes, please let me know how it goes and if you have any questions along the way. You got this!