
I’ve been sewing for 40 + years, and I’ve learned a lot along the way. Years of mistakes, successes, and detours taught me not only techniques but also how to approach projects, how to spot and deal with problems, and what my preferences are when it comes to construction, patterns, styles, and fabric choice.
I started sewing alongside my mom as a teen who thought she was quite the sewist. Eventually, I got serious and pursued a major in fashion design, where I really learned to sew (perhaps more than I learned to design. (Go, Rams!))
This post started as a simple update for a post published originally in April 2015 titled “11 Things I learned About Sewing”, but now, 10 years later, I made it a video, basically rewrote the entire post, and added a twelfth thing I’ve learned.
Every lesson listed below, I still practice and highly recommend. If you have any lessons you’ve learned about sewing or life, please add them in the comments below.
Let’s Go!
1. Taking the time to hand-baste saves you time. I relearn this one every so often, but hand basting a seam, or a set-in sleeve, or something in place, like a tab or loop, pretty much guarantees nothing will shift before or when you sew it by machine. This is especially true if you use the tailor basting stitch. Stripes stay lined up, slippery fabrics don’t slip, and everything stays exactly where you need it to be. No sewing over pins, or getting out the seam ripper is necessary.
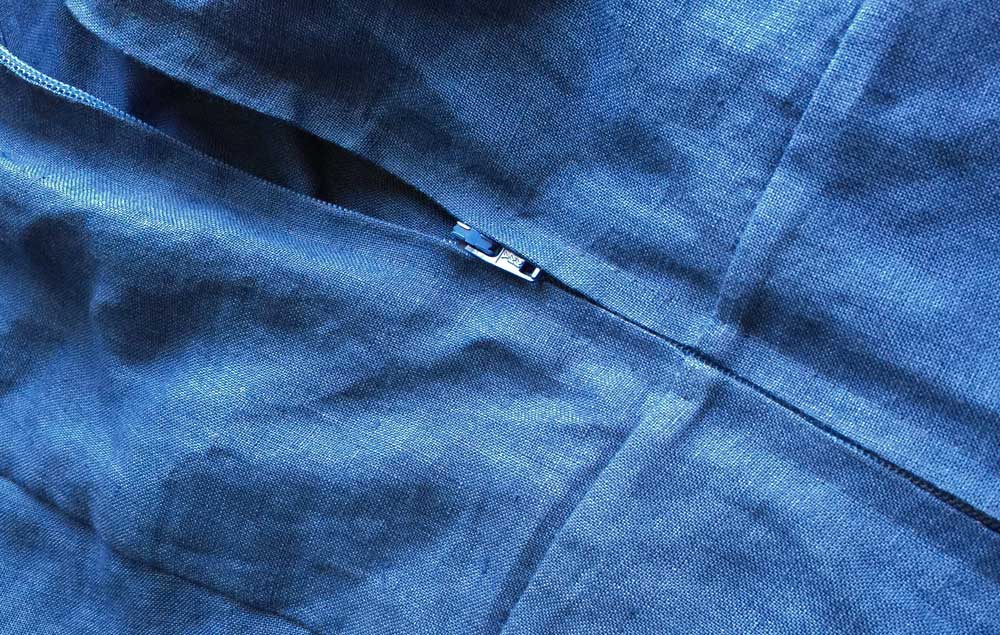
2. Sometimes it’s faster to set a zipper in by hand, especially when it’s a centered zipper going up the back of a dress. In prominent spots like center-back, you don’t want uneven lines of stitching. They’re really noticeable. When I put in a centered zipper by machine, I almost always need to rip out a section of stitches, whether they didn’t catch the seam allowance, or they got too close to the teeth, and resew it. And then you’re trying to line up the new stitches exactly with the first line of stitches without it being obvious. Instead, I baste the zipper in place and hand-sew it with the prick stitch. It’s a type of back stitch that’s tiny on the outside so you don’t see it, but strong enough for the strain a zipper gets. Hand sewing a zipper saves time because of the control it gives you. The sewing takes longer, but there is no seam ripping and resewing.
3. The buttonhole my basic machine makes wimpy-looking buttonholes. My new fancy-pants machine has never made a buttonhole correctly (don’t buy floor model sewing machines – that’s another good lesson 😉 So I learned to sew a buttonhole twice. I sew all four parts, and then before lifting the presser foot, I sew it again, on top of the first one. The result is a better-looking and stronger buttonhole. Your machine might sew beautiful buttonholes, but if you think your buttonhole looks a little sparse and weak, sew it twice. You can also reduce the density of the stitches if once around is slightly anemic, but twice around is too thick.
4. Stop me if you’ve heard this one before…Do not open buttonholes with a seam ripper. I did this for years until I sliced through the bar of stitches at the end of the buttonhole and into my garment. Yikes. Use a buttonhole cutter, very pointy, small scissors, or place a straight pin across the short ends of the buttonhole into the garment, and then when you rip the buttonhole open, the ripper is blocked from going beyond the buttonhole by the pin. It’s like a big roadblock.
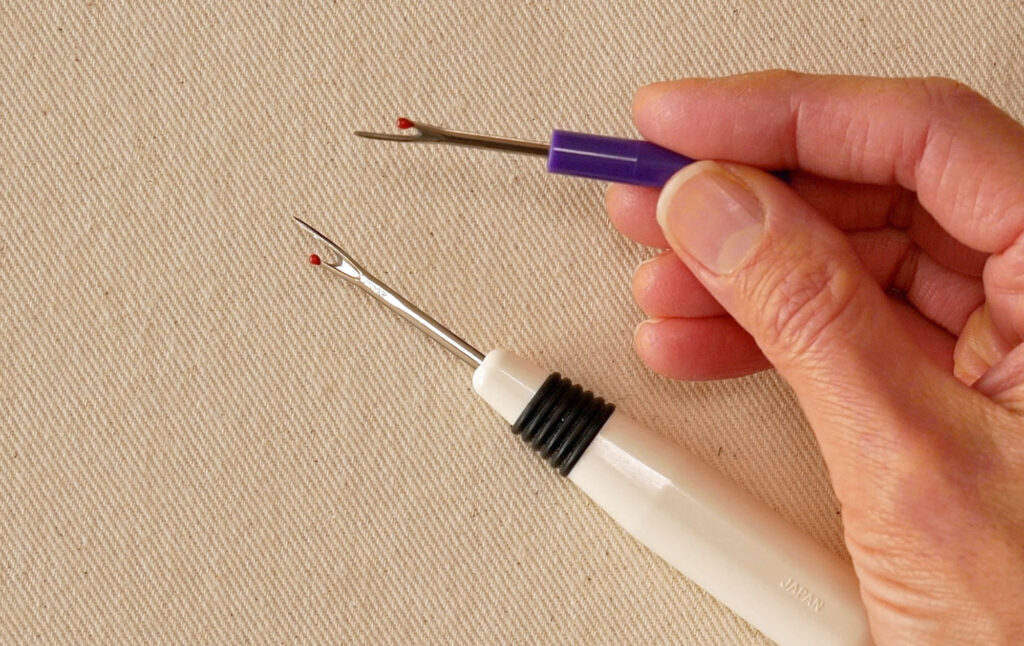
5. Speaking of seam rippers. Never use a seam ripper that doesn’t fit your hand or is awkward to hold. Seam rippers, like knives, can cause damage to you and/or any cloth you’re working with. And it’s not a bad idea to replace them every few years, depending on how often you use it, so you’re not using a dull seam ripper.
My favorite seam ripper is made by Clover (the white seam ripper pictured above)(affiliate link)
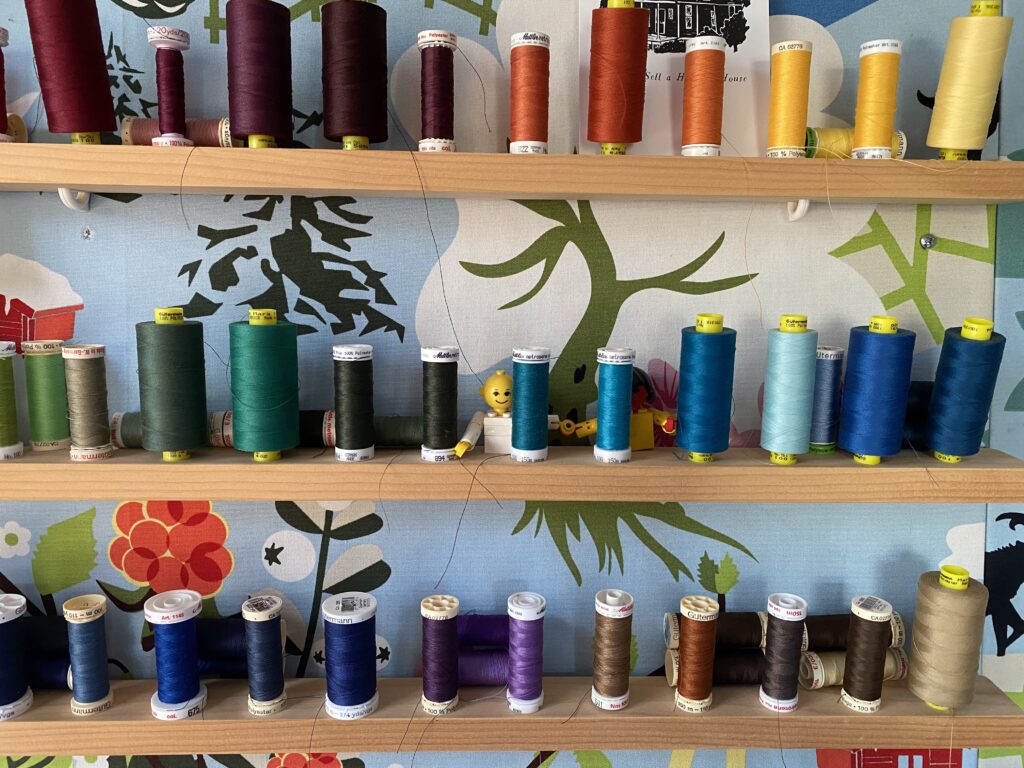
6. Quality thread is worth the cost. It doesn’t cause trouble. It doesn’t break in your machine or your hand needle, it doesn’t tangle as easily as cheap thread, your seams will stay sewn, and your stitches will look nice.
How do you know if the thread is quality? Well, it doesn’t come on a styrofoam spool. It isn’t sold in a big bin, and it’s never so cheap that you wonder, “How is that price possible?”. All thread ages, quality aside, and when thread gets very old, it becomes weaker. Weak thread breaks as you sew. If you notice this, switch to a new spool.
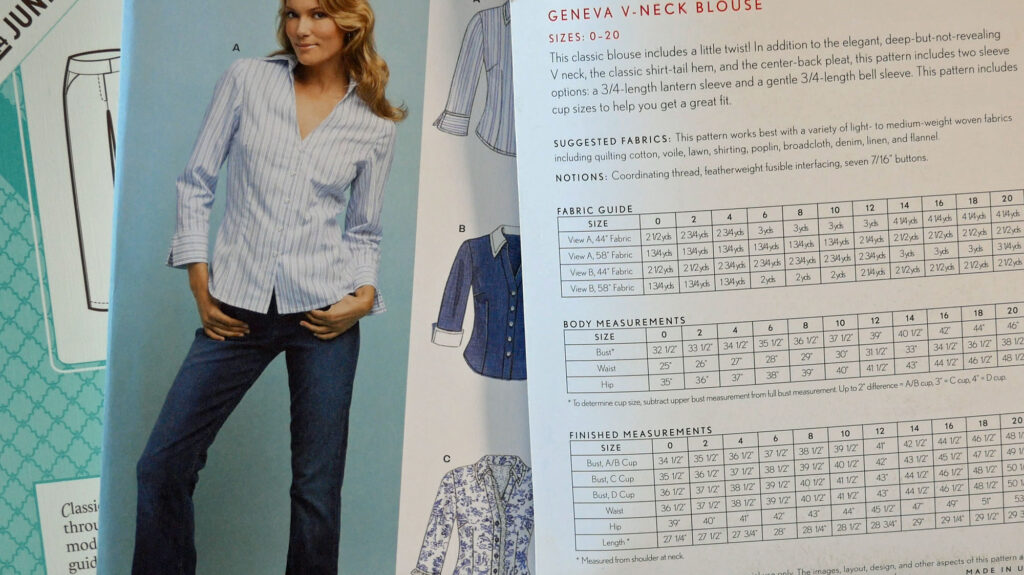
7. Don’t take the pattern size chart on the pattern personally. Pattern sizes are all over the place. And they’re frustrating in every which way. If I make a pattern based on my measurements, I still have to change it to get it to fit. I’ve learned to measure myself accurately, then I measure the flat pattern and pick the best size from there. And I still have to make a test garment, though, which always seems like a chore. This is such a big lesson that I made a video and post all about measuring and finding which size to start with.
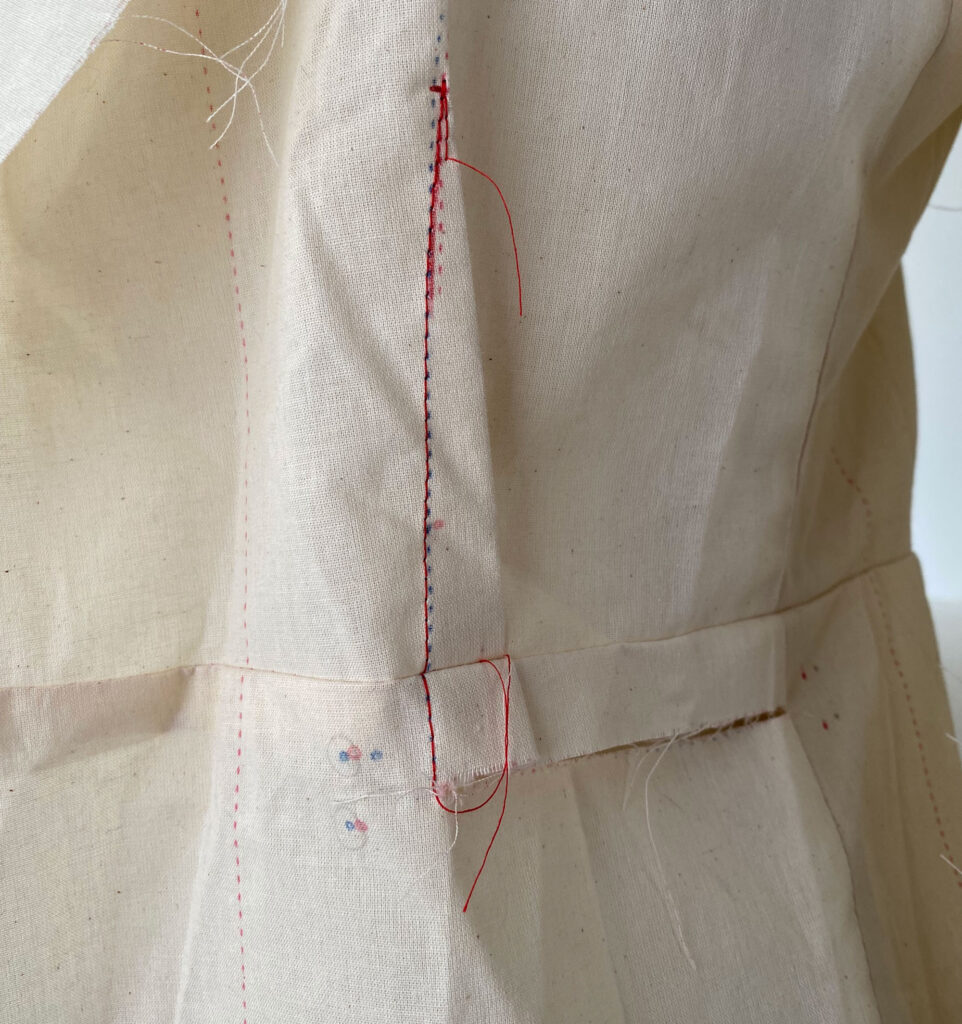
8. Although making a muslin, a test garment, never feels exciting or like progress, it’s part of the process if you want a successful finished garment. And I used to believe, as many people still do, that there’s such a thing as a wearable muslin. Is it a muslin or is it wearable? It cannot be both. A grainline is drawn on the muslin so you can see if it’s on grain during the fitting. A muslin is machine-basted to save you time and make fitting adjustments easier. A muslin has wide, unfinished seam allowances to facilitate fitting adjustments. A muslin is a TEST, not a garment. And you need to make one, or a partial one, to check and refine the fit and to get familiar with any new construction techniques before you cut your fabric. (Yes, I admit, this lesson takes self-discipline because I’m always excited to start making the thing in the beautiful fabric I chose, not to add yet another sewing-prep task)
9. Take lots of notes on your pattern, pattern envelope, or the instruction sheet to make sewing easier the next time. Some people write in their books, and I have learned from writing in mine, to write on my patterns. They are mine after all, and my notes only make them more useful for me. I make all types of notes, construction notes, shortcuts, different techniques I used, or want to next time. I write what size I sewed and out of what fabric (so I can remember, “oh, this is the green top I made 7 years ago”). I also write what I will do differently next time, like construction order or any fitting adjustments I will make next time. You know, the adjustments that become obvious after you’ve worn the garment a few times. These notes are priceless because we all think we’ll remember that one picture in the instructions is backward, or that we want to move the shoulder seam or adjust the button placement, but we don’t remember. Write it down.
10. Never sew when tired or rushed. It’s just asking for trouble. When you’re so close to finishing, but you really need a break, take the break. When I push myself to get it done anyway, that’s when I make the most mistakes and sometimes the biggest mistakes. I sew because I like to sew not because it’s a competition or a contest, or I’m scoring points with the universe. If I need to take more time than I thought to finish a project, then so be it. No one is going naked if I don’t get it done. And rushing through a project only gets me a little bit further and a lot more stressed. So no rushing. My motto is; Enjoy it or don’t do it. YOLO.
11. Just say no to all those people you barely know who ask you to fix a zipper or hem their pants. This favor is only for people you care about or for those to whom you owe something. Have the name of a professional alterations place in your contacts so when someone who barely talks to you asks you to mend or hem, or alter their daughter’s prom dress, you can say, “Oh, shame, I can’t, but here’s who can.”
Sewing always takes more of your time than you think it will, and you’ll rightfully deserve more money than anyone wants to pay. There will be resentment if you say yes to their request. Your time is better spent replacing your own broken zipper or baking cookies.
And what I would say is the biggest lesson I learned and one that I try to pass on to all my students:
12. Trust yourself and what you know.
You learn something about sewing with every project you sew, even the ones that don’t work out or you don’t finish. You know stuff, and sometimes you have to take a chance, and if it doesn’t work out, well, you learned something.
When you’re not confident about how to do a technique or how to approach your idea, first, slow down and take your time. Second, you can test on/with scrap fabric. Cut out roughly similar shapes but on a smaller scale, and pin the pieces as if sewing, or sew it, to test your idea or that technique.
And, you might know a better technique or prefer a different way than the pattern instructions tell you to do something. For example, I have a skirt pattern that I’ve made three times already. The first time, I mostly followed the instructions but added pockets and used a different method to sew in the invisible zipper because the skirt’s zipper instructions were confusing. The second time I sewed it, I repeated all that and used instructions from a different pattern for constructing the yoke. The third time, I did all that and used a pajama pattern’s pocket construction. You can choose the techniques you want to use and that you like best or that you get better results. You know stuff. You got this.
Well, that’s my list
Obviously, I still have more to learn about sewing. I still make mistakes, new and repeated, and try my best to learn from them rather than just getting mad.
Currently, I’m trying to learn the Cover stitch machine. I find it frustrating, but I know if I just take the time to figure it out, it will be so useful to use. Actually, this reveals my current recurring mistake: wanting to jump into the sewing and not taking the time to get the prep work done, but I’m working on it. Wish me luck
What lessons have you learned? Please share your wisdom in the comments below. Inquiring minds want to know.
This is really helpful! I’m just starting to sew again after many years, and every little tip helps. Thanks!
Glad you found the list helpful. Like riding a bike, all your sewing knowledge will kick back in once you get going.