I saw via my Pinterest account, a tutorial on non slip headbands. I’ve always liked the look of headbands but I was always so disappointed in them whenever I tried to wear one. They either started to give me head ache, dug into the spot behind my ears or constantly slipped off my head. This tutorial gave me hope that I could wear a headband even though some people think they’re only for girls. Here is the original Style Berry Blog tutorial
I made one head band as per her instructions but since I had only found one inch wide velvet ribbon (the secret to the non slip) my head band was narrow. I wanted a wider headband but I didn’t want to try to find wider ribbon (that’s right, I’m lazy) so I thought of a way to make the Style Berry’s great headband wider.
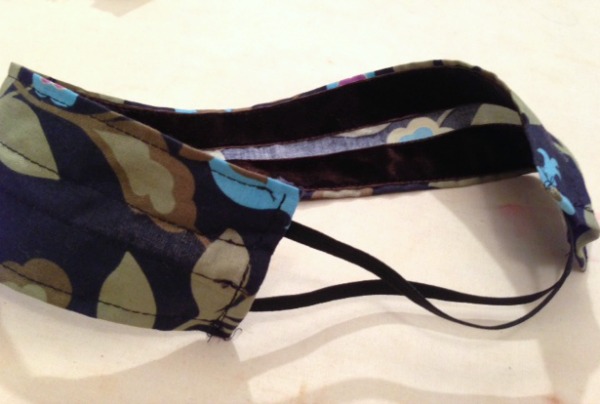
General idea; the velvet side of the velvet ribbon is what grips to your hair and makes the band stay in place. Sew the wrong side of the ribbon to the wrong side of your fabric. The length of both the ribbon and the fabric should go from behind one ear to behind the other ear. You want to have a about three inches or so of elastic to complete the loop around your head.
To make a wider band I sewed two lengths of velvet ribbon to the back of one wider piece of fabric. The fabric is folded under once on the long ends and the raw edge is caught under the ribbon. The short ends of the fabric are turned over twice and sewn down but the short ends of the ribbon are not sew down to the fabric. Not yet.
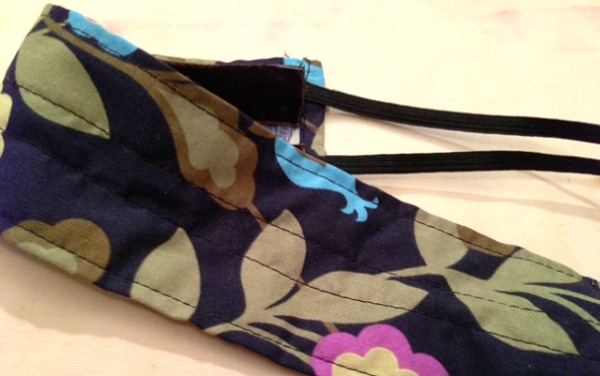
The elastic, 1/4″ wide, is cut to complete the headband’s loop around your head. It must be a little snug but not so much that it hurts after a time or wants to creeps upward. I found to determine the best length for the elastic, I first guessed by sort of trying on the band. I padded that guess (say it’s five inches) by two inches (so now I’m at seven inches) and cut the elastic that length (seven inches). I then inserted one end of the elastic between the short end of the ribbon and the headband fabric. Here I could have sewn the elastic down, on the one side, but I pinned it. With the elastic secure on one end of the band you can try it on better and adjust and sort of mark with your hands, the appropriate length to cut the elastic. Remember to leave some seam allowance in order to sew the elastic down.
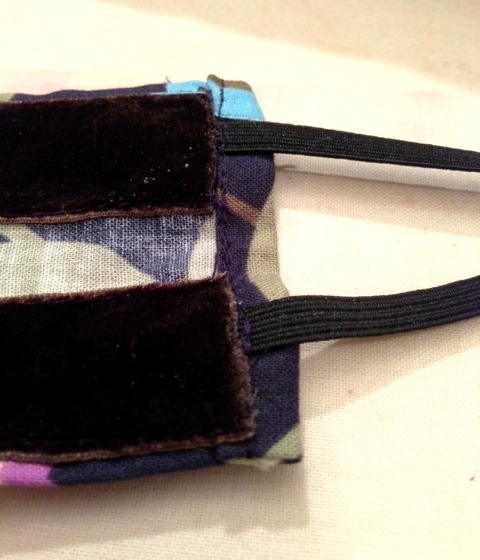
With the elastic cut, insert the ends between the short ends of the ribbon and the headband. Sew it down and repeat on the other side.
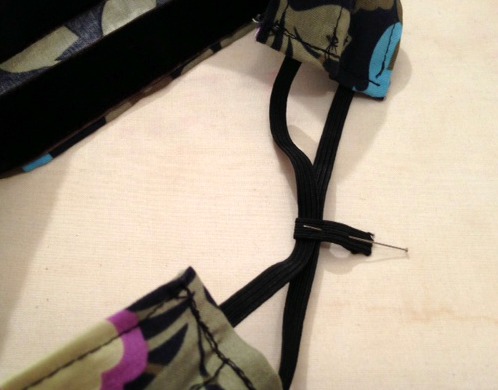
Since I made my headband wide, with two channels of ribbon each with their own elastic I thought it would fit better on my head if I gathered the bands of elastic together. Using a small piece of elastic I made a little loop to keep them together. First pin…
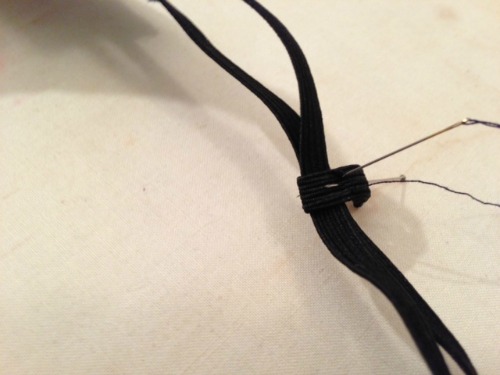
then hand stitch close with a few stitches…
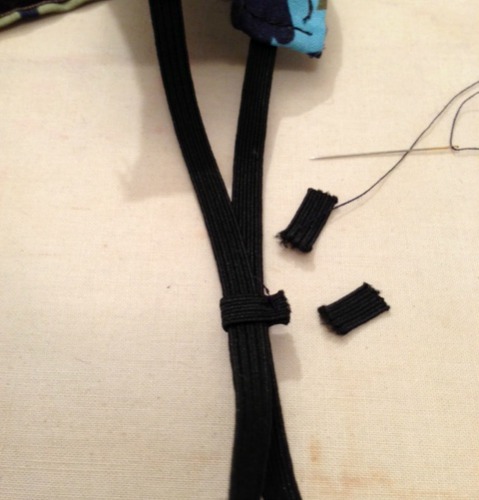
then snip off the excess. Your done. Try it on.
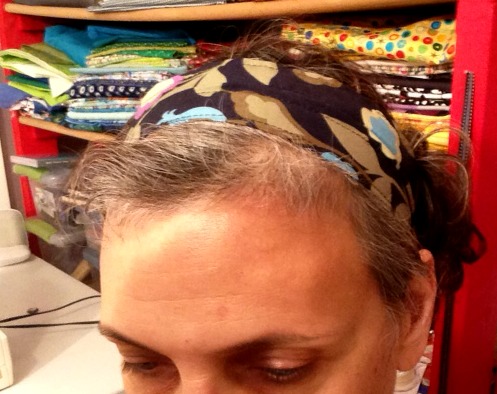
Thank you to Style Berry for the great idea. It really is a non slip headband. Now I’m wondering what else needs to be made non slip.
