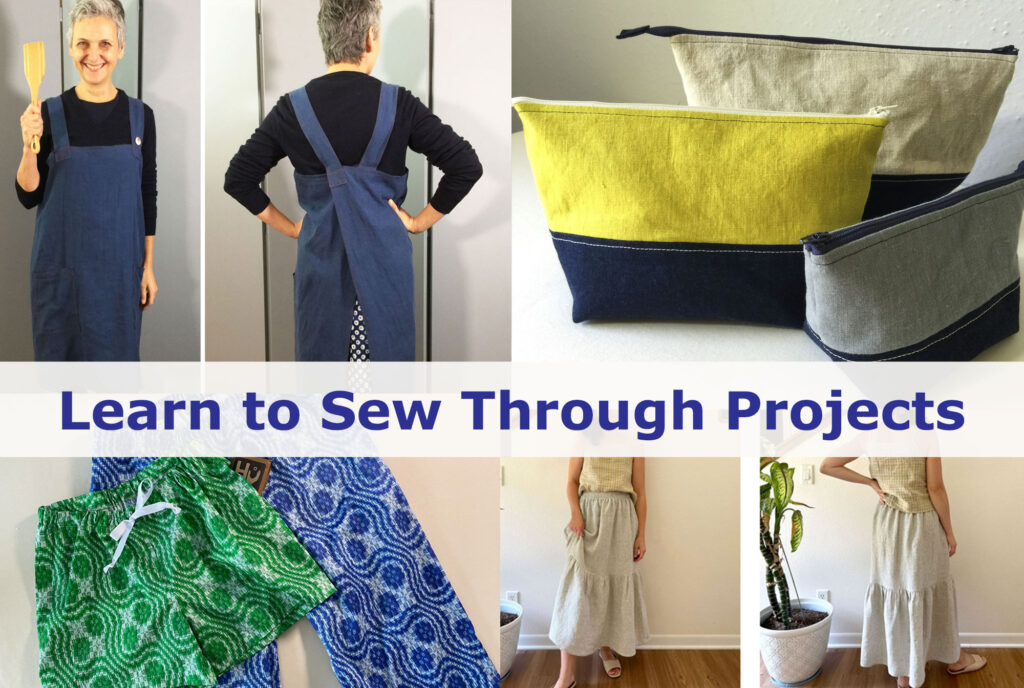
Do you want to learn how to sew but are unsure where or how to start?
While you could start by sewing rows of stitches on a scrap of fabric to learn you could be making something you can use. When I teach sewing all my students sew a project even those who have never sewn before. It’s a way to learn and practice sewing without realizing that’s what you’re doing. And when done, holding that finished project can be a huge confidence boost, and your mind says, “Ok, If I can sew this, what else can I make?”
Of course, you have to match the project to your skills so a beginner jumping into sewing a shirt would lead to frustration, maybe cursing, and possibly tears – or at least the resolve to never sew again. So, as with anything you want to learn, let’s ease into it.
Below are four beginning sewing projects that when done in order will take you from absolute beginner to confident beginner or from confidant beginner to advanced beginner. You can watch the video here or read on.
Each project will introduce a new skill or concept while building on the skills introduced in the previous project. The projects are easy enough to finish, quick enough not to feel like a task, and challenging enough to keep you interested and grow your sewing skills.
So if you’re ready let’s go!
Note: You should already be courageous enough if not comfortable with using your sewing machine. If you aren’t. Take some time and read the manual.
Learn how to:
wind a bobbin thread your machine change a needle
Then study the knobs and figure out how to sew a:
straight stitch reverse stitch zig-zag stitch
If you would be more comfortable with a warm-up project before diving into Project 1, sew some cloth napkins
Project 1: Cross Back Apron
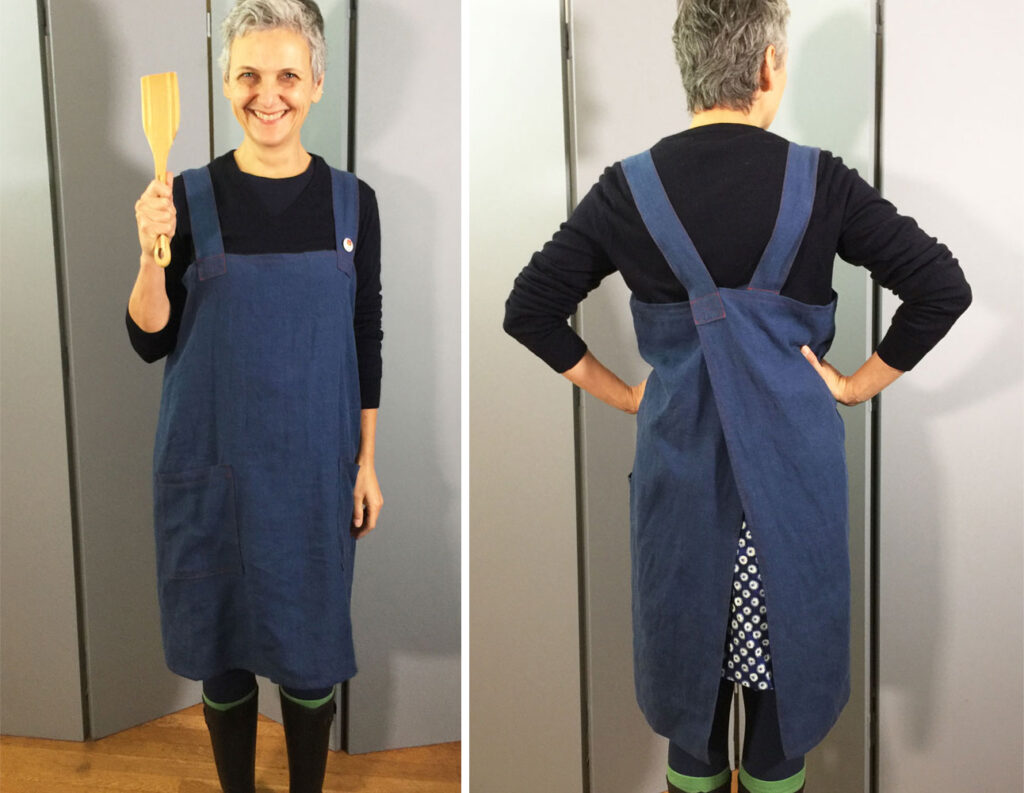
If you’re a complete beginner you may think I’m crazy for suggesting this as project number 1 because it has 5 pieces and no pattern. But it’s all rectangles and straight lines. Easy.
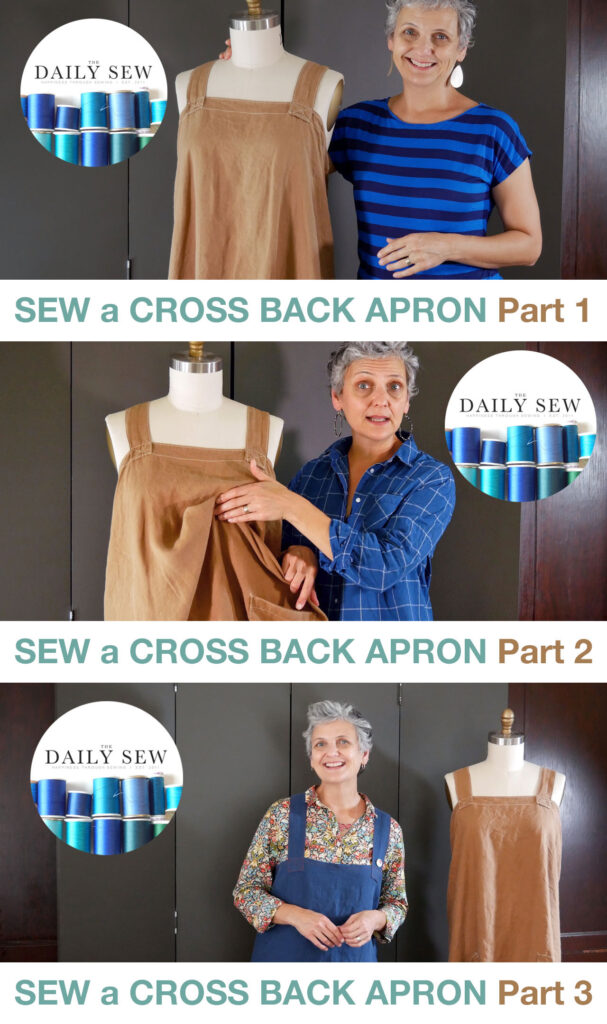
My three-part video tutorial, How to Sew a Crossback Apron, breaks the project down and walks you through every step. So watch that and sew along.
Why is this Project 1 and what will you learn?
- This project doesn’t require a pattern. So you can jump right in.
- It gets you familiar with cutting, measuring, and stitching using the machine guidelines. All of these are foundation skills for all sewing projects.
- You’ll learn how to make a patch pocket. A patch pocket can be made any size and added to almost any garment in your wardrobe.
- You’ll learn a basic machine hem which is used over and over again in sewing.
- You’ll learn the importance of pressing as you sew. Sewing machines really should come with irons. They are just as important to the success of your project.
- Hopefully, you’ll learn through your sewing how important it is to follow the seam allowance.
- This project allows you to try topstitch thread if you want.
If you are apron-opposed and refuse to sew one, even for a friend: Start learning to sew by making a simple tote bag. Bonus points if you add a patch pocket to the inside. Follow the apron video for the pocket instructions.
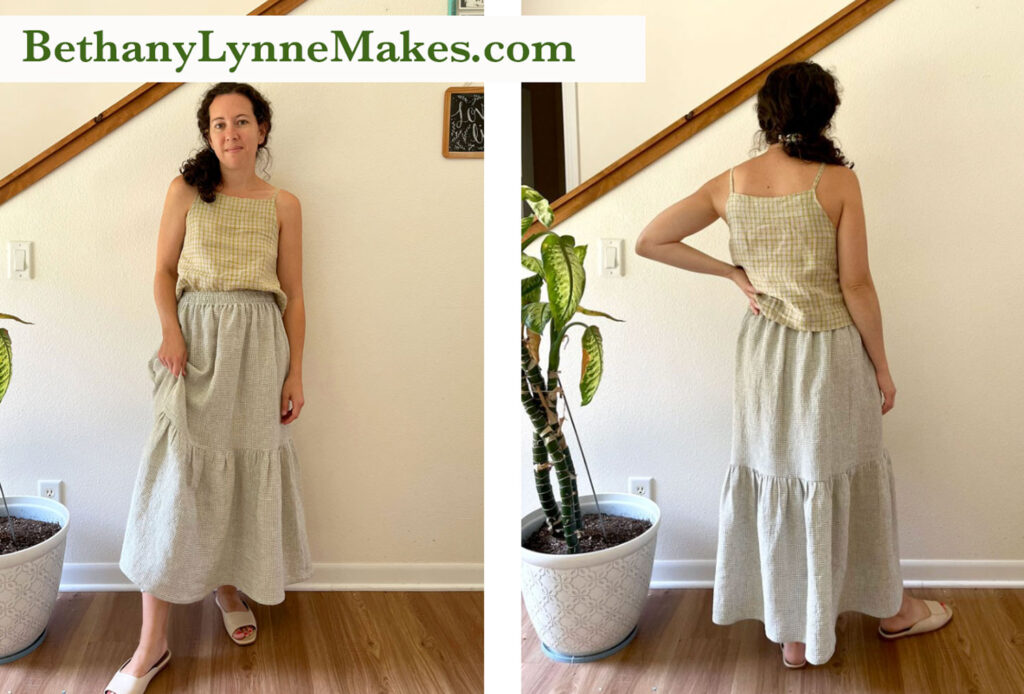
Project 2: Skirt with Gathered Teir
I recommend the tutorial by Bethany Lynne Makes. There are a lot of skirt tutorials out there and this is one of the best for this project.
Why this project and what will you learn?
- Again, no pattern is required. You’ll take your own measurements. This gets your mind seeing the relationship between the three-dimensional body and the flat pattern/fabric, how we need room in the garment to move, and how by using your measurements you can achieve a good fit.
- You’ll learn how to sew a casing (the waistband). Casings are an important component of garments – and curtains.
- You’ll learn how to gather fabric (the tier/ruffle). This is a technique used, believe it or not, when sewing a shirt sleeve.
- You’ll get to wear something you made! Most people can not say that.
- You’ll know how to make a basic skirt that you can make in any fabric and any length, with added or reduced fullness.
If you’re thinking, “That’s not my style”, I understand. It’s not mine either. However, it’s important to learn how to gather fabric.
Can we compromise by changing the skirt slightly for a different look? For example:
- Shorten the top tier a lot for an ’80s retro look.
- Make the top tier solid black and the bottom tier black lace for a romantic vampire vibe.
- Shorten the two tiers and add a third tier for a prairie look.
- Increase the fullness of the tiers ala Ralph Lauren’s Americana look.
- Make the skirt with ballerina tulle for fancy dress or for a child. Cover the elastic waistband with a wide satin ribbon for extra flair. Tack the ribbon down with a couple of hand stitches on the sides and tie in front or back.
- Wear it as a beach cover-up
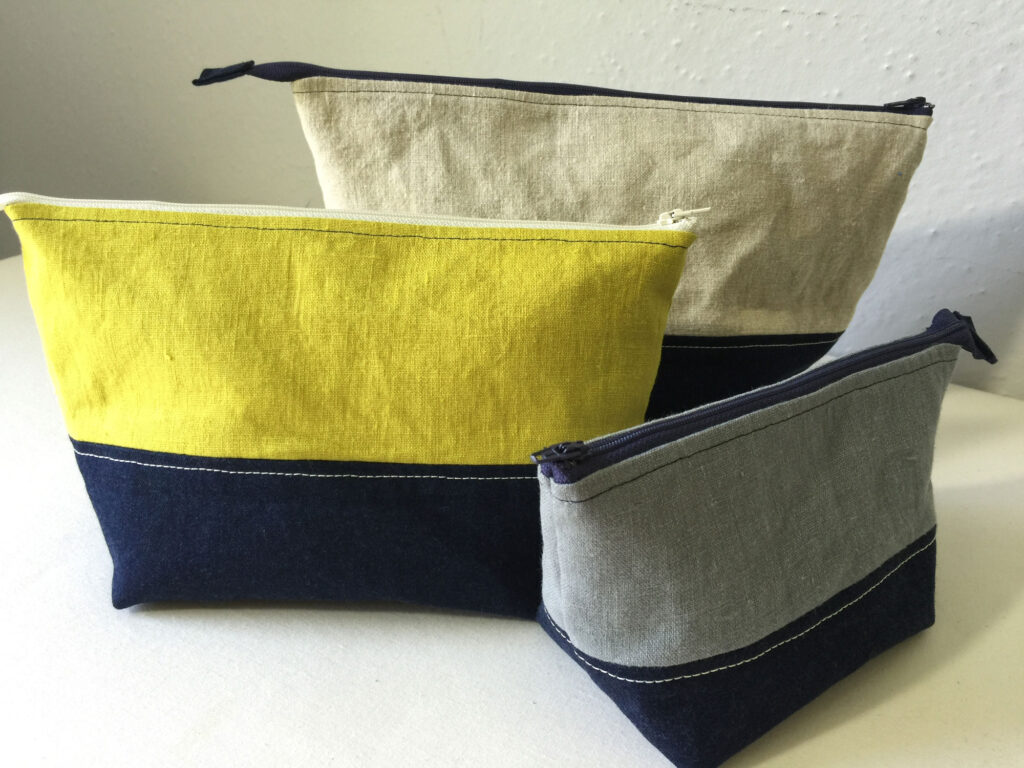
Project 3: Lined Pouch with Zippered Closing
By now you’re feeling pretty comfortable and you’ve come a long way. So let’s introduce you to sewing a zipper. I really like the Open Wide Pouch by Noodlehead. It’s free and the instructions are clear.
Why this project and what you’ll learn?
- You need to learn to sew a zipper eventually. Better sooner rather than later. People build up a fear of sewing zippers. Please don’t. A zipper can always be ripped out if you make a mistake, just like any other seam. So just get this over with.
- Plus you’ll learn how to use the zipper foot that came with your sewing machine – exciting!
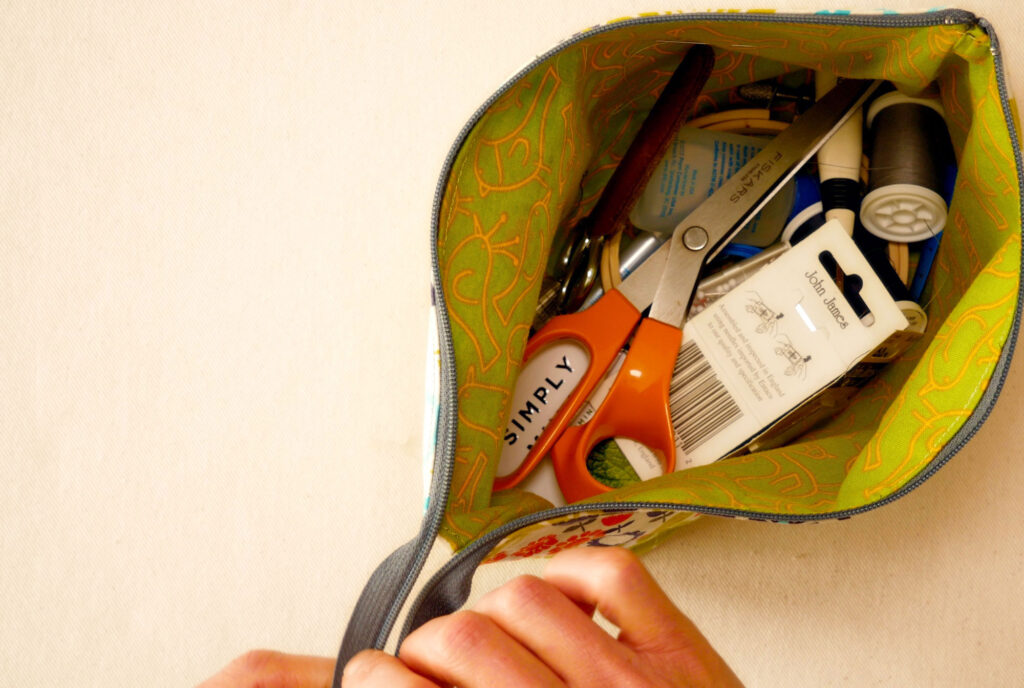
- This project also shows you how to line a bag (any bag uses the same technique). Sewing the lining and bag can be a little head-scratching moment but when you pull the bag out of the lining and it’s done. It’s like magic.
- You’ll learn how to square off a bottom by sewing across the side seam. This technique is used for many types of bags. You will see it again if you continue sewing.
- It’s a great project for using up to three different fabrics on one bag. You can also use up large fabric scraps. Or you can piece together fabrics first to make it a patchwork pouch.
This project is very practical and it comes in three sizes, (or you can do a little math and make it any size you want) so I think you’ll want to make this. If you don’t want this pouch when you’re done someone you know does. I have made these for thank-you gifts, teacher gifts, baby shower gifts, and sets for graduation gifts.
Alright. You’ve learned a lot:
- Straight seams
- Hems
- Casings
- Topstitching
- Gathers
- Zippers
- More than you realize
Let’s take a big step and learn to use a sewing pattern with the next project
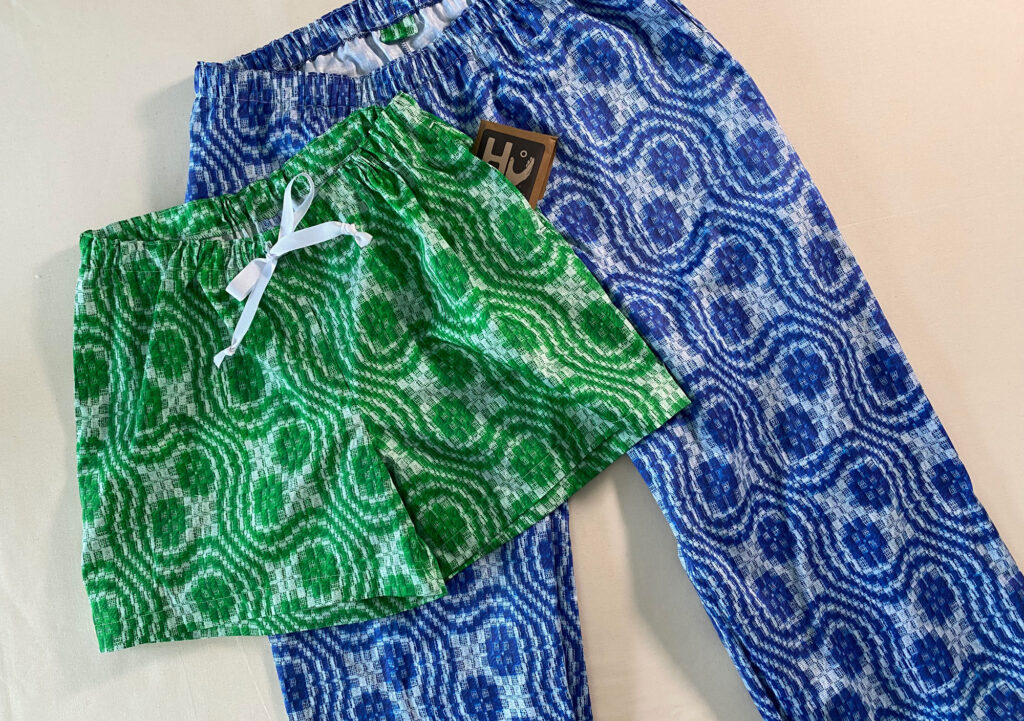
Project 4: Pajama Shorts or Pants
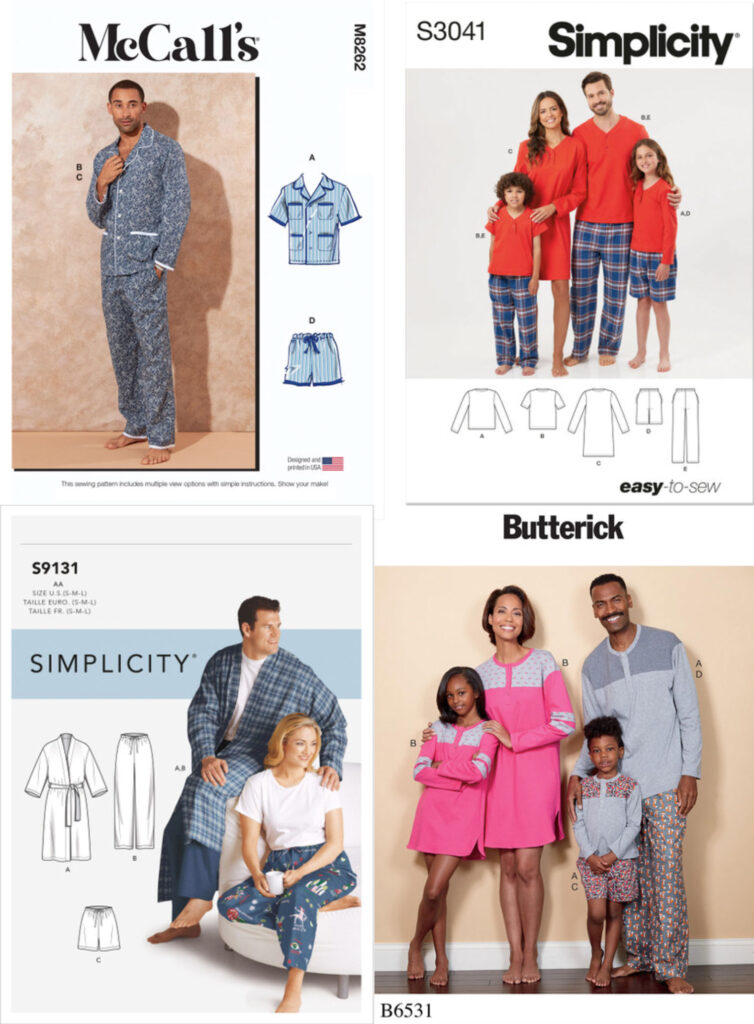
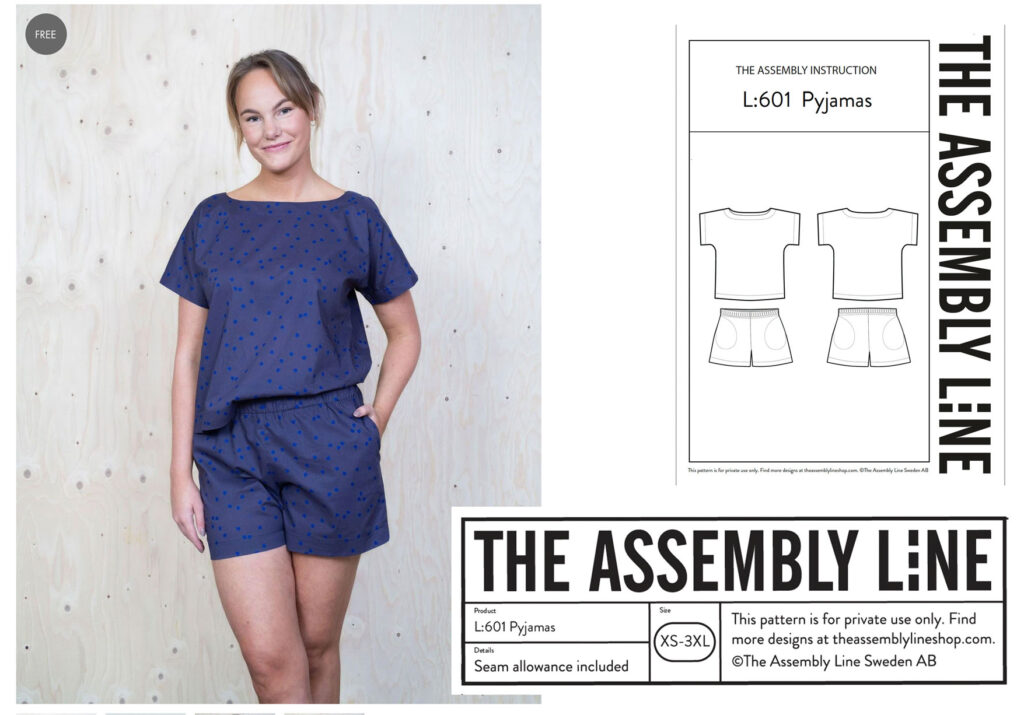
You’ll have to buy a pajama pattern or try the free pj pattern from The Assembly Line. I’ll put links to a couple of pattern recommendations at the end of this post. I would stick to patterns by Simplicity, McCalls, Butterick, and NewLook – basically, something from an established patternmaker when you start sewing.
There are many independent pattern companies. While many are good, there are companies with poorly drafted patterns or bad instructions and that’s not what you need when learning to sew.
I shop on Etsy for older uncut sewing patterns. PJs don’t change in style too much so you can find a pattern there for a decent price. Look for “uncut” to be sure you have all the pieces.
My pajama video shows how to sew The Assembly Line’s free pajama shorts pattern. And how to lengthen the shorts into pants. You can take a pants pattern and shorten it to be shorts as well.
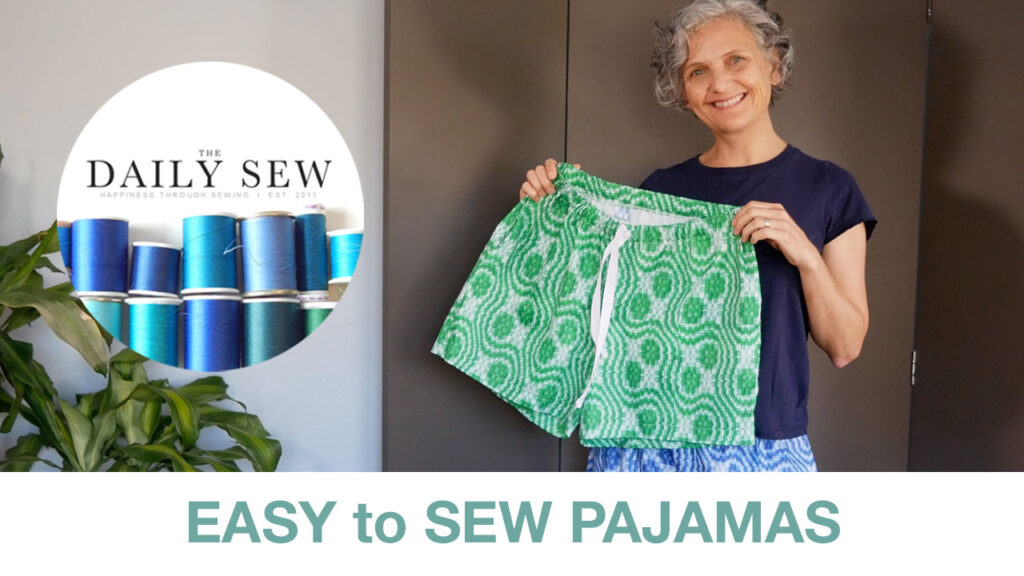
Why pajama bottoms and what will you learn?
- You’re ready to sew with a pattern. And reading a sewing pattern is a skill you need if you want to continue sewing garments. If you get stuck, or want a little guidance watch my video on How to Read a Sewing Pattern and How to Cut Fabric from a Sewing Pattern.
- Pajama shorts and pants are loose enough that you don’t have to worry too much about the fit. This means the likelihood of success is way up.
- I encourage you to pick a pattern that has side seam pockets. After learning how to sew an inseam pocket for this project you can then add them to any dress or skirt pattern that doesn’t have pockets. So learn it here, then take it with you to future projects.
- This garment is simply constructed and comes together fast.
- You’ll be proud of your finished project and you will learn so much.
Don’t wear pajamas?
- Sew the pattern from lightweight denim or twill for casual summer shorts or pants.
- Sewing sweatpants is similar but FYI sewing with knit fabrics is a little more challenging.
- Again this project can make a nice gift. Buy a T-shirt that goes with the bottoms and you have a complete set. ‘Or hey, maybe sewing a t-shirt is what you take on next.
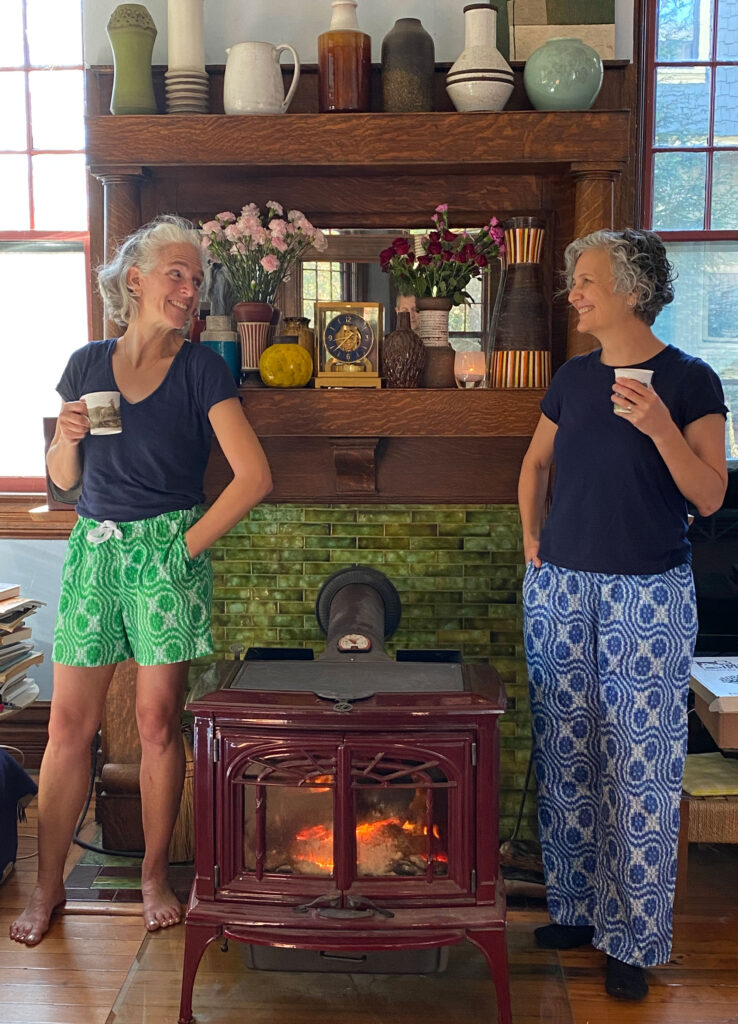
Like all pursuits, the more you sew the better you get at it. You will make mistakes but you’ll also get better. Give yourself time and patience.
I am really hoping you like sewing. It’s a great skill to have, whether you do it a lot or only dabble in it you’ll be able to sew up items you can’t find anywhere else, mend clothing you already own, and enjoy being creative.
Actually I need more people sewing more often so the little local fabric stores will come back in business – and so I can talk about sewing to more people 
Thank you so much for reading!
Recommended Pajama Patterns
Note: Patterns go out of print. Look for a simple pj pant/short pattern for woven fabric (not knit)
- The Assembly Line PJ pattern is free if you sign up for their Sewing Club. The club is free (it actually means “mailing list”) and offers members (subscribers) other free patterns.
- Butterick B6531 A pattern for shorts and pants for the whole family
- McCalls M8262 Men’s shorts and pants (unisex style)
- Simplicity S9131 Unisex PJ bottoms without pockets but includes a pattern for an easy to sew robe
- Simplicity S3041 Easy pj bottoms for the whole family
