A zipper sewn in by hand is a beautiful thing. Sometimes it’s a necessary thing too. But never is it daunting or frustrating.
I’ll put in a zipper by hand especially if it’s a centered back zipper. I don’t care for the look of two rows of machine stitching going up my back. Stitches, that if not perfectly straight or even, show, no, shout to the world, and the person behind me, their imperfections.
The video demonstrates just how uncomplicated and easy it is to put a centered zipper in by hand.
And quality is never compromised because the stitch is strong and you have complete control over it.
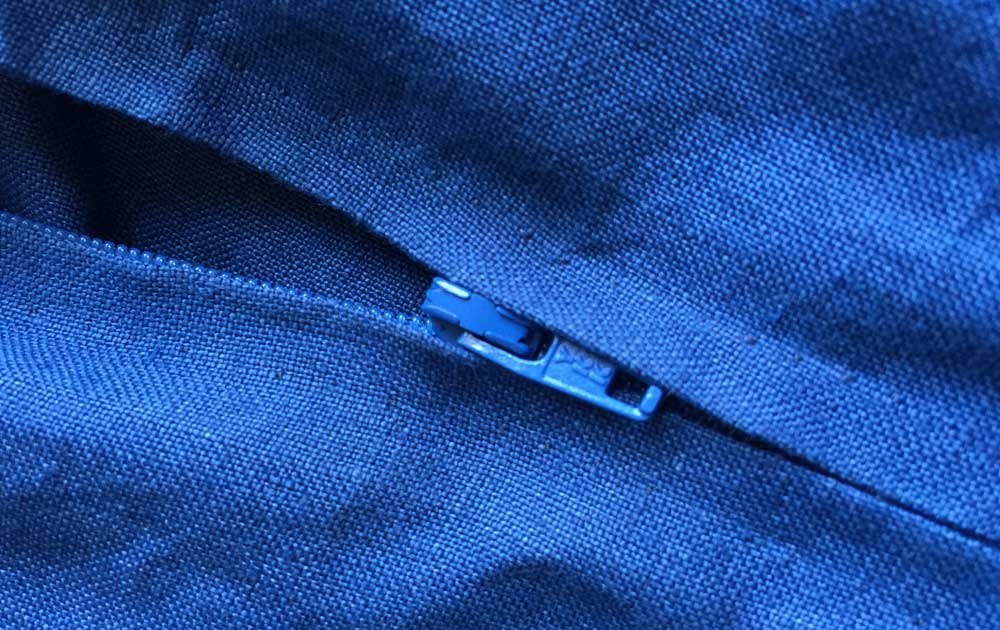
Beautiful and strong.
Close-Ups & Details
Machine baste the seam where the zipper is going, in this example, the center back seam. Open the seam allowances, and press them flat.
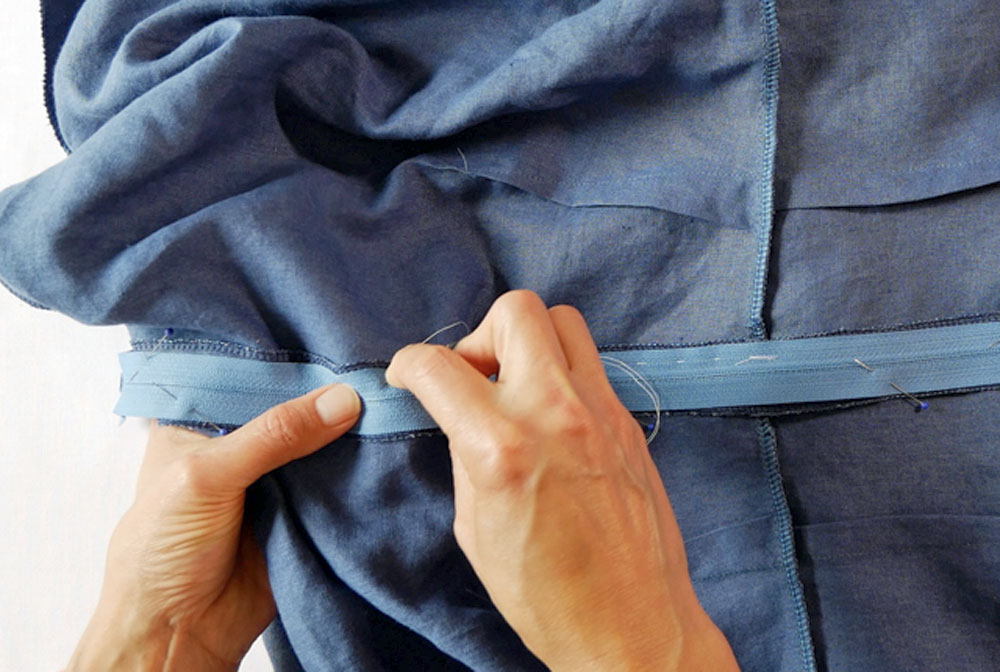
Place the zipper face down along the basted seam. Center the teeth up with the seam. Pin the zipper down. You’ll place the top zipper stop as far down from the neckline seam as your pattern directs. If your pattern left that out (they do on occasion) put the top zipper stop about 1/4″ below the seam line.
Baste the zipper down through the seam allowance and the garment using an uneven basting stitch.
There are woven lines in the zipper tape that act as guidelines. If you baste following one of these lines then your basting can be a guideline for your permanent stitches on the outside of the garment. But don’t worry if you have wobbly stitches like mine, just mark in guides.
If you don’t have a sewing machine you could baste the center back seam closed and then iron the seam allowances open and flat. Mimicking the above instructions for machine basting the seam closed.
Or, skip the basting and simply fold back the seam allowance on each side of the center back seam to the backside of the fabric. You are folding the entire amount of seam allowance, on the stitch line where the zipper is going to go. Example; Your pattern calls for 5/8″ seam allowance. You will fold back 5/8″. Press this fold flat.
Place the zipper face down on the wrong side of the garment/fabric. Unzip the zipper so you can line up the zipper teeth with the edge of the fold. (This is the fold you just pressed. This is also the center back seam line)
Remember the zipper is face down on the backside of the garment piece. The long edge of the zipper tape will be on top of the edge of the seam allowance, or close to it depending on the width of your seam allowance. The teeth are right on top of that fold. If you looked down on this, you would see the teeth and only 1/16″ to 1/8″ of fabric peeking beyond the teeth. This is what is nice about basting the seam first, before laying the zipper down on the seam. You would know that the fabric, after sewing the zipper in, will “kiss” not overlap, and not gap.
Pin the zipper tape to the garment to hold it in place.
Hand-baste the zipper to the garment. This stitching will be pulled out after you sew the zipper down so it does not have to be small, and should be in a color thread that you can see easily.
There are woven lines in the zipper tape that act as guidelines. If you baste following one of these lines then your basting can be a guideline for your permanent stitches on the outside of the garment. Or you can mark in lines with a fabric marker.
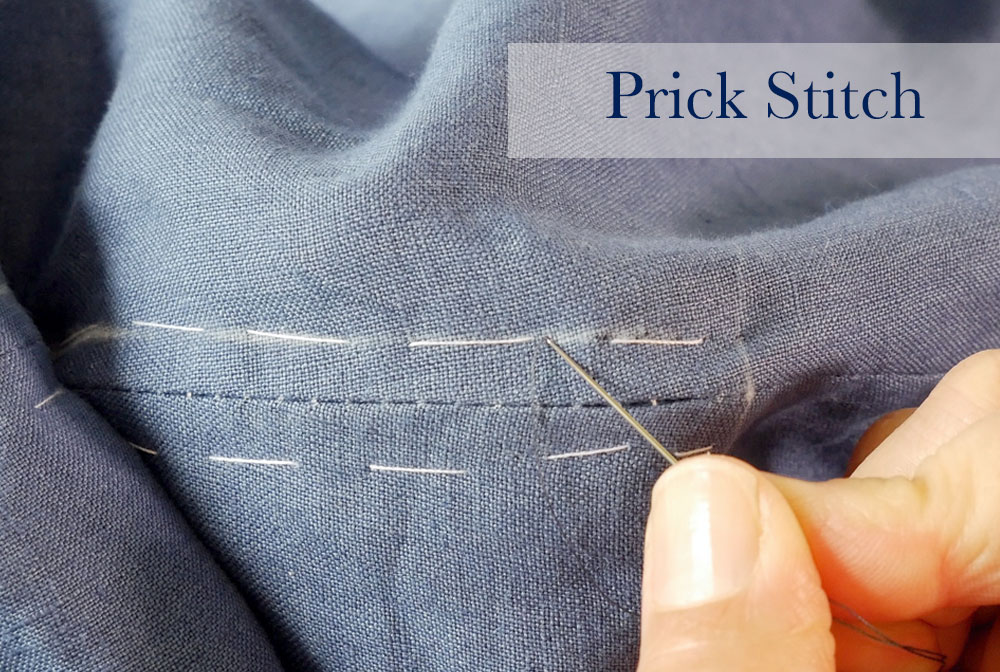
After tacking the zipper tape to the seam allowance with a couple of stitches for extra security,the needle is brought to the right side of the garment and the zipper is stitched on with a prick stitch.
To do the prick stitch, the needle comes up, and is inserted into the fabric a couple of threads of the garment to the right (backward). The thread travels across the back to the left (forward) about ¼”.
Read more and watch a video about the prick stitch here.
When there is only about 3” of thread left, go to the wrong side of the garment and make a few stitches securing the zipper tape to the seam allowance before knotting and cutting the thread.
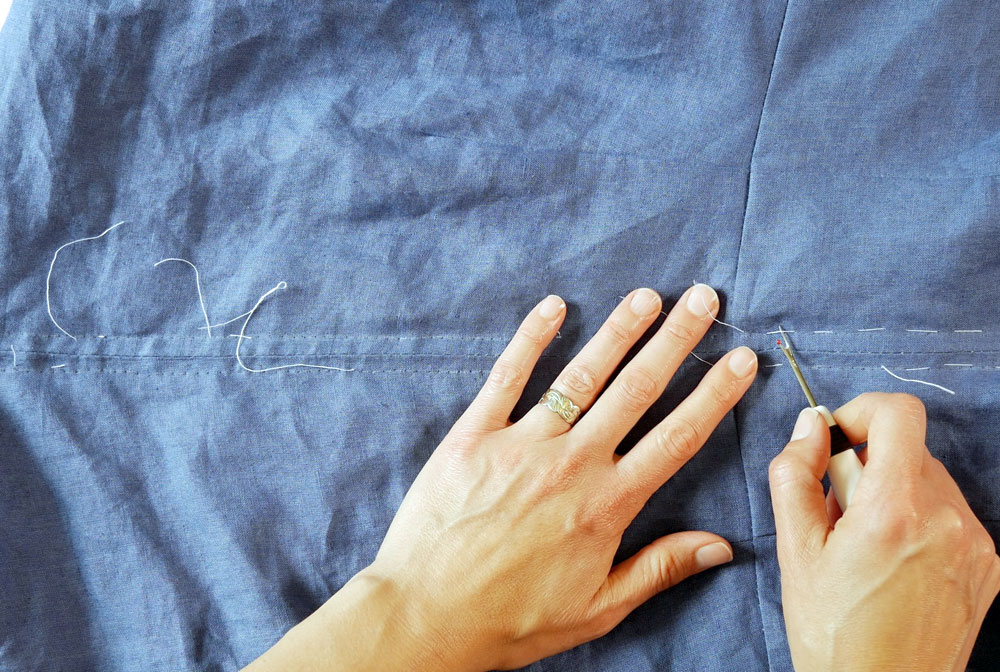
When taking out the basting stitches don’t pull too hard because you may have sewn through the basting thread. Snip those threads close to the fabric surface. The basting thread’s fibers will unwind and escape the thread sewn through them.
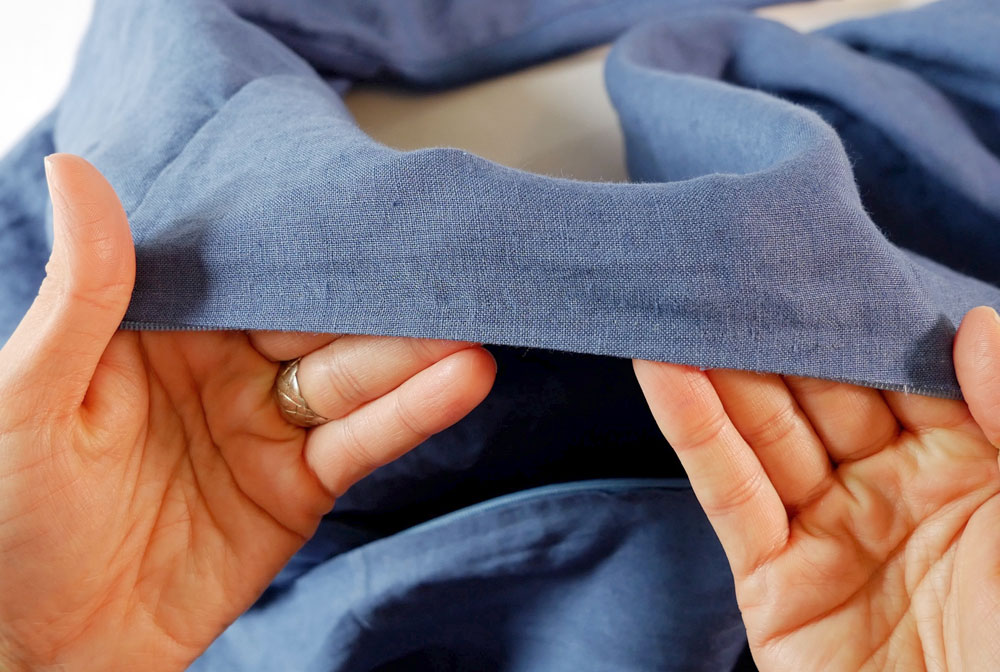
The prick stitches are almost invisible after a light pressing.
If the zipper is going to be under strain, stitch the zipper tape to the seam allowance with a hemming stitch. I find with loose garments that are not worn every day this isn’t necessary.
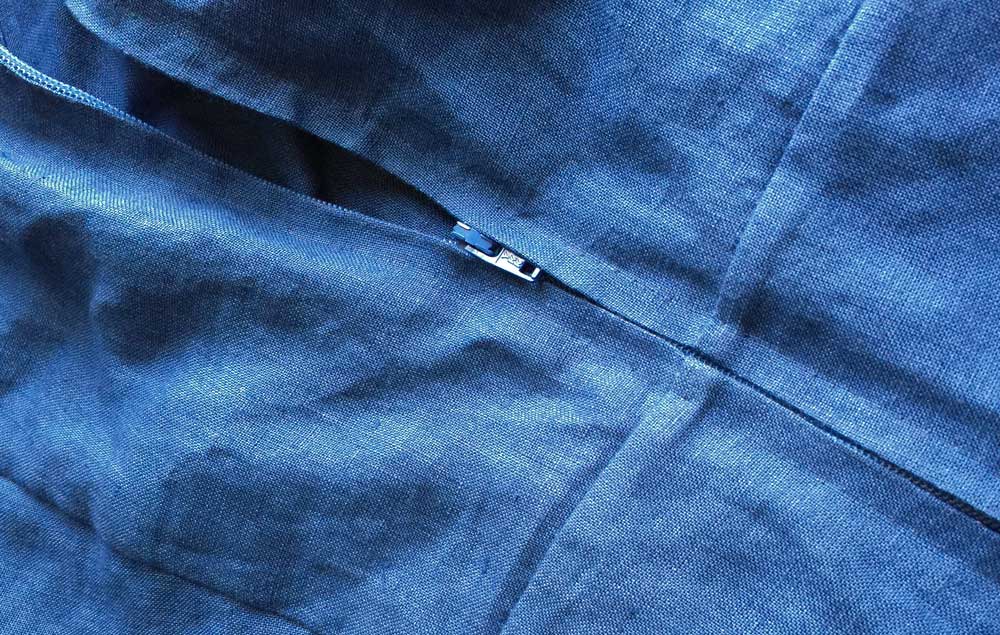
Behold your handiwork. Well done you.

This is how I put zippers in…except I just use my regular foot and I don’t pin it….I just lift it up and make sure I’m centered on the seam…..Mom taught me this when I was 7 years old….
It’s really nice that your mom took the time to show you how to sew but even better that you listened 😉 My mom also sewed but she was more of an inspiration than a teacher – not that I didn’t learn from her
This is very helpful but the top zipper area on finishing is not clear.
Thanks for the feedback. What an oversight. I guess I was thinking your pattern would tell you how to finish the zipper (if it has a facing, or whatever) but I didn’t think about all the situations where you don’t have a pattern to follow. Doh! So, I’m going to get to work and add some finishing instructions to this post.
thanks
You’re welcome
Thank you for this! It seems that everyone wants to do everything by machine (or worse – glue. I don’t mean for zips). This is a beautiful, refreshing thing for those of us who stay in the slow and steady lane.
thank you. I like the look of a hand-sewn zipper better than a machine-sewn zipper. And really, you have a lot more control over setting the zipper in place when you do it by hand.
I’m thinking of sewing a zipper to a corset I have for a cosplay, are zippers adjustable for length? Like if I needed one shorter or longer, can you cut pieces off or add extra length to them or are they a “you get what you get” kind of thing?
Yes, you absolutely can shorten a zipper. If your zipper has nylon teeth it super simple and you can read how here in this post: https://www.thedailysew.com/2018/06/how-to-shorten-a-zipper/
If it’s a metal zipper you can shorten it as well it’s just a little more involved. Read how to do that in this post: https://www.thedailysew.com/2014/07/how-to-shorten-a-metal-zipper/
I have just found this article and I am eager to try this. I have avoided sewing clothes with zippers or buttons because of the headache of wrestling with my sewing machine to do either. I decided it was about time I faced my fear and put a zipper in a skirt but it was not successful. Then I got to wondering if it was possible to do it by hand, thinking that I would have much more control. I’m looking forward to pulling that skirt out and seeing if I can now finish it. Oh the possibilities if this works!
I love this – yes, you can do it and then you’ll be sewing zippers into everything by hand. I prefer it. And if your pattern calls for an invisible zipper, you can follow along with the instructions but use the prick stitch instead of machine stitching. You got this!
This was so helpful, thank you!
you’re welcome. Learning how to sew zippers in by hand was a game-changer for me. I use to dread center back zippers but now, no sweat.
Very helpful tutorial. Thank you! I’ve installed several “regular” zippers by hand via this method. I’m wondering if you could offer instructions on installing a separating zipper on, say, a turtleneck or any top. Are the steps basically the same as sewing a non-separating zipper by hand? Many, many thanks. I’m struggling a bit with this, and I have several t’necks + matching separating zippers to work on.
I’m glad this was helpful. That’s a good question about a separating zipper. The trick with a separating zipper is it not only separates 😉 but it has a facing on the back side because the garments opens up there and the inside can be seen (so it’s finished off nicely with a facing or lining). I think you could put it in the same way. After sewing one side of the zipper to one side of the garment, zip the zipper up so you can place the other side of the zipper to the garment at the same point of the first side (both sides lined up with each other). Then the inside of the garment (the lining or the facing) would be stitched down to the back of the zipper with a slip stitch. If I come across another way I’ll let you know