
It’s easy to change the neckline of a top with no collar. Really. It’s just a matter of tracing off the pattern pieces that contain the neckline and drawing in the new neckline shape you want. However, there are a few things you should keep in mind.
The neckline is an external style line, meaning it is on the outside of the garment, like the hem. So think of changing the neckline like changing the length of a skirt.
To hem a skirt, you would put it on and judge where on the leg you want the skirt to end. For a neckline, you will decide where on your shoulders and torso the neckline should sit before making the garment. No trying it on and then adjusting.

Measure First
Measure down from the base of the neck how deep you want the neckline to be in the front and or the back. Measure over, from the base of the neck across the shoulder, how far over the neckline will go.
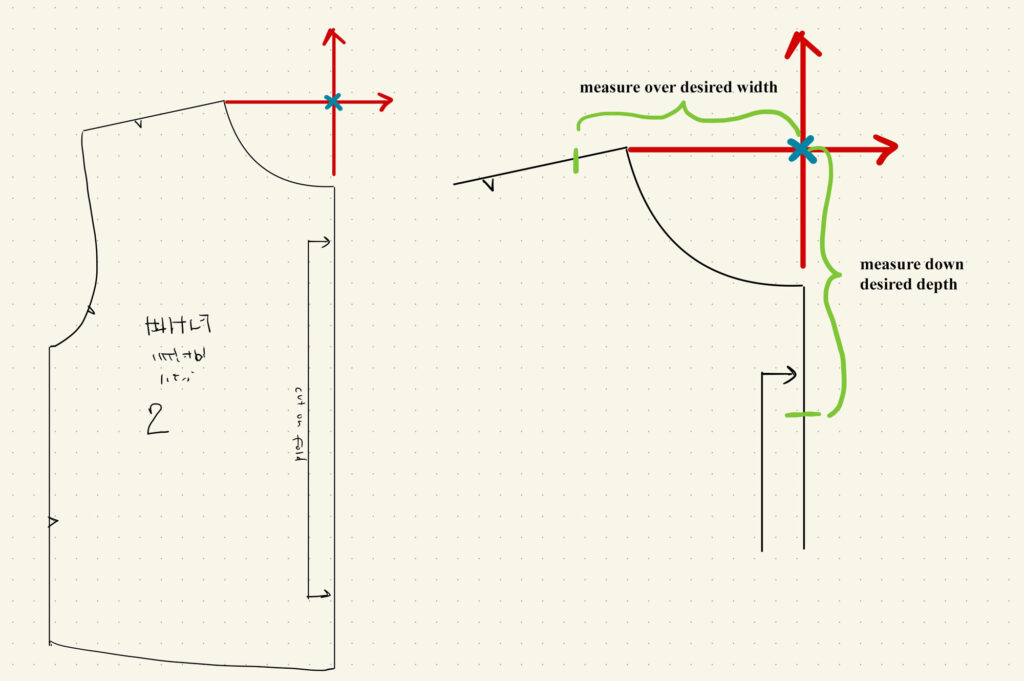
On the paper pattern, extend the center front or center back line up until it is as high or higher than the shoulder line. This is the “base of the neck”. This is the starting point to measure down and over from. Transfer your measurements to the paper pattern. If you have a princess paneled bodice, overlap the center and side pieces as if they are sewn before measuring over from the neck.
Draw in your new neckline. Be sure the line does not “flip” upward at the ends. This will cause a peak at the seam or at the center if the bodice is cut on the fold. I like to make sure my neckline is perpendicular to the center front or center back if it’s not a “V” neck.

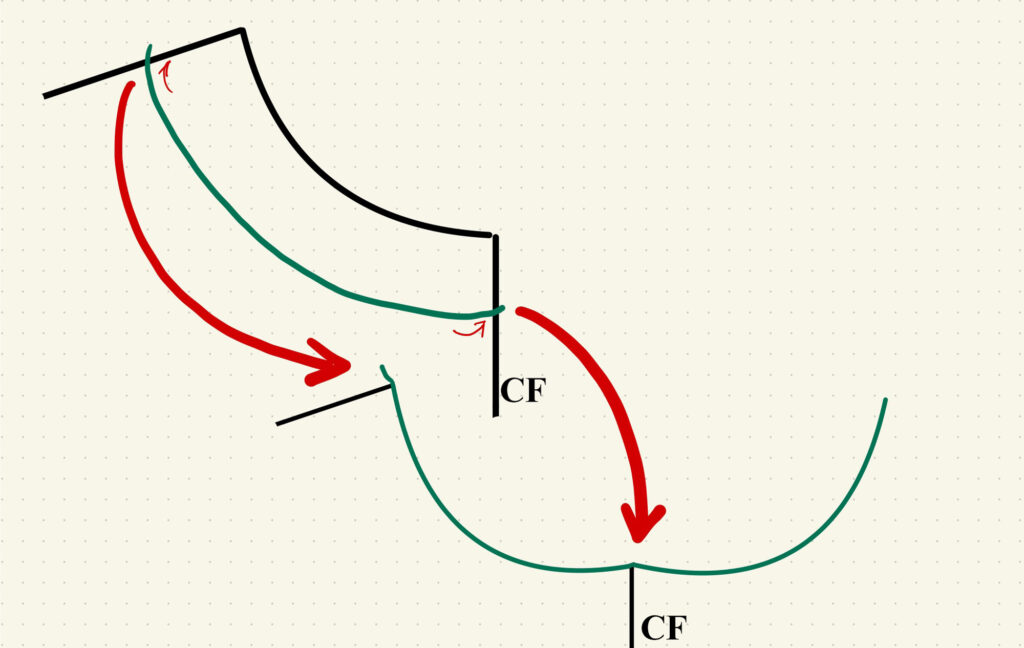
Match up the pattern piece that joins the one you are working on along the shoulder seam. The new neckline needs to go over the shoulder seam at the same point on the back as the front. You transfer your measurements to only one side, the front or back. To get the width on the other side, carry over the new neckline across the shoulder seam.
This is because, when finding a pleasing curve or shape for the new neckline, your styleline might be a little closer or further from the base of the neck than measured.
Be sure this intersection of the neckline and the shoulder seam is lined up. Beware if your back pattern piece has ease built in to the shoulder seam, especially if you are narrowing the neckline.
Construction Notes
Necklines that have sharp corners or turns need to be finished with a facing or a lining. Curved necklines could be finished with bias binding.

Deep necklines and necklines of contoured garments may gap. Pinch out the excess fabric on your test garment to shut the gap. Transfer this excess amount to the paper pattern as a dart. You will not sew the dart. You will manipulate only the paper pattern. After the dart is closed on the pattern, simply blend the uneven section of the neckline to make it smooth again.
If you only have gaping at one side of the neckline, you can make a whole pattern, instead of a half pattern that is cut on the fold, and pinch out the excess fabric on the side that needs it.
How to Draft a Neck Facing
A neck facing not only clean finishes the neckline but also offers structure to the neckline. If your design or your fabric choice needs more structure, make the facing wider. If it requires less structure, make the facing narrow.
Sometimes a neck facing can also include armhole facings. This is great for sleeveless tops.
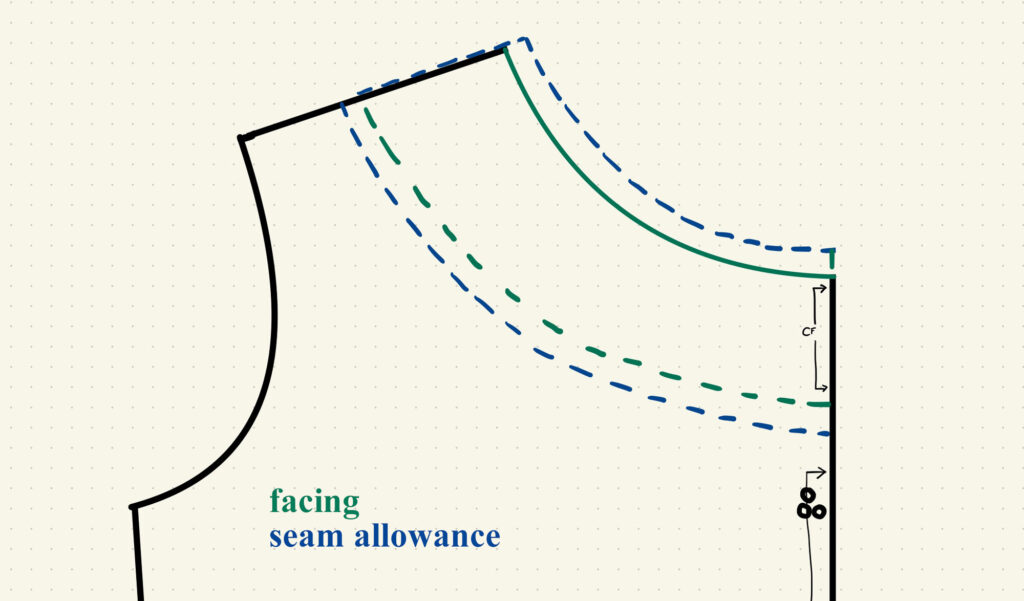
Lay a large enough piece of tracing paper over the pattern to trace the neckline and have two to four inches below the neckline, depending on how deep your facing will be. Trace off the neckline and add your desired width to draft the facing.
Add seam allowance to any edge that needs it. The pattern you traced from may already have seam allowance included at the neckline and shoulder seam It will depend on how you drafted the new neckline and if you added seam allowance to the bodice piece before tracing it to make the facing.
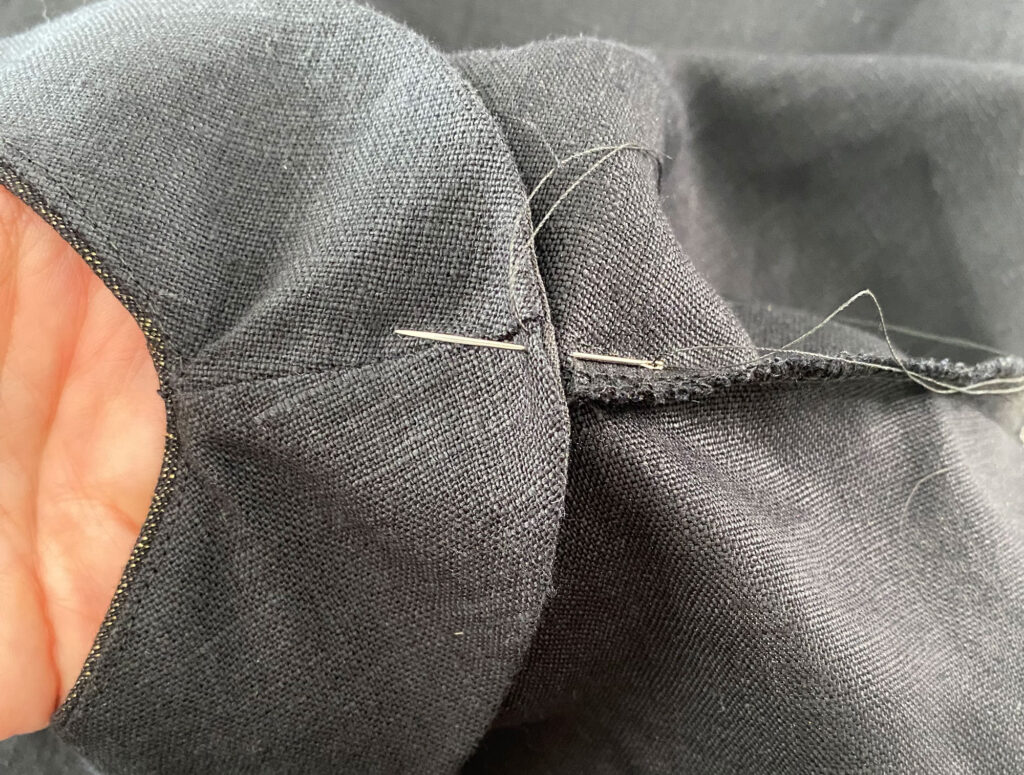
Think about how you will anchor the facing. Will it be tacked or sewn to seam allowances inside the garment? Will you machine sew it down, leaving a visible line of stitches around the neck on the outside? Anything is viable, as long as it does its job of clean finishing the neckline and keeping the neckline from sagging or stretching out of shape.
And don’t forget to understitch the facing when you go to make the top.