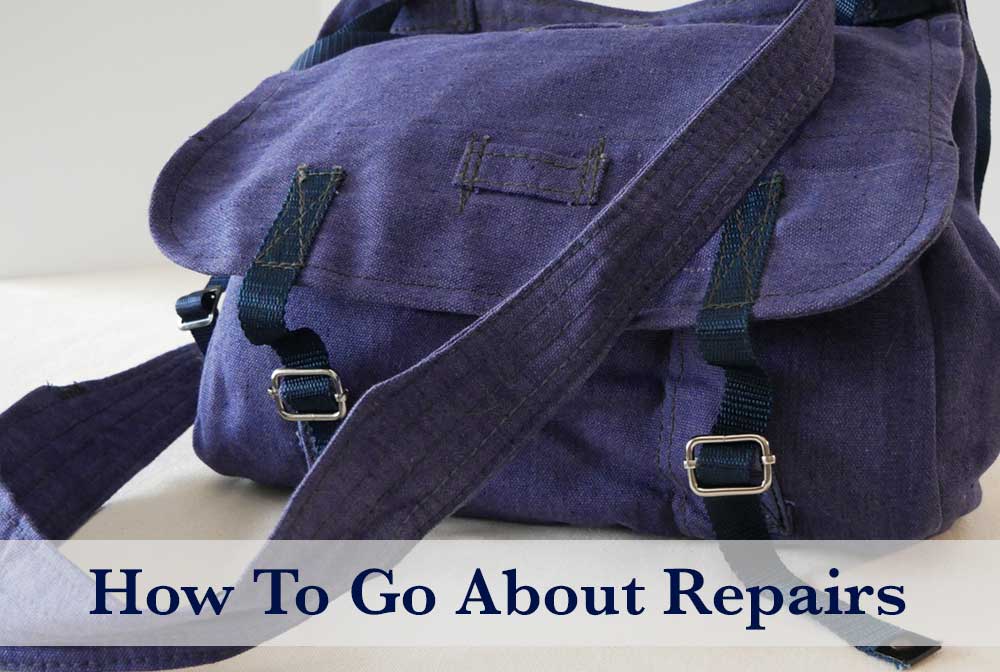
Confession, I have an overflowing, extra-large, mending basket. Repairs and alterations always seem more like a chore I have to do while sewing something new is fun and exciting.
Until a couple of hours into sewing the new pattern, the project hits a wall with fit issues. The kind that zaps all joy from the entire day.
On the other hand, a couple of hours after starting on the repair I’m usually done and feeling pretty excited to have fixed something which I can now wear or use again.
I’m starting to think that ignoring the mending basket is not the way to sewing happiness.
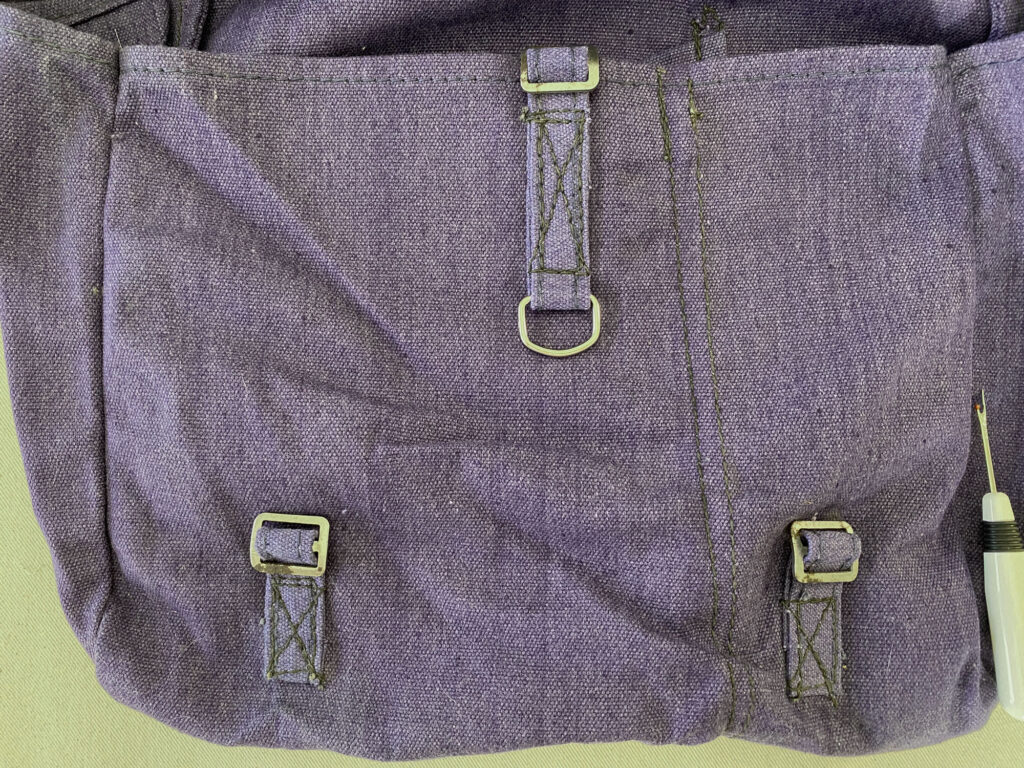
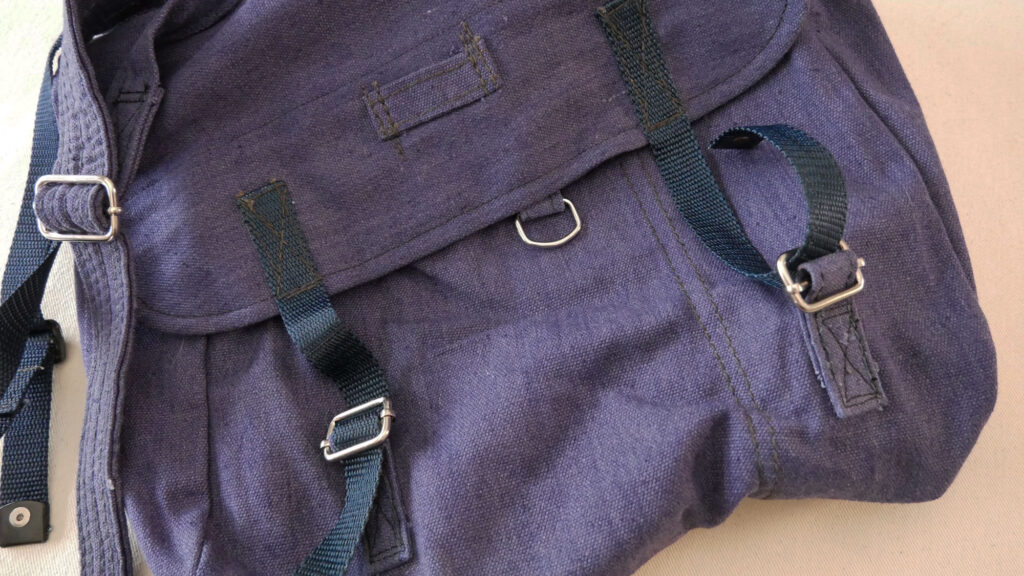
My son bought a surplus Romanian bread bag at a very good price. However, the buckles were a little rusty. He knew they could be switched out with new buckles (because he doesn’t sew he assumes everything can be fixed and altered to fit. – ahh, beginner’s mind) and he asked me to do the honors.
Of course, I’m going to turn it into a video and you can watch it here.
Now, this video is a little different from my usual format of a step-by-step how-to tutorial. It’s more of a watch and enjoy the process. But this post shares all the things to keep in mind for any textile-based object you are repairing.
Before you take anything apart, examine it to get all the information you can. This goes for repairs and alterations.
Look for things like:
- How is the item stitched? What type of stitching, stitch length, and what pattern of stitching?
- What type of thread was used? The color and weight of the thread.
- How was the item constructed? What had to be sewn to what and in what order or direction? Can I repeat that?
- What type of fabric is it made from? What needle and/or presser foot should I use when sewing on this? Can I iron it if needed?
- What seams will need to be ripped out to reach the repair?
Take pictures, write notes, measure how far over things are from an edge or a feature in the fabric and write it all down.
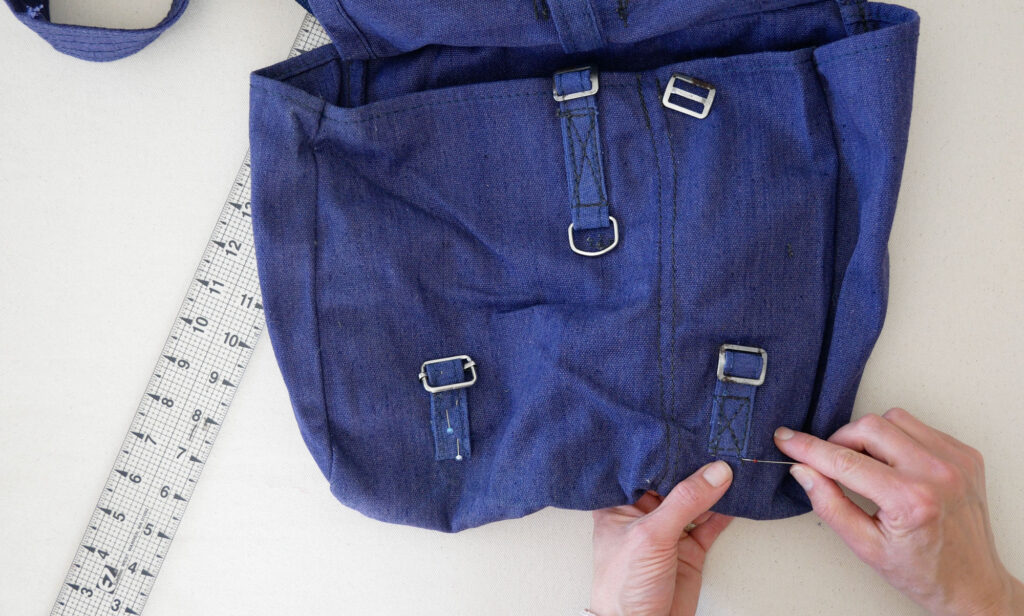
Then you can repair the object to look like it had never needed a repair OR you could change it. You could add a pocket, fix something you never liked about it, or use a different thread color to give it more of your personality.
As the saying goes, “You have to know the rules before you can break the rules.” And so it is here; know what you’re dealing with first, then you can decide to change it up or not.
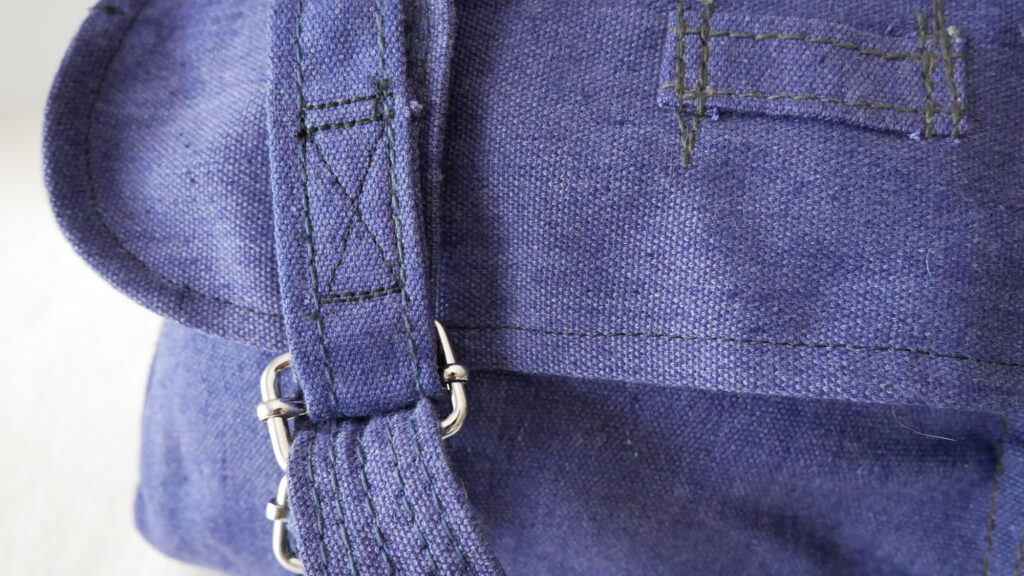
It really is easy to fix or update most things you believe are past their prime. A couple of hours of mending will:
- extend the use-life of the object
- make your wallet happy
- give you more confidence in your skills and self-reliance
- light the spark that occurs when we work with our hands
- make one a little more conscious of consumerism and how it impacts our environment
(That last one is optional. Sometimes I rather not think of heavy topics 😉
Where to Get Supplies
Sometimes a project may be an easy fix except you have no idea where you can buy a new zipper pull or the right size D-ring. Well, almost every type of bag hardware can be found on Etsy. As can rivets, jean snaps, buckles, trims, drawstrings, and elastics of all sizes.
Some of my favorite suppliers of hardware are listed below. Note these are NOT affiliate links but links for places I have used and will use again.
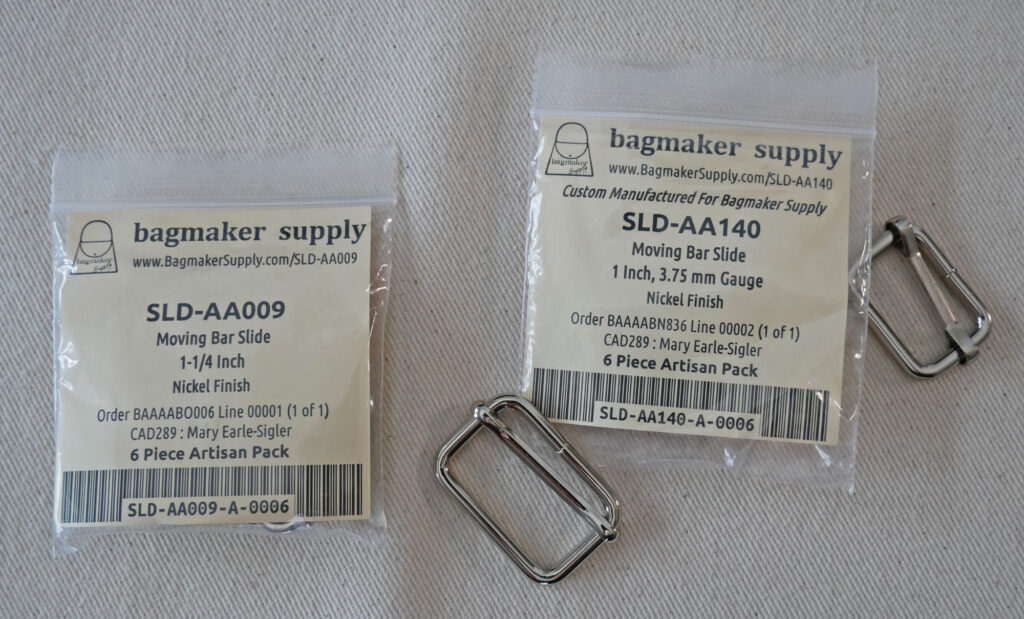
Bag Maker Supply: Buckles, clasps, locks, purse feet, d-rings, eyelets, grommets, rivets
Stitch Love Studio: Elastics, bra hardware, stretch lace
Sewing Supplies: Nylon webbing, slides, plastic buckles, clasps, rings,
Zipit: Zippers
Maddy Bee’s Bags and More: Zipper pulls, decorative slides and rings
Craft Me Studio: Focus on leather craft supplies but can be used on textiles; grommets, rivets, snaps, snap fasteners, trims, rings, buckles
Wawak (not on Etsy) Zipper repair kits, zippers, buttons, some rivets, snaps, webbing and bag hardware

Hi! I’m new to your blog having found you while looking for instructions on making a meditation cushion. Your instructions were clear and so helpful! Thank you!! Im now tackling my mending basket which consists mainly of my husband’s Jean’s. Do you have any pointers on mending heavy fabrics? Thank you for your time!
My top tip would be sure to use the correct size needle. If your sewing by hand it needs to be sharp and strong enough to pierce layers but not necessarily harpoon size. The smallest size that is strong enough. And use a thimble ;-). If your working on the sewing machine, use a denim needle (sharper than a Universal needle) and when/if you sew through layers, slow down. If the machine struggles with the thickness you can slowly turn the machine’s hand wheel toward you to sew through the thicker area. OH, and use all-purpose thread in the bobbin, no matter what thread you are using in the bobbin.
And a personal preference is if you’re putting on patches, especially in the seat, put the patch under the hole. Sew the patch down through the top and don’t worry about turning under the edges of the patch. Instead, apply Fray Check to the patch edges or overcast the edges with a serger or zig-zag stitch. I hope this is helpful
How do you repair “runs” in polyester brown curtains where instead of seeing brown fabric you see white with light
filtering through? This fabric is very shiny so these
“runs” stick out terribly. Bought online so I didn’t
know they were so silky & shiny.
What is the best fabric for curtains when you have cats
with claws? They’re my babies but ruin curtains easily.
Thank you.
I’m sorry about your curtains. If you have a big box fabric store near you I bet you could find some fabric that would blend in enough. I would put the a patch behind the hole, on the back. Perhaps using a fabric glue stick would be the best approach so you don’t see ant stitches. Or if your fabric is textured and you use matching thread you could sew it on. No need to do anything to the edge of the patch fabric if you are not washing those curtains.
As far as cat proof curtains, I don’t know if there is such a thing but heavy, tightly, woven fabric is run resistant. So a canvas, or heavier upholstery fabric. Velvet is tightly woven too.