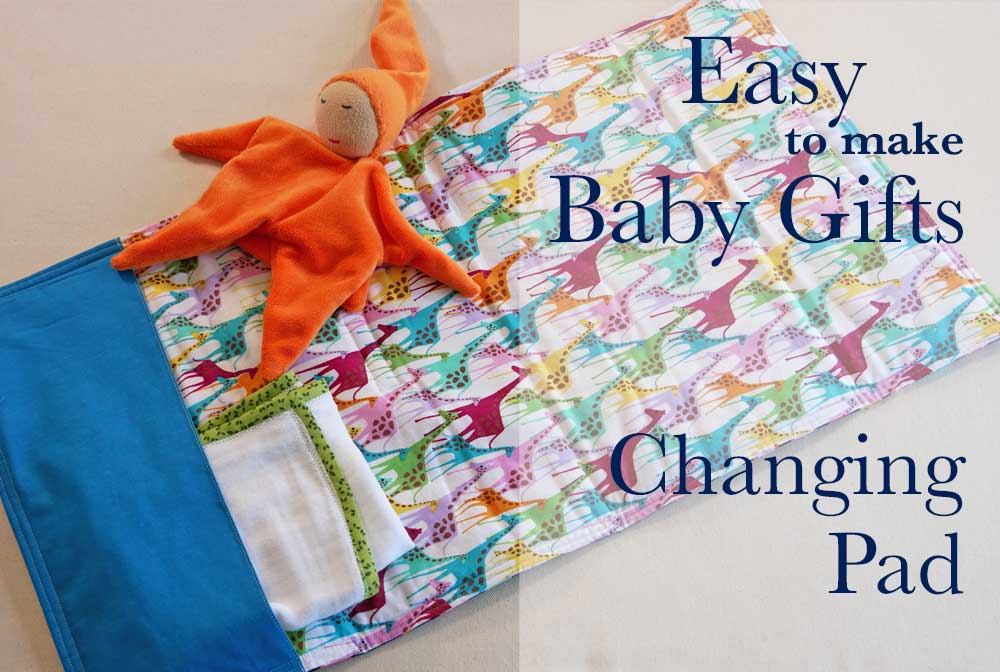
When a diaper needs changing it needs changing. It doesn’t matter where you are, on the road, at a gathering, or shopping, it commands you to stop everything and deal with it.
Thank goodness for a foldable, padded, washable, changing pad with its own pocket that holds a spare diaper or two and a travel pack of wipes. Decontamination can now begin.
Like a quilt, the changing pad has a back, padding in the middle, and a top. And you could use a small quilt as a changing pad. Why not? However, this changing pad has a pocket sewn into one of the short ends to hold a diaper and some wipes. Plus it folds up securely making it very convenient to toss into any tote bag or be left in a car.
Let’s Get Started
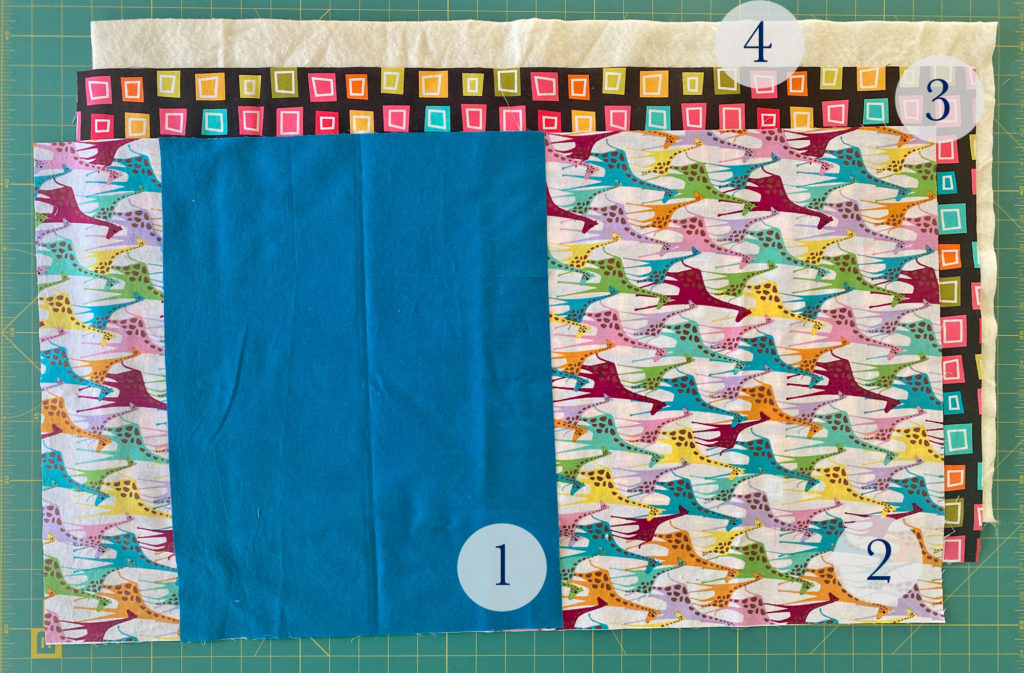
The Pieces You Need
Cut out a front, back, and piece of quilt batting all the same size. I cut mine to be a generous 16″ across and 29″ long when finished. It has a 1/2″ seam allowance. (Cut piece measured 17″ x 30″) You can make it a bit smaller if that’s all the fabric or batting you have.
I also used a double layer of batting since what I had was the thin cotton batting and not the thicker polyester batting. Again, use what you have or what you prefer.
The pocket piece will be 7″ deep. (I made mine 6″ and that is a tad too short). The pocket is one piece of fabric folded to be two layers with the fold as the top edge. This makes the top edge clean and finished without sewing anything 😉
To cut the pocket piece make it the same width as your front piece is. For the height, depth of pocket x 2 (the front and back of the pocket) plus a 1/2 seam allowance on both ends. So, 7″ x 2 + 1″ =15″ tall.
A Word About Fabric Choice
The fabric you use should be able to stand up to washing in hot water (accidents happen). Choose something soft for the front piece, (terry cloth, flannel, a jersey knit) and something sturdy for the back (denim, canvas, corduroy). Or, use quilting cotton, as I did, for all the pieces.
You could also laminate the front piece with iron-on laminate (if using quilting cotton) but you can’t press laminate fabric when you make the pad. Also, pin only in the seam allowance as any hole made in the laminate is permanent.
PUL fabric for the front is another option if you have it. PUL is a laminated jersey fabric mainly used for mattress protectors and diaper covers.
Whatever fabric you use should be prewashed. If you are using cotton batting, hover a hot iron with full steam on, about an inch above the batting on the ironing board. The steam will shrink the batting enough that you can sew with it and it won’t shrink up tenfold when it’s washed.
If using polyester batting you can use it straight out of its packaging.
Sew It
Make the pocket by folding it in half (top down to meet the bottom) the right side of the fabric stays on the outside. Press the pocket to make a crisp fold.
If your pocket fabric is thin and even two layers seem flimsy fuse some interfacing to the back half of the pocket or sandwich a piece of stiffer fabric between the pocket front and back.
Stitch along the folded edge, next to the fold.
You could decorate the pocket at this time if you wish. Ideas: stencil a monogram, applique a design, machine stitch colorful rows of decorative stitches, apply ribbon to the edge.
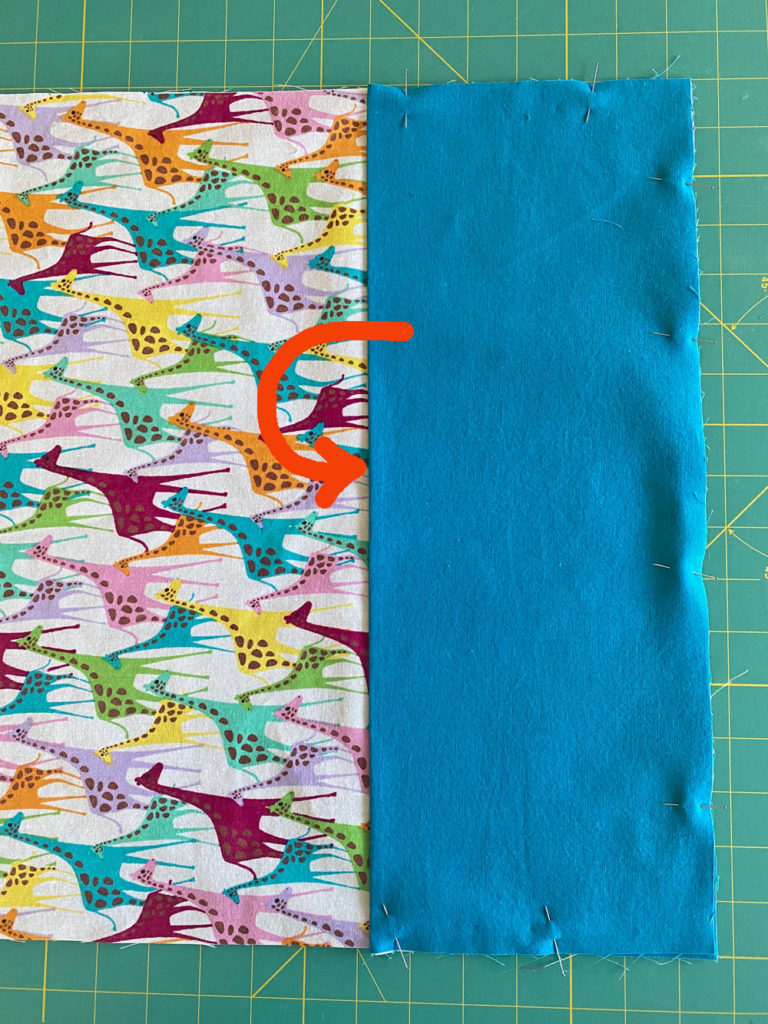
Place the pocket on the top piece at the bottom lining up the bottom edge of the pocket with the bottom edge of the top/front piece.
Baste the pocket to the top piece on the sides and across the bottom using a 1/2″ seam allowance.
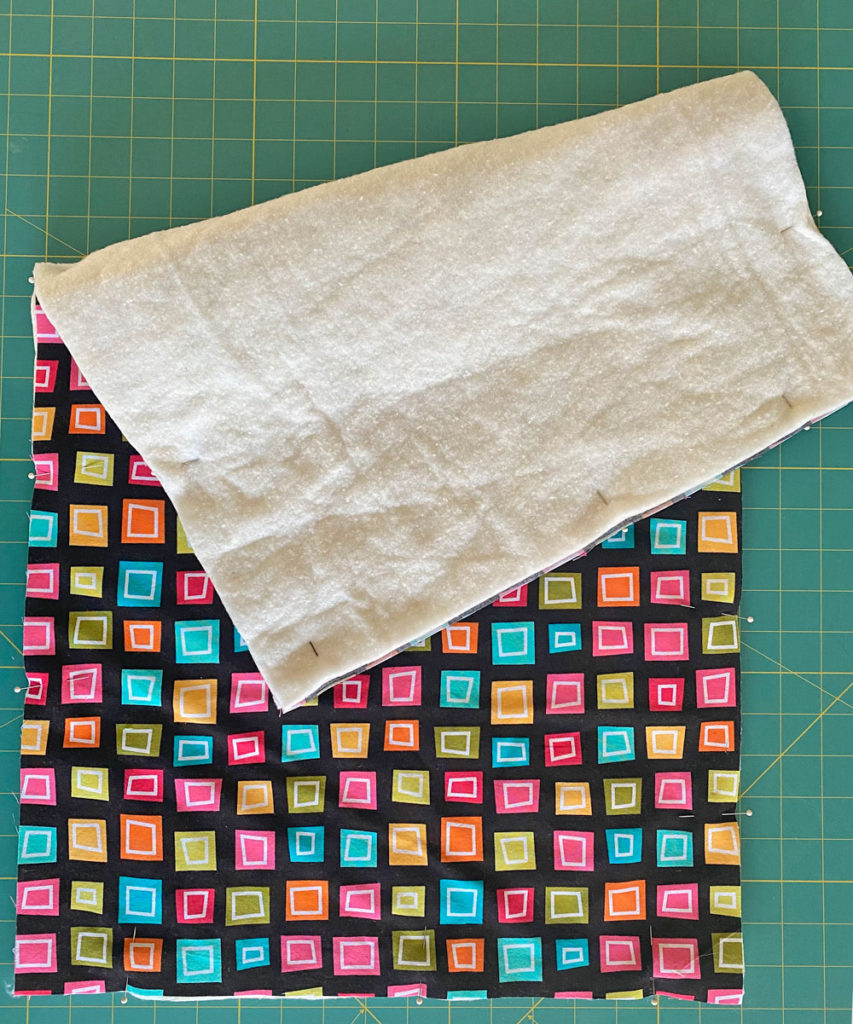
Because thick batting needs to be trimmed out of the seam allowance I like to attach the batting to the backing as a separate step instead of sewing all three layers together in one step.
Lay the backing on top of the batting so the right side of the backing fabric is facing you. The batting may stick out from the back here and there, don’t worry just line it up as best you can and pin together. (Batting isn’t the easiest to cut precisely). Baste the batting to the backing either with the 1/2″ seam allowance or just shy of a 1/2″.
Carefully trim away the batting from the seam allowance close to the stitches. If you have very thin batting you may not need to trim away the batting seam allowance.
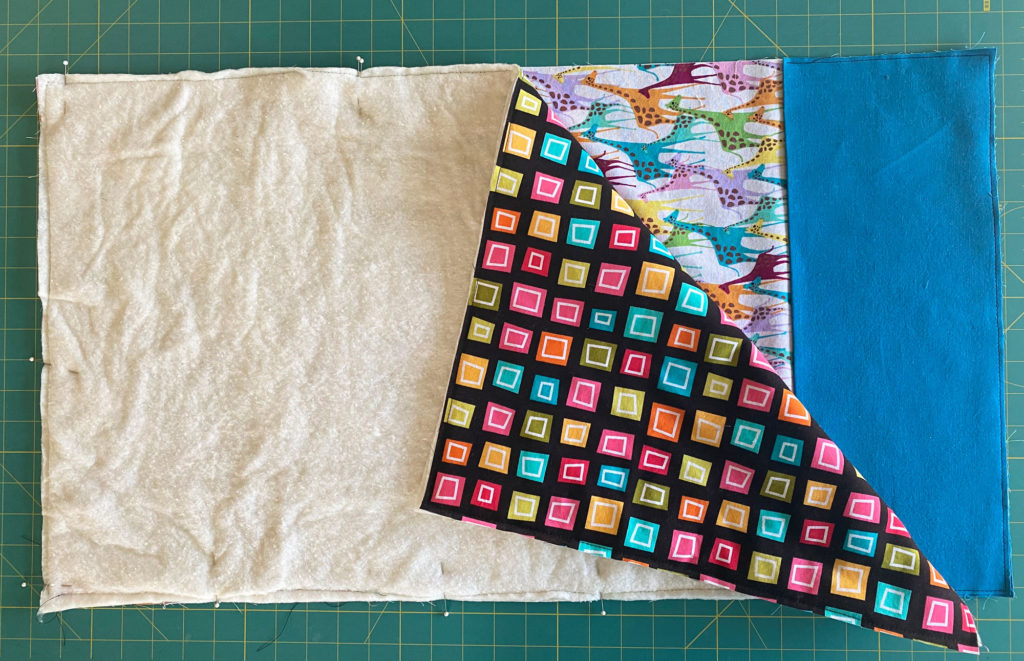
Lay the back/batting piece on top of the front/pocket piece right sides of the fabrics touching each other. If your front and back both have a directional print (a print that goes in only one direction) have them go in the same direction when placing the top and back together.
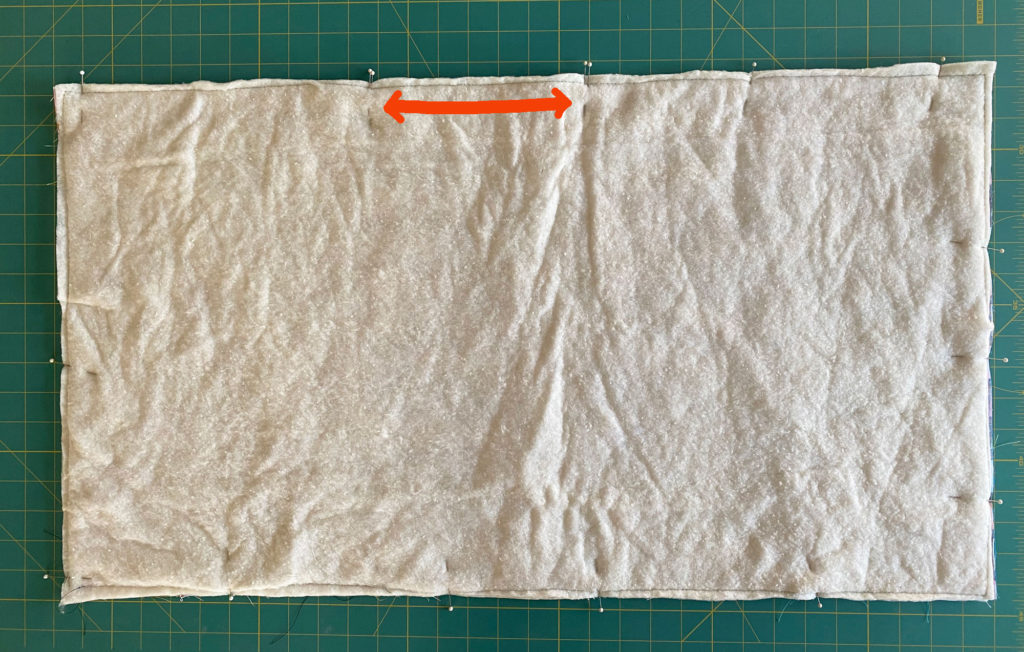
Pin the layers together but identify a 5″ wide space on one long side (above the pocket). Place two pins close together to mark both ends of this 5″ space. Or use a different type of pin. Something that will remind you to not sew in this space.
Starting at one of your special marks, sew the layers together around the edges with a 1/2″ seam allowance. Stop sewing when you get to the other special mark or about 5″ from where you started sewing.
Press your stitches on the non-batting side and trim the corners.
Through the 5″ opening turn the changing pad right side out. Poke to the corners but not with anything sharp. Try a blunt end of a wooden chopstick, a clean pencil (eraser end) or a point turner if you own one.
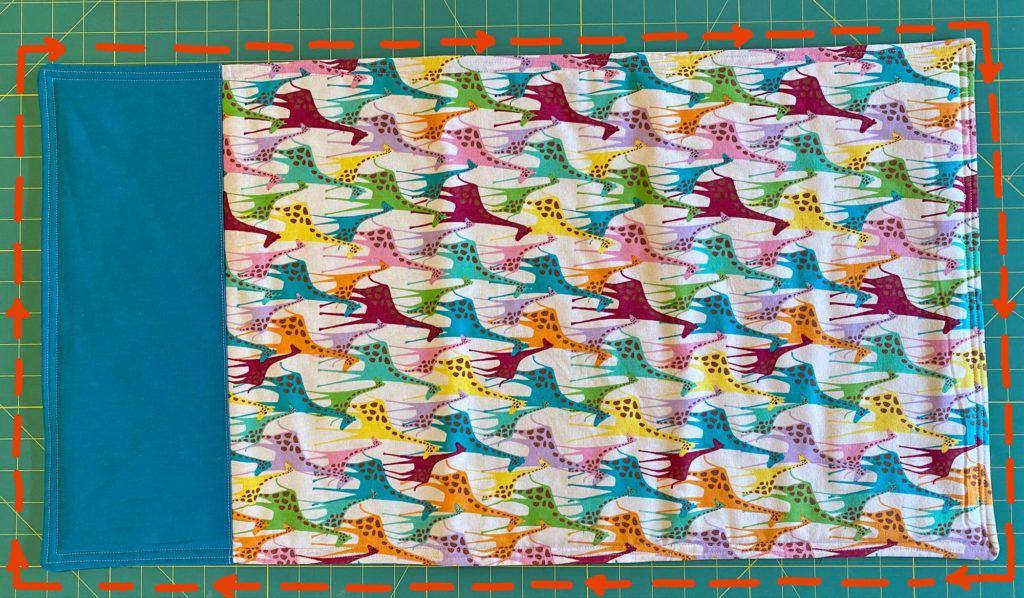
Line up the seam line to be on the edge as best you can and press with an iron. You will fold in and press the seam allowance at the 5″ opening so it looks as if it too was sewn together.
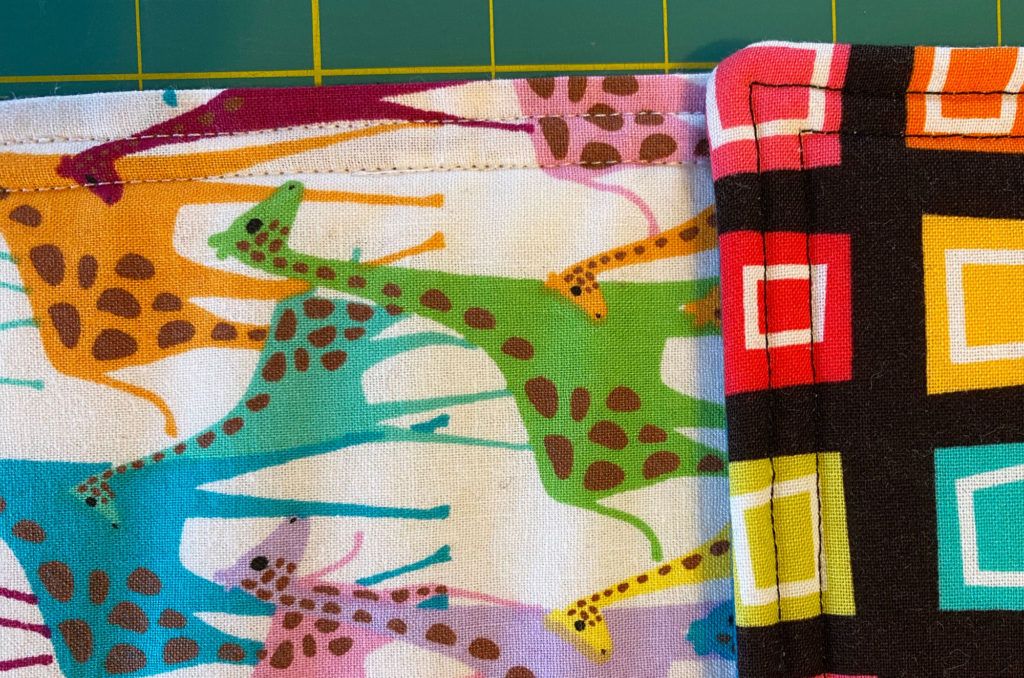
Topstitch all the way around the edges about 1/4″- 1/2″ in from the edge. Then repeat about 1/8″- 1/4″ in from the edge to secure the opening edges shut. Press your stitches.

Fold and Secure
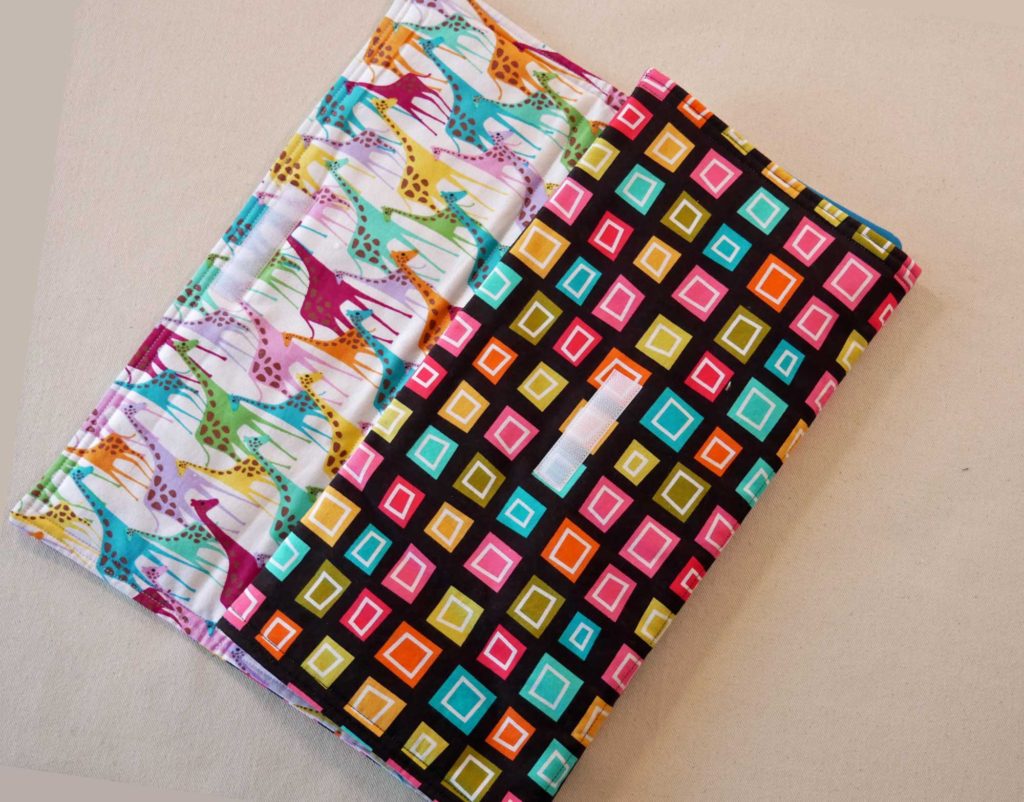
Fold up the changing pad starting from the pocket edge about two and a half times. You can make the folds where you think is best however, I suggest placing the first fold about an inch above the top of the pocket. This way, anything in the pocket, that is a little taller than the pocket, will not be in the fold. The top flap can land where you want.
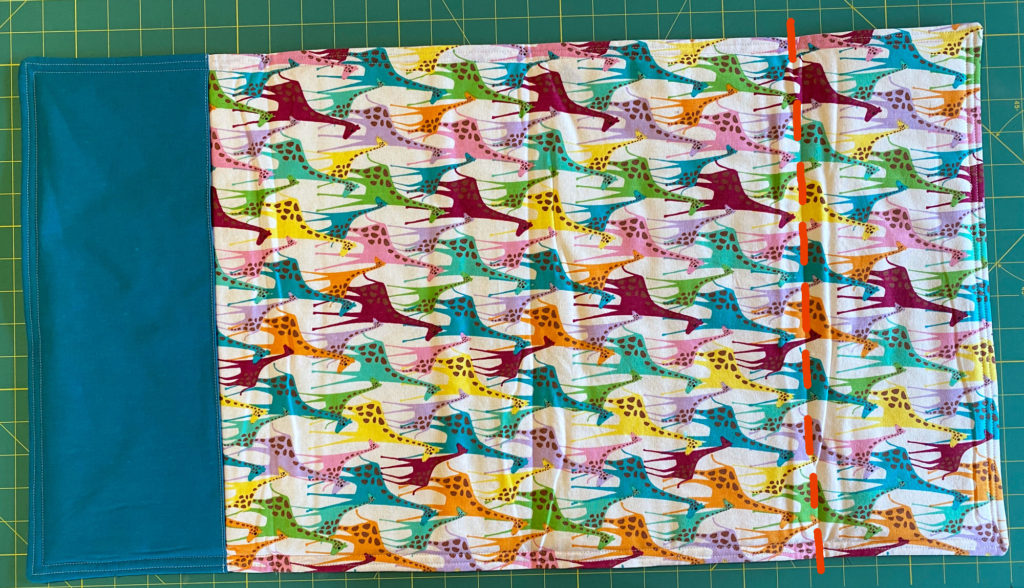
When you decide where to put the folds press on the fold with your hands to make a crease. Then with a fabric marker or chalk and ruler draw a line on the crease as a sewing guide.
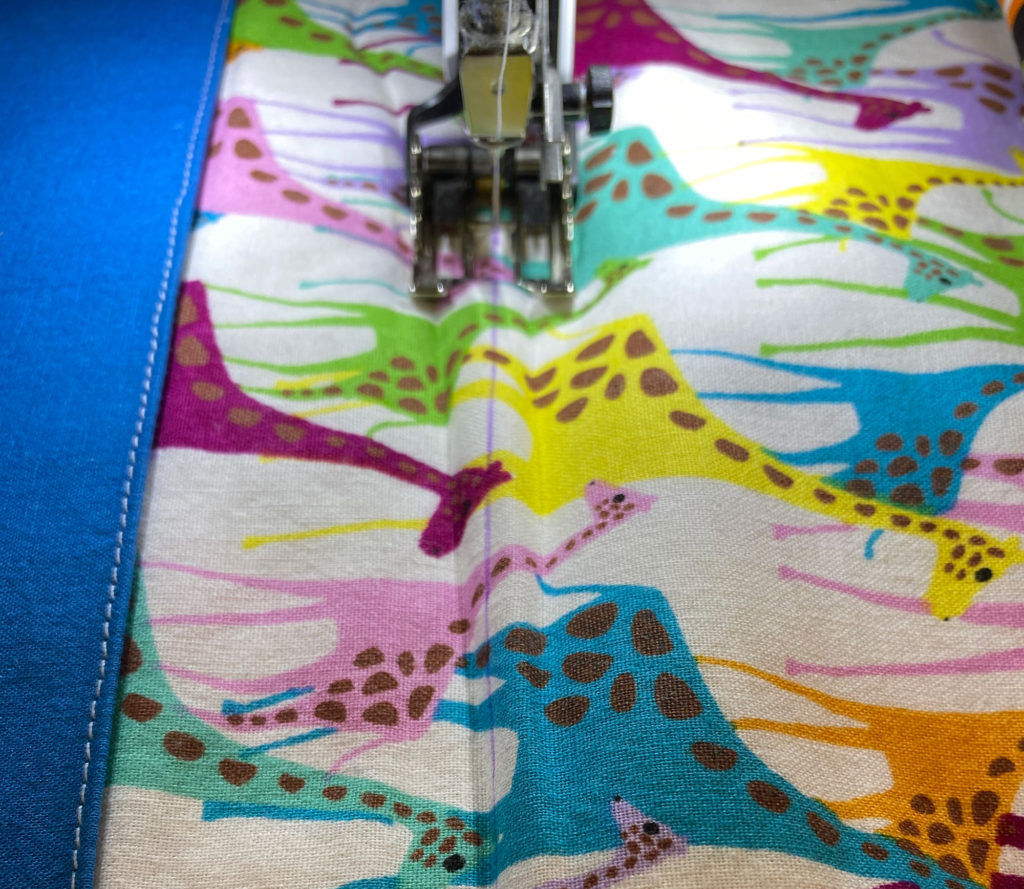
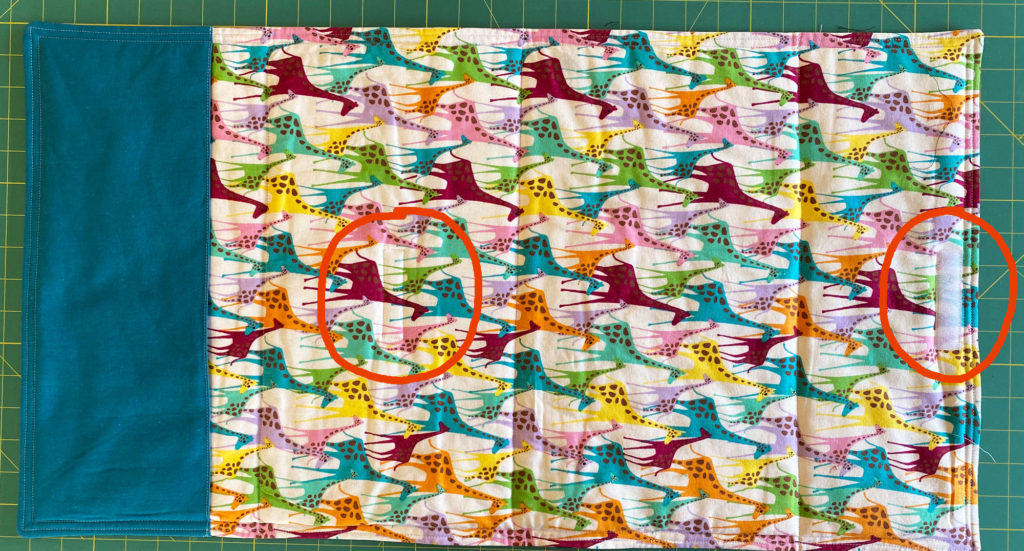
Straight stitch on your line across the pad.
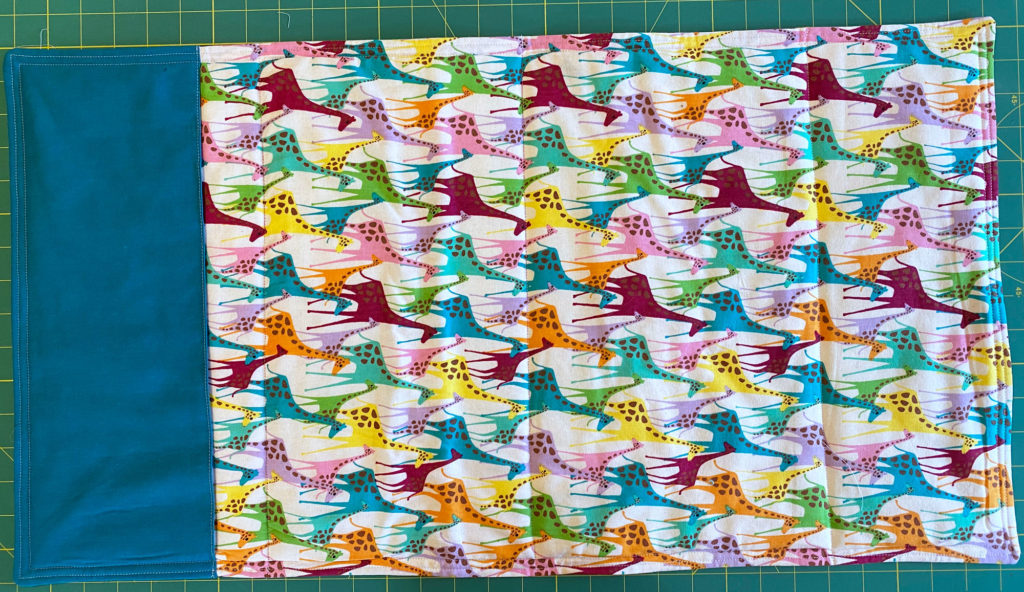
The stitched lines will help fold the pad and hold the batting and the two layers together through all the washings.
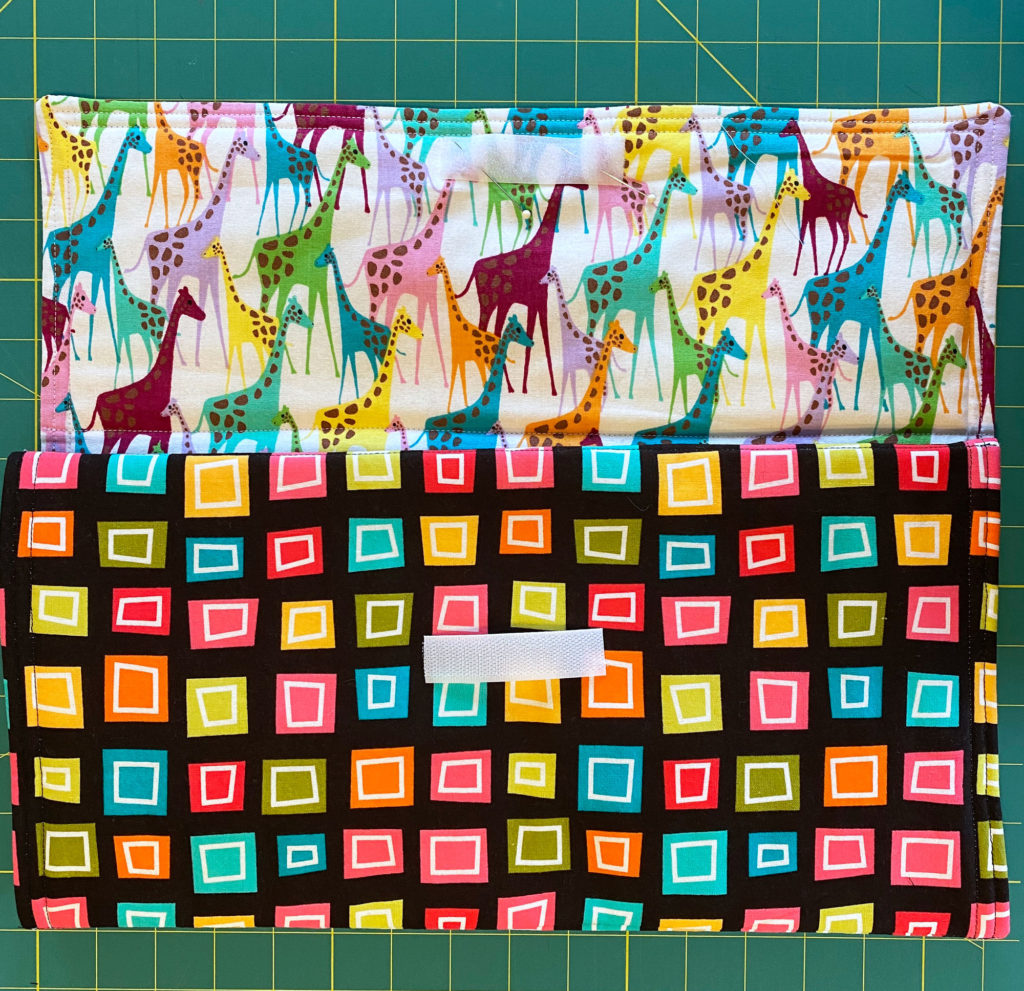
The loopy or soft part of the velcro tape will go on the top of the top side of the pad. Pin a piece about 3″ long (or shorter) to the center of the pad just below the top edge. Sew it down around the edges.
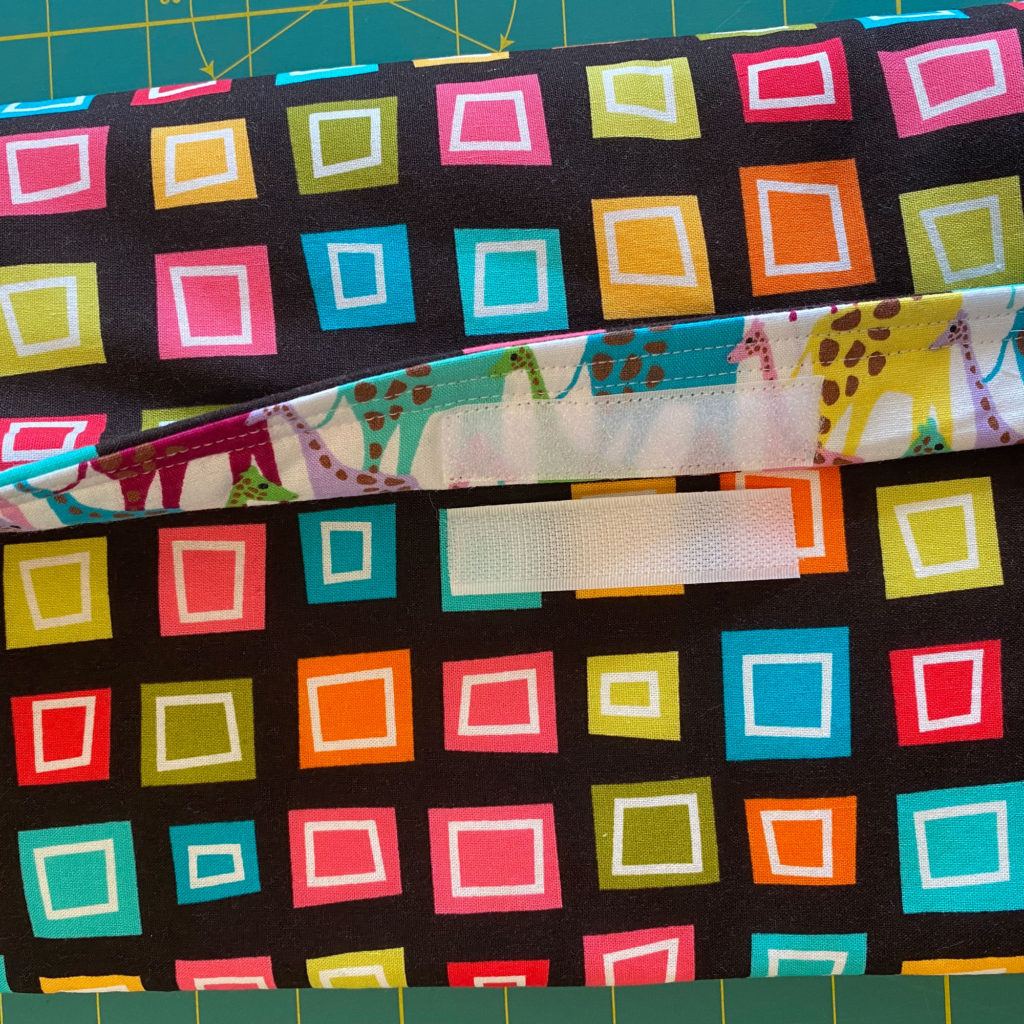
Fold the pad up to see where the hook or scratchy half of the velcro tape will be. Pin this in place and then sew it down, though all the layers around the edges.
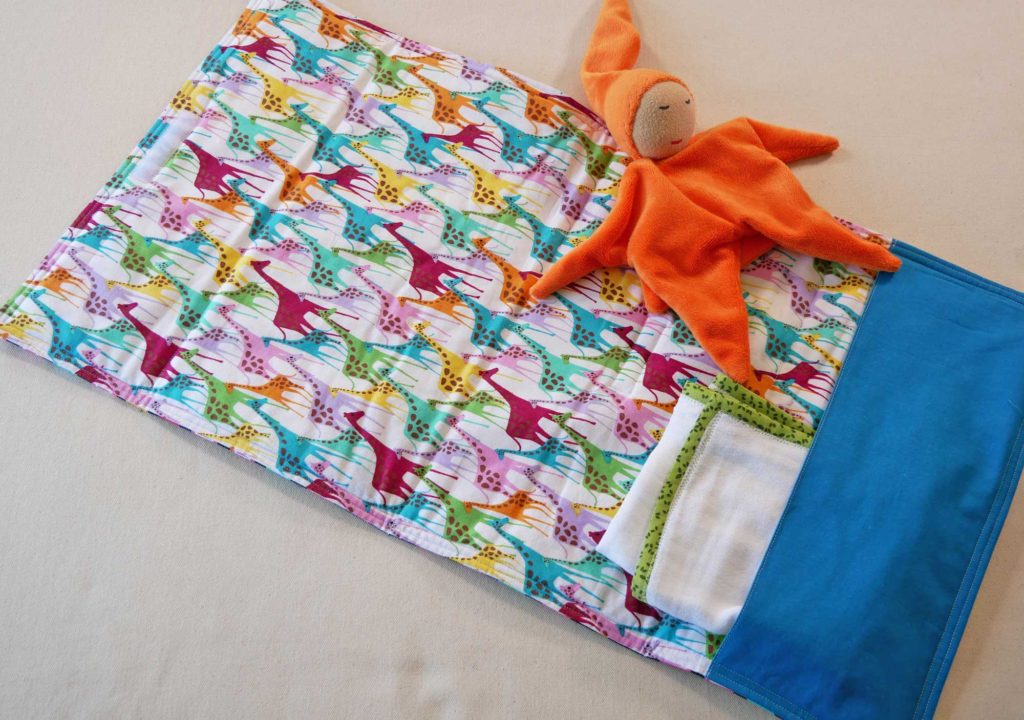
You are done. Diapers will be changed. Bums will stay dry. Noses will thank you. Great work!
(Tip: When I give this as a gift I put a container of travel wipes in the pocket.)

Thank you so much for this pattern! I’m pregnant with my first, and also new to sewing, and really enjoyed making this. Thank you!
Congratulations! And I’m so happy you enjoyed making this. I know it’s not a glamorous project but used this type of changing pad so much when my kids were in diapers. It really is useful. Again, congratulations,- it’s so exciting (I do love babies and kids)
I have 3 grandbabies on the way so I made each of them one of these. This was the easiest pattern to follow and it looks so nice! I did round the top corners and put a big button for the closure. Thank you for posting it!
three grandbabies coming? You’ll be busy. (In the best way) I’m glad you like the project.