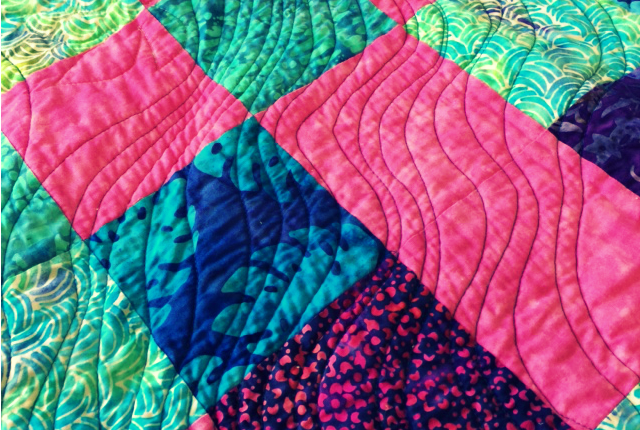
I love it when things come together. And I really love it when they come together in an easy manner like this baby quilt I just finished for my cousin’s grandchild.
This cousin wasn’t in my life much but her daughter made a special connection with my son when he was young and we were out visiting family. Ever since I have kept in touch with this young lady and now new mom to a very cute baby girl. I wanted to do something nice for her. Since she lives 3000 miles away, offers of babysitting, and making meals were out of the question so my next favorite special baby gift was to make a quilt.
Since I’m on a year long “use-up-my-fabric” challenge I wasn’t sure I could pull this quilt off. Did I own fabric that suited the new family I was giving the quilt to or enough coordinating fabric or fabric that was inspiring to work with? I scanned my fabric stash for possible options and discovered it’s actually very full of quilting cottons for someone who has only made seven quilts in her life, all of them crib size. (here’s one) (This “discovery” of owning a whole lot of quilting fabric keeps happening this year since I can only use fabrics I already own. I think, I hope, I’m learning my lesson to stop buying quilting prints – at least until I make a quilt.)
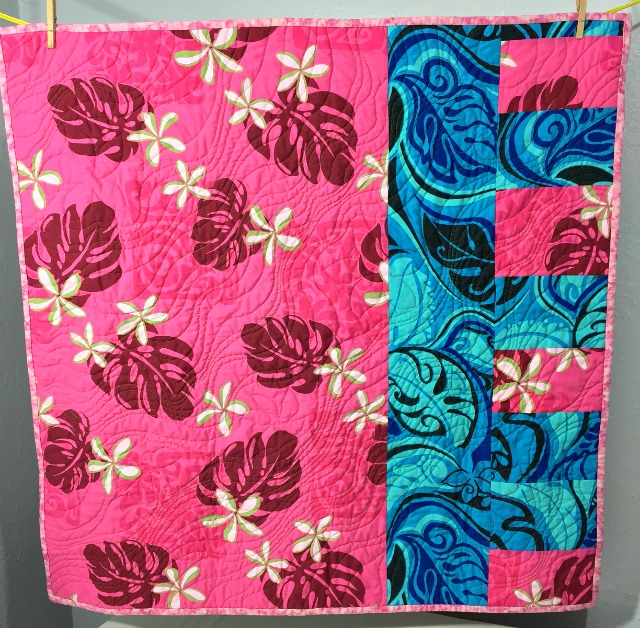
Too many options made the decision harder so I thought about what the soon-to-be-parents liked (the baby wasn’t born yet when I started this). They’re outdoorsy, active, and I recalled a comment in a card from her that they fell in love with Hawaii on their honeymoon. Ah- ha! I still had some Hawaiian fabric left in my stash. It was a good choice in color and theme. I was excited I had it to use but as I pulled it out I realized the fabric wasn’t very soft. A 50 cotton/ 50 poly blend with the design silk screened on; the white ink a thick layer so to be opaque. This is not what I wanted next to the baby’s skin but it was so perfect in it’s print that I decided to use it anyway. It would be the back of the quilt. (I always think of baby quilts laying on the ground and the baby on top of them, like a play mat). I had pieces of this Hawaiian fabric in green, pink and scraps of it in blue. It would take a look through the scrap bin (and stash) to see what I could use for the front to determine what colors I made the back with.
For the front of the quilt I found among my larger scraps (and some scraps my mother had just passed on to me) batiks and prints in blues and from my fabric stash I found a water color like print in pink. These choices went well with the pink and blue Hawaiian prints so they became the back. I gathered from the baby shower invitation that the baby’s mom didn’t mind pink.
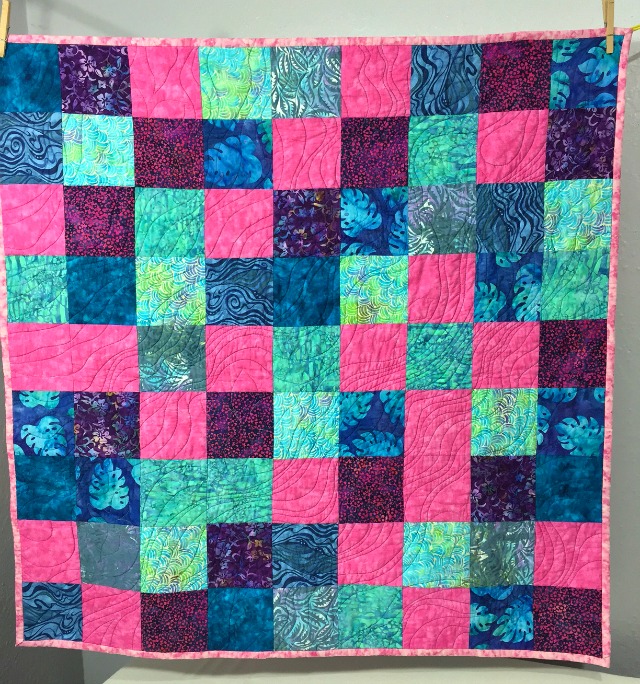
Originally I wanted to make a pattern with the pink squares but I was one square too short to make the pattern I wanted (with no more pink fabric to cut) so I went “random” with the blocks, laying them out on the floor to get them visually balanced.
I sewed the blocks into rows and the rows into the the top. The blocks were cut 5″ square and I used 1/4″ seam allowance. The finished quilt is 40″ square. Good size for a play mat.
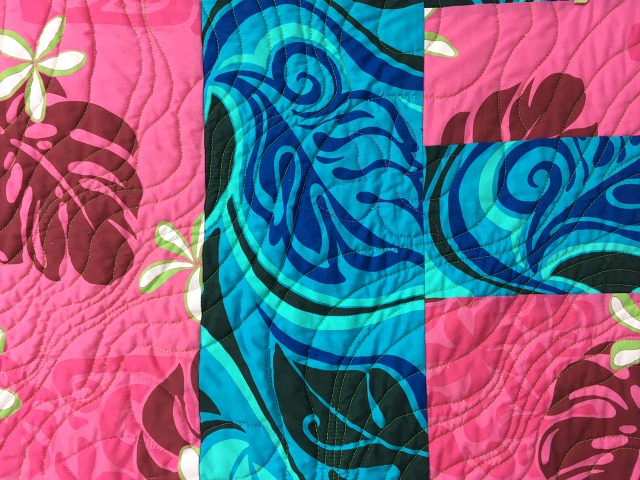
The quilting was first attempted by hand but the batik fabric is so dense and the white ink on the back fabric was solid; a thin plastic like layer. It was hard pushing a needle through either one and when they aligned on top of each other – not pretty. There was no way I was going to get through hand quilting this baby quilt while the baby was still a baby. So I picked out my hand stitches (sad day) and used my first, and brand new, walking foot for my machine to quilt the quilt. That foot makes a huge difference when quilting. So much easier than a regular pressure foot. So worth the money.
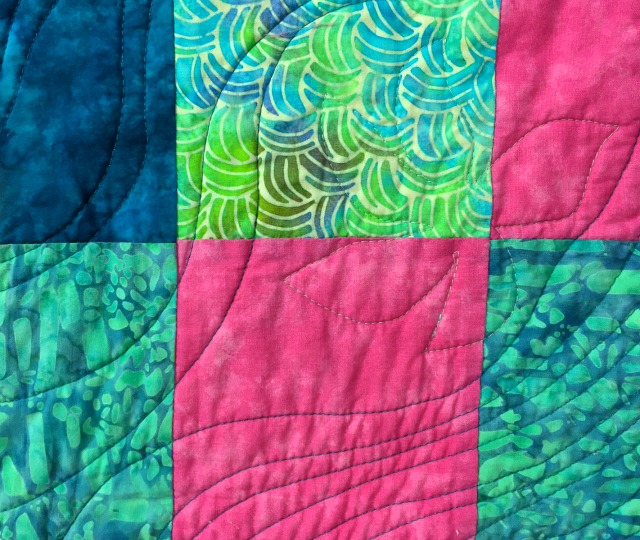
I wanted to have the flower shapes from the blue backing fabric (and the green Hawaiian print that I didn’t use) stitched in a few places on the quilt. I traced a small flower and a large flower off the green fabric, simplified them and made a stencil out of an old file folder. This I traced around with a chalk maker on the front to transfer the flower shape for sewing. I wasn’t sure how I was going to stitch the rest of the quilt and I put off that decision until I was done with the flowers.
After sewing the flower shapes I knew I wanted something a bit easier so the rest of the quilting is done in lines to resemble flowing water. I started with a diagonal wavy line from one corner to the opposite corner bisecting the quilt near the center. Then I followed this line on both sides of it, going around the flowers like water would.
And this is what makes quilt making so much fun. It’s like painting with fabric and thread instead of paint. First, all the playing with the colors, which could be enough but if you add the quilting lines, even more ways to convey a mood. Of course your mood might be traditional, minimalist, expressionist, or even so conceptual that the quilt never actually gets made (That must be where I was going with my large pile of quilting fabrics).
Bias binding to finish the quilt (because that’s how I do it).
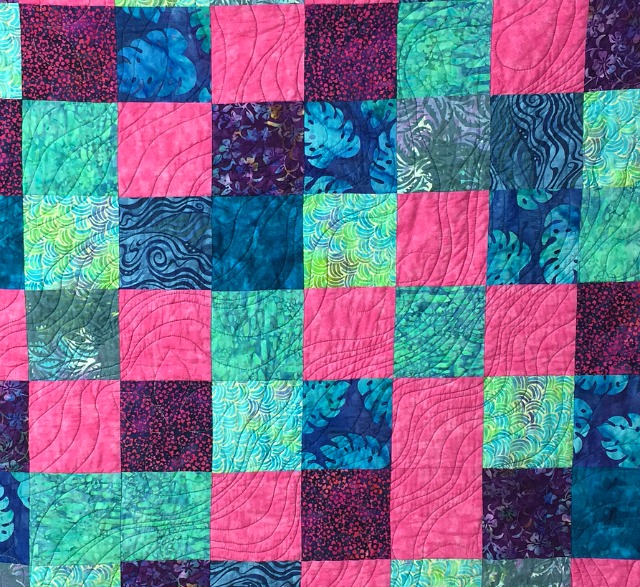
The quilt got sent today (mid August). I’m a little late on the baby gift but quicker than if I had stuck to the hand quilting. Next time no batiks for quilts or I just need to remember that batiks and hand stitching don’t go well together.
My “use-up-my-fabric” challenge set some limitations but I am happy with the finished quilt, happy to use some of my fabric stash and happier still that I finished it.
