 My daughter needed a skirt but it’s never that simple, is it? She needed a skirt that covered her knees, was lightweight enough for humid summer weather and, of course, it had to be a style she would wear.
I thought if I took her to the mall that finding the skirt would just be a matter of a couple hours. Like I said, it’s never that simple. We found no skirts that met the three criteria. Looks like we were taking the home sewing route. Which actually is the same route my mom had to take with me so many times.
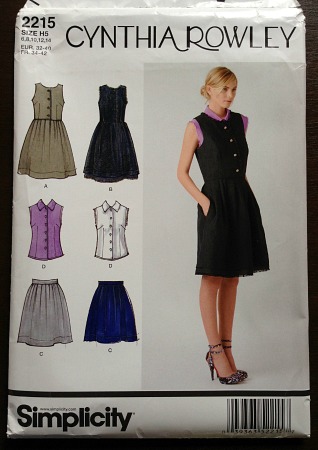
We found a pattern, Cynthia Rowley for Simplicity – pattern 2215. I told her linen was a suggested fabric and based on her blank look I had to show her my stash of linen. In that stack, she saw a grey linen and decided it would be perfect.
I needed to add some length to the skirt to cover her knees (she’s all legs). So an inch was at the hem as well as adding the hem band detail from the dress version of this pattern. It would add a couple more inches.
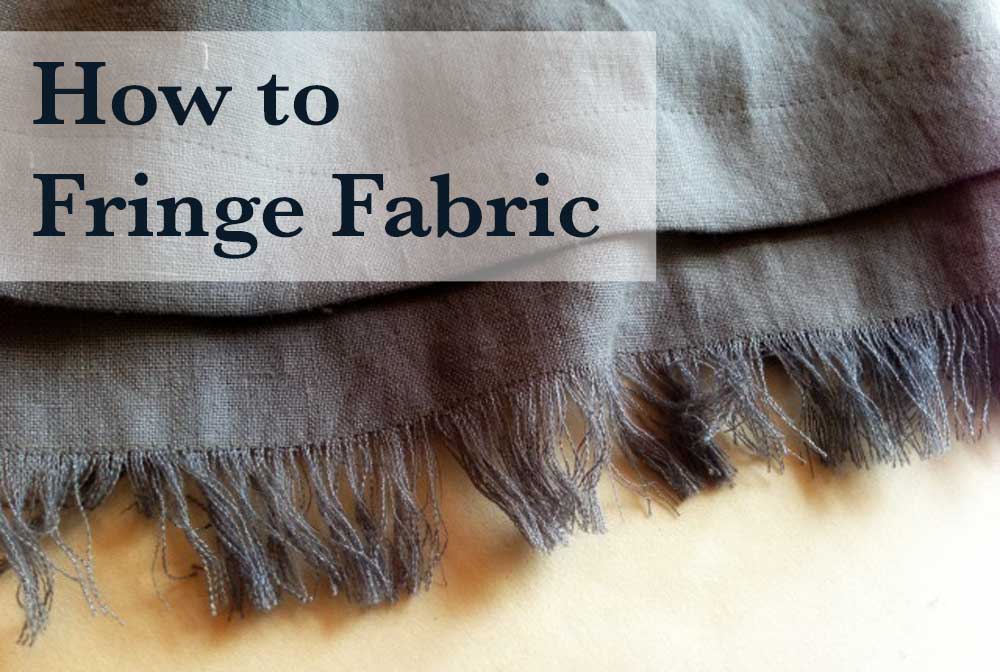
The hem band is fringed and not hemmed which is perfect for linen and it adds a little youthful playfulness, plus some interesting texture, to this grey, and now, knee length, skirt.
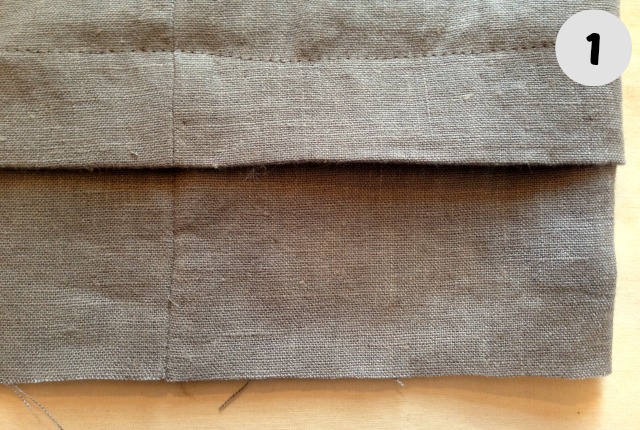
The band is made of two wide separate pieces (front and back, just like the skirt) that are sewn together first on the shorter side seams and then is attached to the skirt at the hem. It is folded up behind the skirt and sewn in place with a topstitching. It sounded confusing in the directions but when I followed them, step by step, it worked out perfectly.
Fringing the skirt was fun and easy to do. It was a little time consuming but so is sewing. If you didn’t want these little details you wouldn’t be taking the time to sew, you would make do with what Old Navy has.
You could add a fringed edge to other garments like a boxy cropped jacket (think Channel), a kilt, and the hem of a peasant blouse.
How to Fringe Fabric
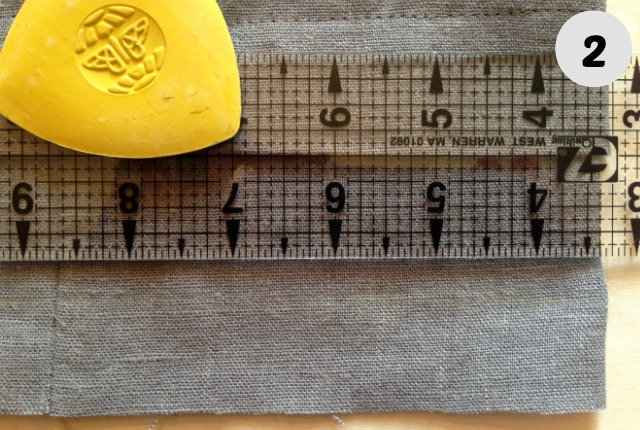
Decide how wide you want the fringe to be. Measure and mark where the top of the fringe will be. Be consistent where you measure from.
If your finished fringe is under an inch wide you could skip this step and instead measure and mark the fringe width with your sewing machine’s seam guide in the next step.
To clarify, fringing is when you purposely want your fabric to fray. But you want it to stop fraying at some point, and that point is where you sew a wall; “No fraying beyond this point” so to speak.
Sew a narrow zigzag stitch on your marked line. This is the “wall” no fringe shall go beyond.
If the width of your fringe is narrow enough you could skip the measuring and marking and skip to this step. Use your machine’s guidelines and sew the zigzag stitch at your desired distance (the width of the fringe).
Run the stitch over any perpendicular seams (side seams in the skirt, a collar seam on a lapel).
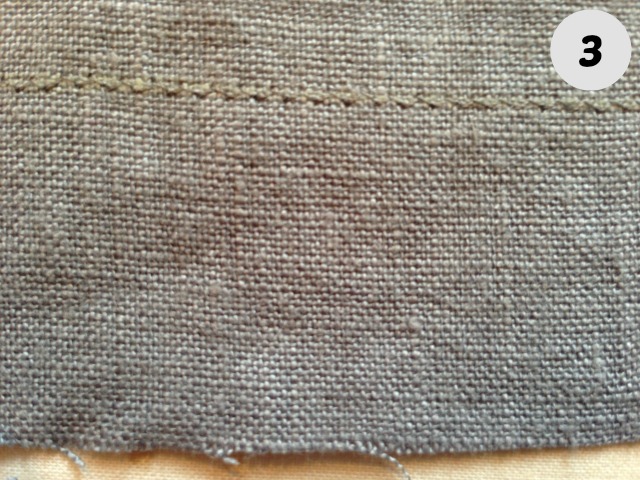
Take out the stitches of the side seam from the hem up to the zigzag stitch. Cut away the seam allowance below the zigzag stitch.
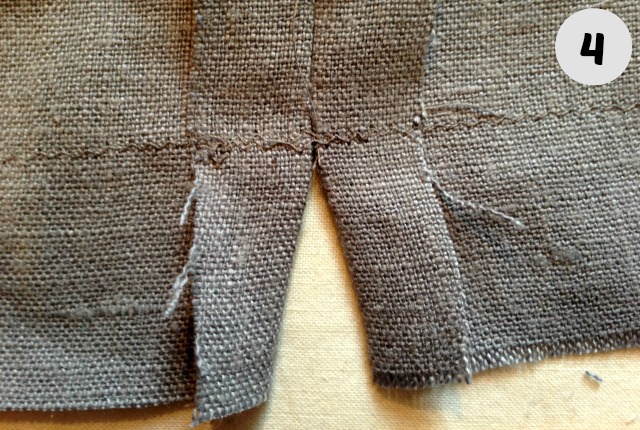
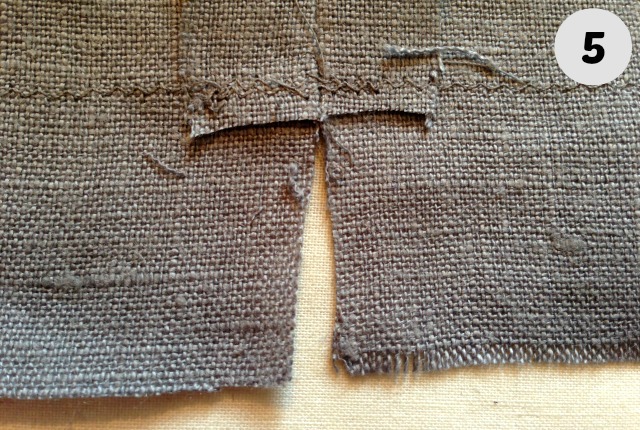
Start at a side seam (now picked out up to the sewn “wall”) and pull out the crosswise threads of fabric from the skirt. One by one just pull them off.
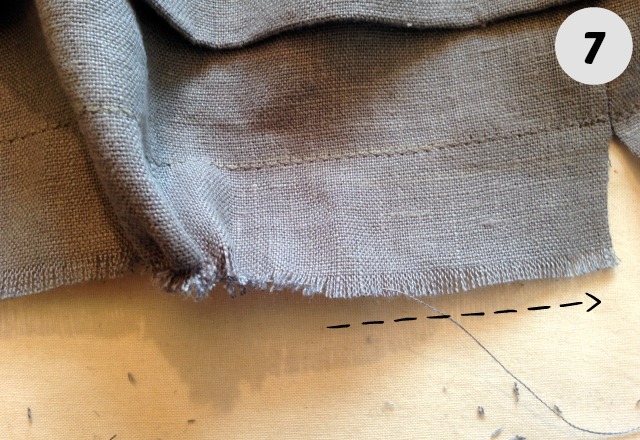
After a few threads are removed you will need to literally pull the crosswise threads out with a sideways pulling motion.
Pull to one side or the other, whichever is most natural for you. It’s easier than trying to work each thread out of the growing fringe with a downward motion.
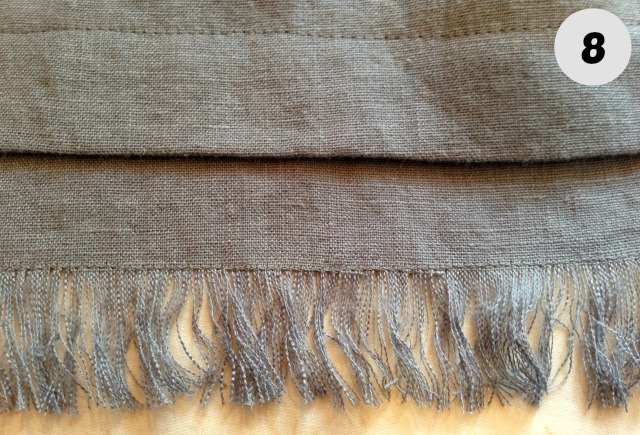
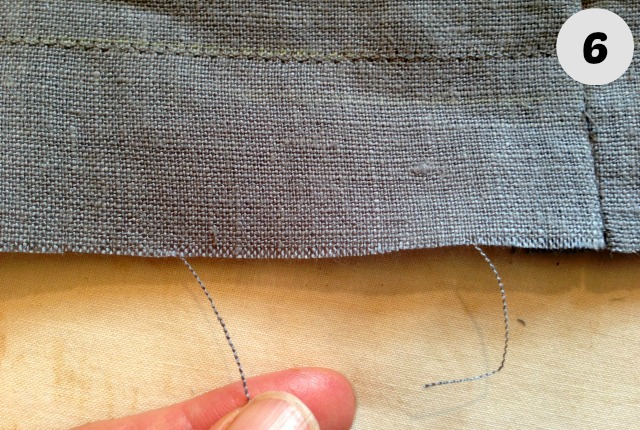
Pull off the threads until you’ve reached the stopping point; your zigzag stitch.
As you get closer to the zigzag stitch some of the cross threads will be secured in places under the zigzag stitch but will need to be pulled off the skirt in other places (because you may, like me, not be sewing exactly on the true cross grain line).
When this happens simply snip that particular thread of fabric close to where it came out from under the zigzag stitch. Pull it free where it is below the zigzag stitch and leave it attached where it is above the stitch. In the end you will not be able to really see this unless you are way, way off grain.
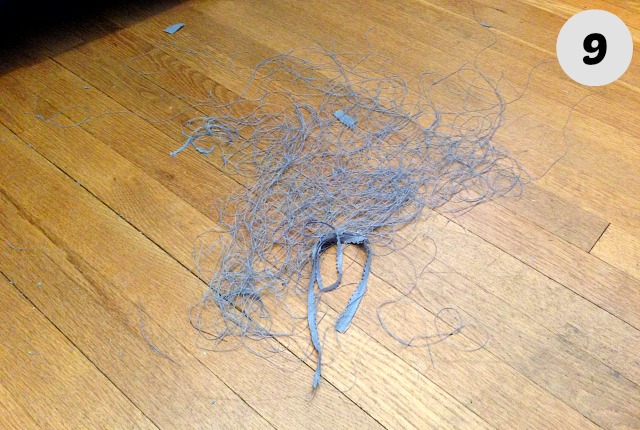
Steam the fringe to take out the wrinkles and pick up that mess of threads on the floor.
The fringe does add a nice visual interest. It’s subtle but interesting.
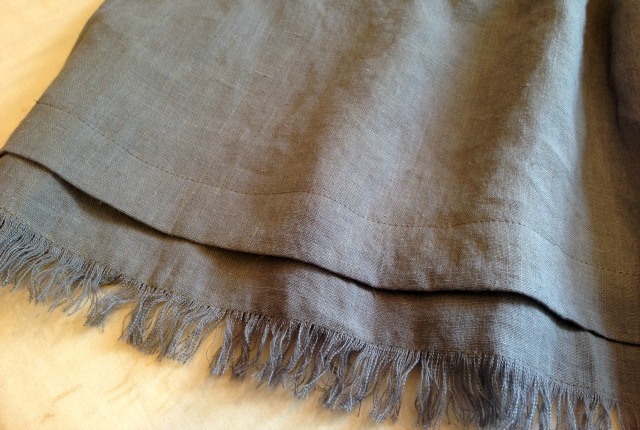
When all was done my daughter liked the skirt and wore it. It is a nicely shaped skirt with it’s irregular pleats and in seam pockets.
Bonus; it was easy and quick to sew. I would definitely make it again if the need arises and would even try a different Cynthia Rowley pattern based on how well this went together and how it looked finished.


That helps me so much! Thank you.
thank you for reading the post!