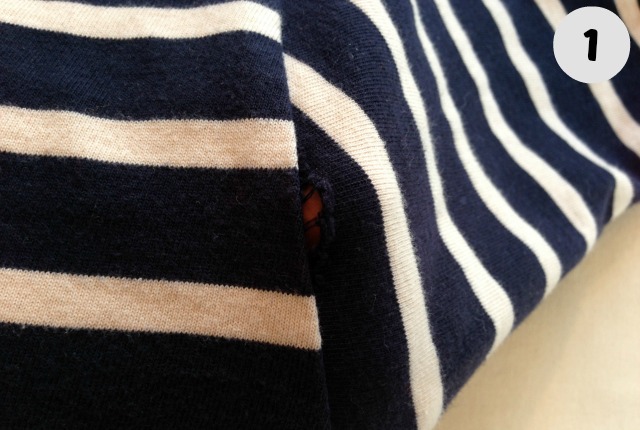
After the last washing of my favorite knit shirt I noticed a hole in the back armhole seam. Luckily this is a quick and easy fix. How easy? Two steps. How fast? Faster than exchanging the shirt at the store.
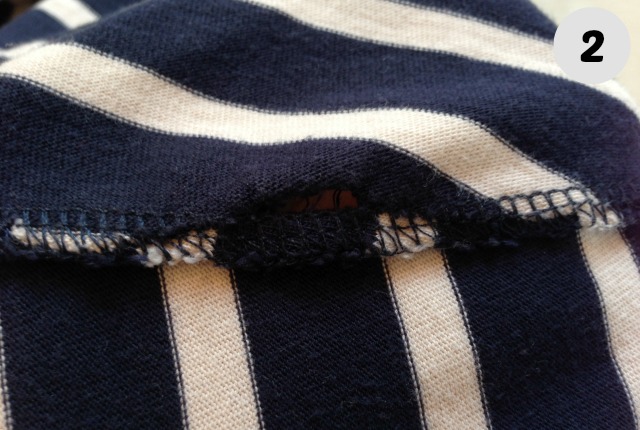
This isn’t the first time I’ve come across a knit shirt where one part of the sleeve or shoulder or neck edge slipped out of, or was never caught in to, the serged seam.
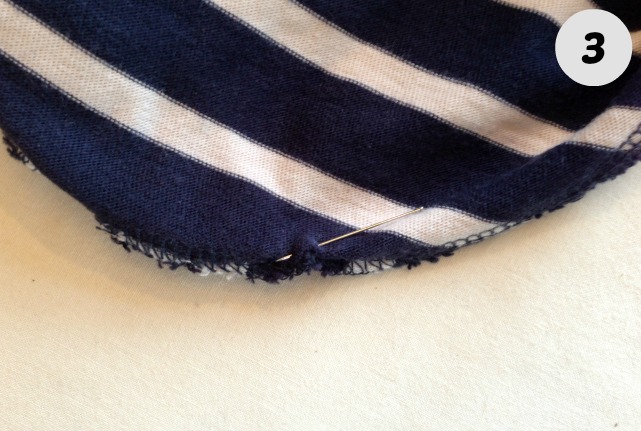
Step 1: Place your garment on a work surface and where the hole is, flatten out the seam and seam allowance. Lift the loose edge up and place it on top of the seam allowance to cover the hole. You are basically lining up your two pieces as if you were sewing them together the first time. Pin in place (use pins made for all fabrics if your fabric is knit).
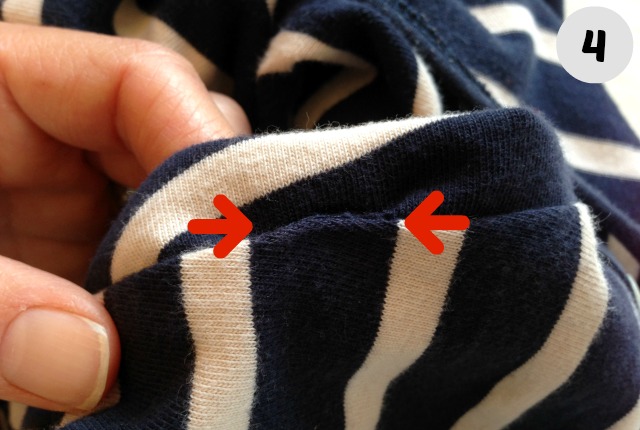
Check on the outside of the garment that you covered the hole and the fabric is laying pretty smooth. It has never looked perfect at this stage for me, just get it as good looking as you can.
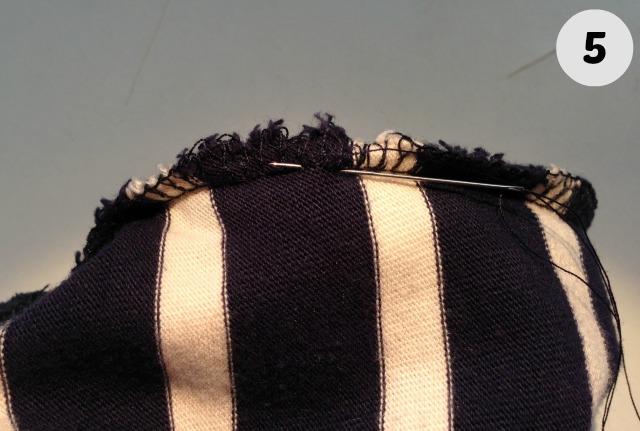
Step 2: Sew the loose edge down using the factory’s stitches (they will only show on one side where your hole is) as your guide for where to sew. You can use a machine for this step.
For this shirt I felt that the hole was in a conspicuous place and I had very little seam allowance to play with, so I choose to mend it by hand. And really that was quick too because I would have had to wind a bobbin and change the thread in my machine (ugh).
If sewing by hand, attach the loose edge to the seam allowance in one direction then come back down in the opposite direction using a back stitch on top of the existing factory’s stitches (see picture number 5, above).
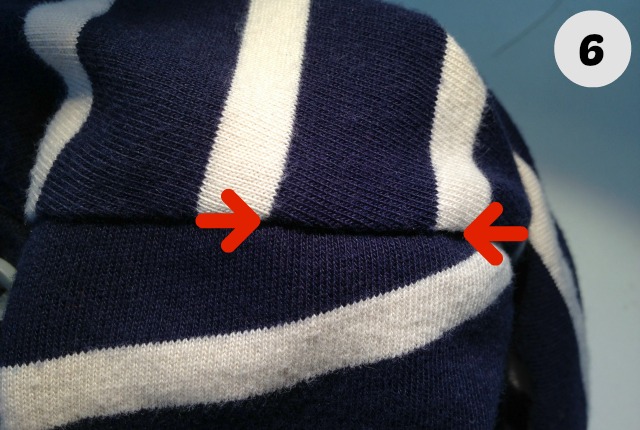
When you’re done, check the outside of the garment. It should look good as new (or better). Should there be a big pucker or fold you can take out your stitches and redo or try steam (if your fabric can handle steam) to work it out.
