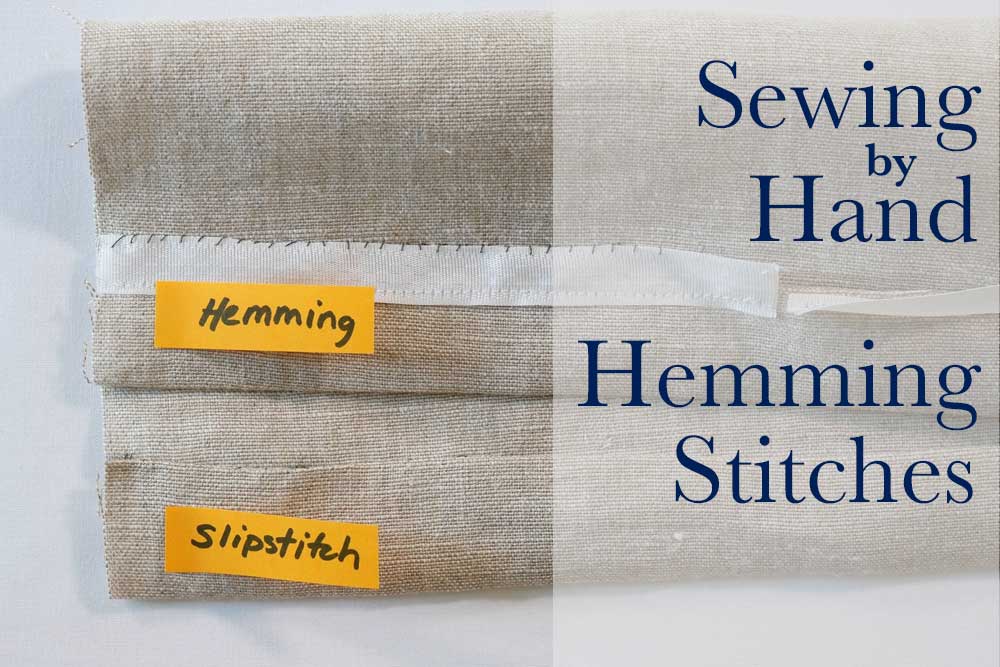
Almost all garments need to be hemmed – with needle and thread.
Hemming is how you finish the lower edge of a garment after you’ve decided on the length you want it.
Hemming is securing the fabric in place while also covering the raw edge and preventing it from unraveling.
In this video, some basic – most commonly used ways – to hem a garment by hand are demonstrated and explained because topstitching by machine isn’t always the best way.
The Close-Ups and Details
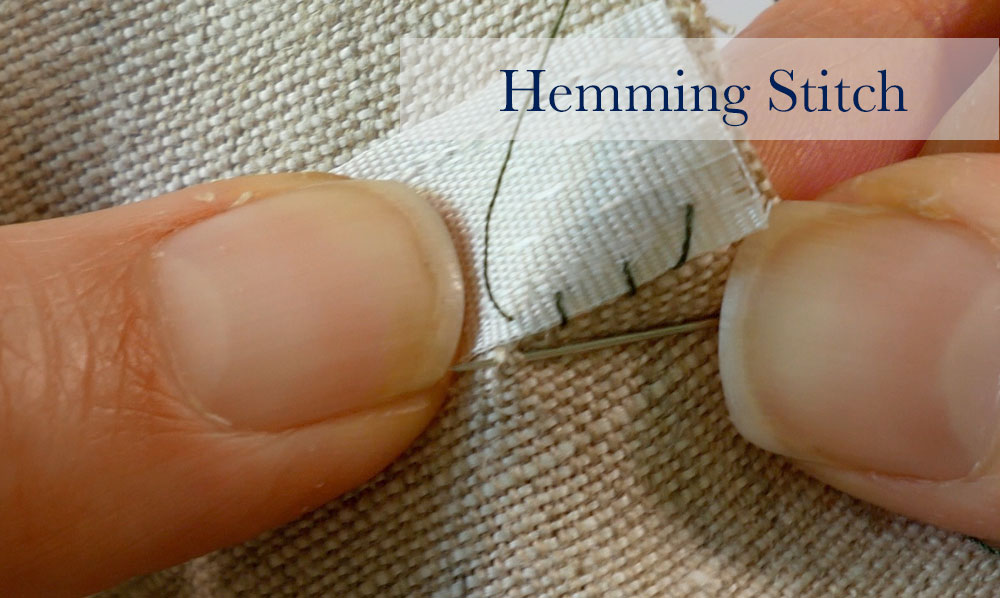
The Hemming Stitch
The hemming stitch can be worked with a single layer of fabric – like seam binding or when the edge to be hemmed is serged or a folded edge. The stitch is the same going through either one layer (seam binding) or two (folded hem allowance)
Go down into the garment and pick up a couple of threads of the garment fabric.
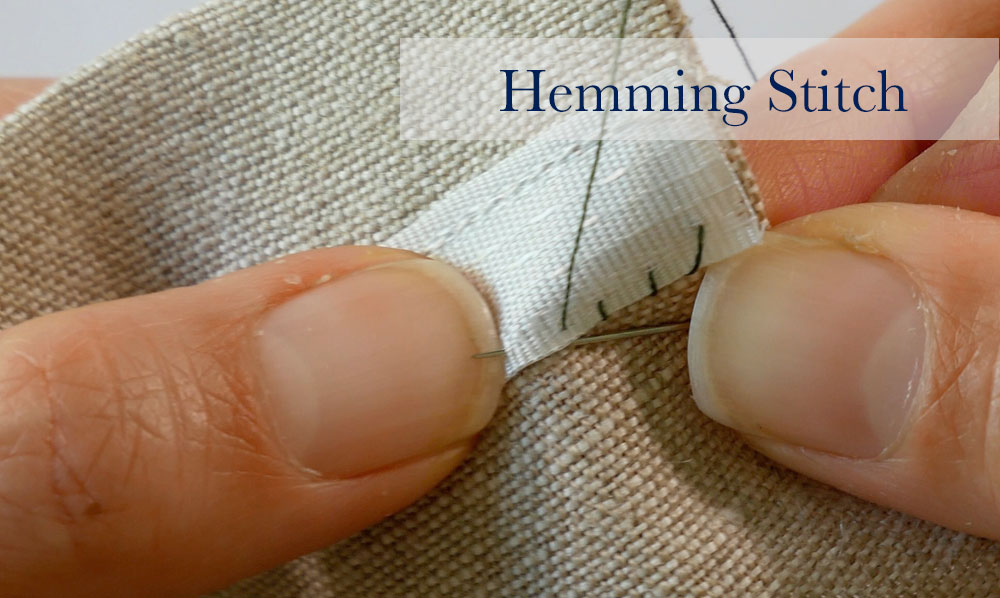
Bring the needle up and diagonally through the edge.
Stitches are spaced evenly about ⅛ to a ¼ inch apart.
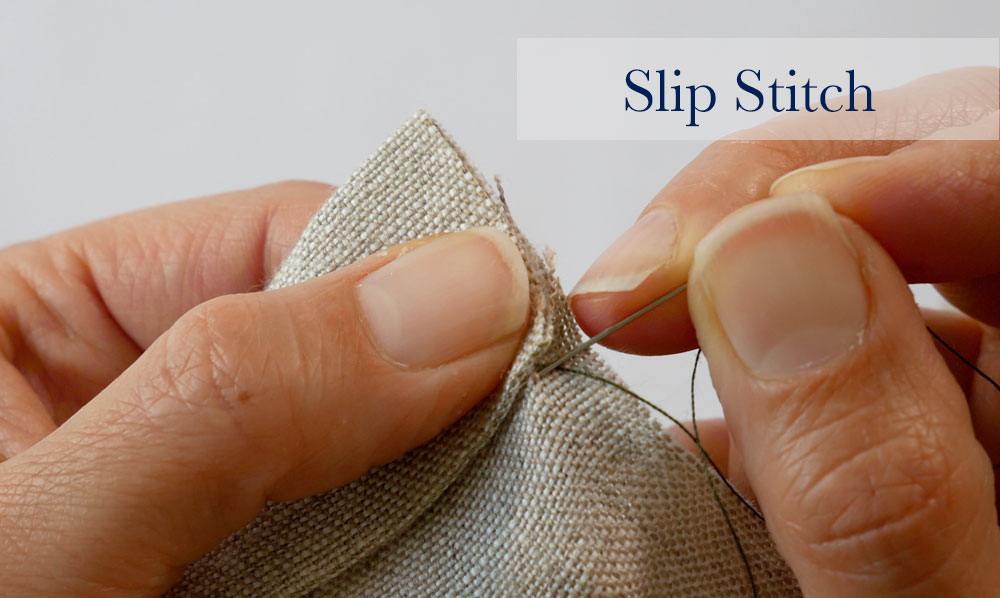
The Slip Stitch
If you are hemming a hem allowance which has been folded under itself you can use the slip stitch to hem.
Go down into the garment and pick up a couple of threads of the garment fabric.
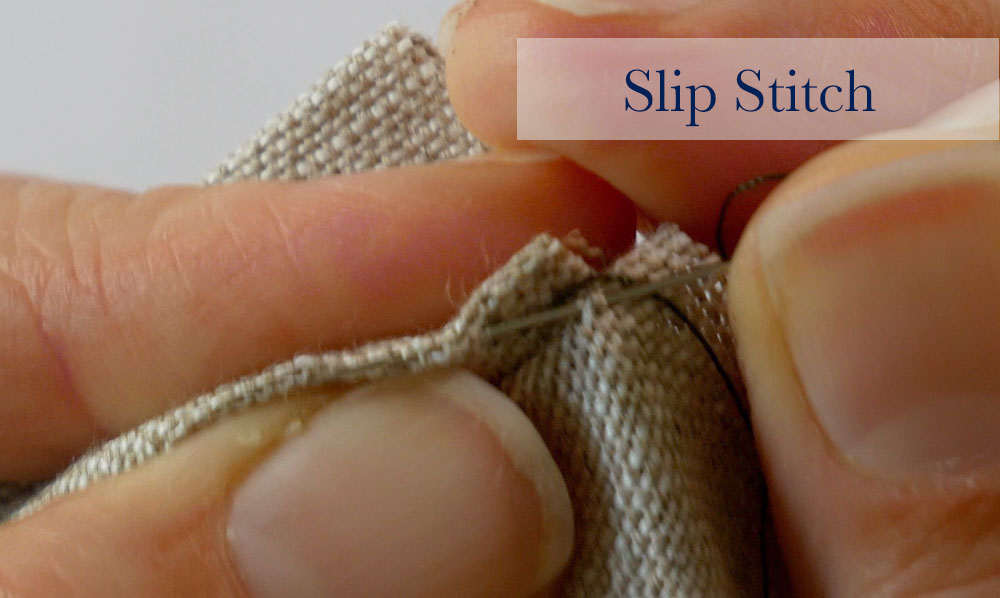
At the point where the needle comes up from the garment, it goes into the fold of the hem allowance.
Slide the needle through the folded edge about 1/4″. Where the needle exits the fold, pick up a couple threads of the garment.
The thread never travels exposed. It’s either in the fold, or it’s grabbing a couple threads.
Stitches are spaced evenly about ⅛ to a ¼ inch apart.
You Got This
Any Questions about the hemming or the slip stitch? Please let me know.

Excellent demonstration and explanation of slip stitch which I am about to use on the hem of a baby blanket. Thanks!
Thanks! I use the slip stitch a lot. It’s a good one to know.